Tag Archives: Camera

On Conrad Glacier: Part 1

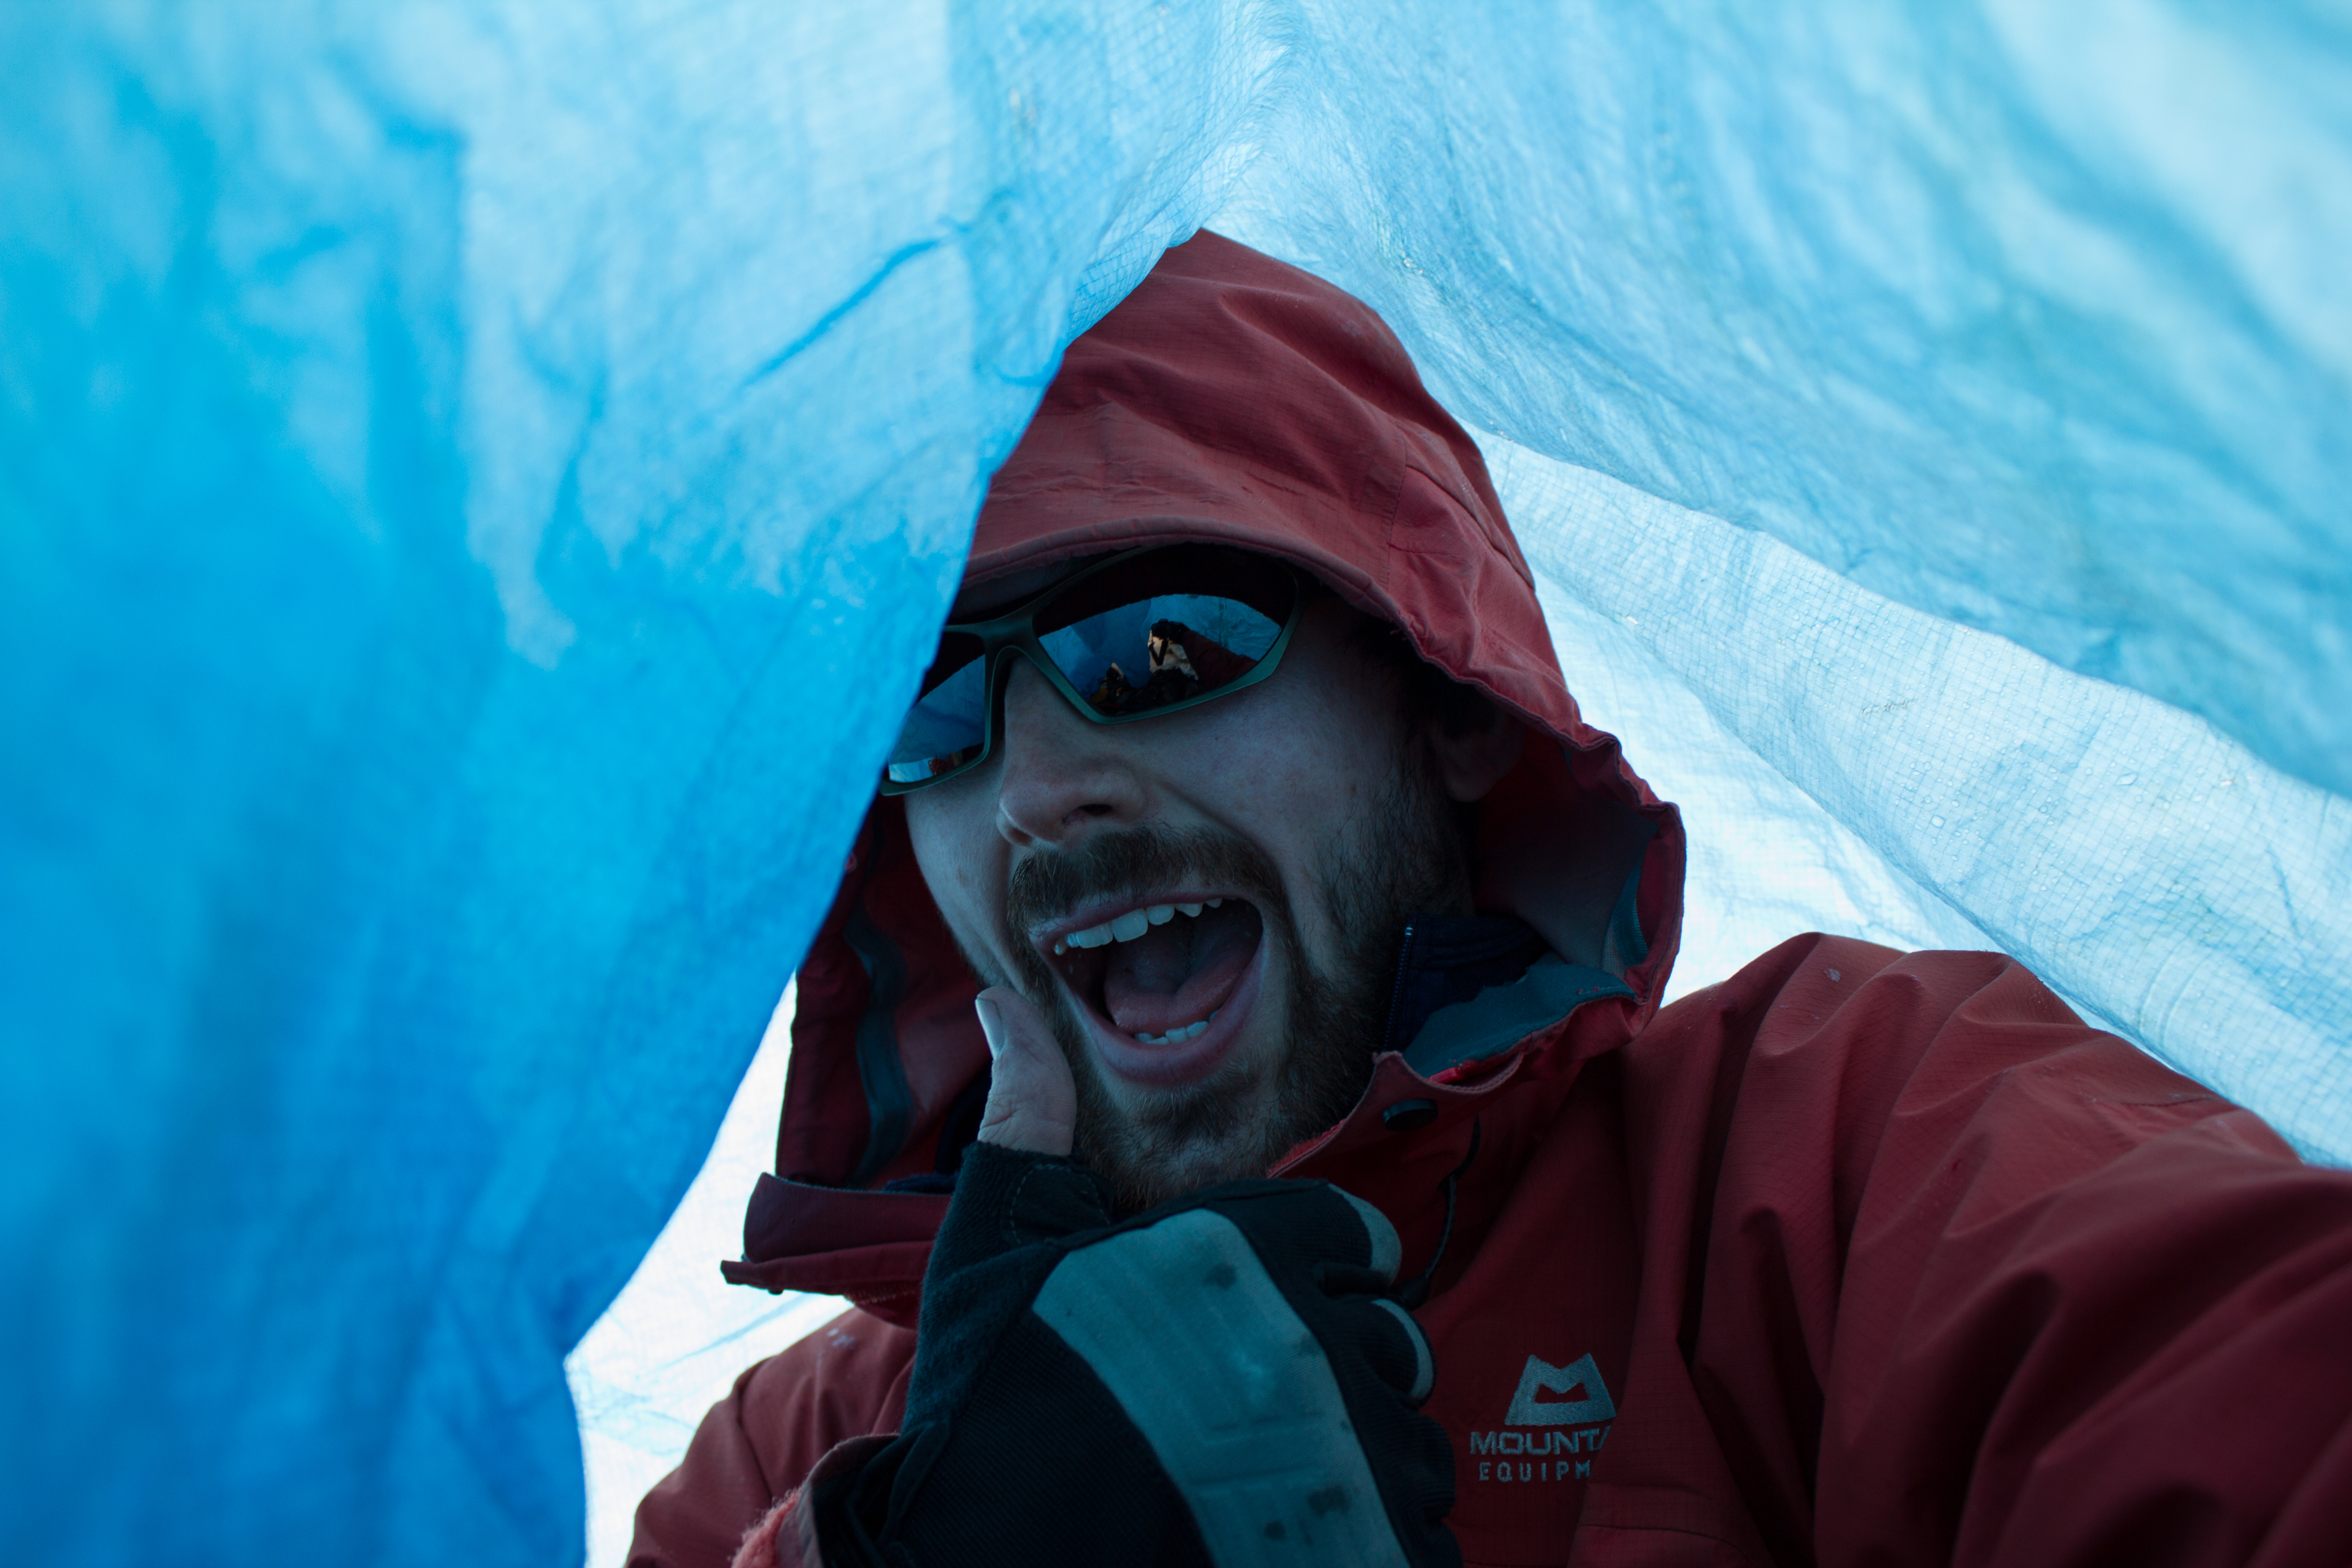
High on a mountain glacier, sheltering from a thunderstorm. With hail and wind buffeting the blue plastic tarp I’m clutching on to, and lightning cracking above, I realise that the boxes I’m sitting on contain several large high capacity batteries. My science teachers would be proud.

Four months earlier, I had returned to Vancouver from Svalbard, and an arctic winter that I will never forget. Touching down in YVR airport though, my mind was already on the list of ideas and tasks that would need to be tackled before fieldwork in July. My field campaign on Nordic Glacier last summer (see Notes from Nordic and Return to the Field) had been successful, but this season would present a whole host of new challenges. New glacier, new sensors, new objectives.

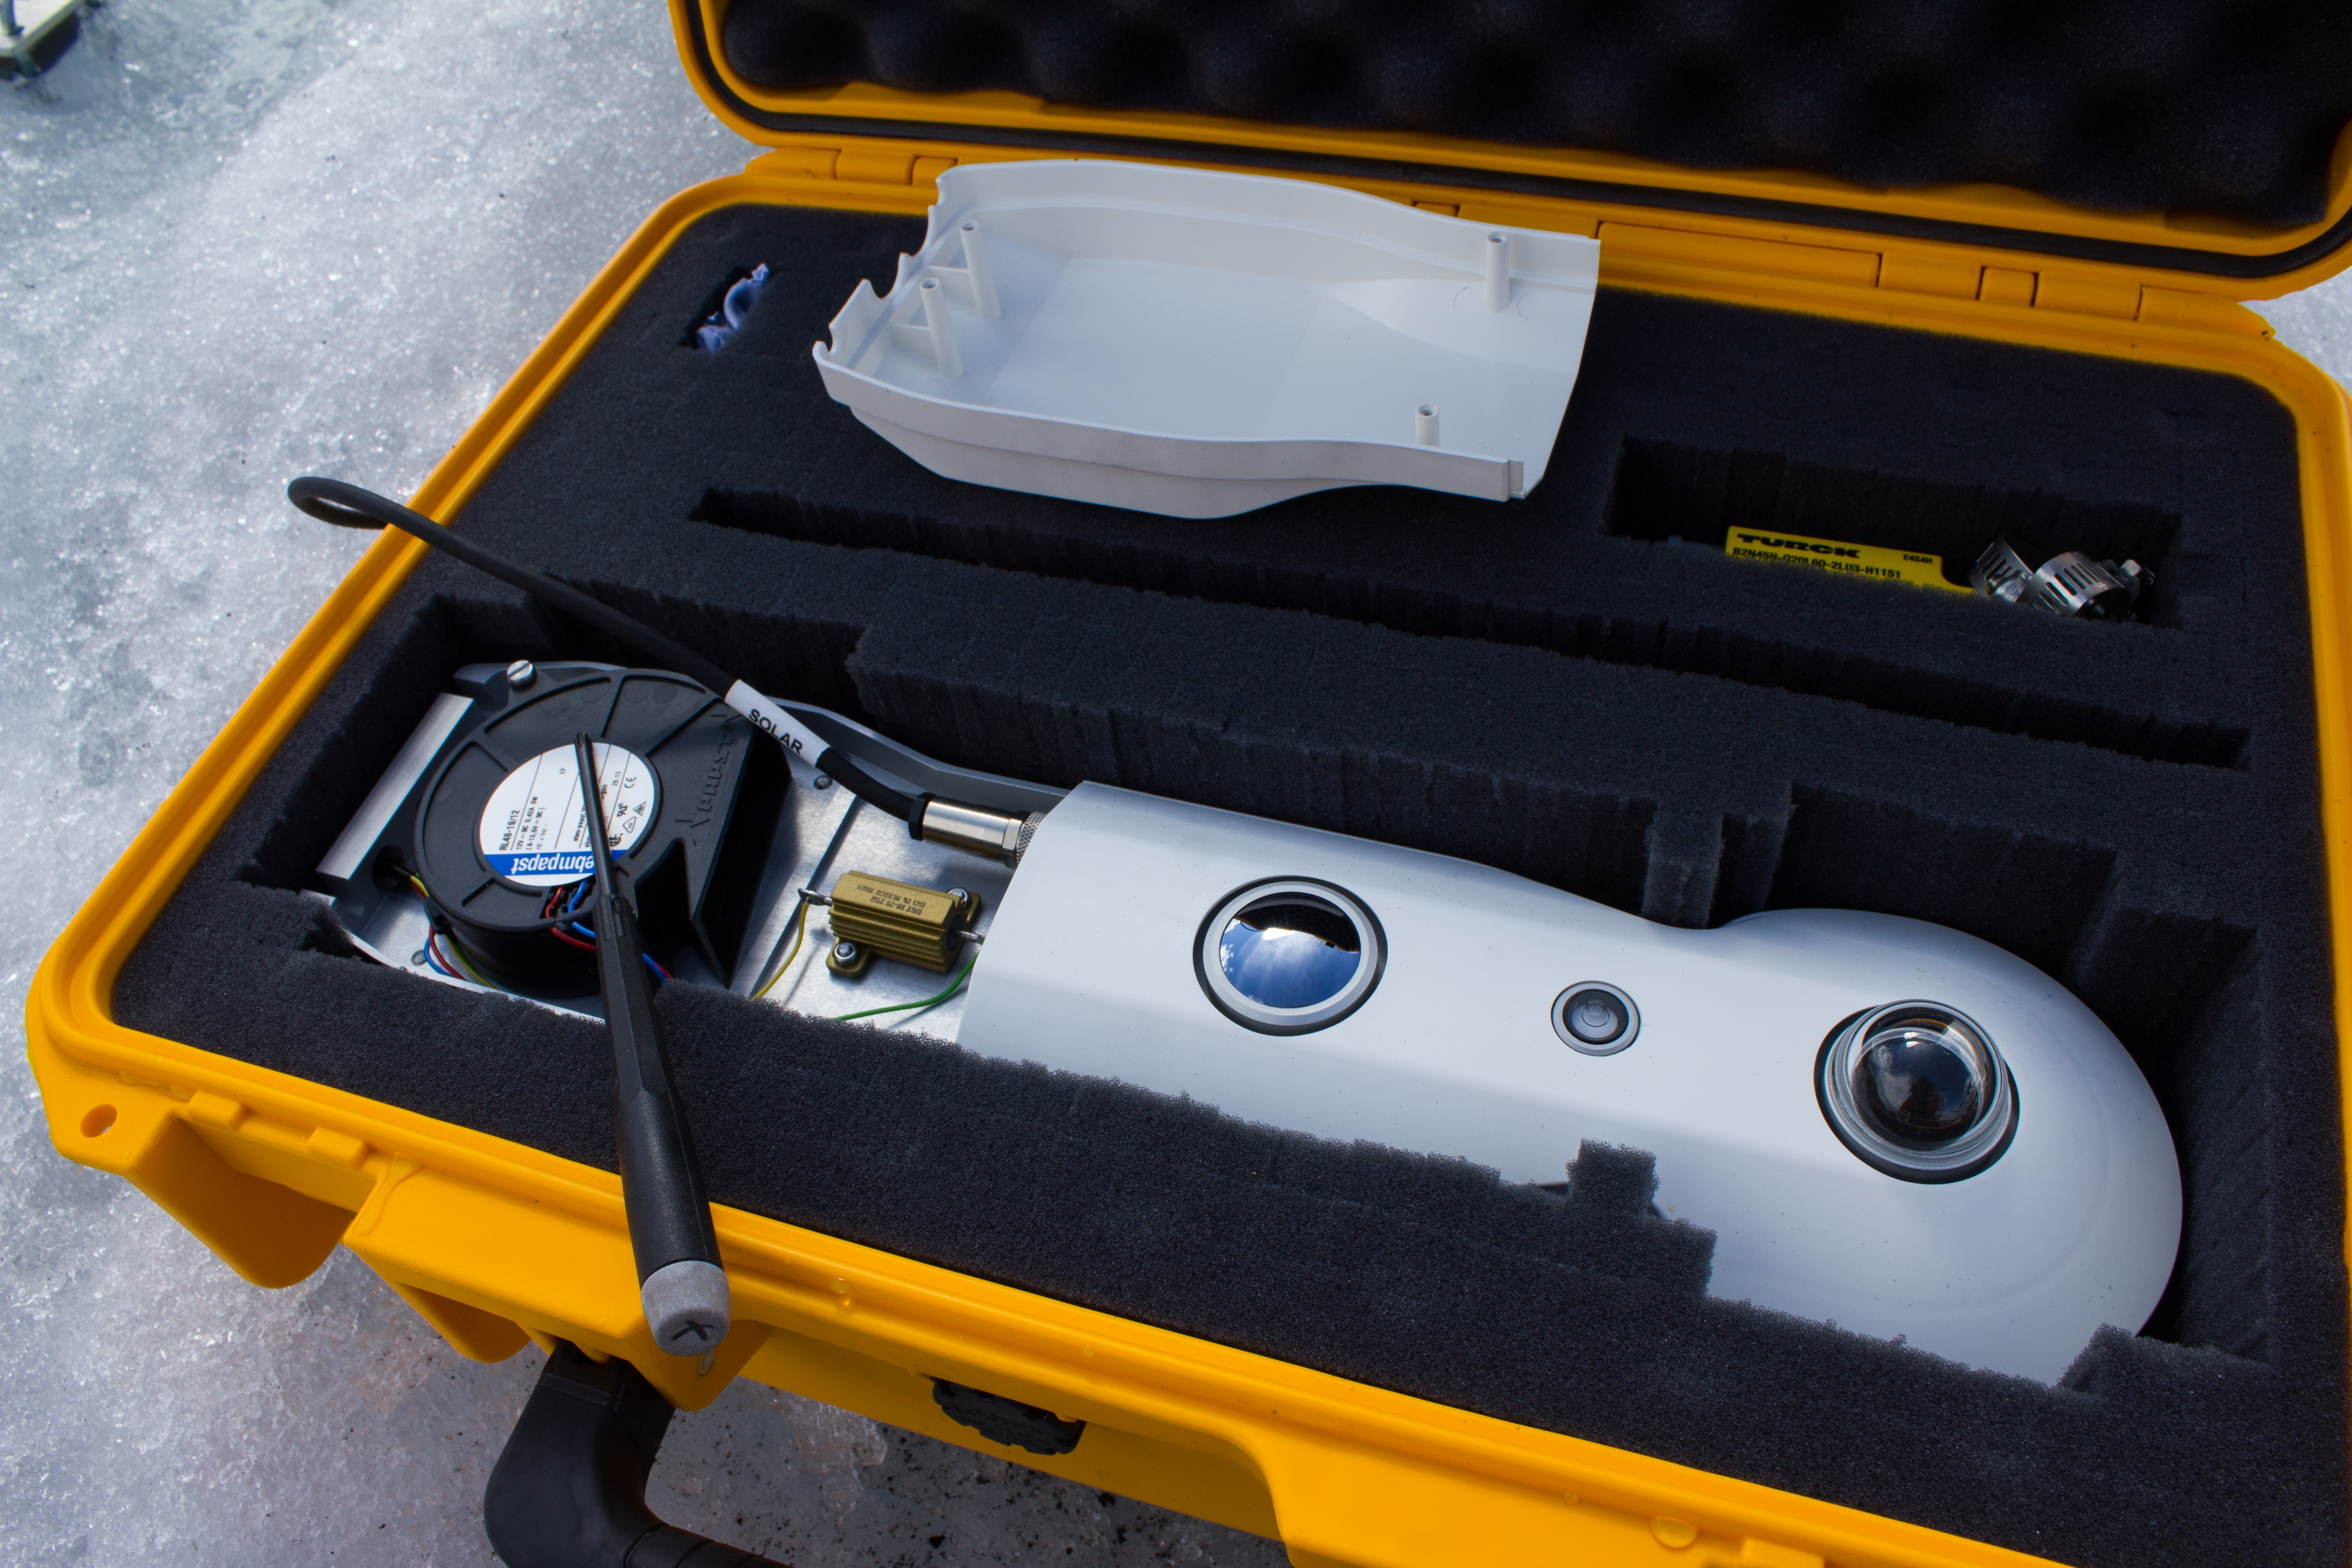
The overall goal of my project remains the same; to measure the weather conditions over a glacier surface, and to better understand how these conditions affect melt rates. One of the main differences for this year was that two stations would be installed on the glacier rather than one. The idea behind this is to see how weather and energy patterns vary across different points on the surface of the glacier, and how this in turn affects melting. This would mean a doubling of the number of sensors that would need to be prepared and tested.

conrad_prep15_stations
Test set up of the two stations for the 2015 field campaign, on the grounds of the University of British Columbia (UBC).


conrad_prep15_station_equip
Feeling like a roadie: some of the gear that makes up one station.


conrad_prep15_station_complete
One of the (mostly) complete stations, in testing at UBC.


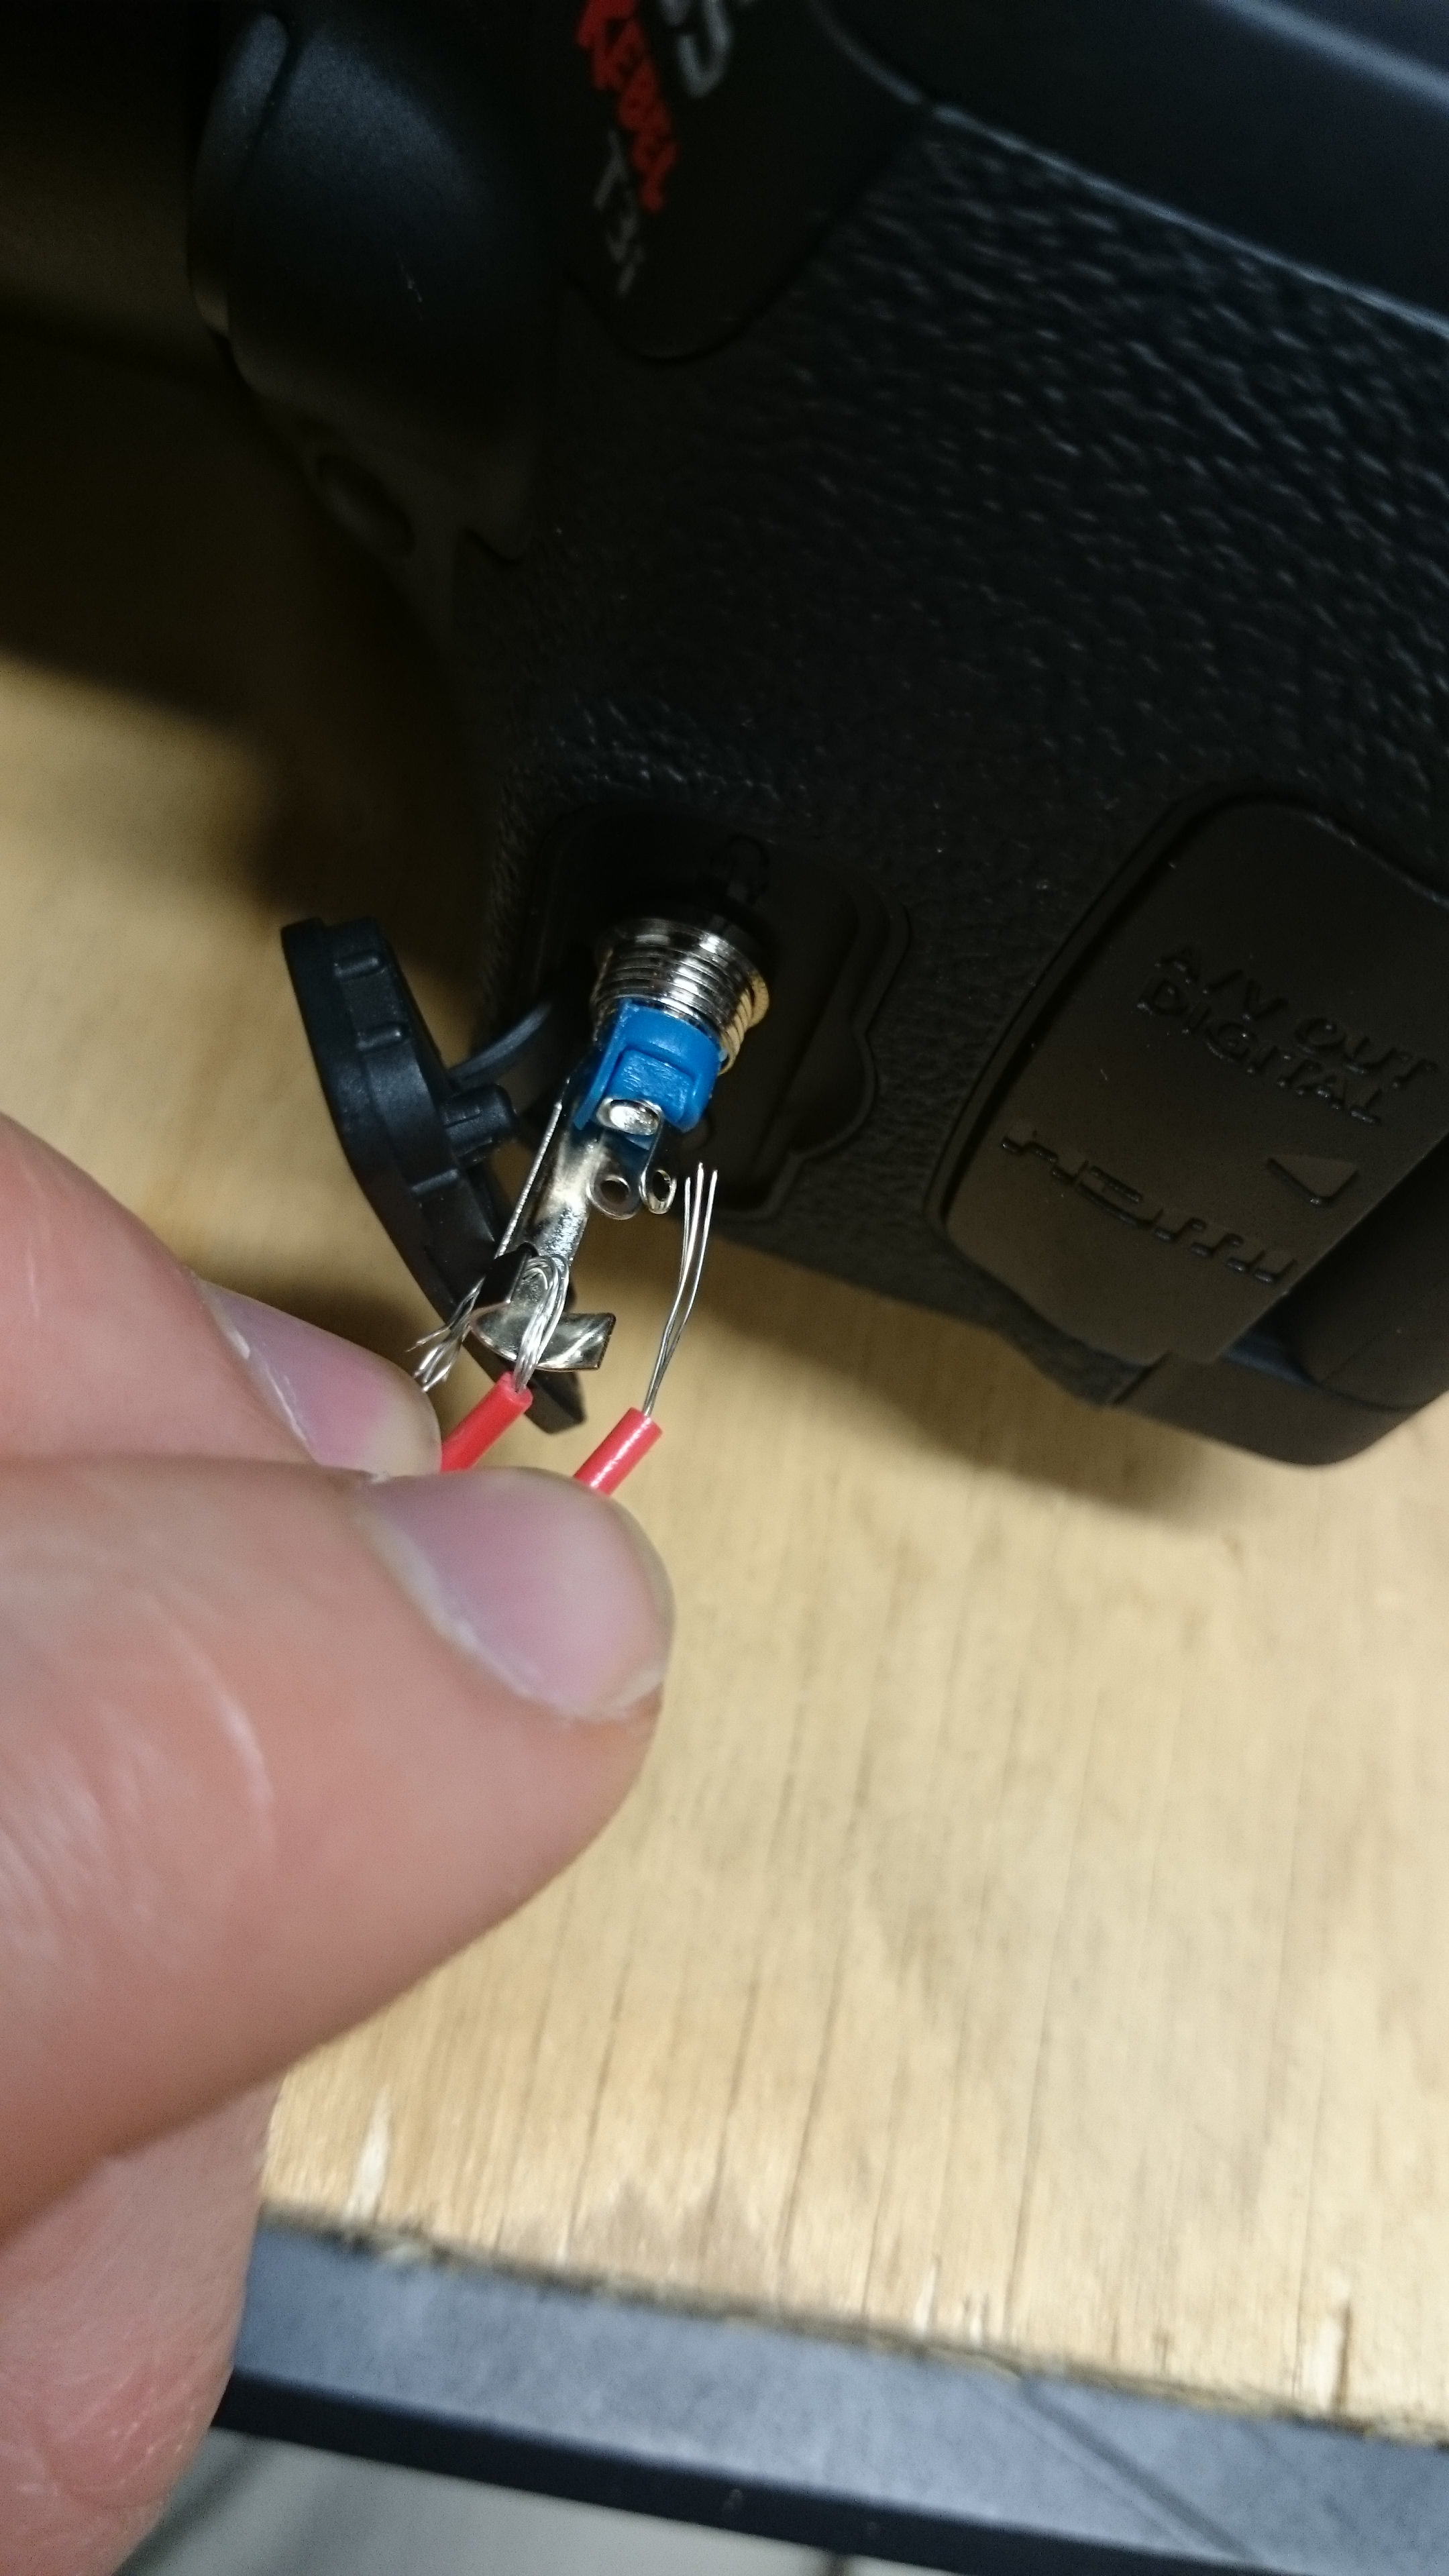
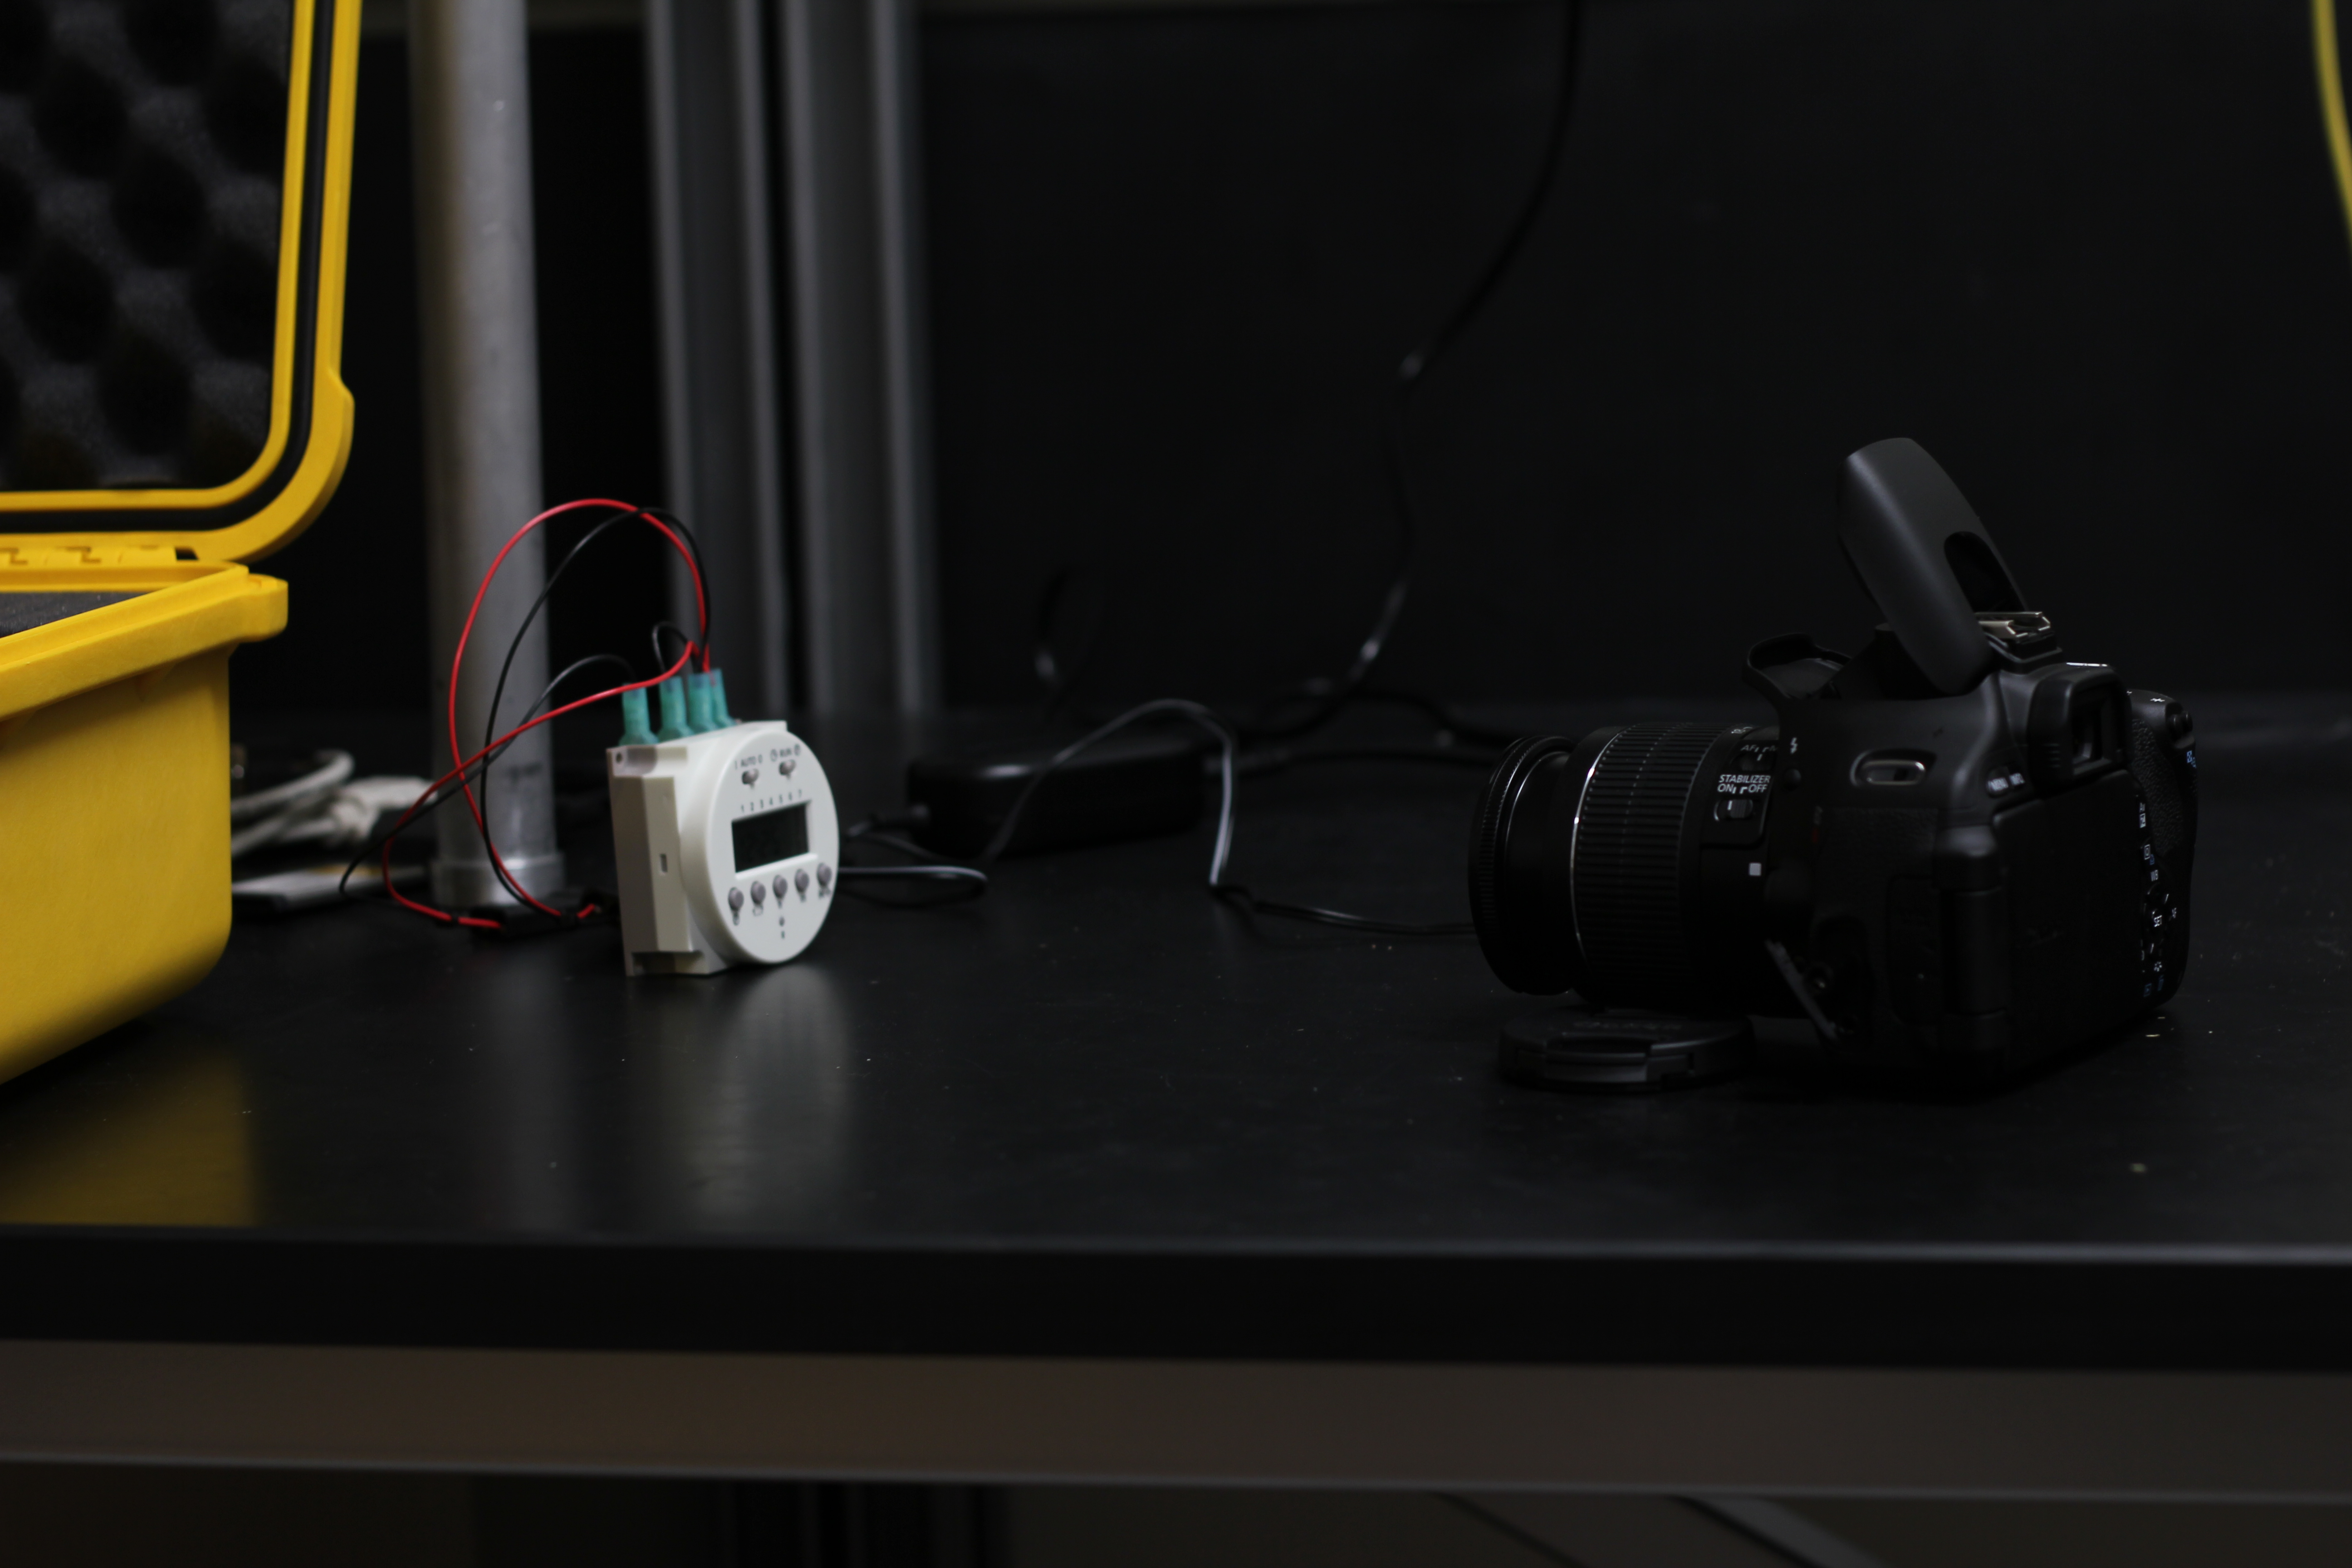
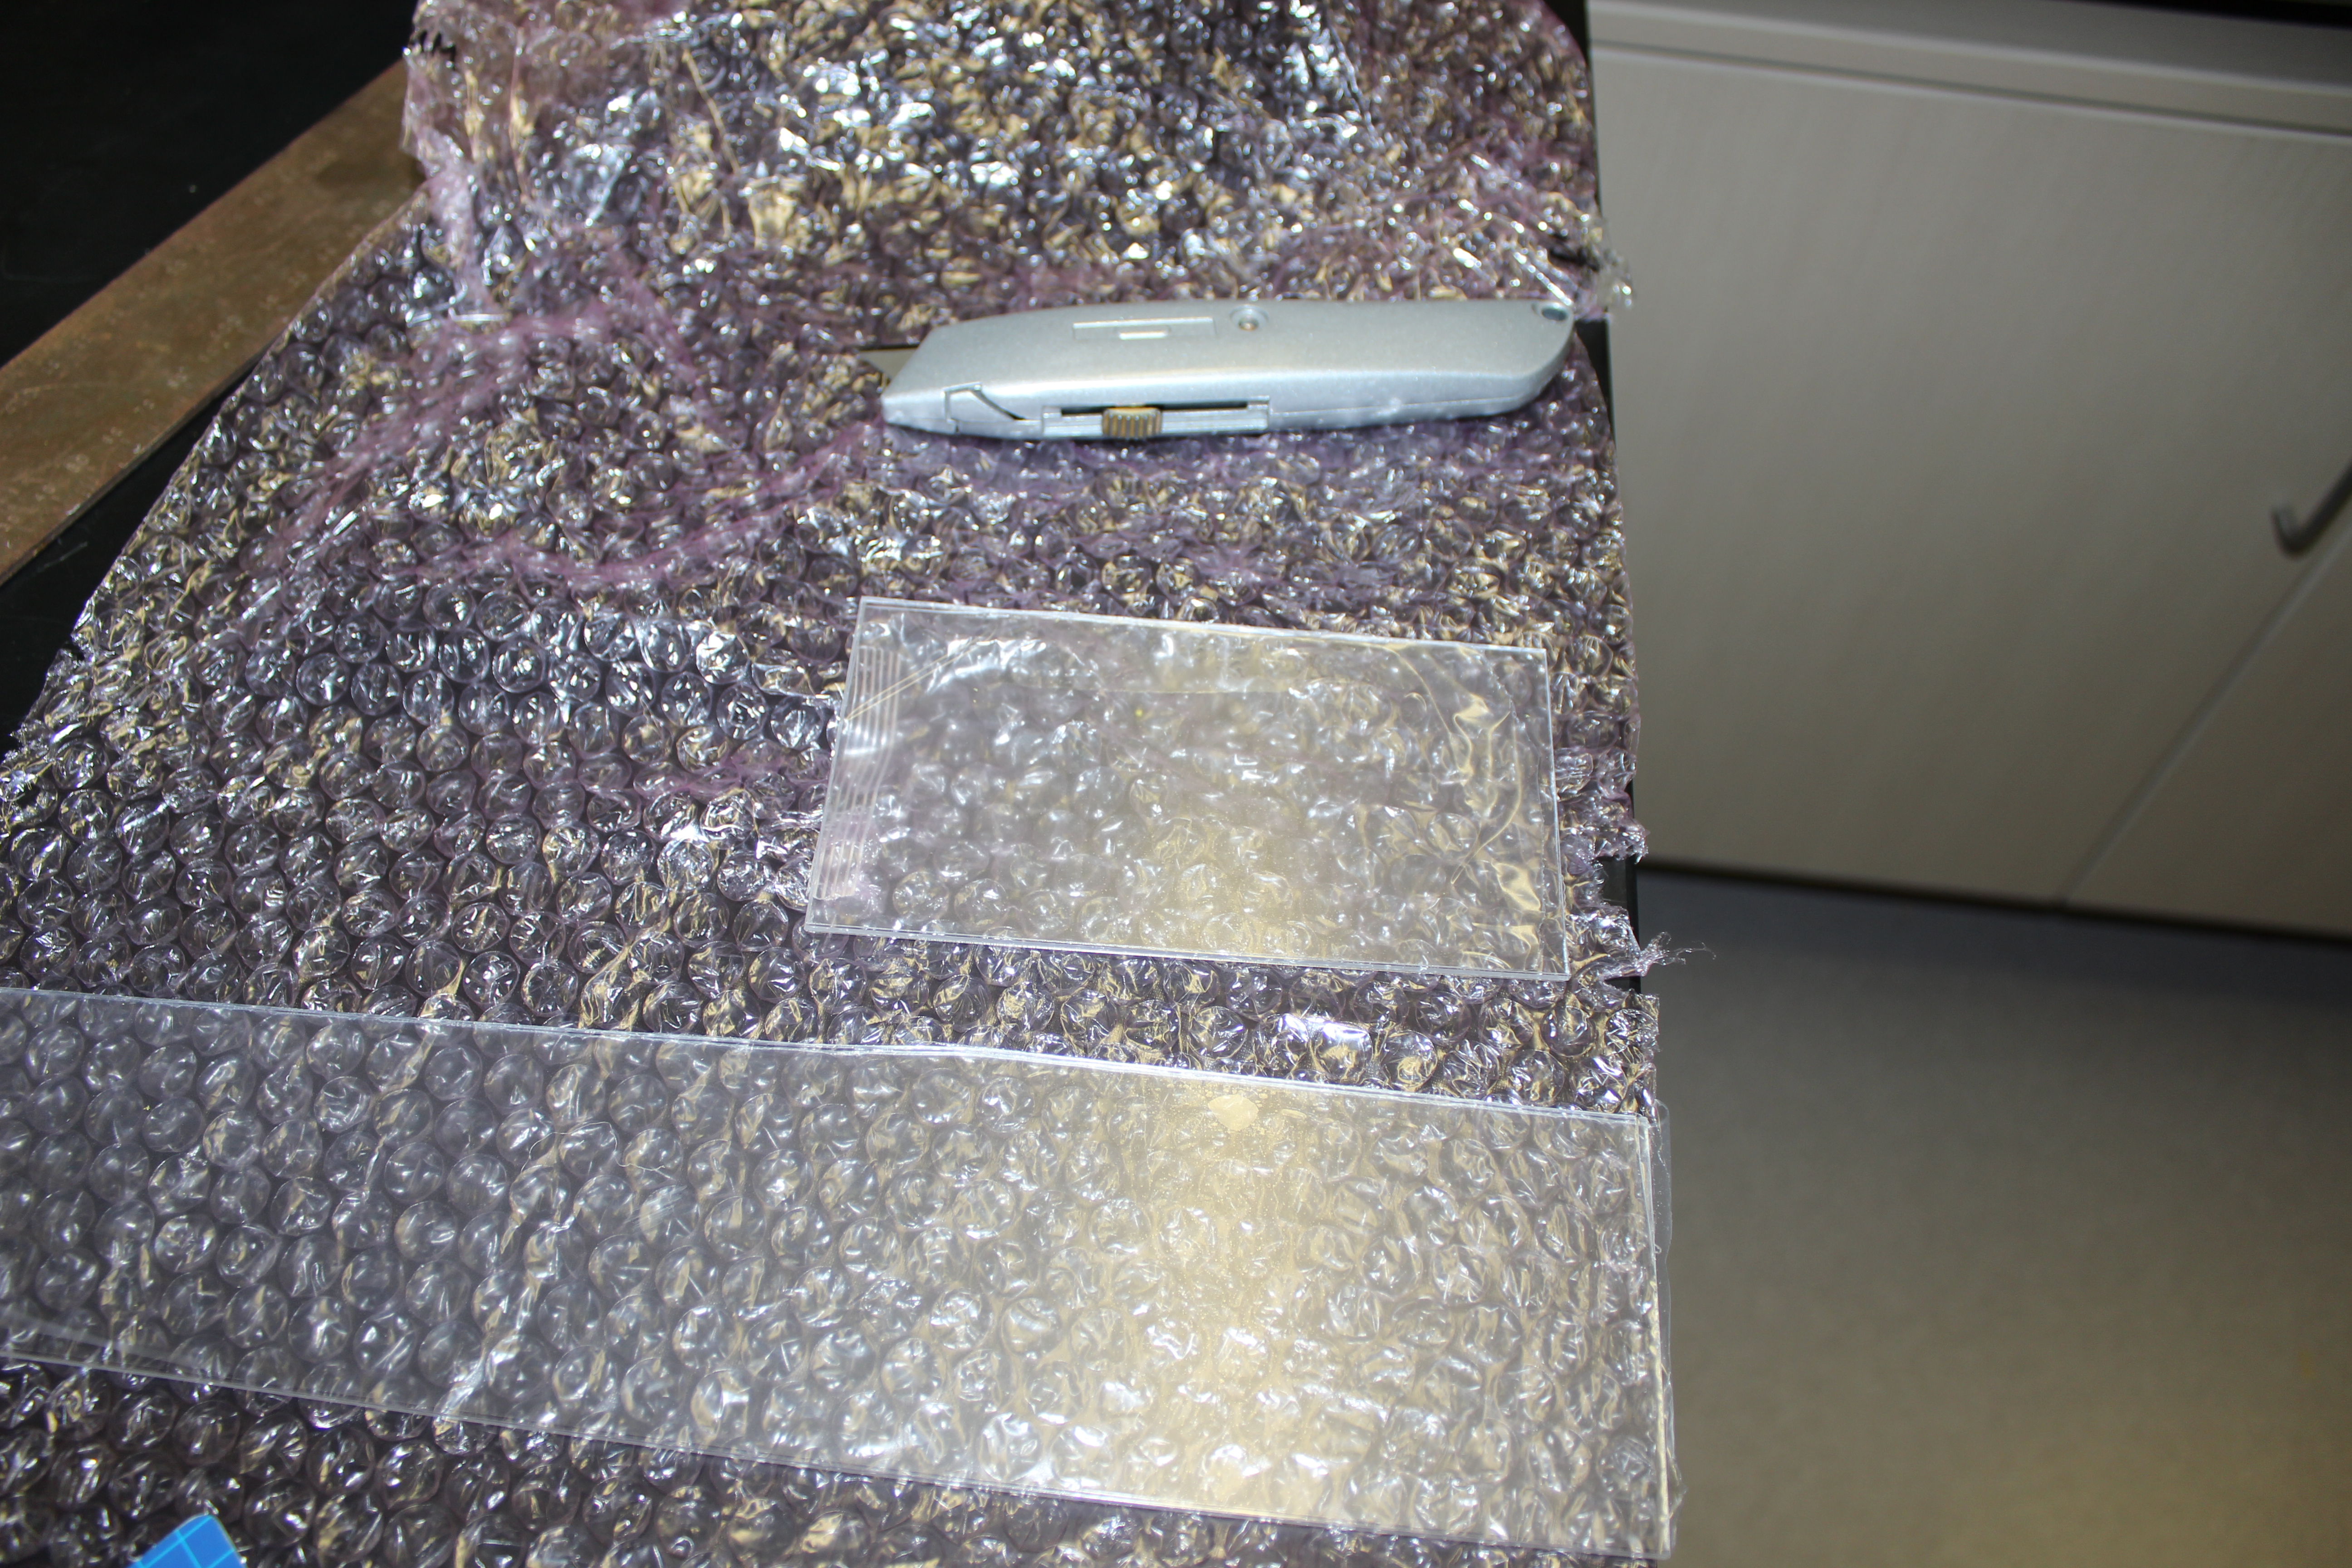
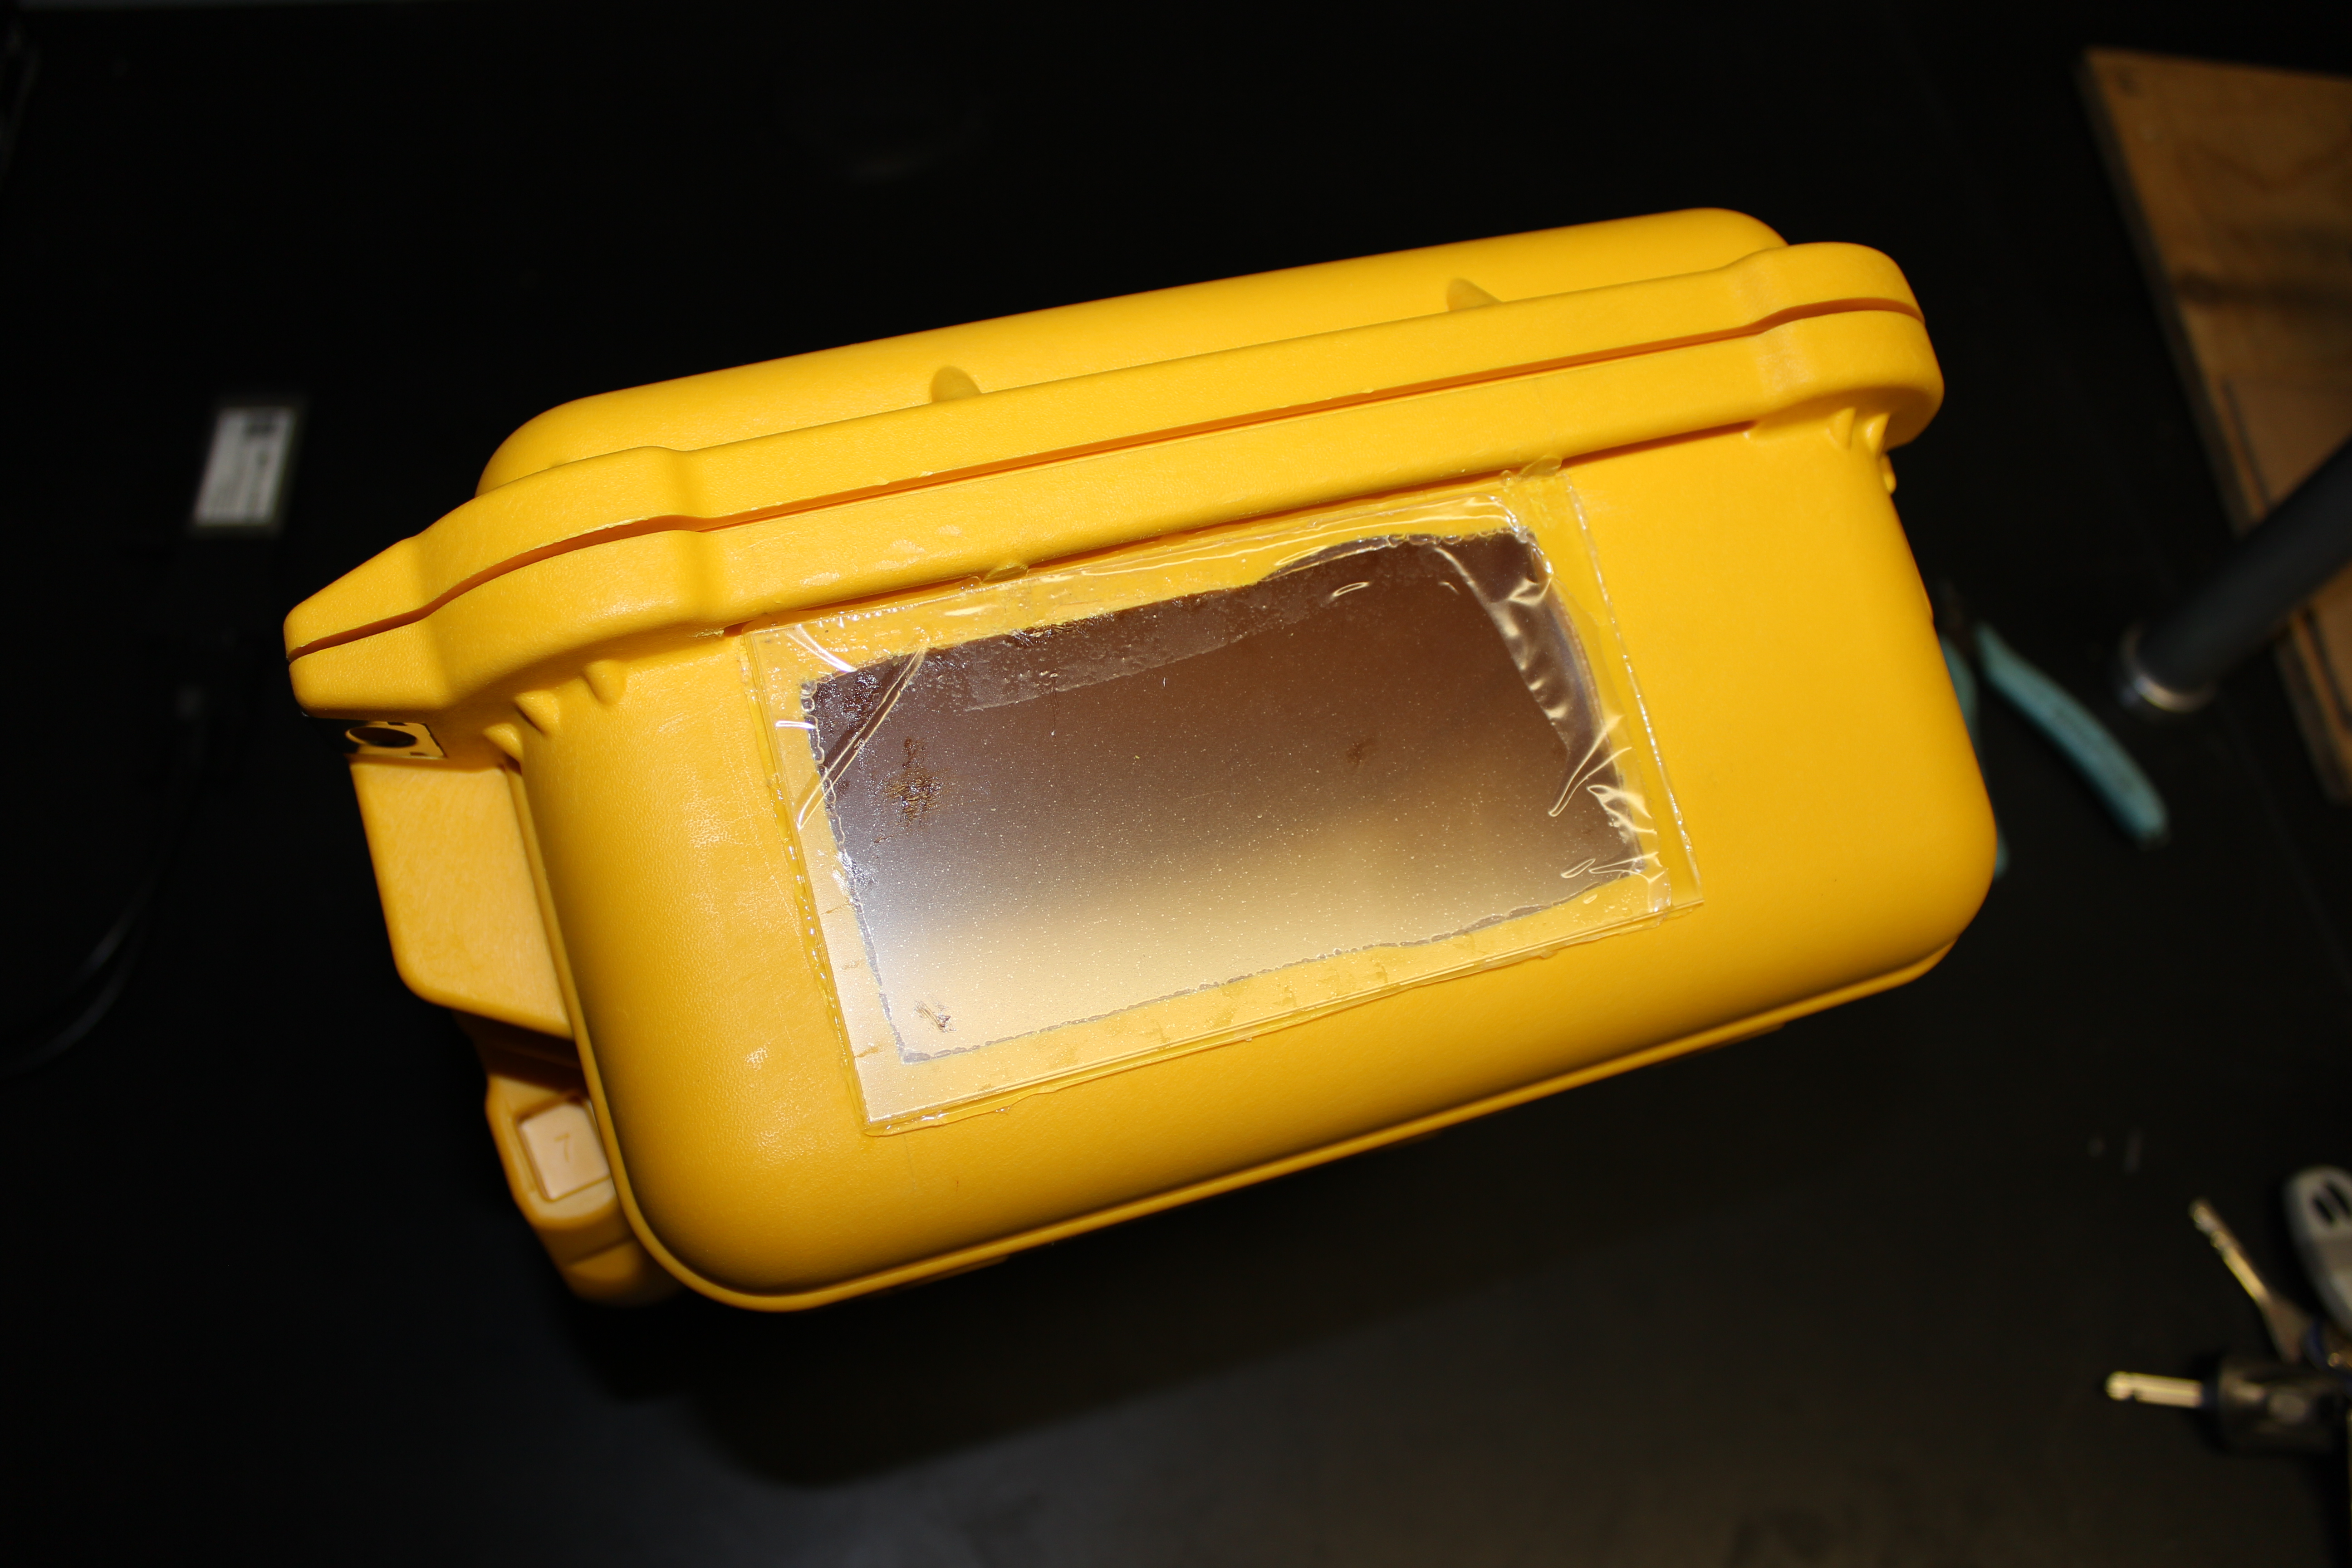
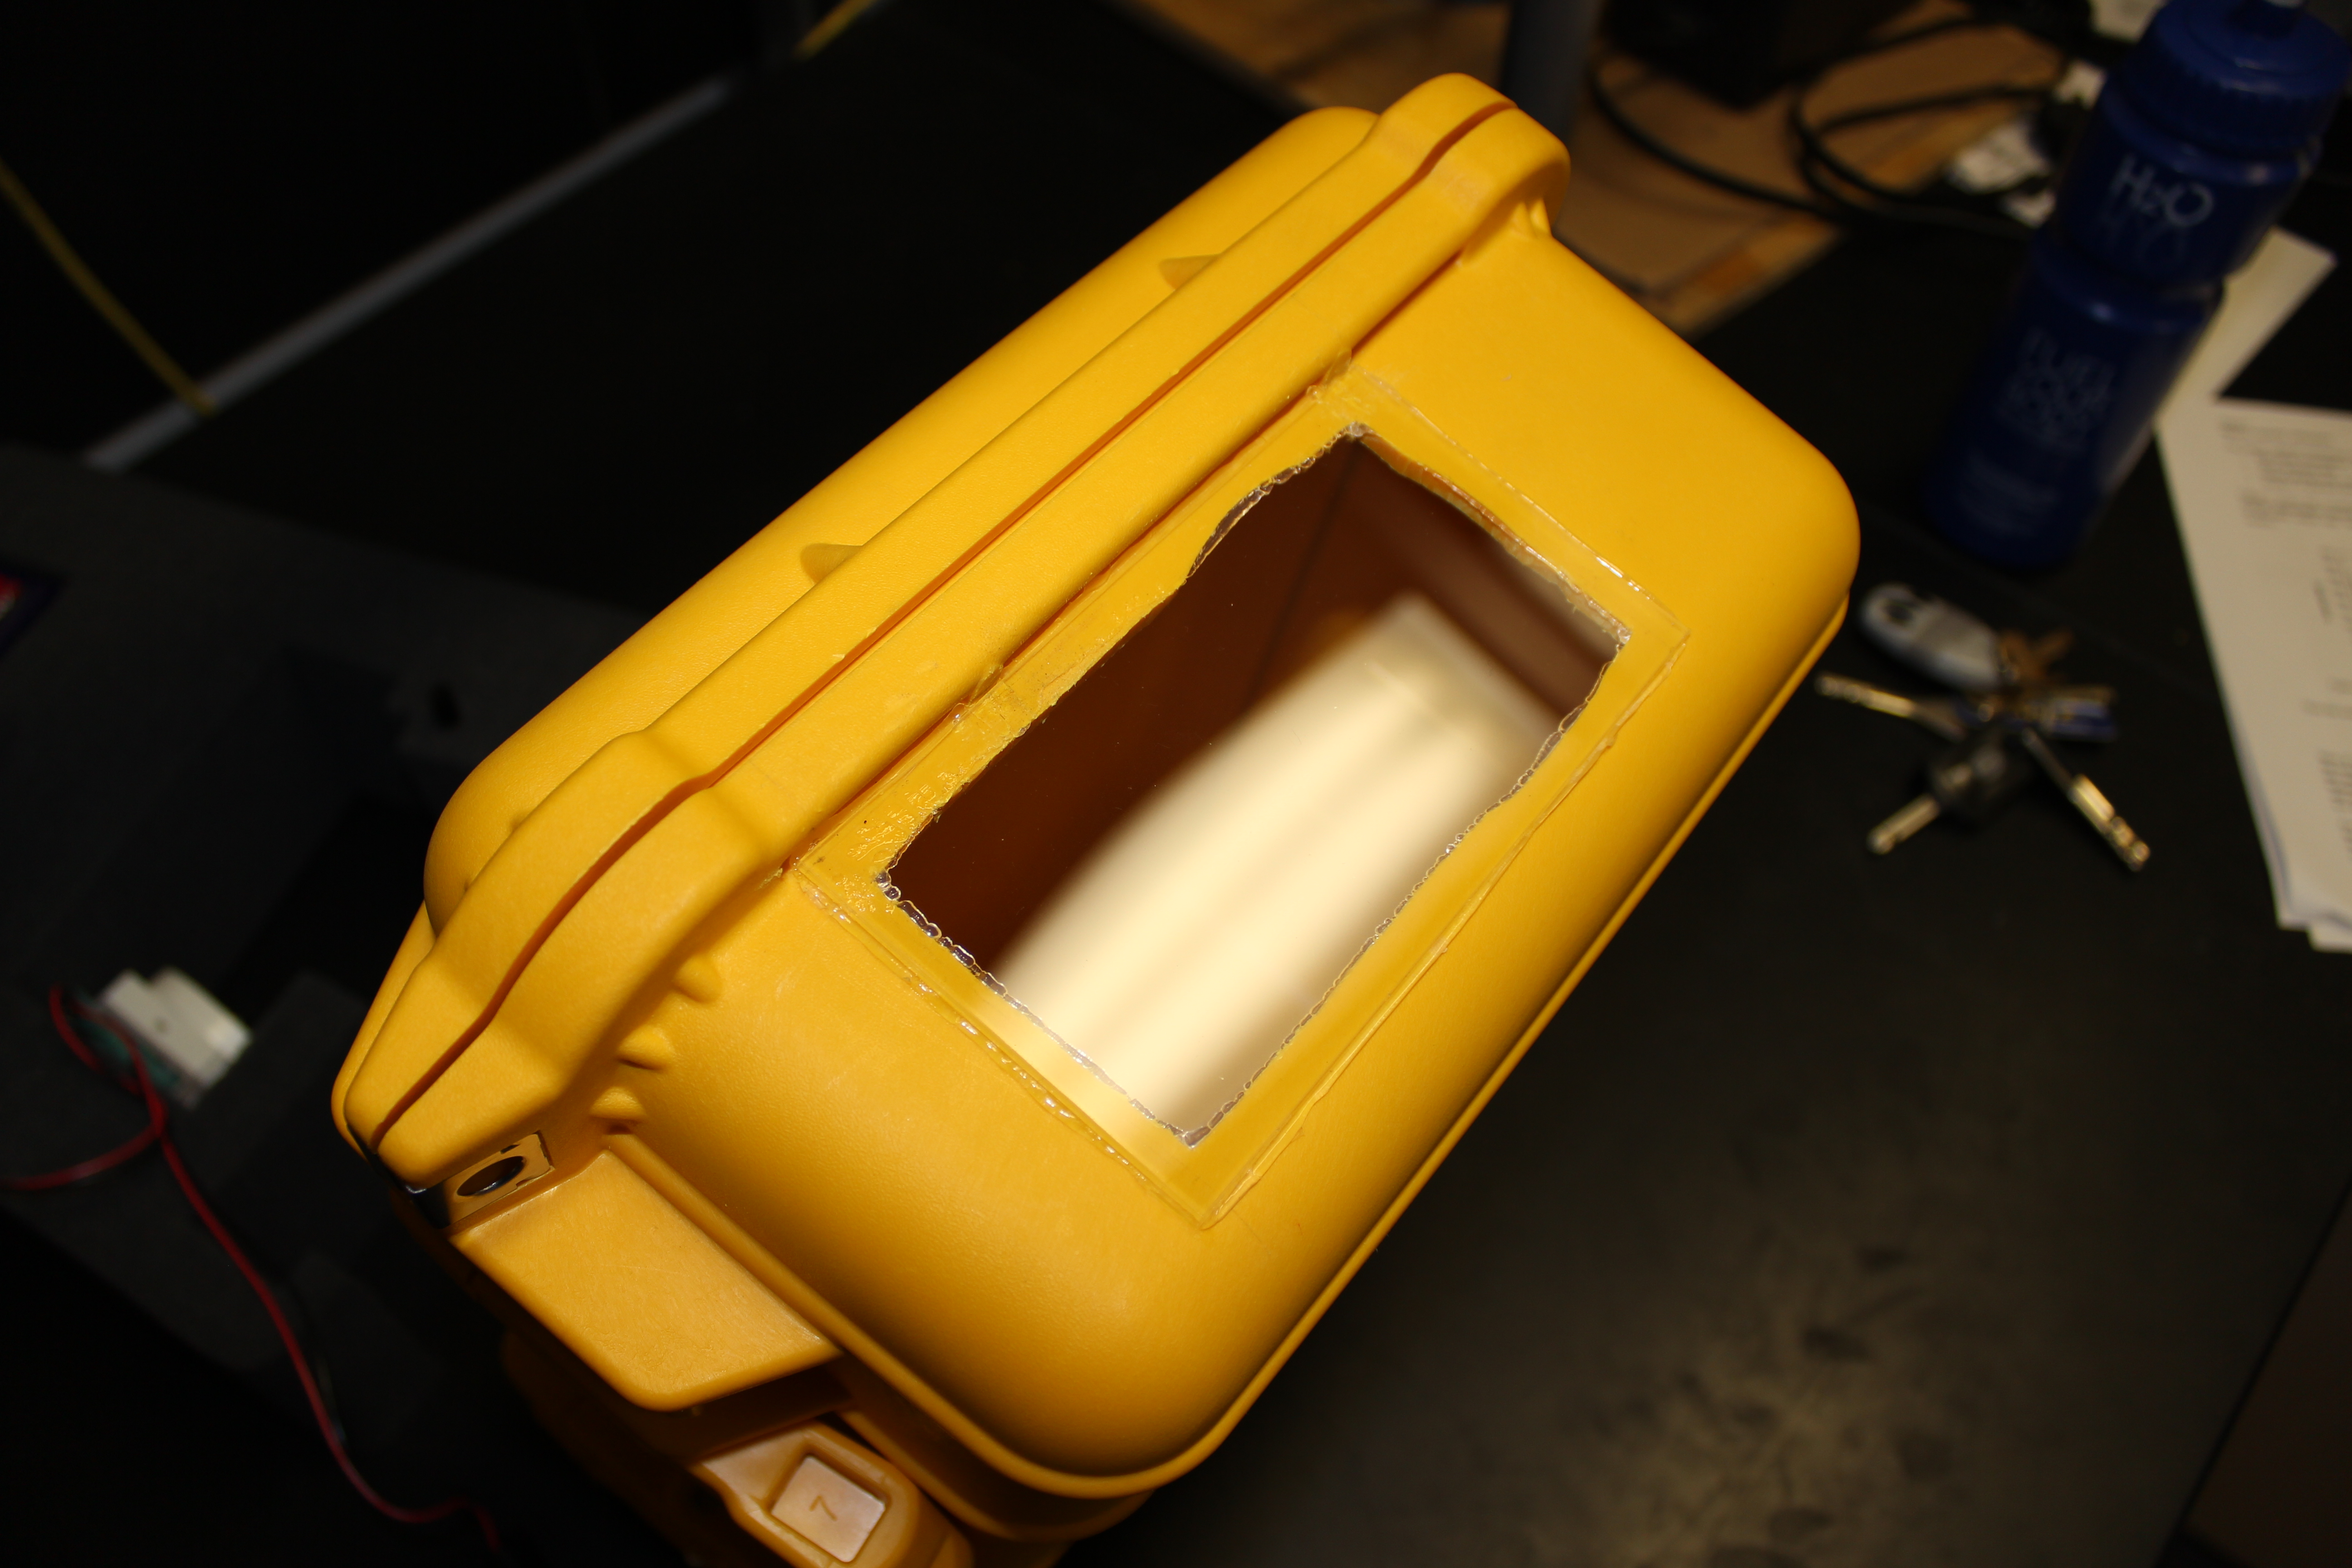
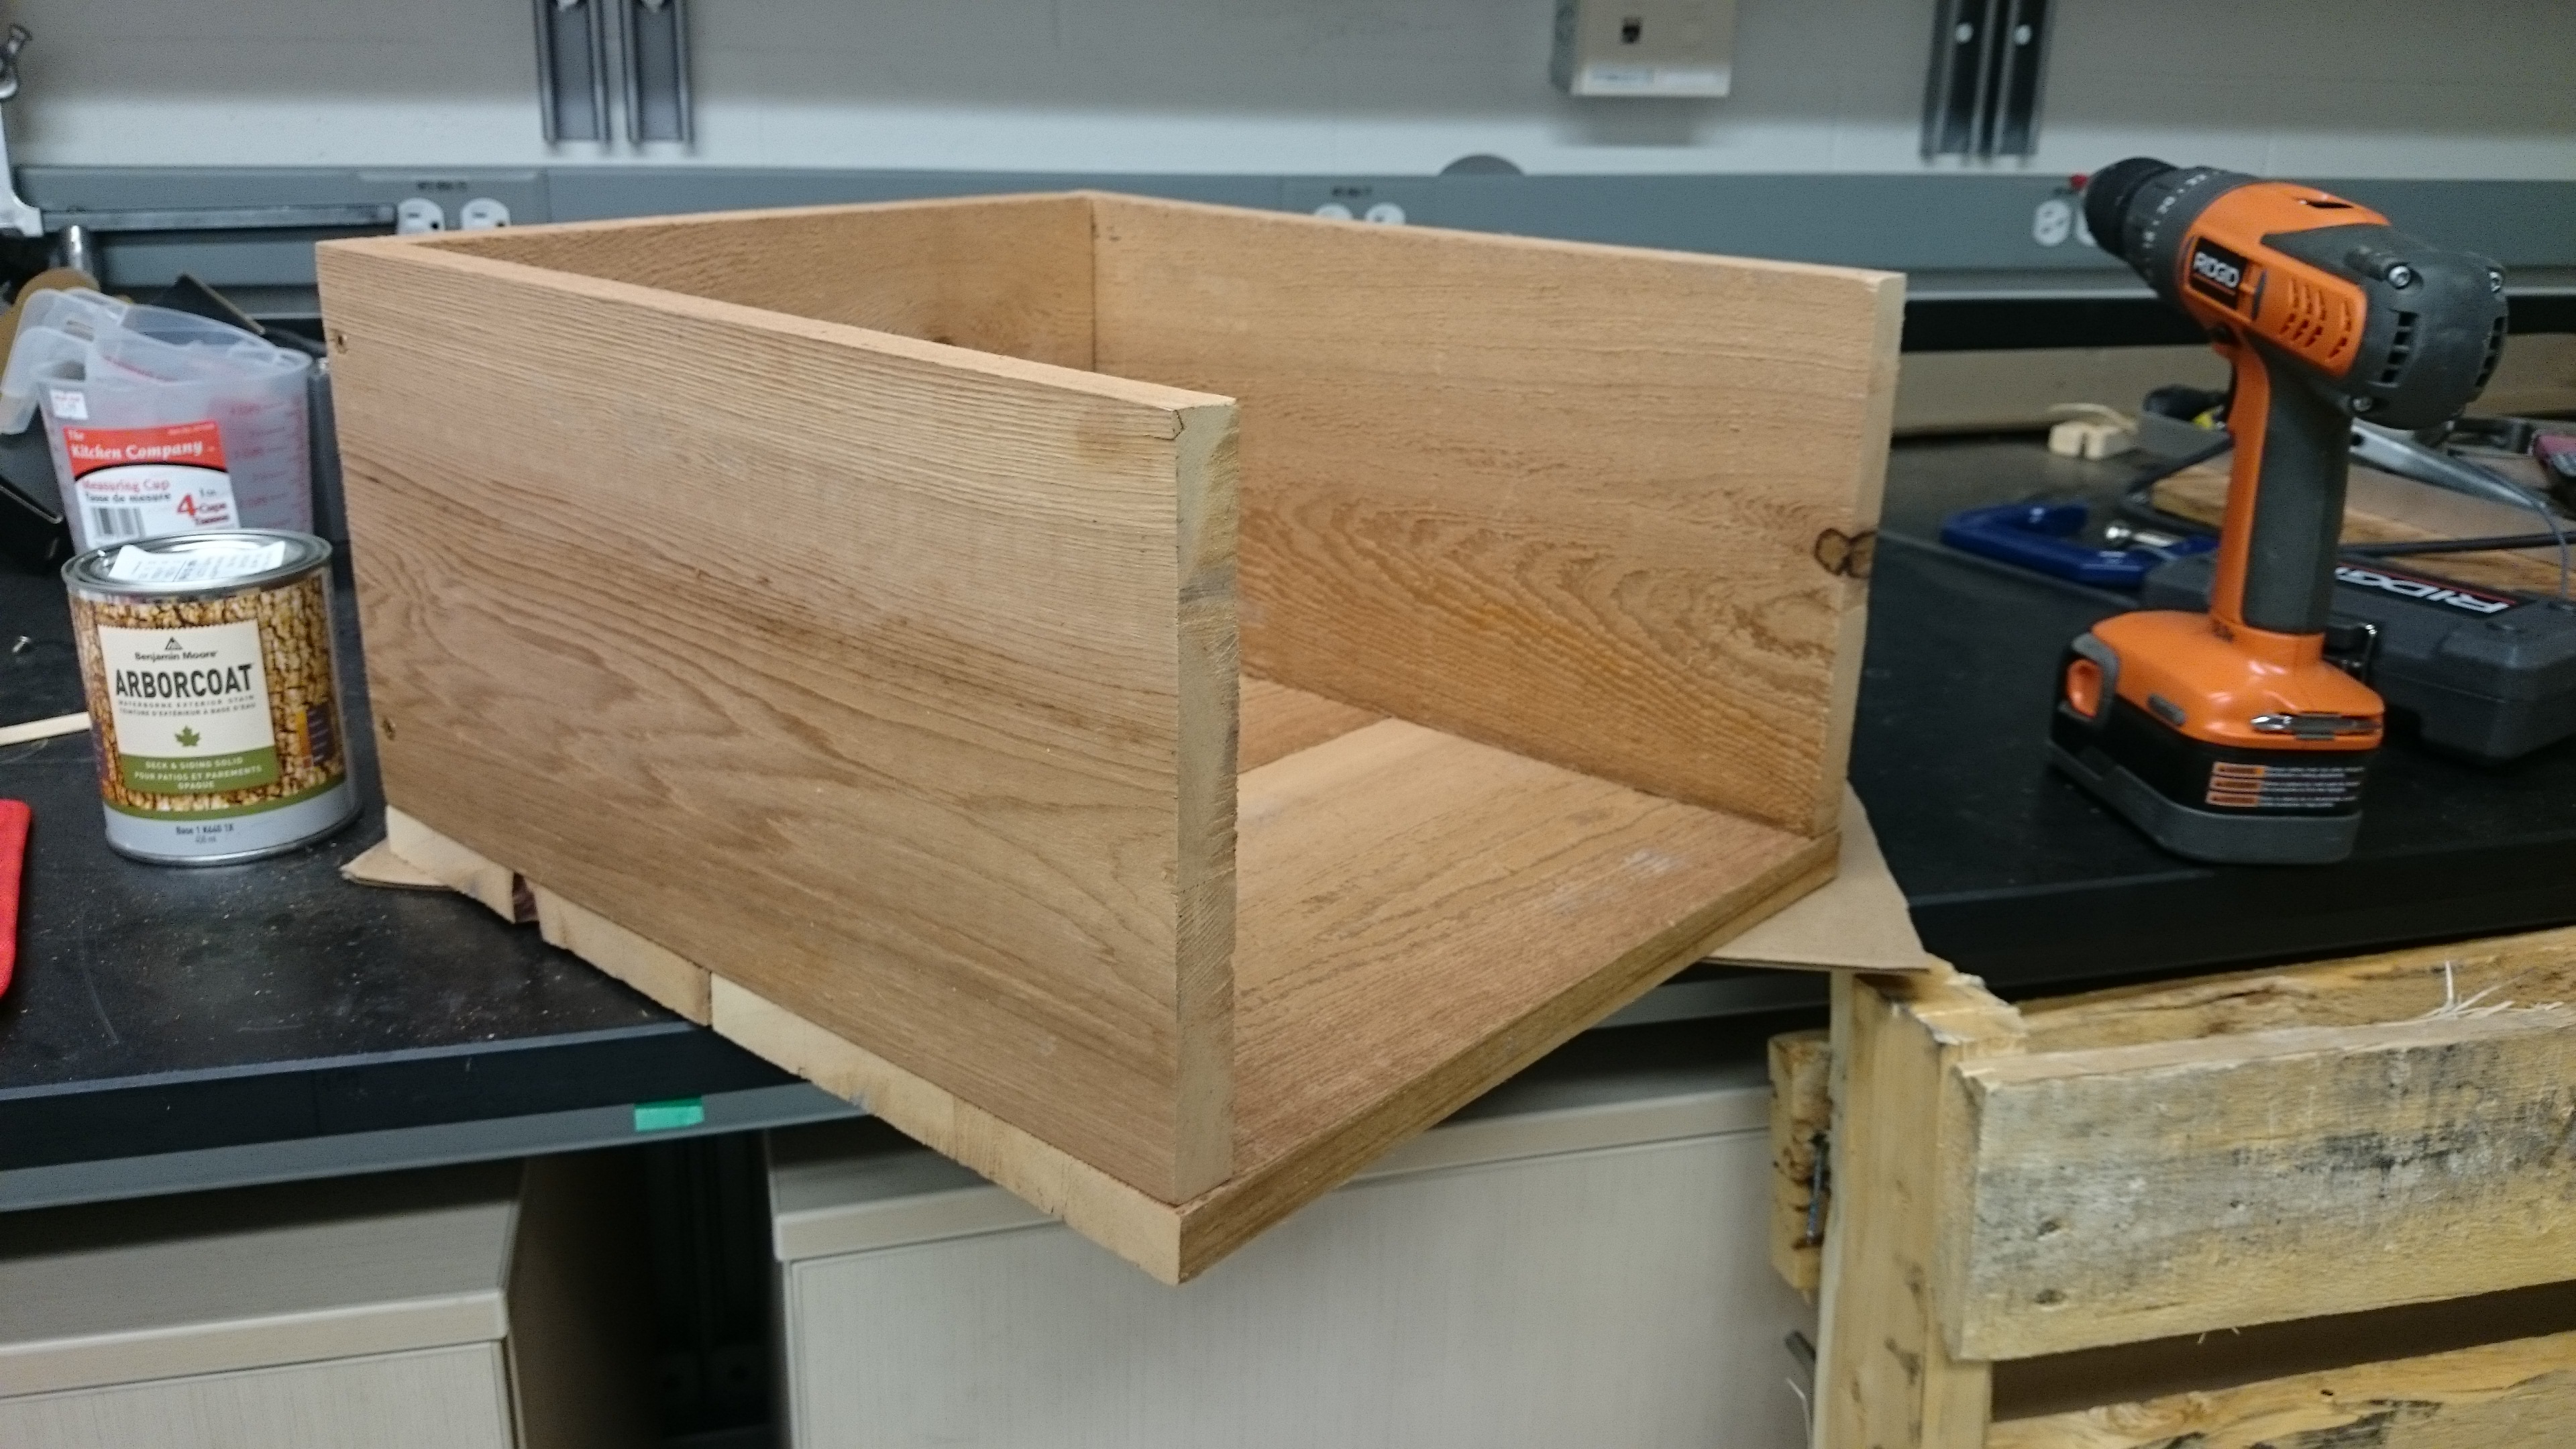
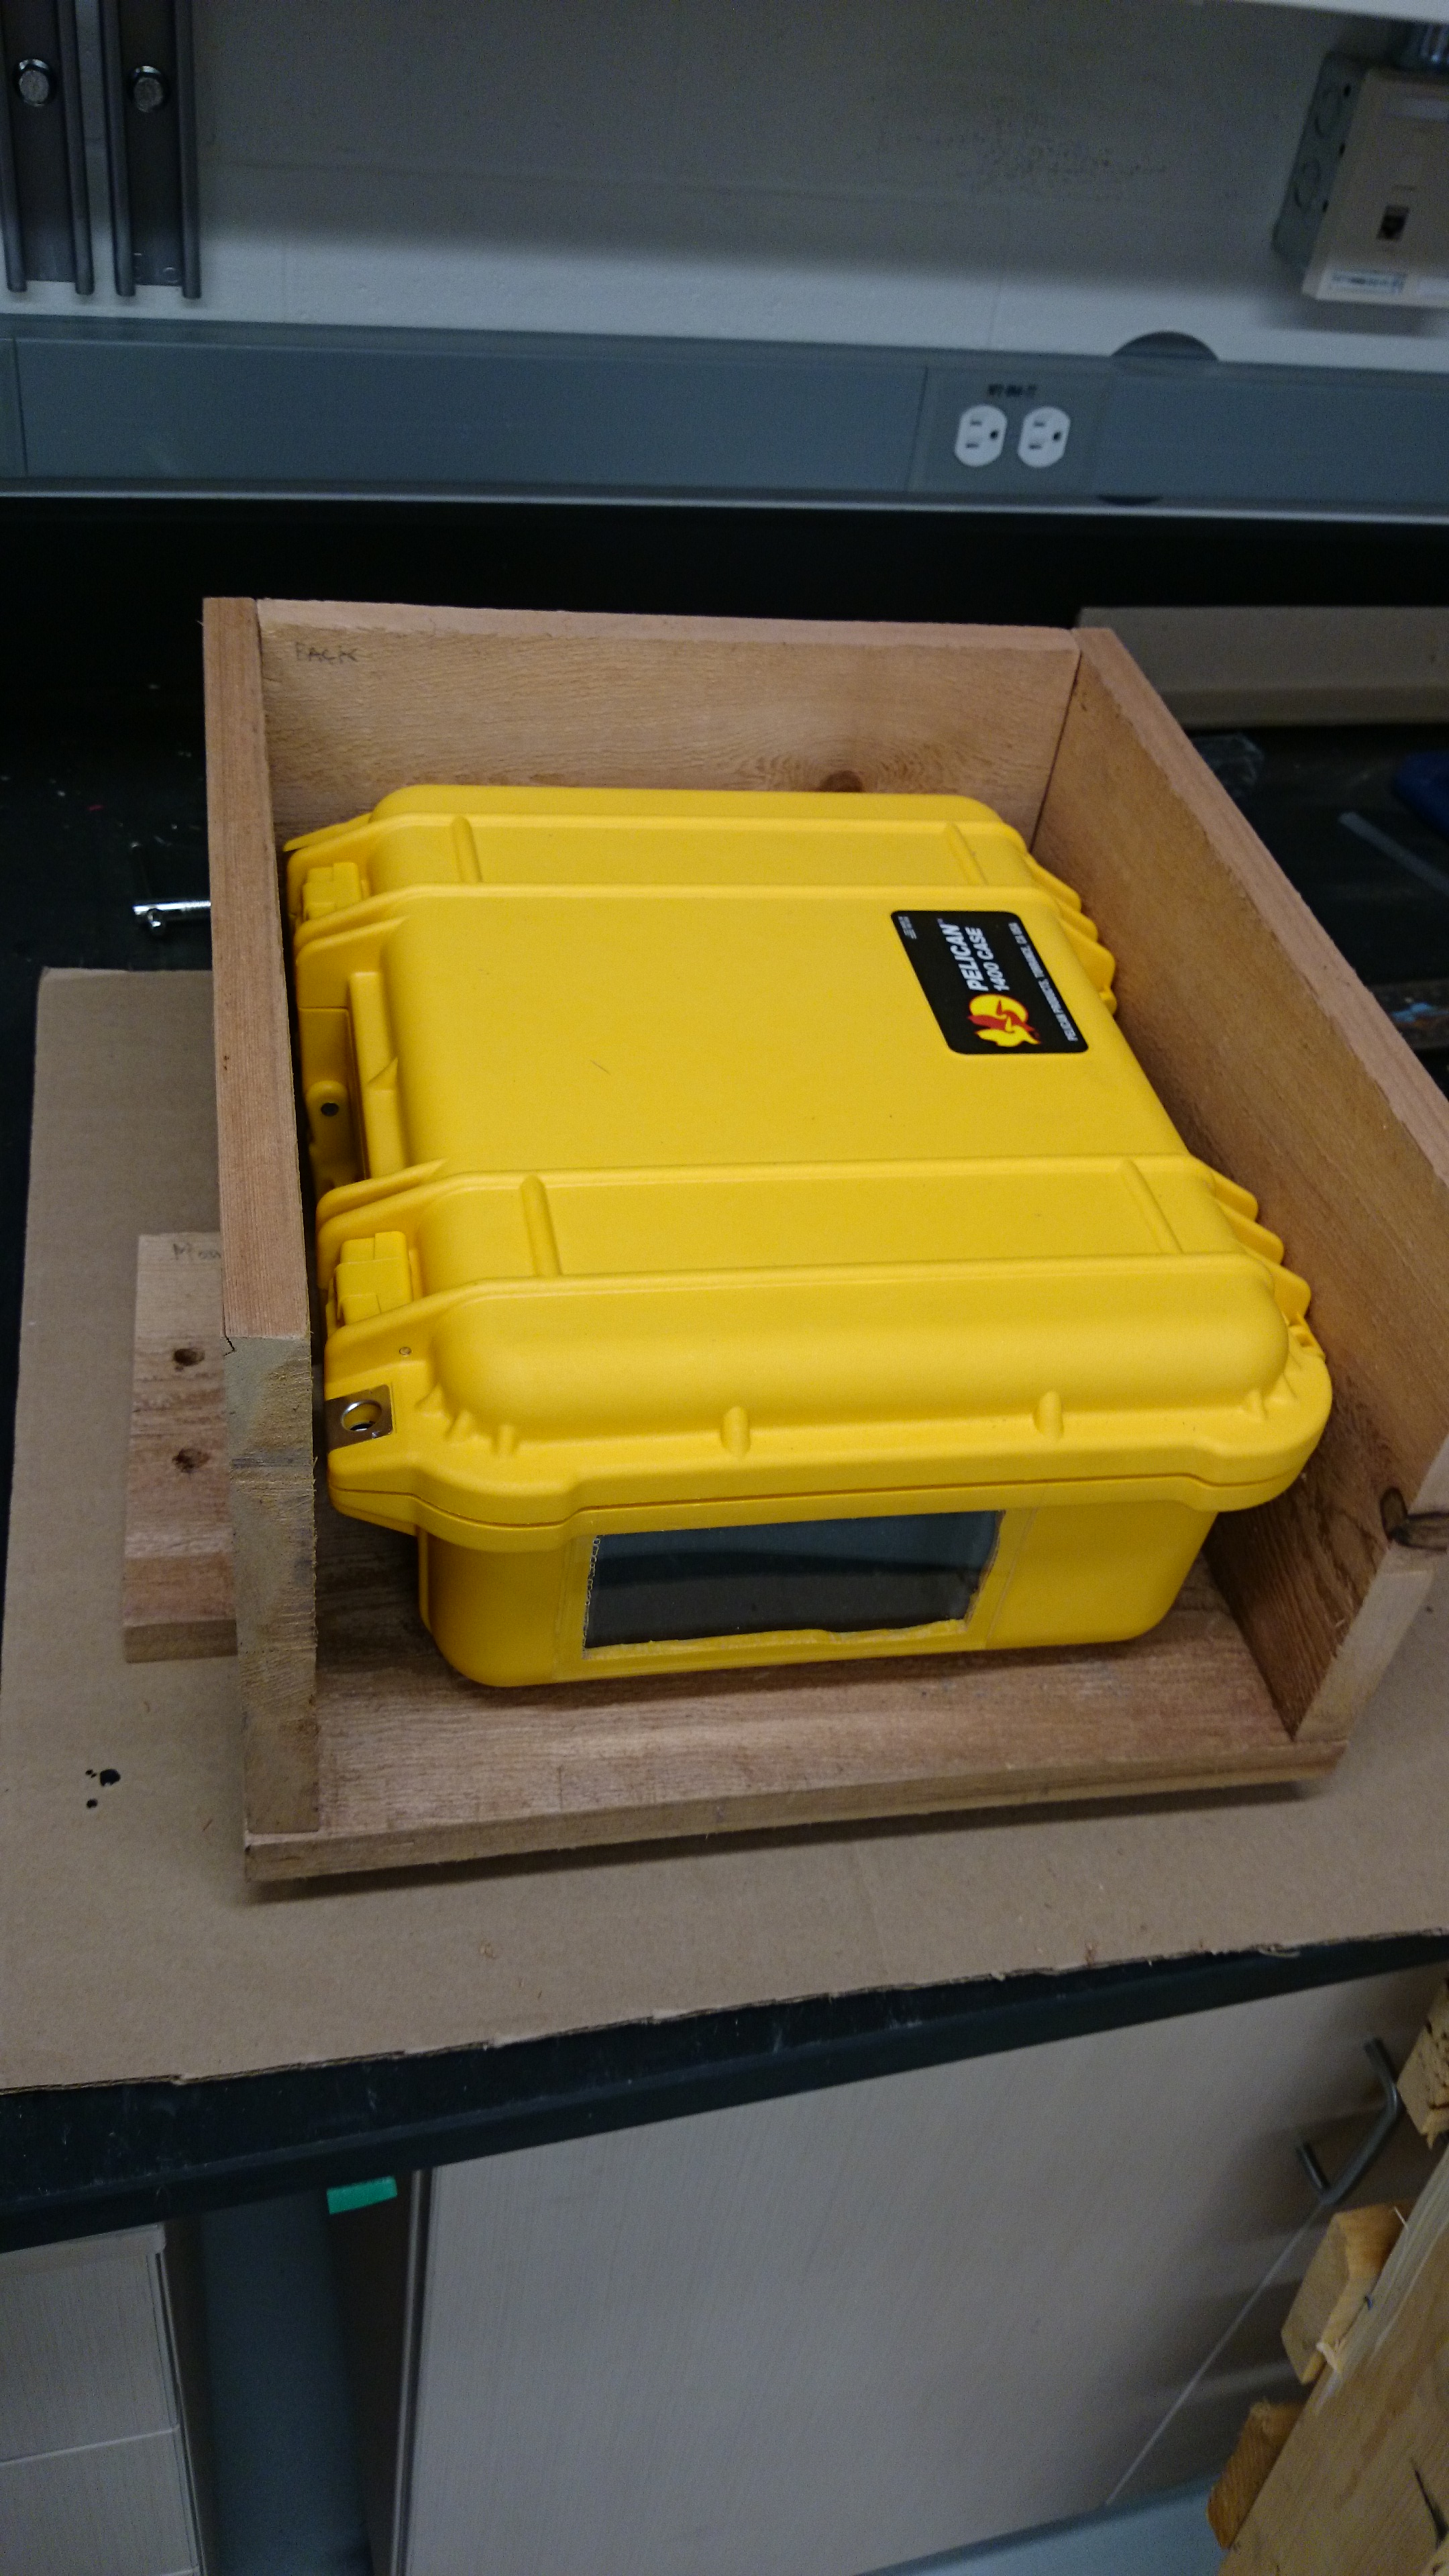
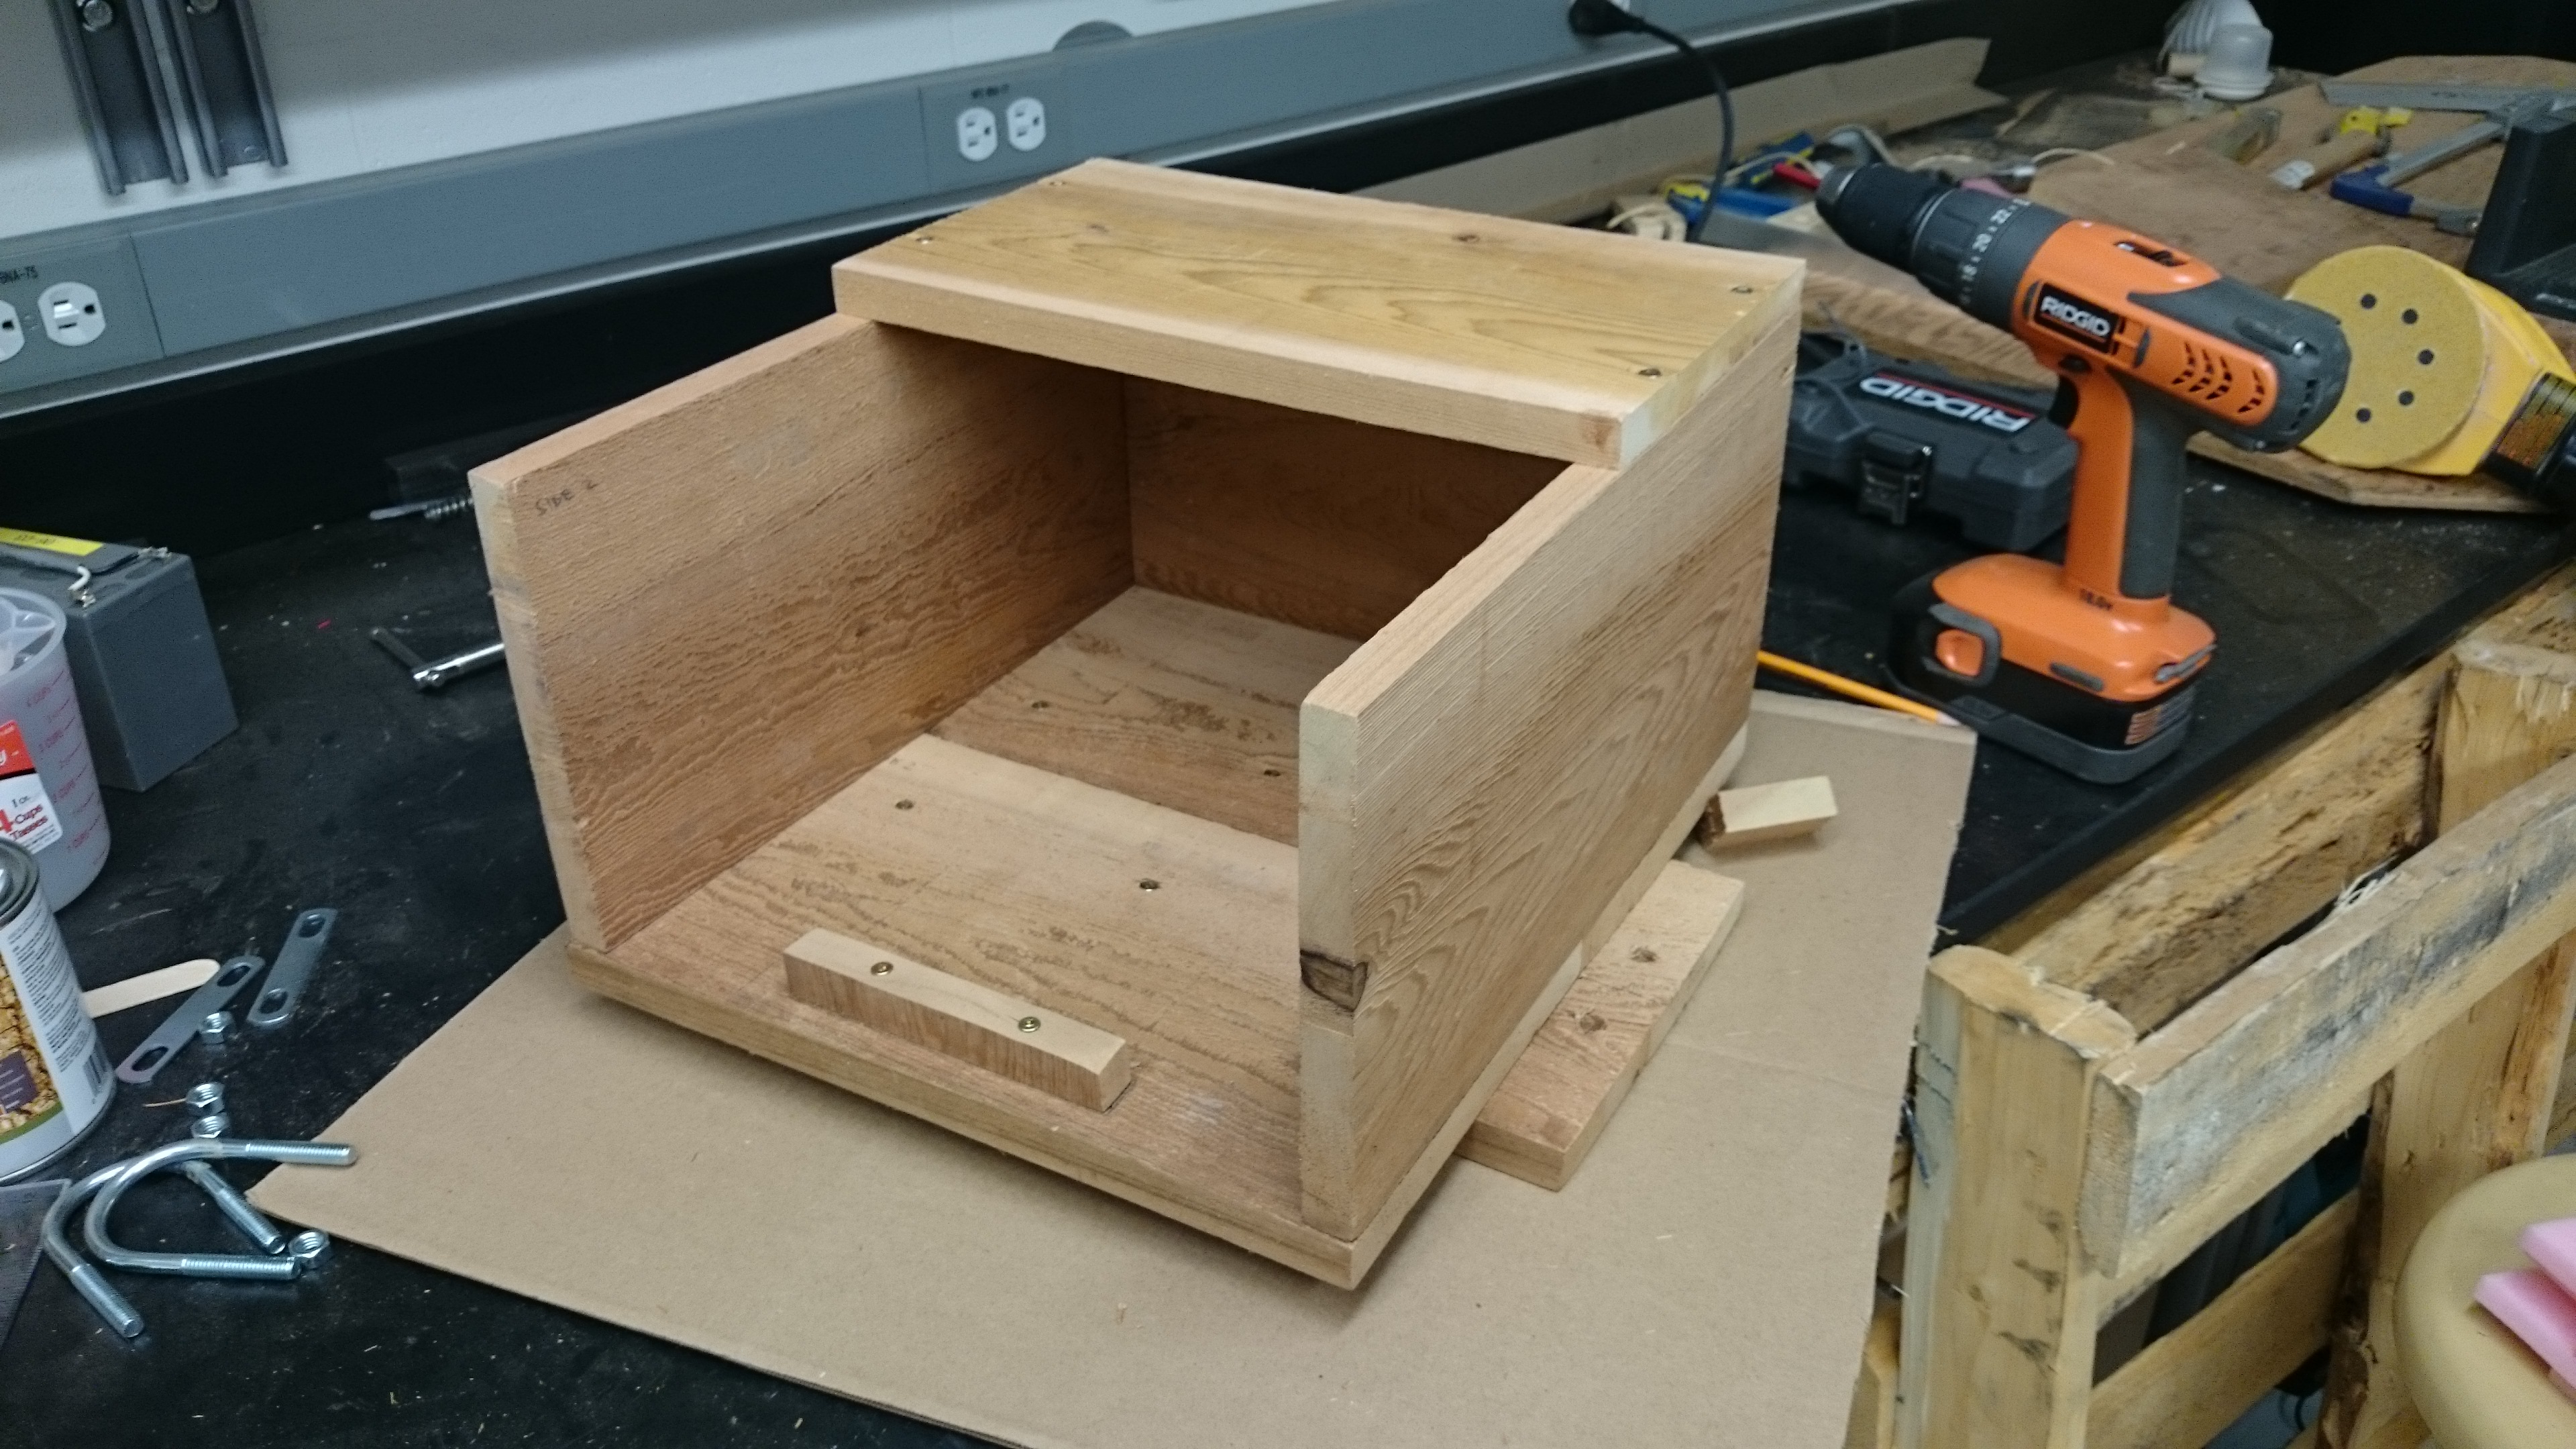
One of the more challenging aspects of last year’s campaign was ensuring the station remained powered throughout the summer. The nature of mountain weather means that persistent cloud can prevent a solar power system from providing enough energy to the sensors. In addition to doubling the number of stations this year, each station was fitted with a new, power hungry system for measuring turbulent air flow (an important mechanism for transferring heat between the atmosphere and glacier). The upshot is that a total of 12 large boat batteries and 4 solar panels are required this time in the hope of keeping everything beeping and recording over the season.

conrad_prep15_solar
Each station was fitted with two 140W solar panels.


conrad_prep15_peli
Modifying the Pelican cases. Each of these cases will house 3 large batteries for powering the stations.


conrad_prep15_lab_loaded
Packing up in the lab, on the night before departure.


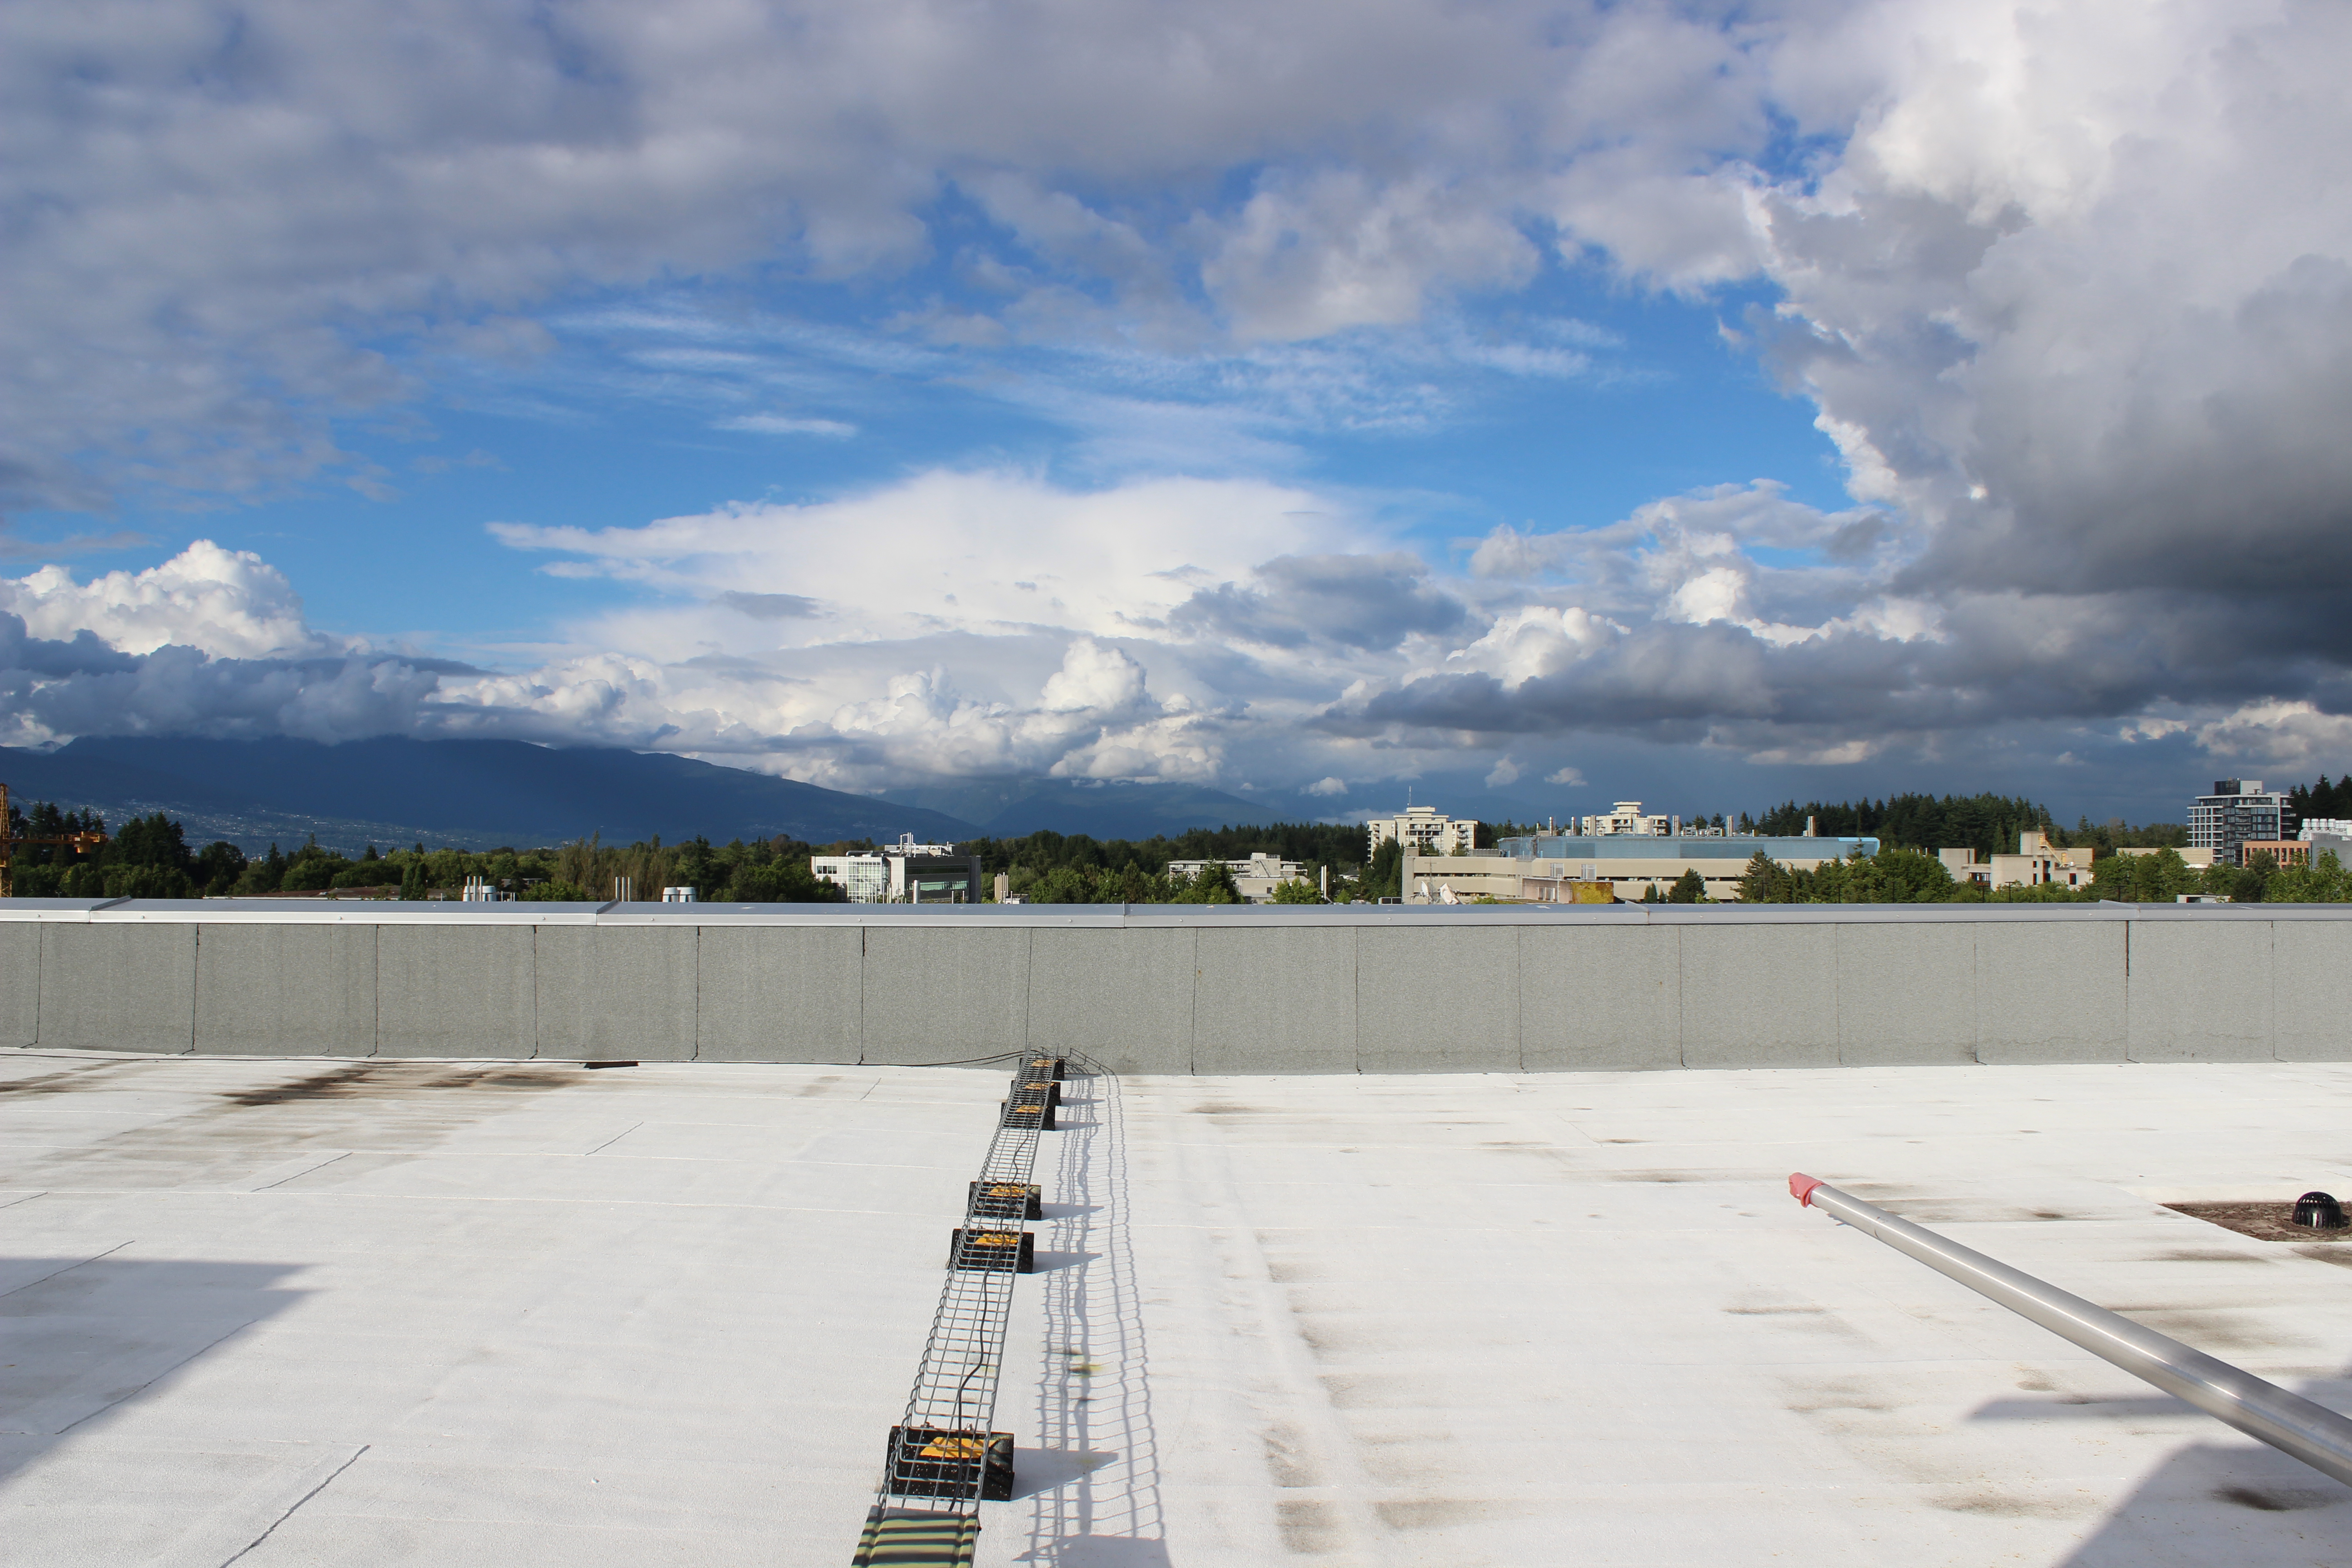
This year’s destination is Conrad Glacier, in  the Purcell Mountains of British Columbia. I had visited Conrad at the end of last season to scout it out as a potential research site. Aside from its scientific merits, it is a beautiful part of the world; flanked by snow covered peaks, with forested valleys below and miles without engines. Named after Conrad Kain, a pioneering Austrian mountaineer who unlocked several first ascents  in this area, the glacier is one of many in this region at risk of total disappearance.  A recent study has forecast a 70% loss of BC’s glaciers this century, with almost total deglaciation in this region. Apart from global consequences to sea level rise, the loss of a glacier is the loss of a large water reservoir, putting pressure on ecosystems and communities (who use the water for drinking, irrigation, and hydro-power) during dry periods like we’ve had here this summer.

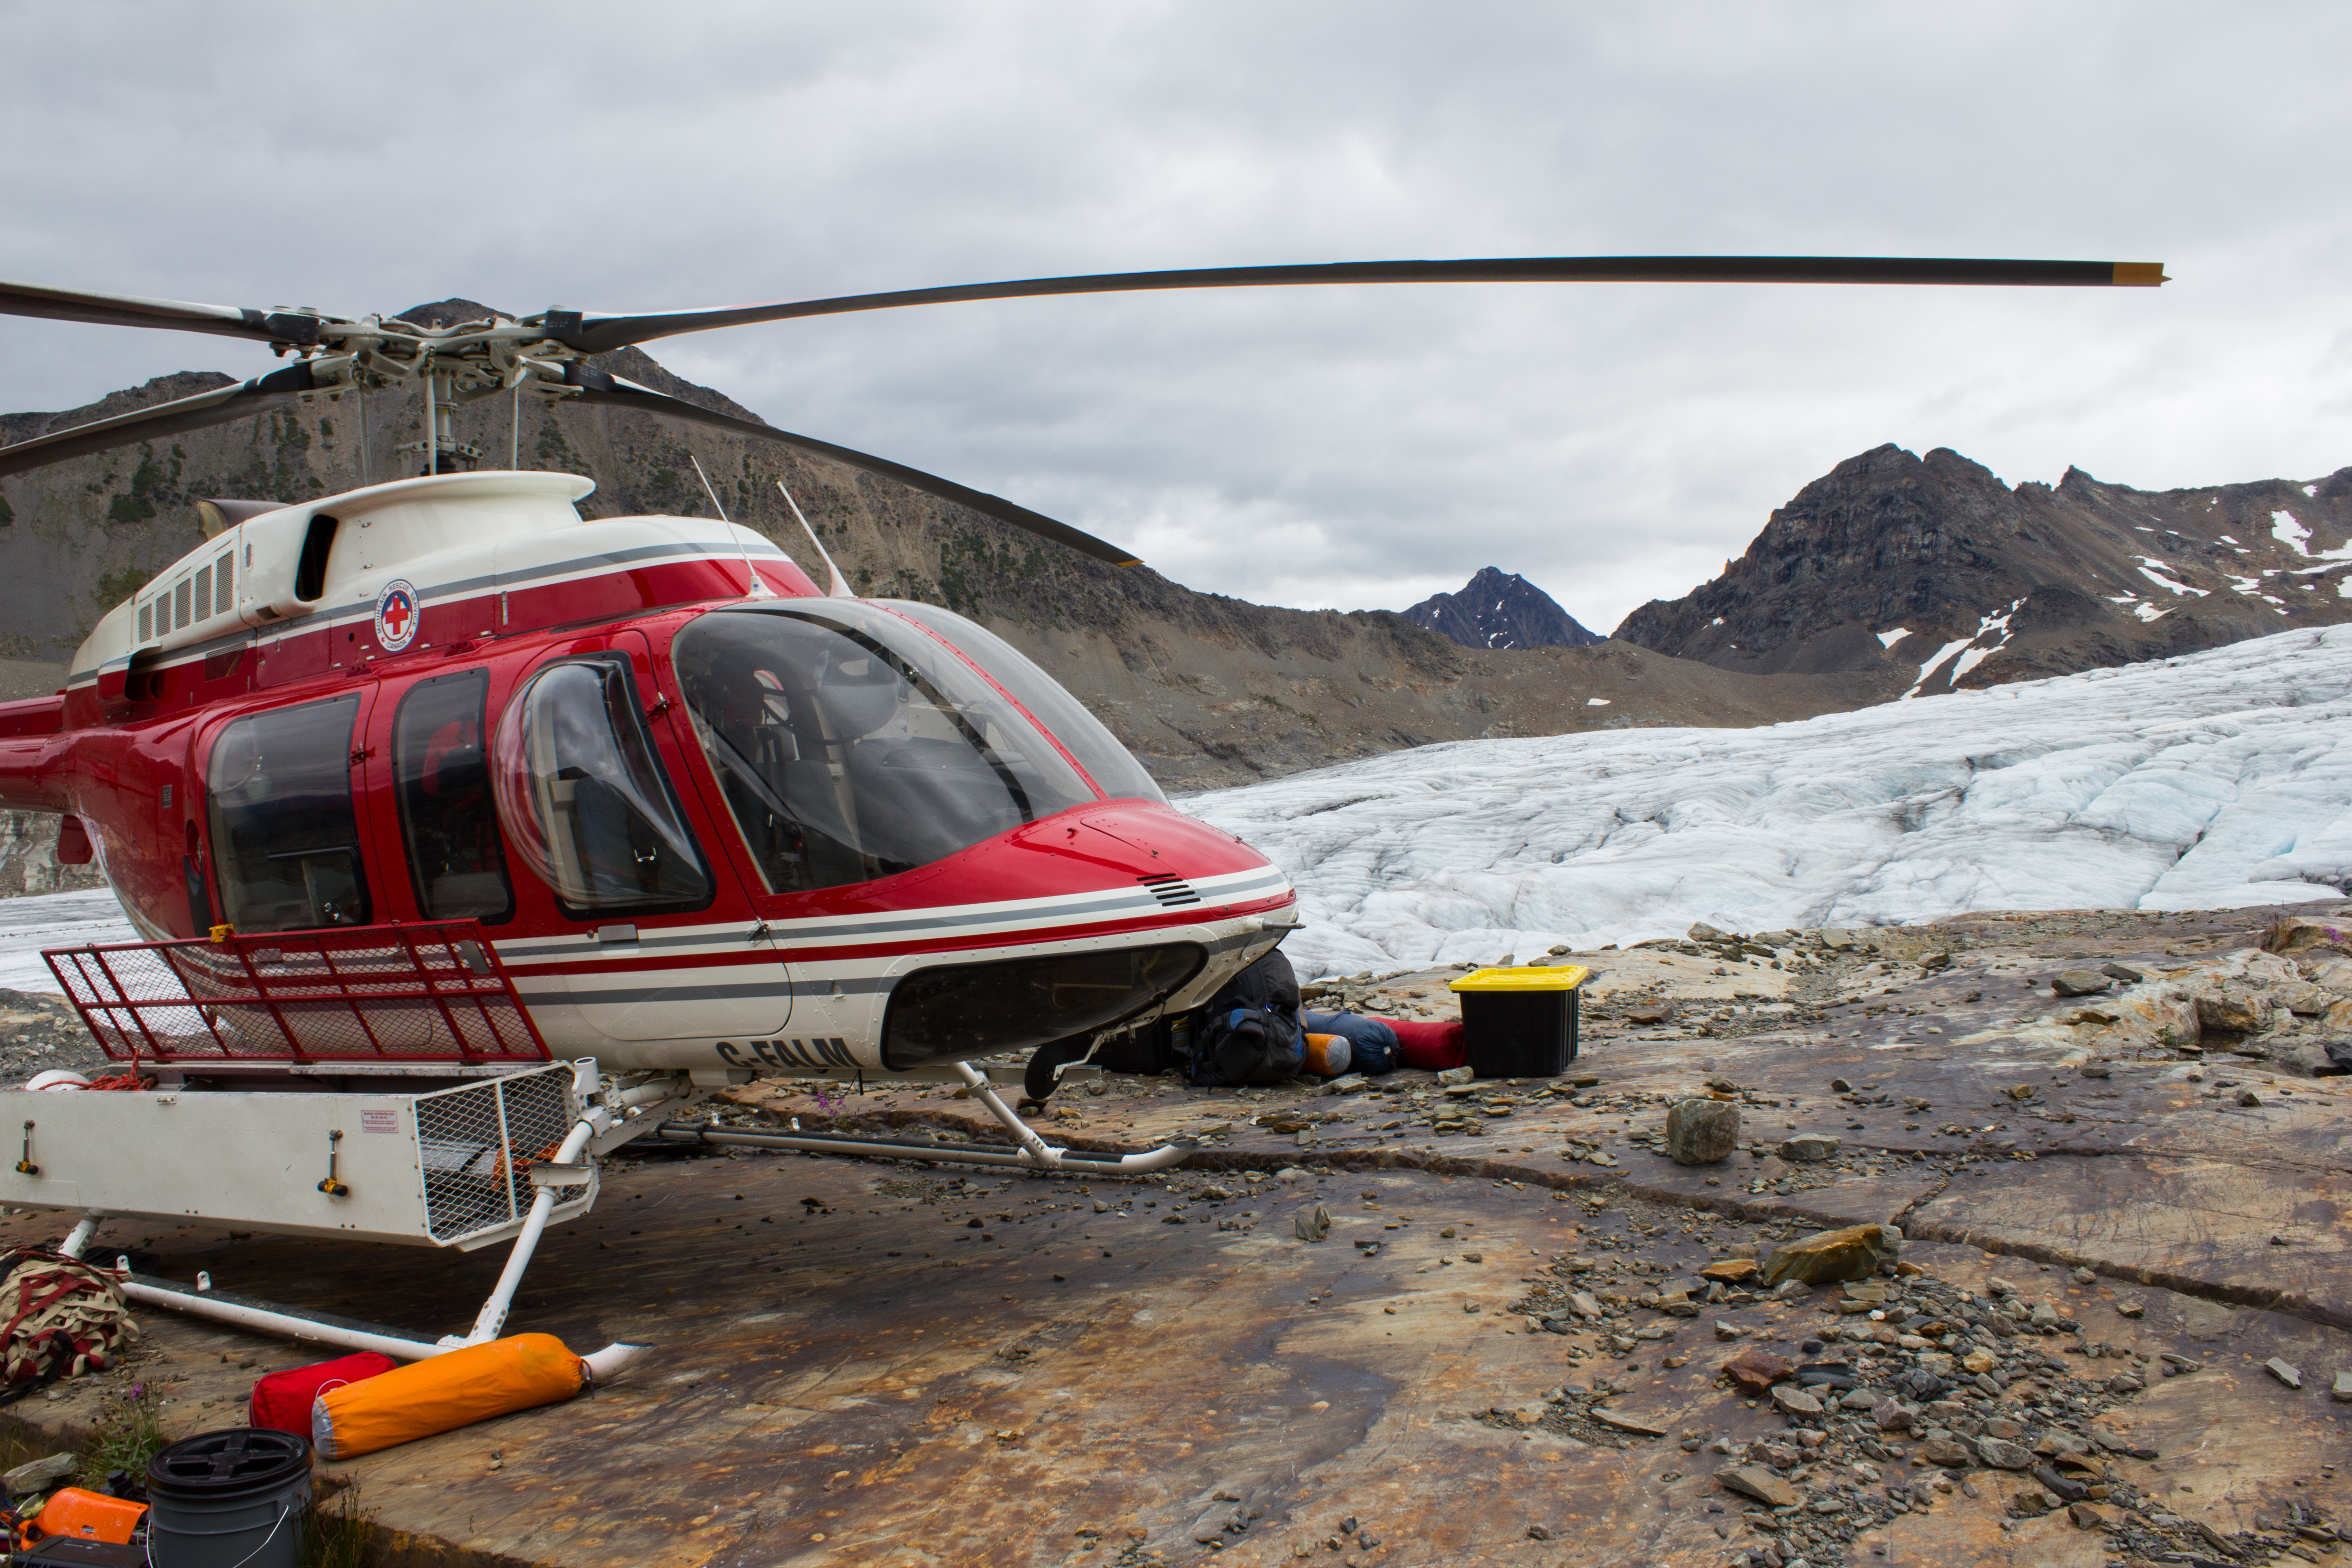
Being just a short journey south from last year’s glacier (Nordic), we would again base ourselves in the town of Golden prior to our flight into the mountains. After spending a day on the always spectacular drive from Vancouver to Golden, Valentina and I met up with Ben, a glaciologist from the University of Northern British Columbia (UNBC) who would be joining us. Over some excellent burgers, we also had the chance to catch up with Tannis and Steve, friends of ours who run a ski lodge in the area, and have been consistently helpful. The plan for the next day was to drive to a staging area in the foothills to the south of Golden, and get all our gear into the mountains in as few chopper loads as possible (with thanks as always to Steve for his expertise on this).

conrad_prep15_van
A van-load of science: hitting the road for Golden, BC.


conrad_july15_staging_1
At the staging site, waiting for the helicopter to take us to the glacier, with Steve, Ben, and Valentina.


conrad_july15_staging_2
Still waiting


Conrad_clearing_snowstorm
Summer snow storm, clearing over Conrad Glacier


conrad_july15_heli_load_noel
Directing in the first sling load for station 1 (photo credit: Ben Pelto)


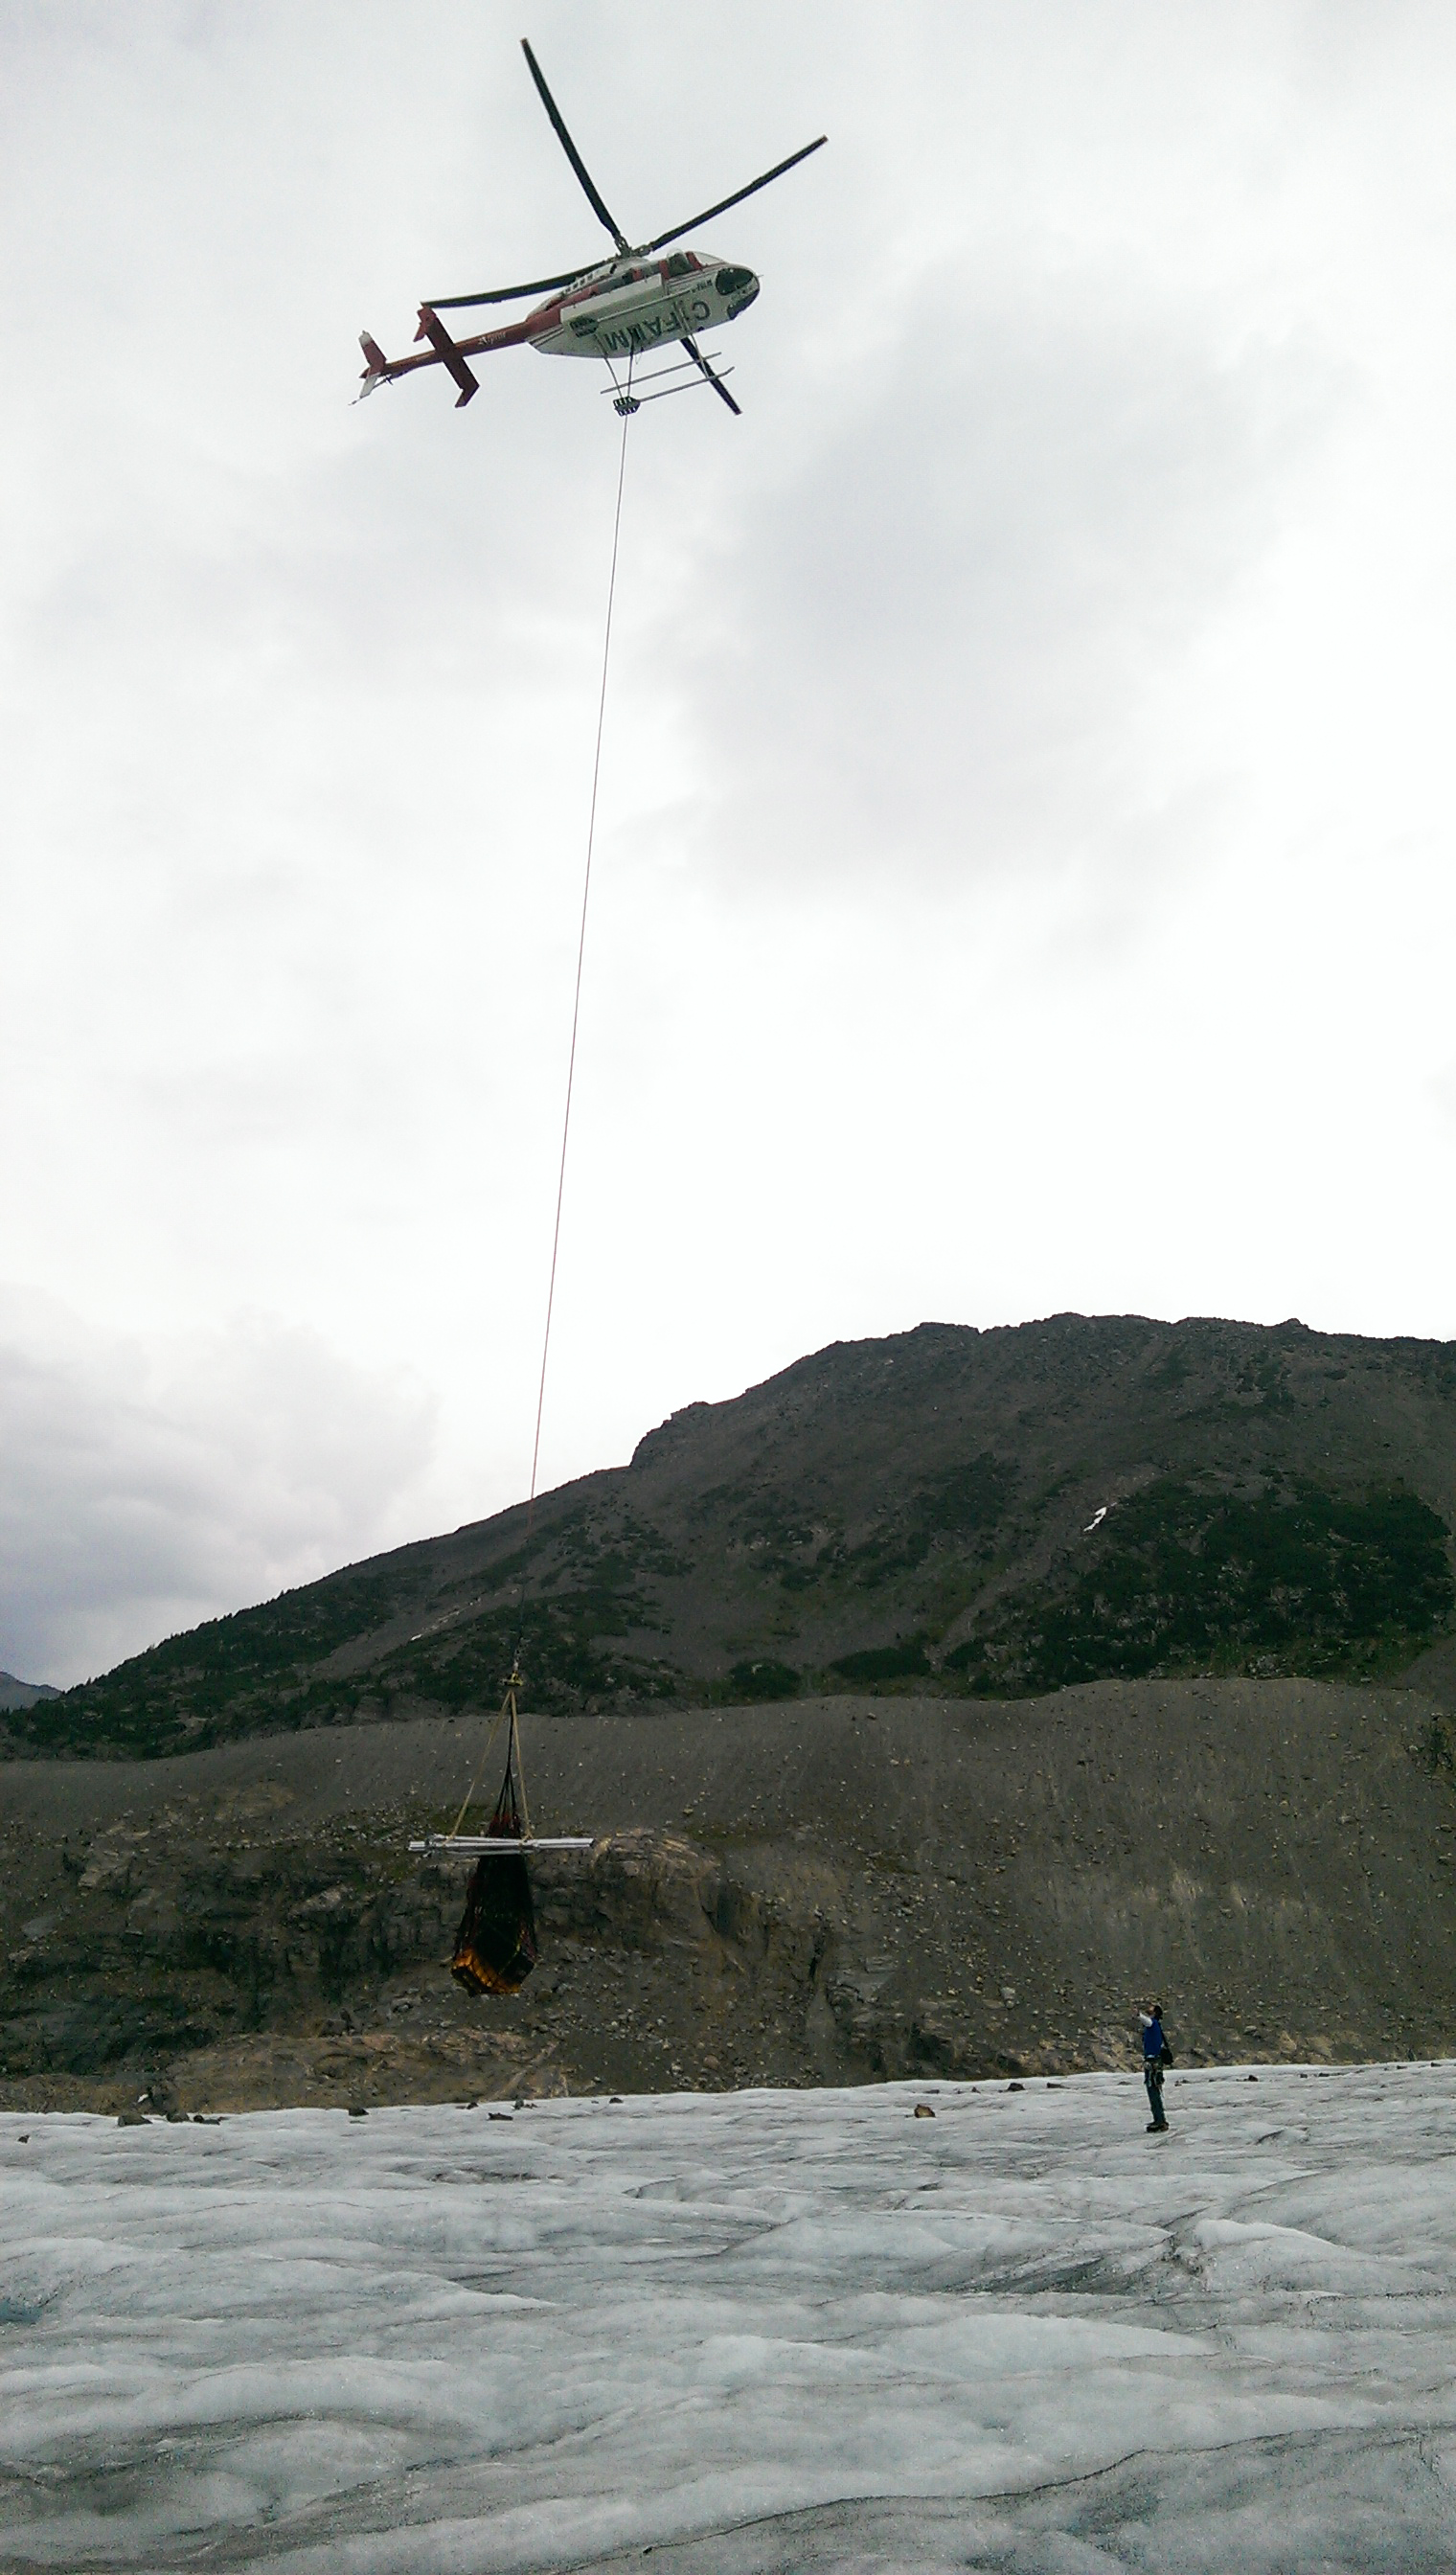
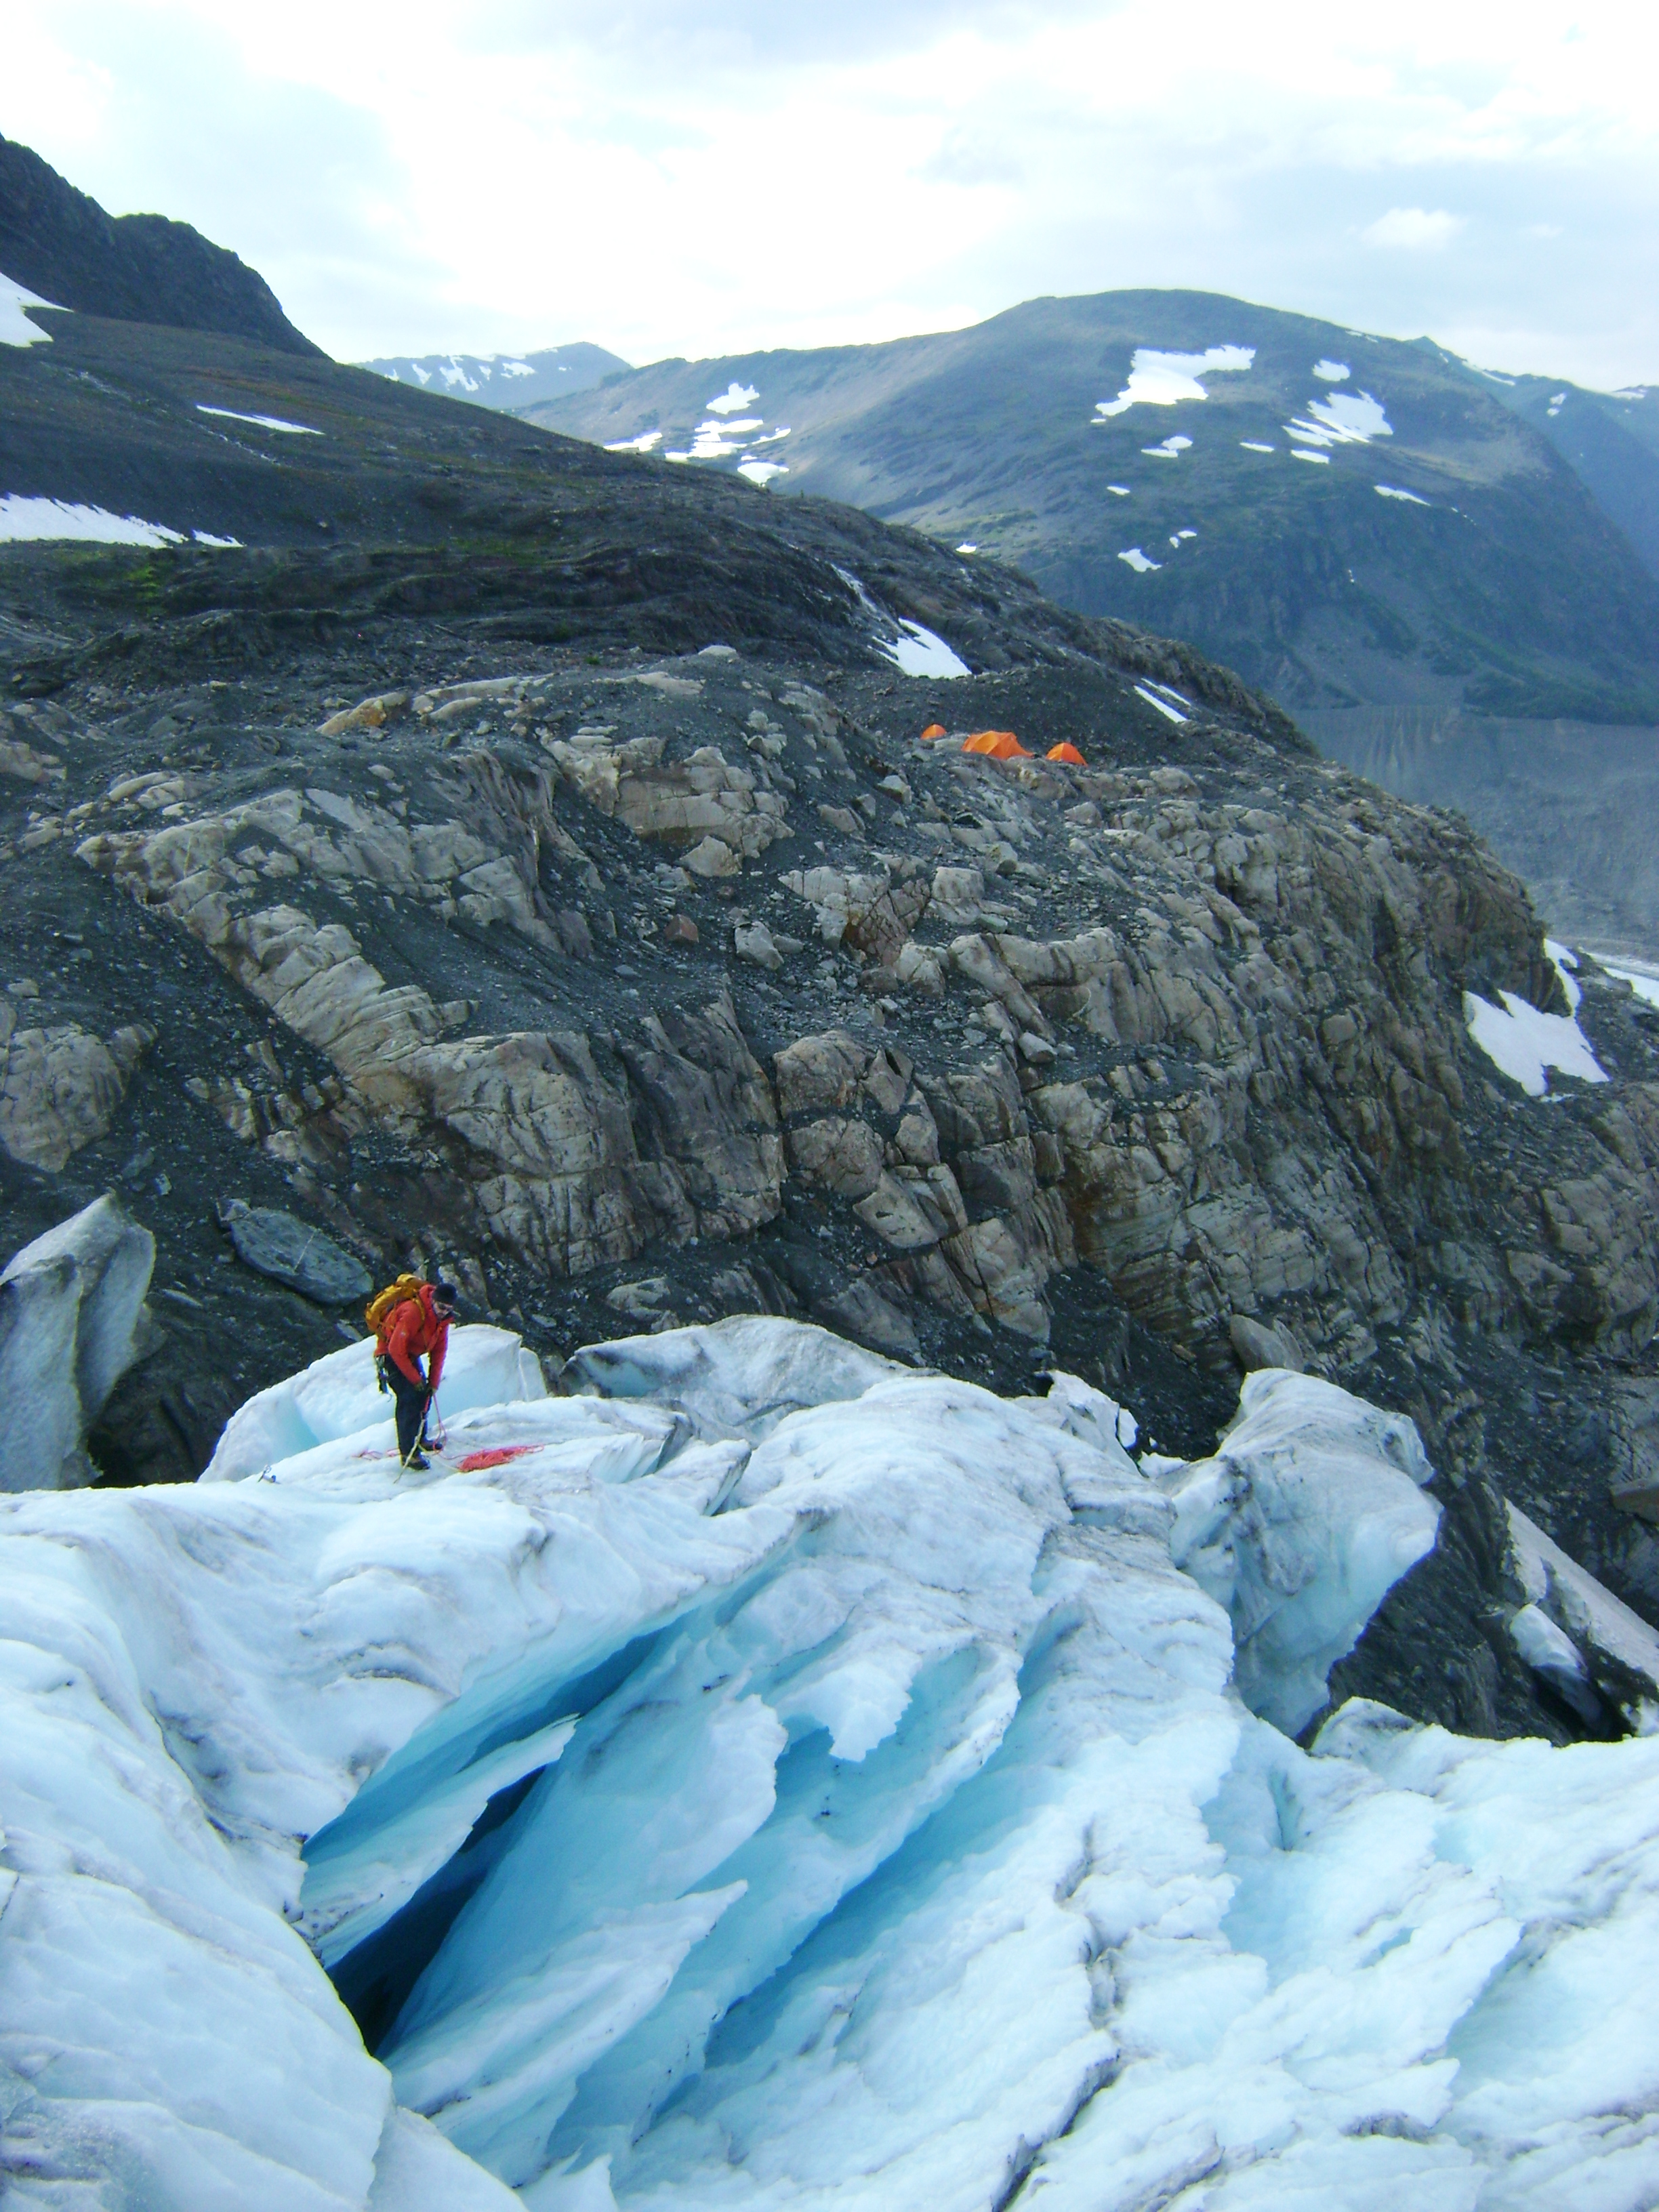
Three helicopter flights (and some delays) later, all crew and equipment were accounted for on Conrad. Our campsite was just off the ice itself, on a rocky outcrop overlooking the glacier. The first evening was a battle against the weather to get tents set up in between heavy showers and gusty winds. Dinner was a simple affair, with everyone retiring to their sleeping bags early; sleep coming to the sound of fluttering tent fabric.

After breakfast the next morning, we set about finding the best route from camp on to the glacier; navigating the broken and crevassed ice along the glacier margin. Two locations had been selected for station 1 and 2 not far from camp. Each station would take about two days to install, with some additional time to prepare and secure everything for a season in the mountains.

Conrad_aftersnow_tent
Camp, overlooking the glacier on the western nunatak (rock outcrop).


Conrad_ice_fins

conrad_july15_noel_setting_anchor
Setting a safety rope for one of the sketchier sections of our route (photo credit: Ben Pelto).


conrad_july15_ben_val_approach


conrad_july15_ben_val_glacier


conrad_july15_ben_val_drill
Ben and Valentina drilling holes


conrad_july15_station2_bare
The bones of a station.


conrad_july15_noel_station_building
Working my way through the sensors and wiring (photo credit: Ben Pelto).


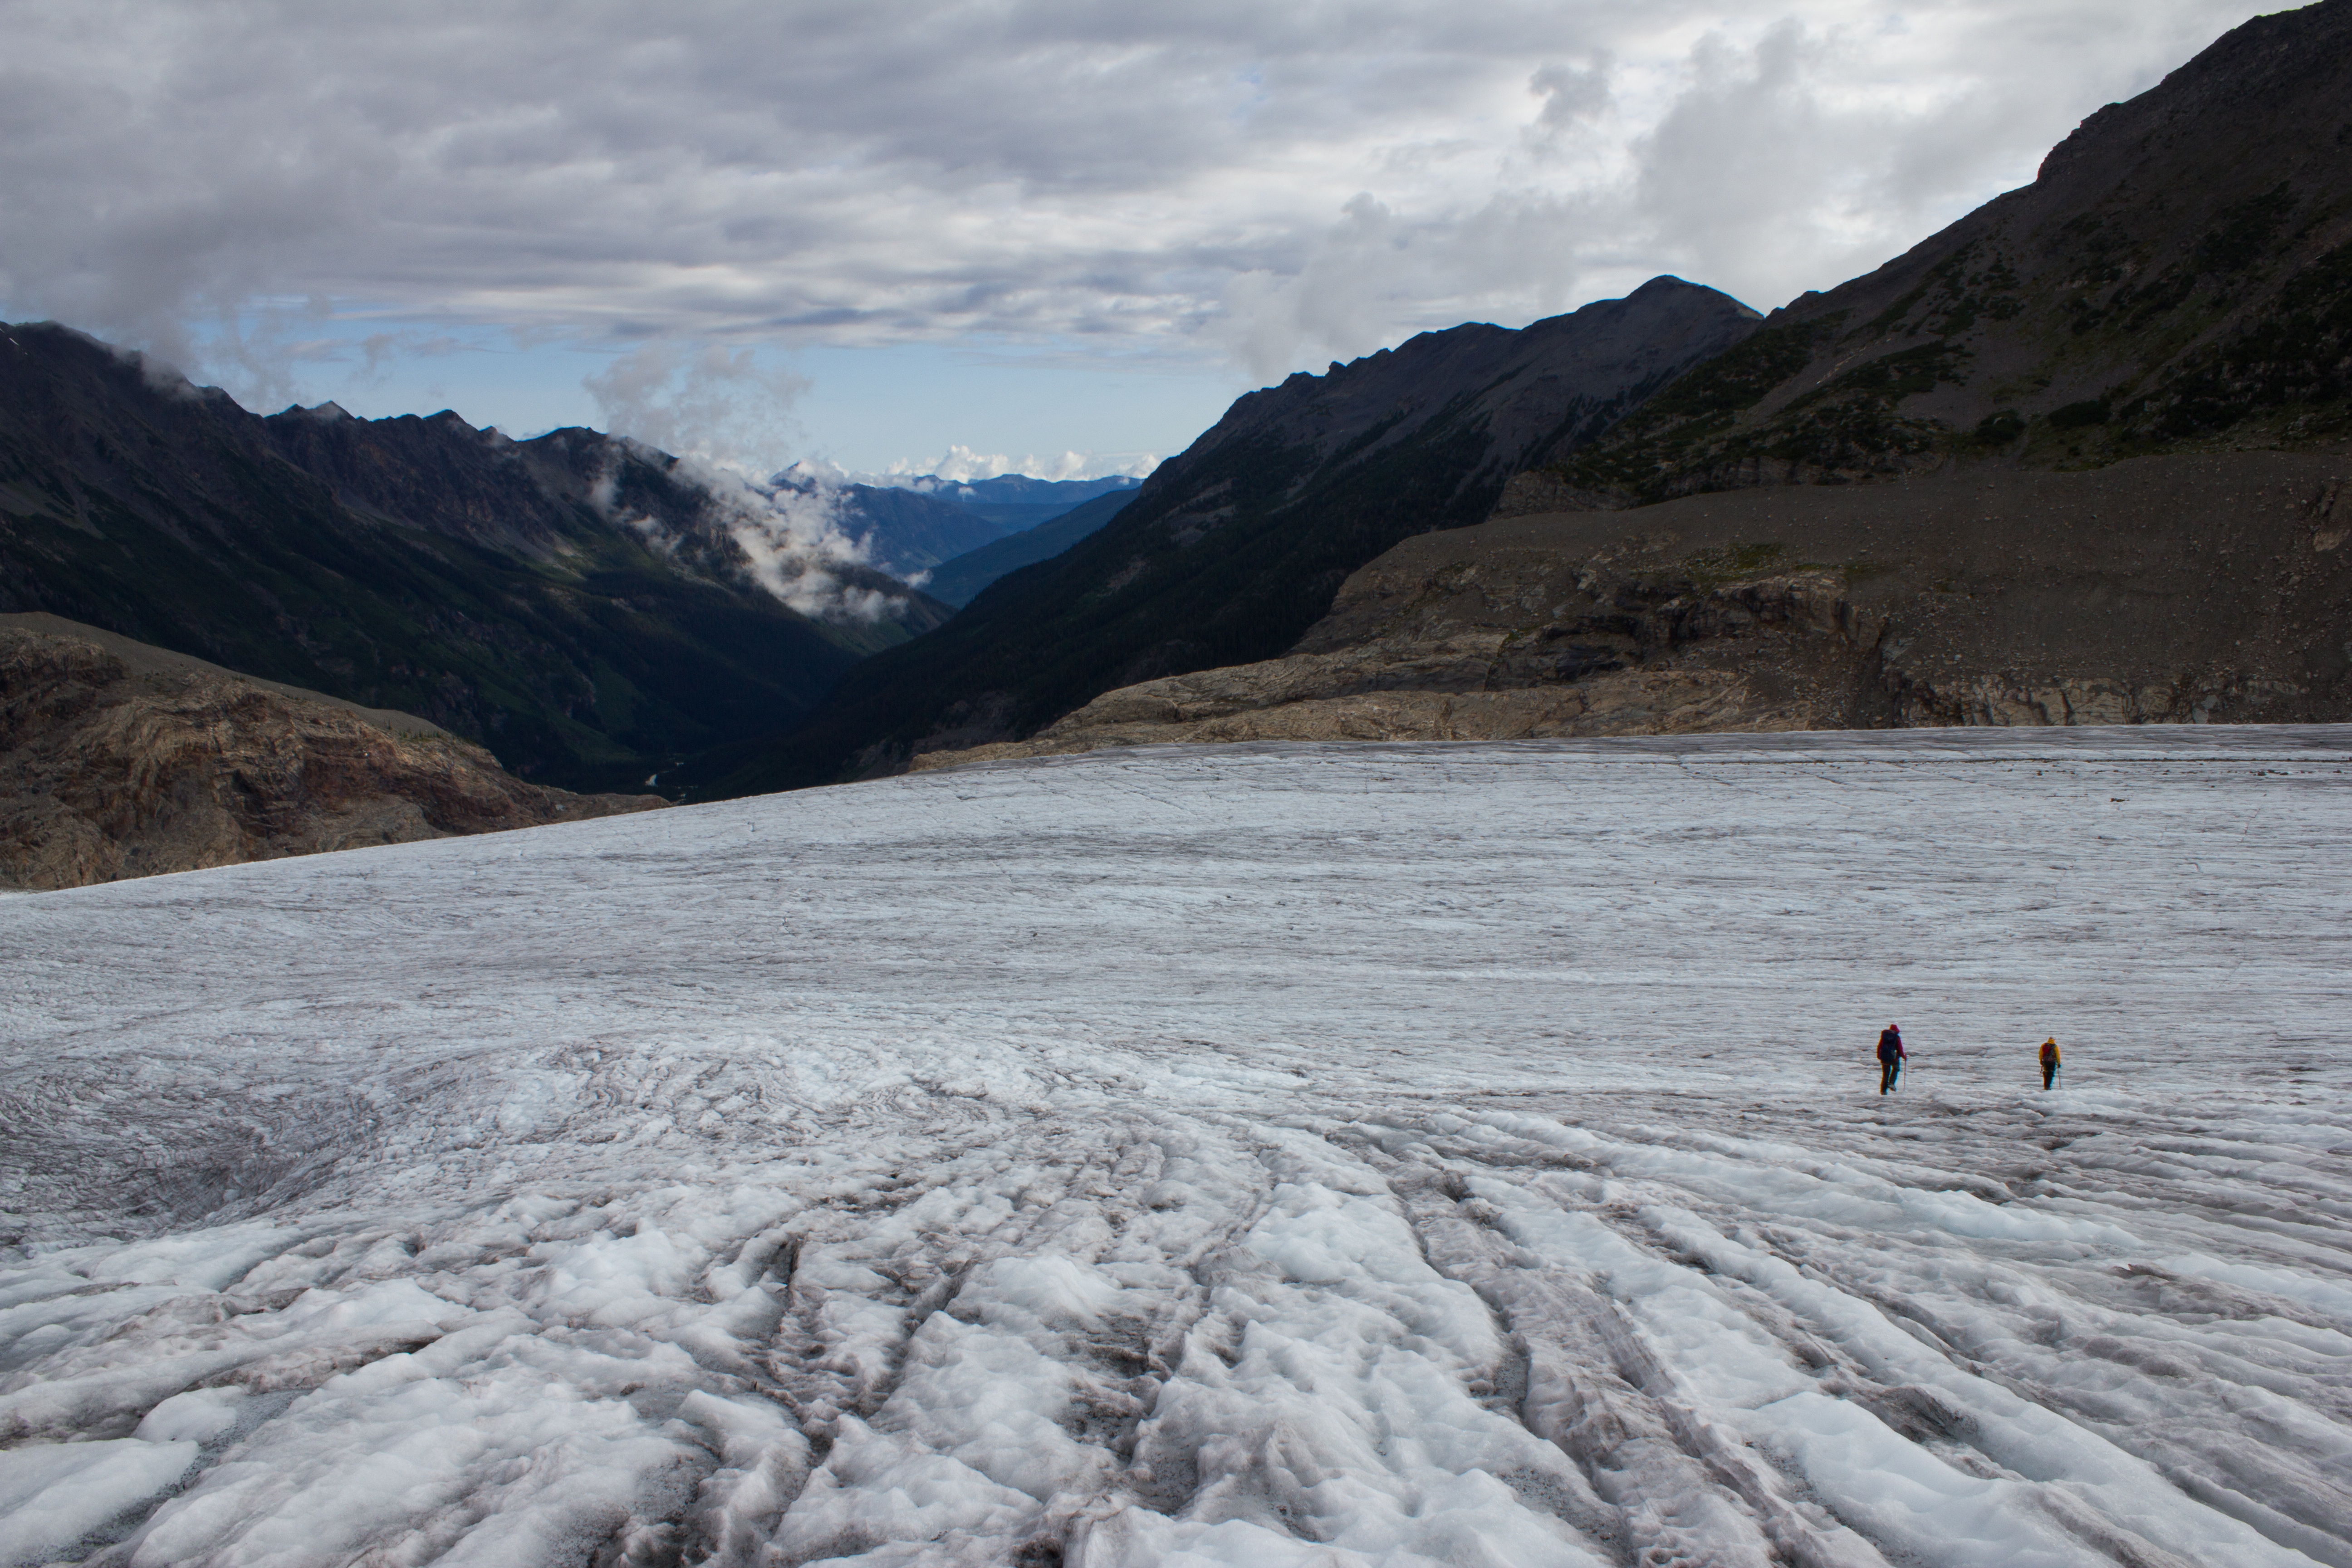
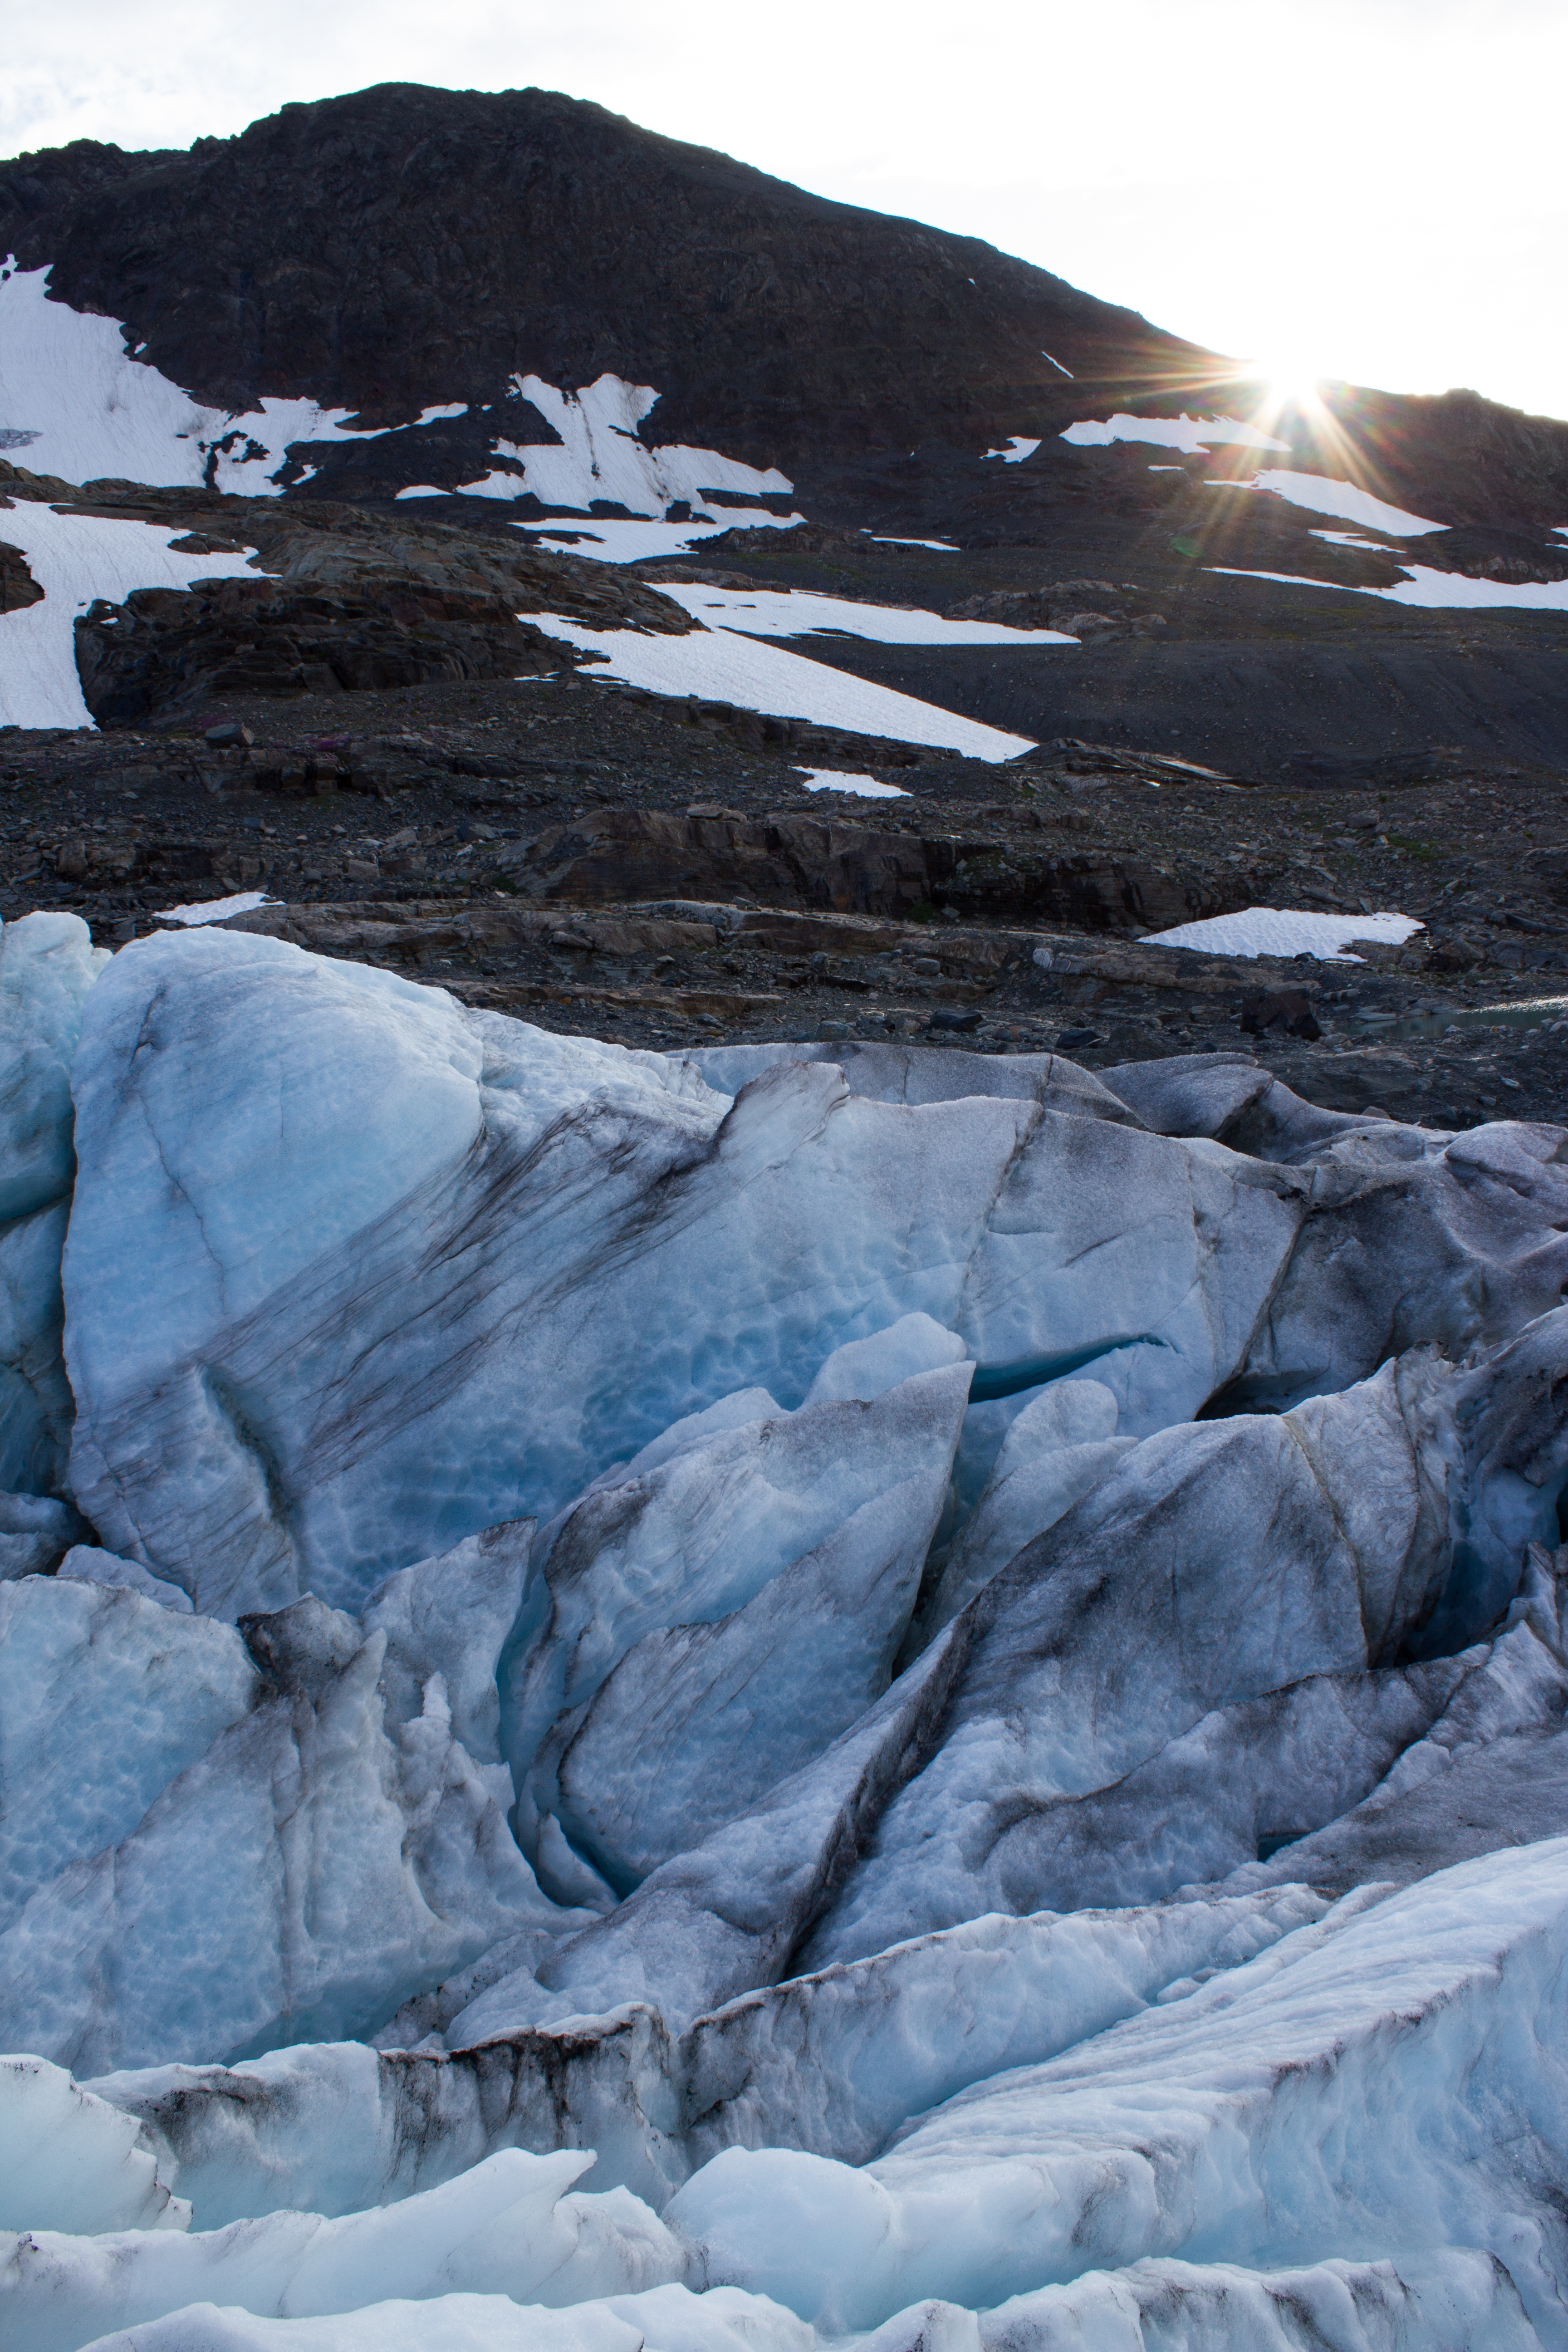
The weather had a constant presence throughout the week, with wind, thunder and snow storms slowing the work somewhat, and making cooking a frigid task at the end of the day. Despite what felt like a cold spell to us, it was clear as soon as we saw the glacier that it was experiencing a warm season. In combination with low snowfall during the winter, warm temperatures had resulted in significant melt across the surface by the time we had arrived. Although close to what would normally be the beginning of the melt season, this year’s snow had already completely melted up to the high regions of the glacier.

conrad_july15_ben_water
Ben, getting a drink from one of the many melt water streams on the glacier


conrad_july15_radiometer
Wiring the radiometer, which measures the incoming radiation energy from the sun and sky, and the outgoing radiation from the glacier surface.


conrad_july15_power
Setting up the power system for one of the stations.


conrad_july15_logger
The brains of the operation. Wiring up the datalogger, which is programmed to store all the data from the station, and to tell the sensors when to take measurements.


conrad_july15_under_tarp
Sheltering from another hail storm


With the stations coming together, Ben and I ventured higher up the glacier, and spent an afternoon installing ablation stakes. These stakes, installed along the length of the glacier, provided a record of how many meters of ice are lost or gained at the surface each year, and give an indication of the health or mass balance of the glacier (see Svalbard Part 2: Balancing Act). During the week on Conrad, Ben was also involved in carrying out a kinematic survey; using detailed GPS measurements to create a map of the glacier.

conrad_july15_ben_crevasse
Ben, navigating a crevasse field.


Due to weather delays, the final tasks for installing the stations were completed in the last few hours of the trip. With the helicopter due to pick us up that afternoon, I got moving early on the last day,  and headed on to the ice before dawn to shore up the last few pieces of equipment from the elements, and to make sure all the systems were behaving. In the end, two full weather stations were installed, along with a time lapse camera to monitor conditions over the season.


conrad_july15_station1
A completed station (solar panels out of shot). This was the lower of the two stations, at around 2,130 meters elevation.


conrad_july15_camera
Time lapse camera, for observing the weather conditions on the glacier, and for keeping track of changes to the surface and the stations themselves.


conrad_july15_heli_home
Loading the helicopter for the journey back to civilisation, and a warm shower.


It remains to be seen how the the glacier will respond to this year’s melt season, and on a personal level, how all the equipment will perform. A good or bad field campaign will have a major impact on the timeline for my studies and on the goals I hope to achieve.  As our chopper lifted off from our disassembled camp and sped down the valley, I took one last glimpse at the stations and the glacier itself, before my eyes turned to home and my mind to the plan for the next trip.

conrad_july15_ice_sun_flare
The sun dipping below the peaks on the western margin of Conrad Glacier.


A Note of Thanks: Just prior to leaving for field work, I received word that I was being awarded the Chih-Chuang and Yien-Ying Wang Hsieh Memorial Scholarship for research in Atmospheric Science. A sincere thank you to the Hsieh family. I was honoured to received it.


UP NEXT: The return to Conrad, and what we found.

A Camera for All Seasons

As part of my upcoming glacier field work, it was decided that a camera would be a useful addition to the station, which will be installed and left unmanned for 2-3 months (see The Project) . The camera will be used to take pictures of the station and the surrounding site, so that I’ll have a record of what was happening throughout the study period. So, as an example, I can look at the pictures  from a period with some interesting data and see what the weather was like, or as another example, what type of bear it was that destroyed my equipment.

The following is a DIY post on building a type of ‘nature’ camera. If anyone is actually interested in building something like this and requires more information, feel free to contact me.

Having priced commercially available units at round $2,500, and not being overly impressed with the camera hardware being used, I decided to build my own rig. My design was strongly influenced by that of another rig built by a researcher in my department, Camilo Rada. Here is the basic outline:

  • Use a good quality DSLR camera (I’m using a Canon T3i).
  • Use a high capacity battery that will supply sufficient power to the camera to operate over several months.
  • Use a timer to control when power is supplied to the camera and when and how often pictures are taken.
  • House everything in a weatherproof container.


DSC_0386
Collection of the main components used, including a Pelican case, Canon DSLR (T3i), camera battery with dc cable input, high capacity (10Ah) battery, DC timer switch, 2.5mm stereo plug, various connectors and wires. The cost of all materials came in a little under CAD$1000.

The most important component of the build is the power system. I replaced the standard camera battery with a commercially available battery adapter, which is normally used to power a camera directly from a mains socket. I wired this adapter into a DC timer, which is essentially a switch which opens and closes the power circuit at user defined times. The other end of the timer was then wired to a high capacity (10 Ah) 7.4V lithium polymer battery, originally designed for use in remote controlled aircraft.

IMG_0033
Adapted camera battery pack. This will be connected, through a timer, to a higher capacity battery.


IMG_0036
The timer (bottom right) is wired between the camera battery (on left) and the larger battery (below). It can be programmed to allow power to flow to the camera at specific times.

IMG_7859

As the camera will be left to operate by itself, an automatic way of firing the shutter (taking the picture) is needed. I modified a standard 2.5mm stereo plug by shorting the outer contact (outer ring) with the inner contact (inner ring)by removing the black plastic cover and soldering the corresponding connectors together (and removing the middle connector). This plug is then inserted into the remote control port of the camera, and tells the camera that the shutter trigger is being pressed.

DSC_0391

IMG_0039

DSC_0405
Testing which connectors need to be shorted to fire the shutter.


DSC_0406

DSC_0408

DSC_0413

DSC_0419

DSC_0421

The timer is programmed to allow power through to the camera from the battery at set intervals, and the power switch on the camera itself is set to on. When power reaches the camera at the set times, the modified plug tells the camera that the shutter button is being pressed, and a picture is taken. After a minute, the timer shuts off power supply until the next programmed time. As for the camera settings, the mode is set to automatic (Program or P in the case of this model) so that the aperture and shutter speed will be selected automatically by the camera to suit the light conditions. The camera should be focused by the user during set up to suit the required view, and then the focus should be set to manual to prevent the camera from changing the focus during operation.

IMG_7900

DSC_0434

IMG_0134
Testing the power and timer set up.


In order to weatherproof the camera rig, and keep it protected, I housed the equipment in a Pelican case. Firstly, I cut foam to fit the various components so that they are held securely in place. As a camera will not work very well in a completely opaque box, I created a window. I cut out a section of the side wall, using a drill and knife initially for the rough cut, and then a file to smooth the edges. I fitted a piece of clear acrylic for the window; I chose transparent acrylic rather than glass as it is easier to cut and is less likely to scratch or break . I bought acrylic that had a protective removable plastic covering (like cling film) which I left on until the end of building so as to avoided scratches. Basically, I treated the window like I would a lens.  I used a silicone glue to attach the acrylic to the box, and left it to cure for 24 hours.

IMG_0184
Pelican case, with foam cut out to fit camera etc.


IMG_0187
Won’t be able to see much through that.


IMG_0188

IMG_0196

IMG_0197

IMG_0200

DSC_0461

IMG_0250

IMG_0254

IMG_0255

IMG_0257

IMG_0271

IMG_0274


IMG_7916
Completed camera rig

IMG_7922

I test ran the camera on the roof of the Earth, Ocean, and Atmospheric Sciences Department here at UBC over the course of a few days, and it performed well. At the glacier, I will install the camera box in an additional wooden shelter (which I’m currently building), in order to keep it in a steady position, and to provide additional protection from anything that might damage or obscure the window. It will be set up to take images every three hours, and will hopefully provide reference and context for our data.

IMG_7928
Testing on the roof of my department at UBC.
IMG_0284
Daytime image from test run of camera, looking east from UBC.
IMG_0290
Nighttime image from test run.


Update (July 4th 2014):

Yesterday, I built the aforementioned wooden shelter for the camera. This will act as a mount for the camera, protect the window from damage, dirt, and droplet build up, and reduce excessive heating from the sun. It was constructed using two 1″x8″x8′ pieces of cedar, some U-bolts, and assorted screws. I’m not a carpenter, and this was just a design that I thought up to solve a problem; there are probably far more elegant solutions! Below are some images from the build.

DSC_0601

DSC_0605

DSC_0603

cut

DSC_0611

DSC_0616

DSC_0617

DSC_0618

DSC_0619

DSC_0625

DSC_0628

DSC_0632

DSC_0636

DSC_0637

DSC_0638

DSC_0641

DSC_0642

DSC_0645

painted_shelter
White paint will help reflect sunlight (reduce heating), and protect the wood.