Since I arrived in Canada six months ago, the majority of my focus has been geared towards the next 8 days. Early tomorrow morning, we leave Vancouver, and aim towards Nordic Mountain. We will first travel to the town of Golden, where we will stay over night, and then load up the helicopter for the flight to the glacier.
Report to follow.
Large items were shipped out in advance last week.The lab, earlier today.My own bags, ready for an early morning departure.
As part of my upcoming glacier field work, it was decided that a camera would be a useful addition to the station, which will be installed and left unmanned for 2-3 months (see The Project) . The camera will be used to take pictures of the station and the surrounding site, so that I’ll have a record of what was happening throughout the study period. So, as an example, I can look at the pictures from a period with some interesting data and see what the weather was like, or as another example, what type of bear it was that destroyed my equipment.
The following is a DIY post on building a type of ‘nature’ camera. If anyone is actually interested in building something like this and requires more information, feel free to contact me.
Having priced commercially available units at round $2,500, and not being overly impressed with the camera hardware being used, I decided to build my own rig. My design was strongly influenced by that of another rig built by a researcher in my department, Camilo Rada. Here is the basic outline:
Use a good quality DSLR camera (I’m using a Canon T3i).
Use a high capacity battery that will supply sufficient power to the camera to operate over several months.
Use a timer to control when power is supplied to the camera and when and how often pictures are taken.
House everything in a weatherproof container.
Collection of the main components used, including a Pelican case, Canon DSLR (T3i), camera battery with dc cable input, high capacity (10Ah) battery, DC timer switch, 2.5mm stereo plug, various connectors and wires. The cost of all materials came in a little under CAD$1000.
The most important component of the build is the power system. I replaced the standard camera battery with a commercially available battery adapter, which is normally used to power a camera directly from a mains socket. I wired this adapter into a DC timer, which is essentially a switch which opens and closes the power circuit at user defined times. The other end of the timer was then wired to a high capacity (10 Ah) 7.4V lithium polymer battery, originally designed for use in remote controlled aircraft.
Adapted camera battery pack. This will be connected, through a timer, to a higher capacity battery.
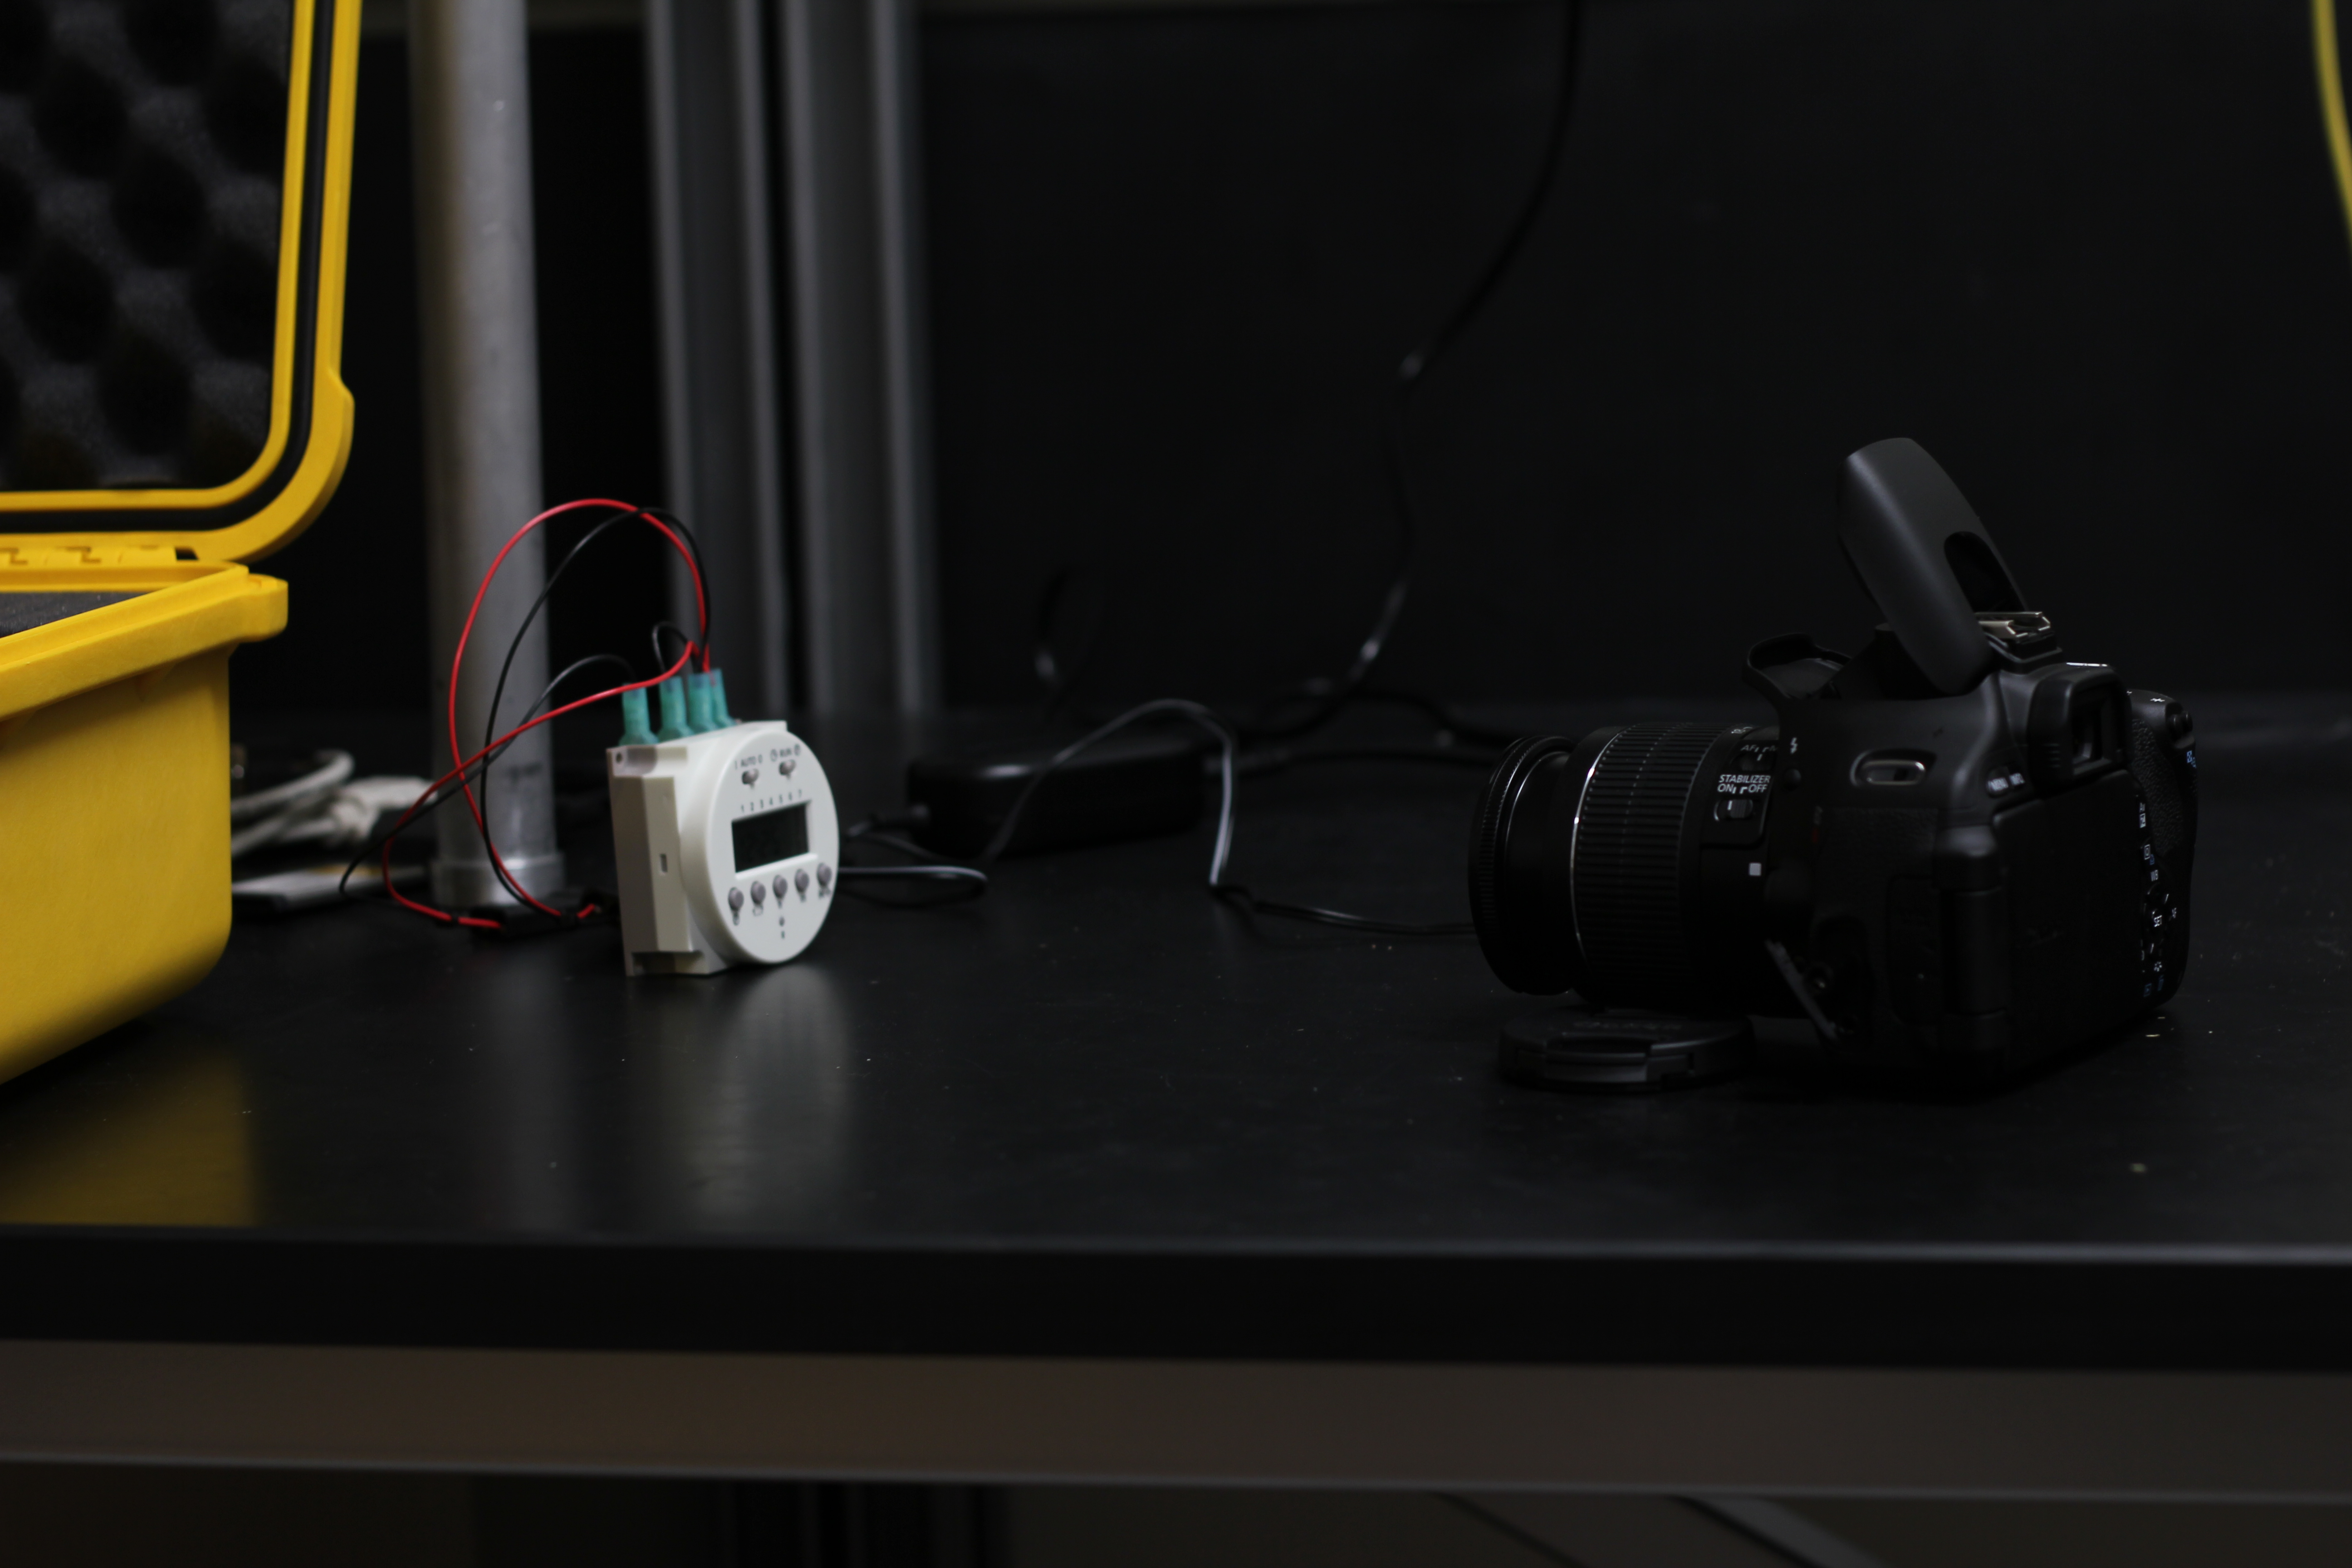
The timer (bottom right) is wired between the camera battery (on left) and the larger battery (below). It can be programmed to allow power to flow to the camera at specific times.
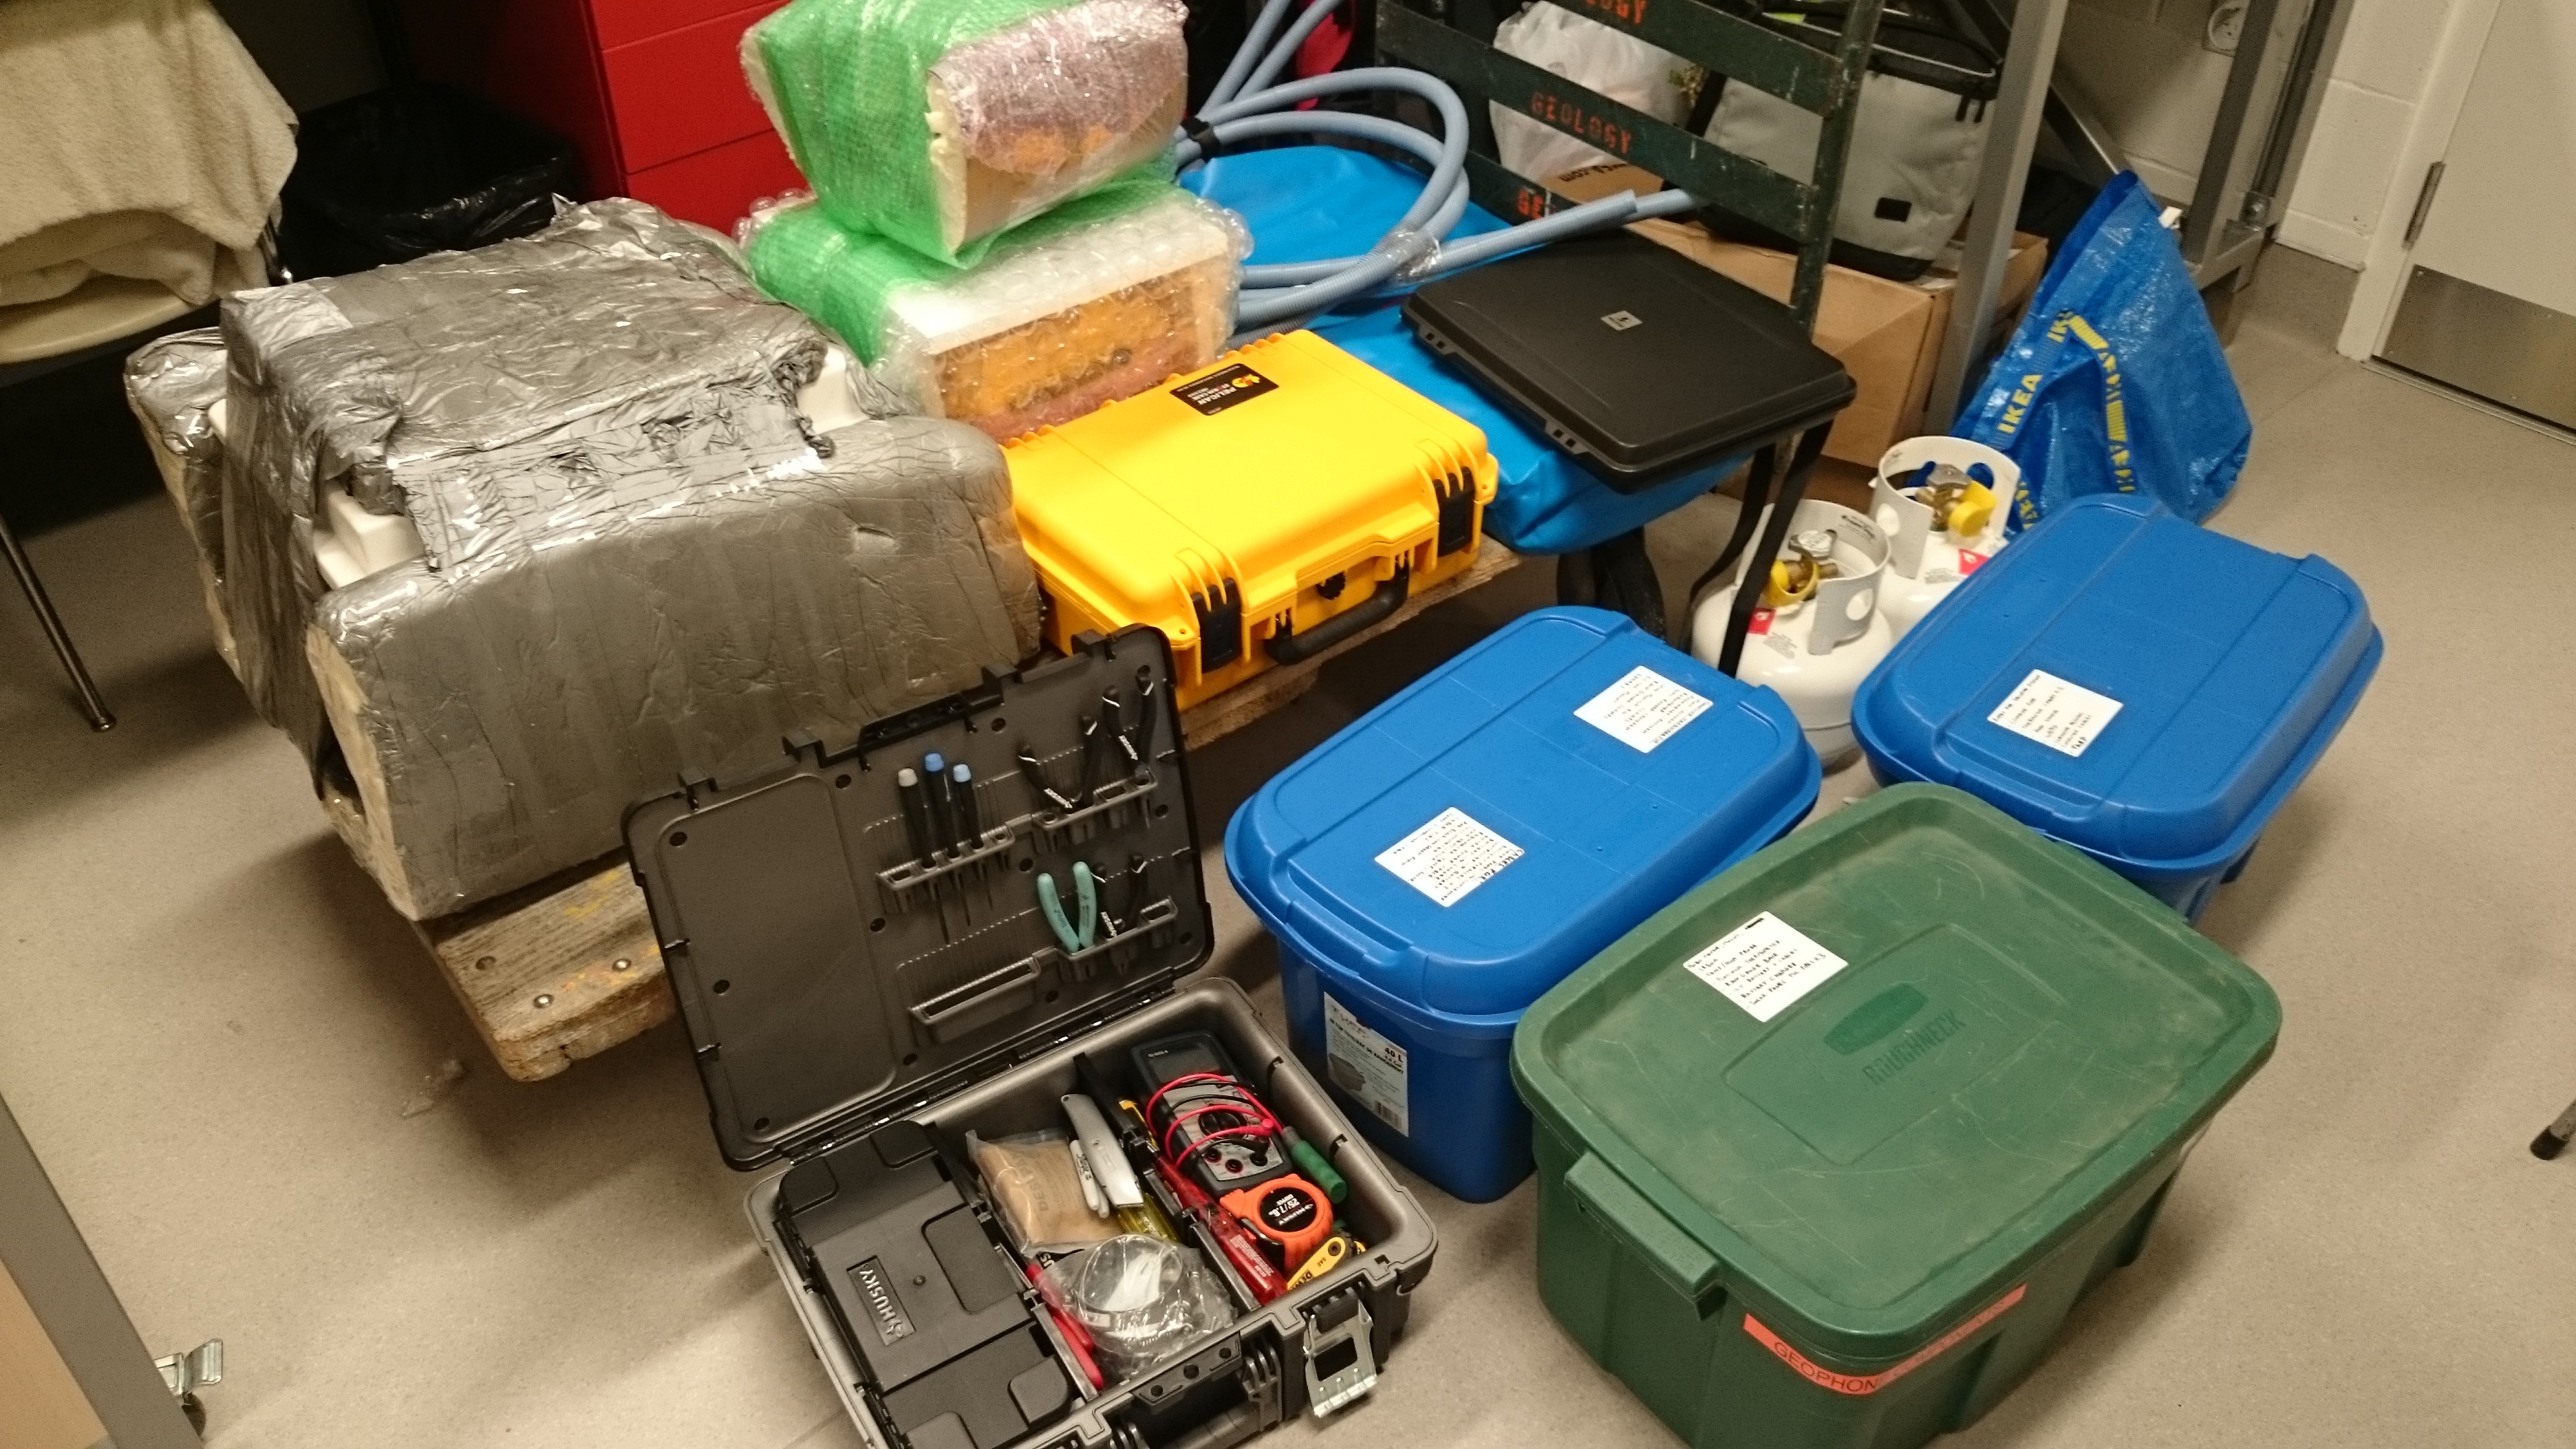
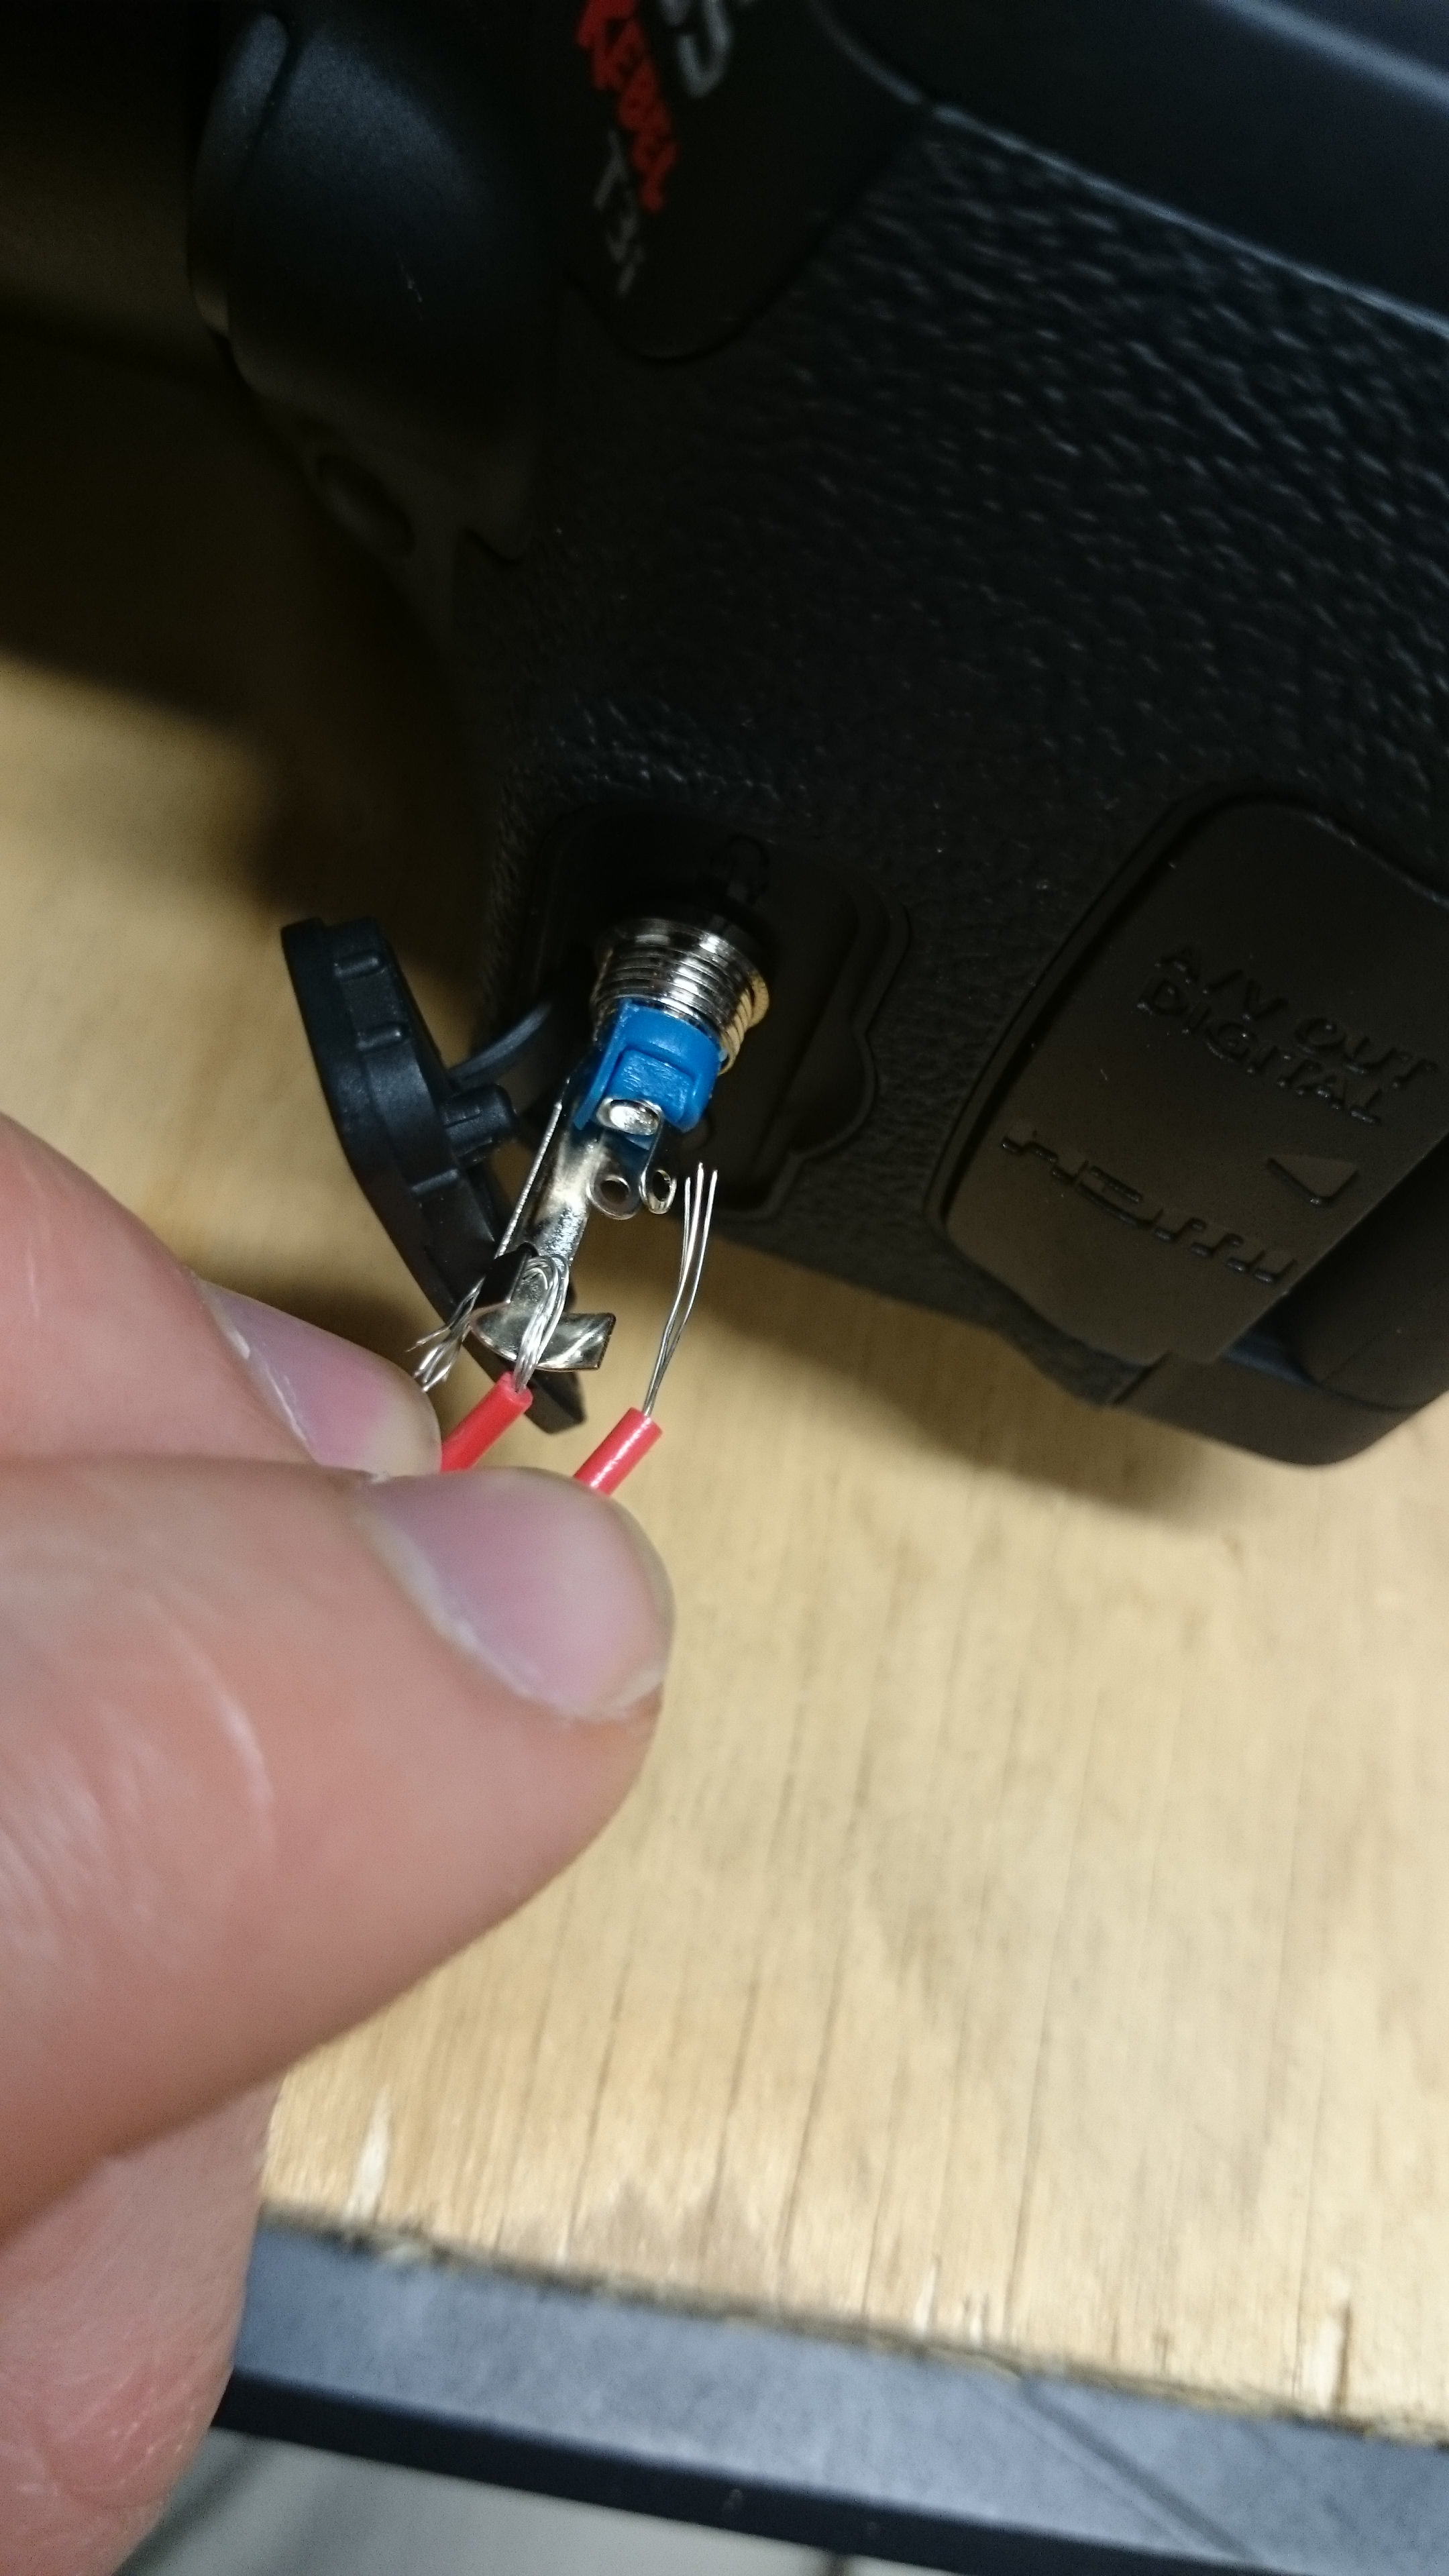
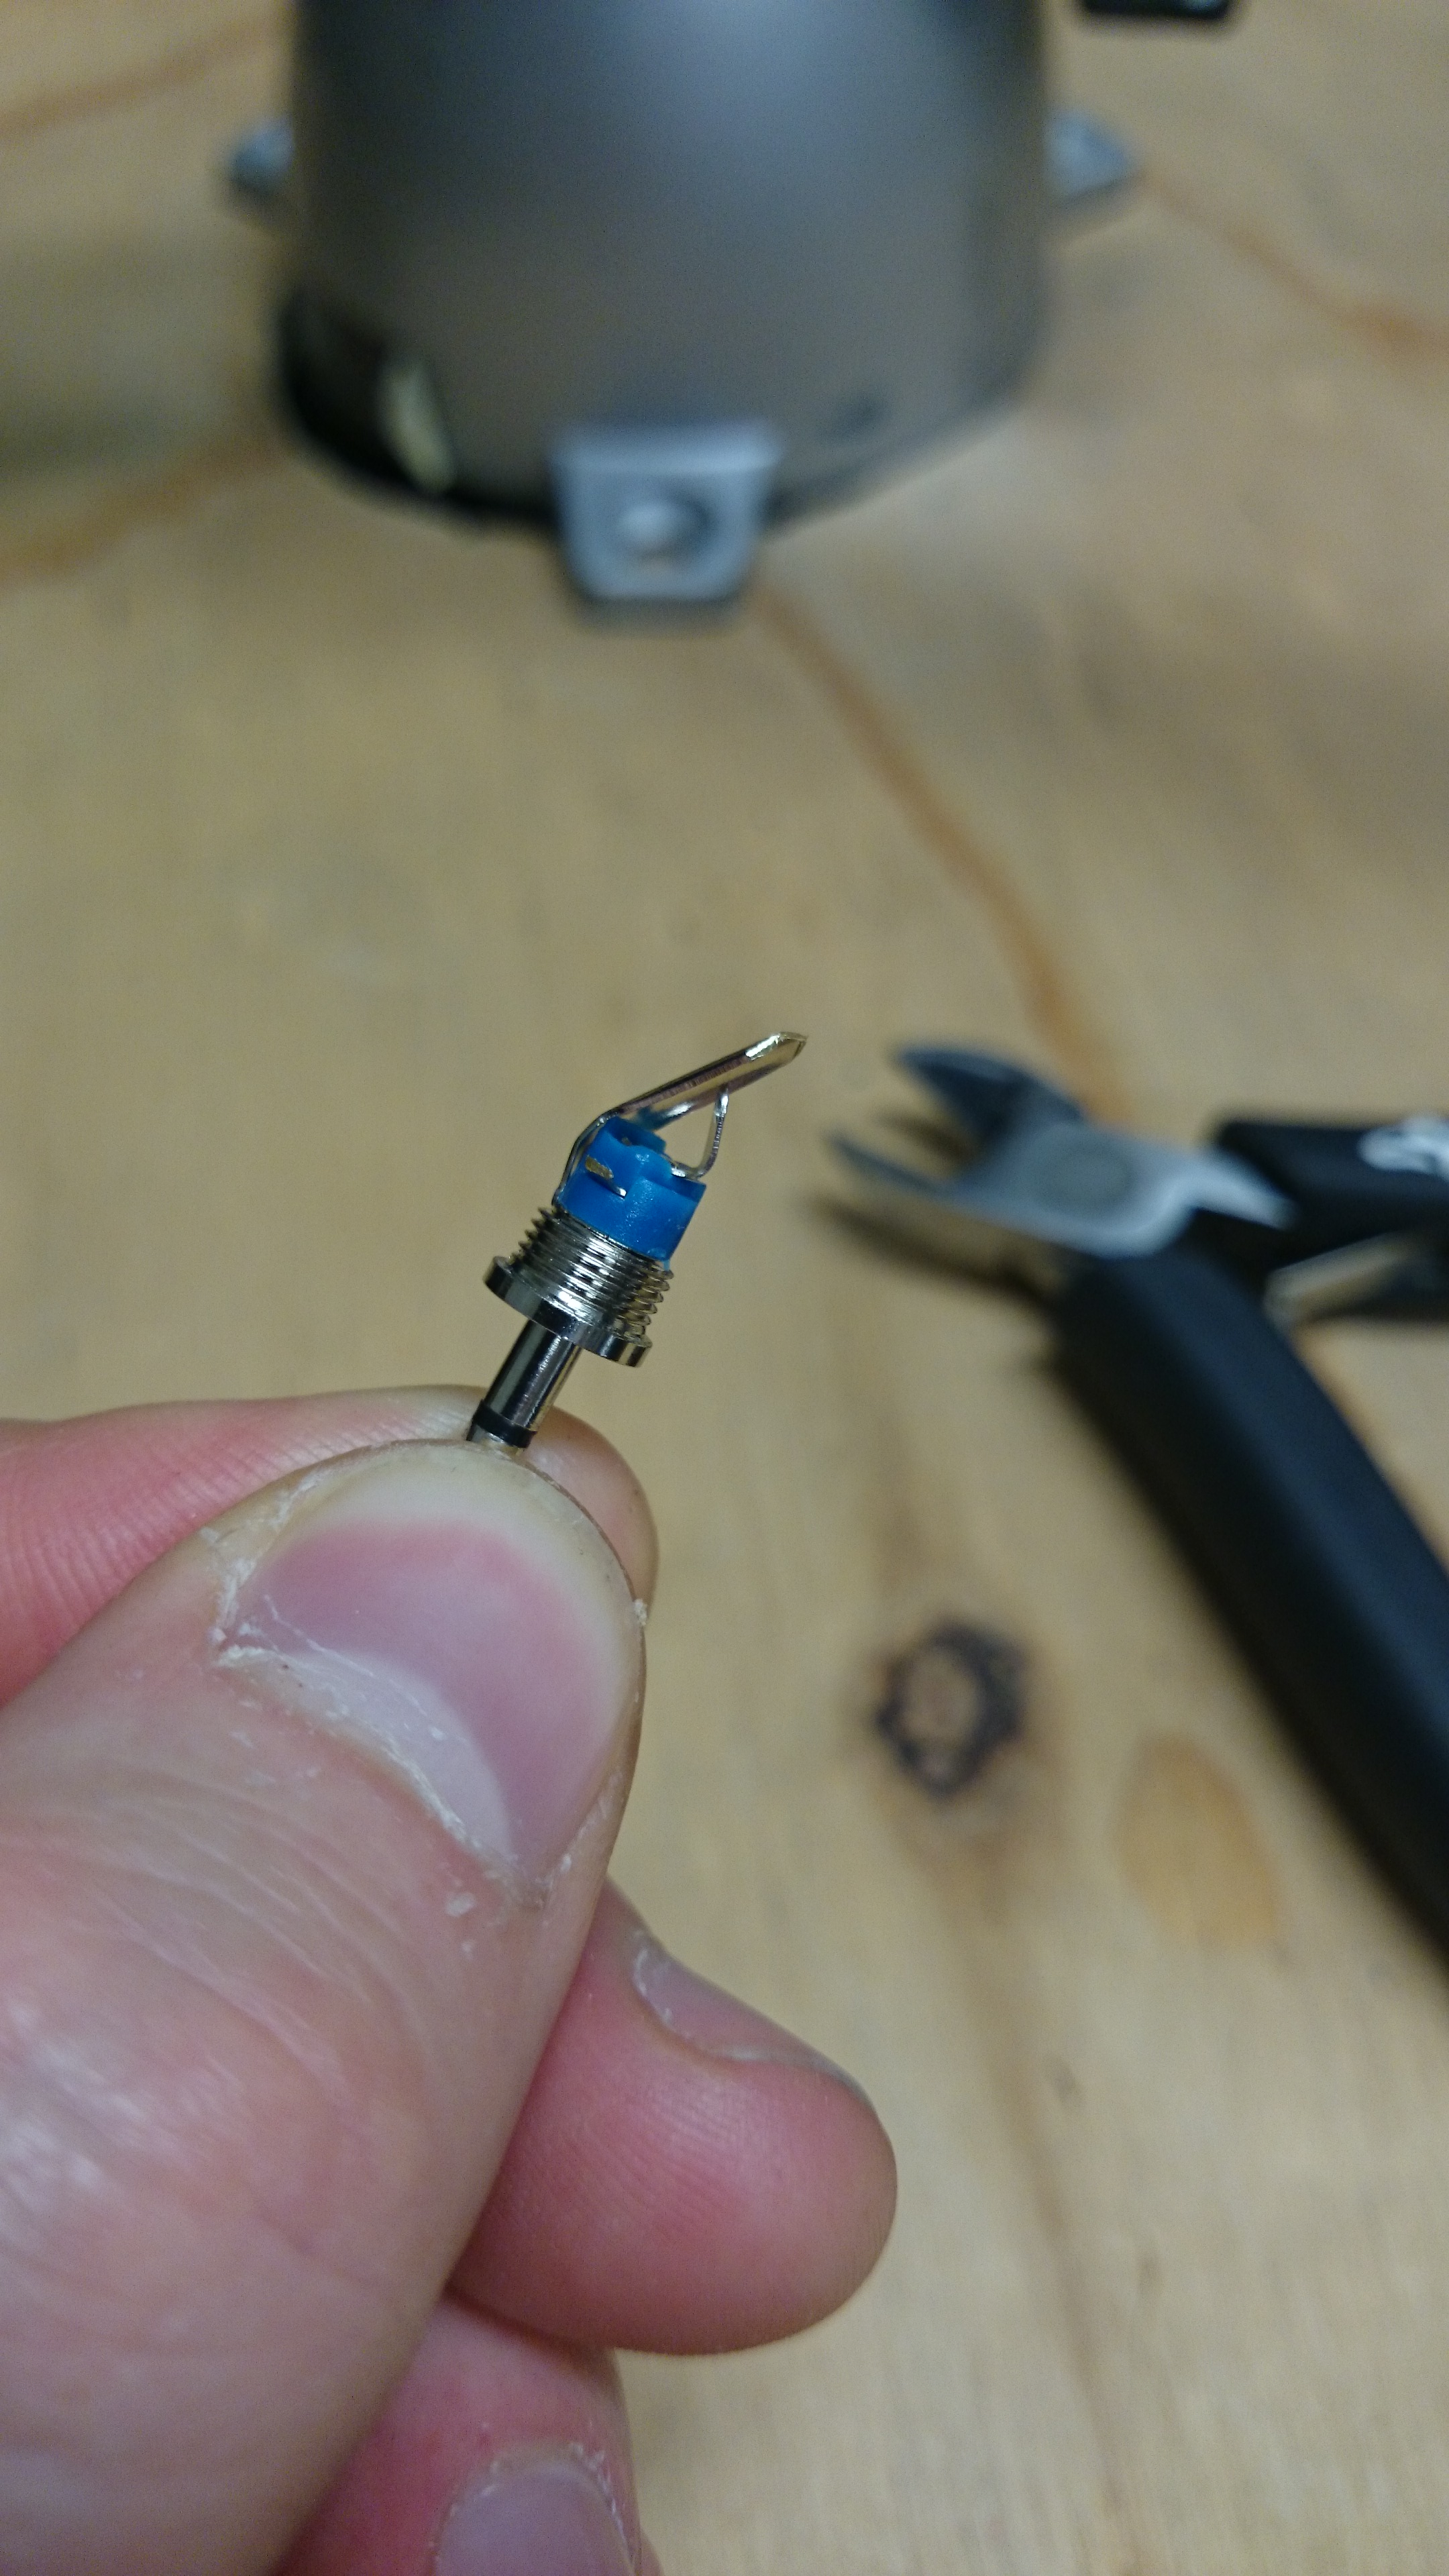
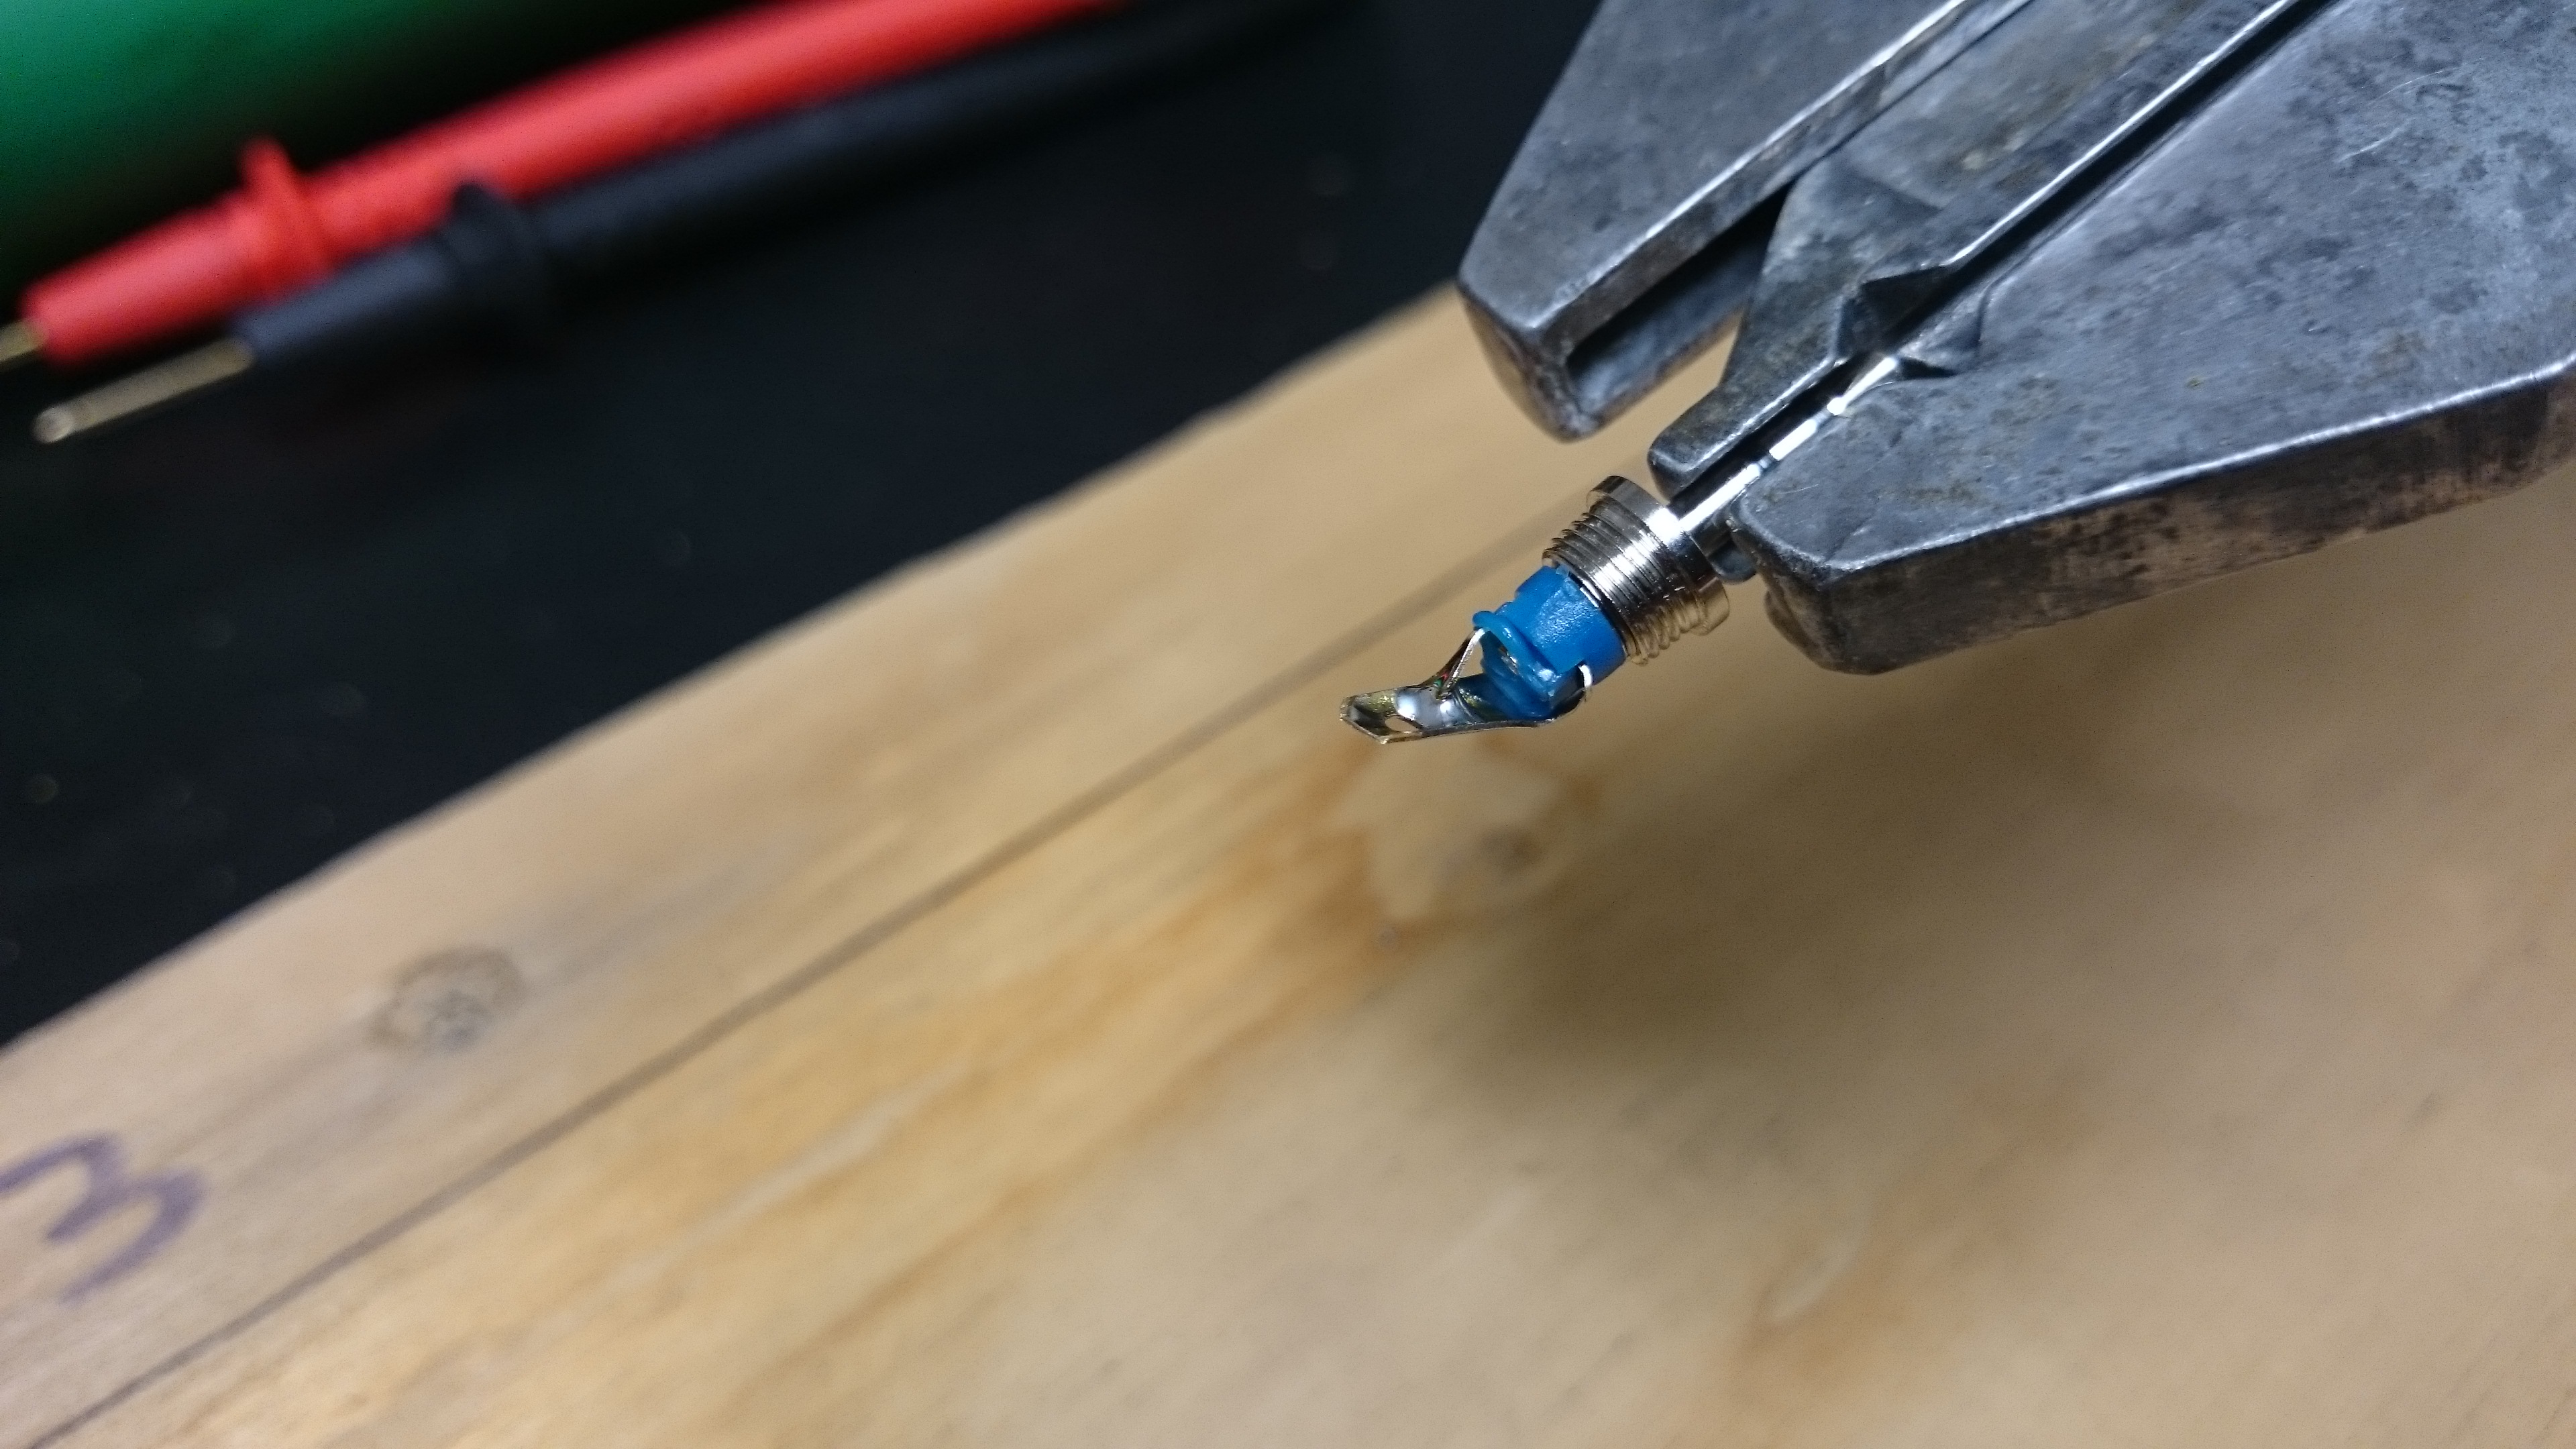
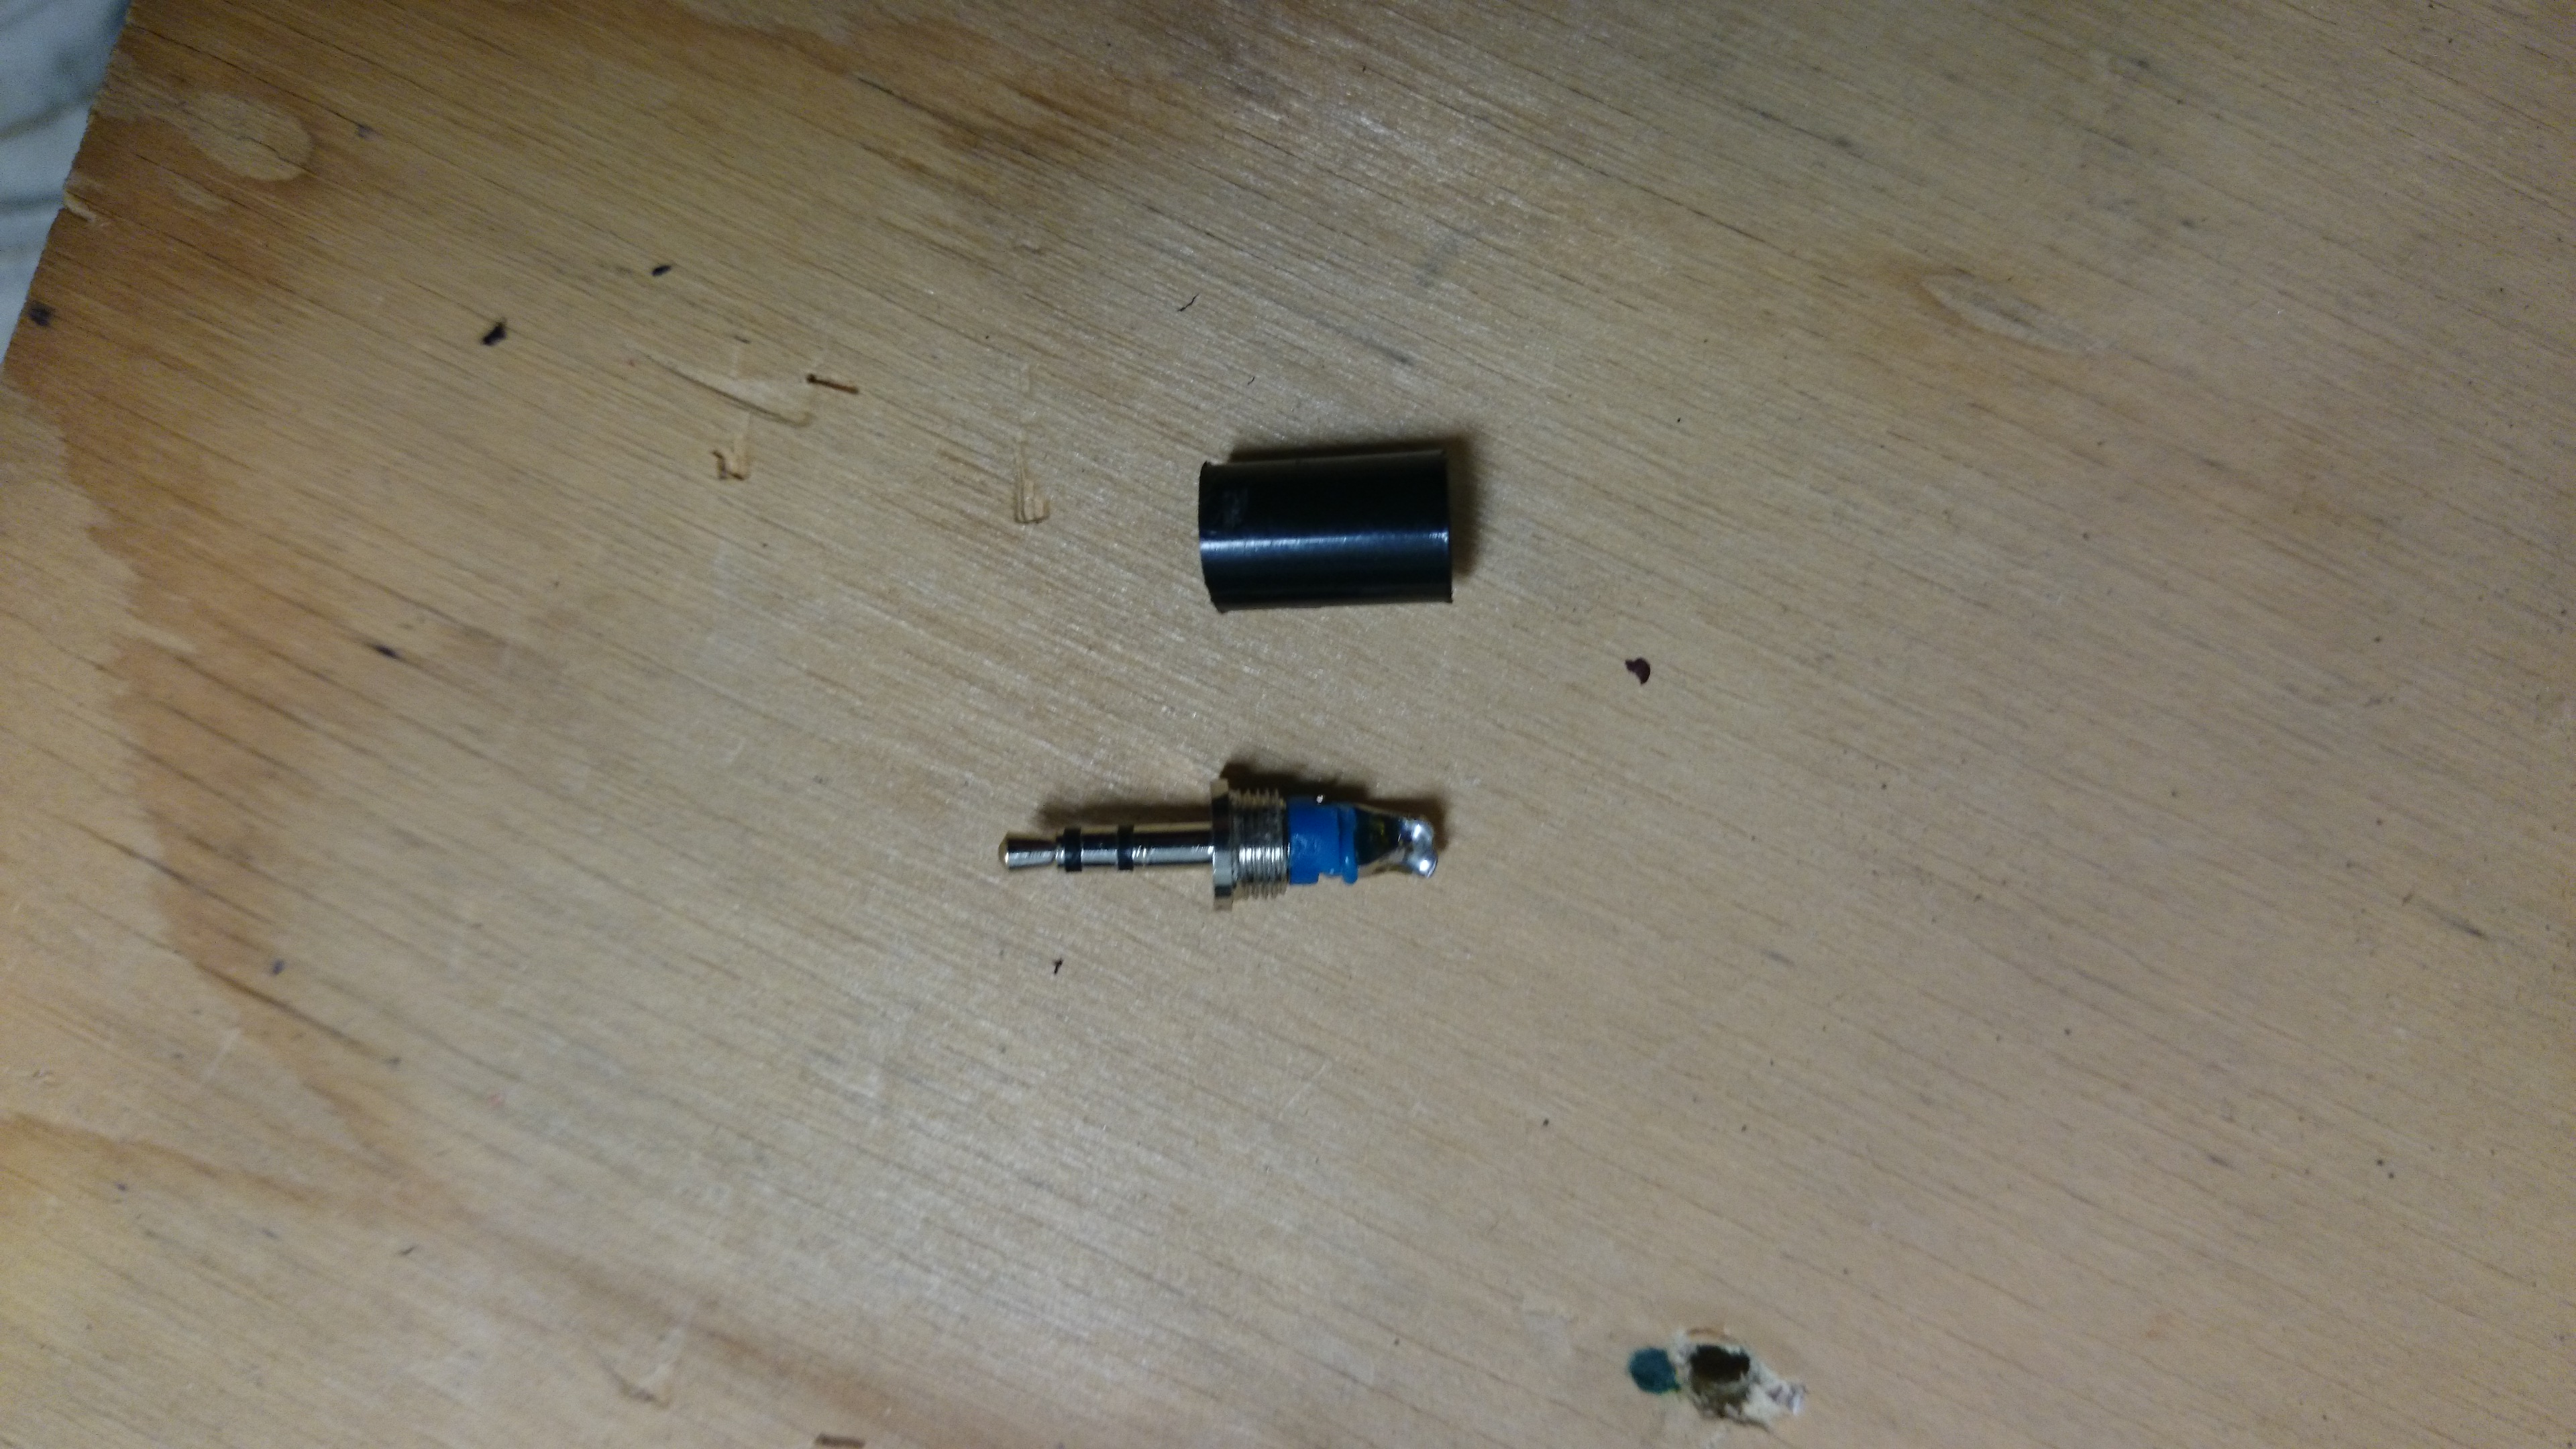
As the camera will be left to operate by itself, an automatic way of firing the shutter (taking the picture) is needed. I modified a standard 2.5mm stereo plug by shorting the outer contact (outer ring) with the inner contact (inner ring)by removing the black plastic cover and soldering the corresponding connectors together (and removing the middle connector). This plug is then inserted into the remote control port of the camera, and tells the camera that the shutter trigger is being pressed.
Testing which connectors need to be shorted to fire the shutter.
The timer is programmed to allow power through to the camera from the battery at set intervals, and the power switch on the camera itself is set to on. When power reaches the camera at the set times, the modified plug tells the camera that the shutter button is being pressed, and a picture is taken. After a minute, the timer shuts off power supply until the next programmed time. As for the camera settings, the mode is set to automatic (Program or P in the case of this model) so that the aperture and shutter speed will be selected automatically by the camera to suit the light conditions. The camera should be focused by the user during set up to suit the required view, and then the focus should be set to manual to prevent the camera from changing the focus during operation.
Testing the power and timer set up.
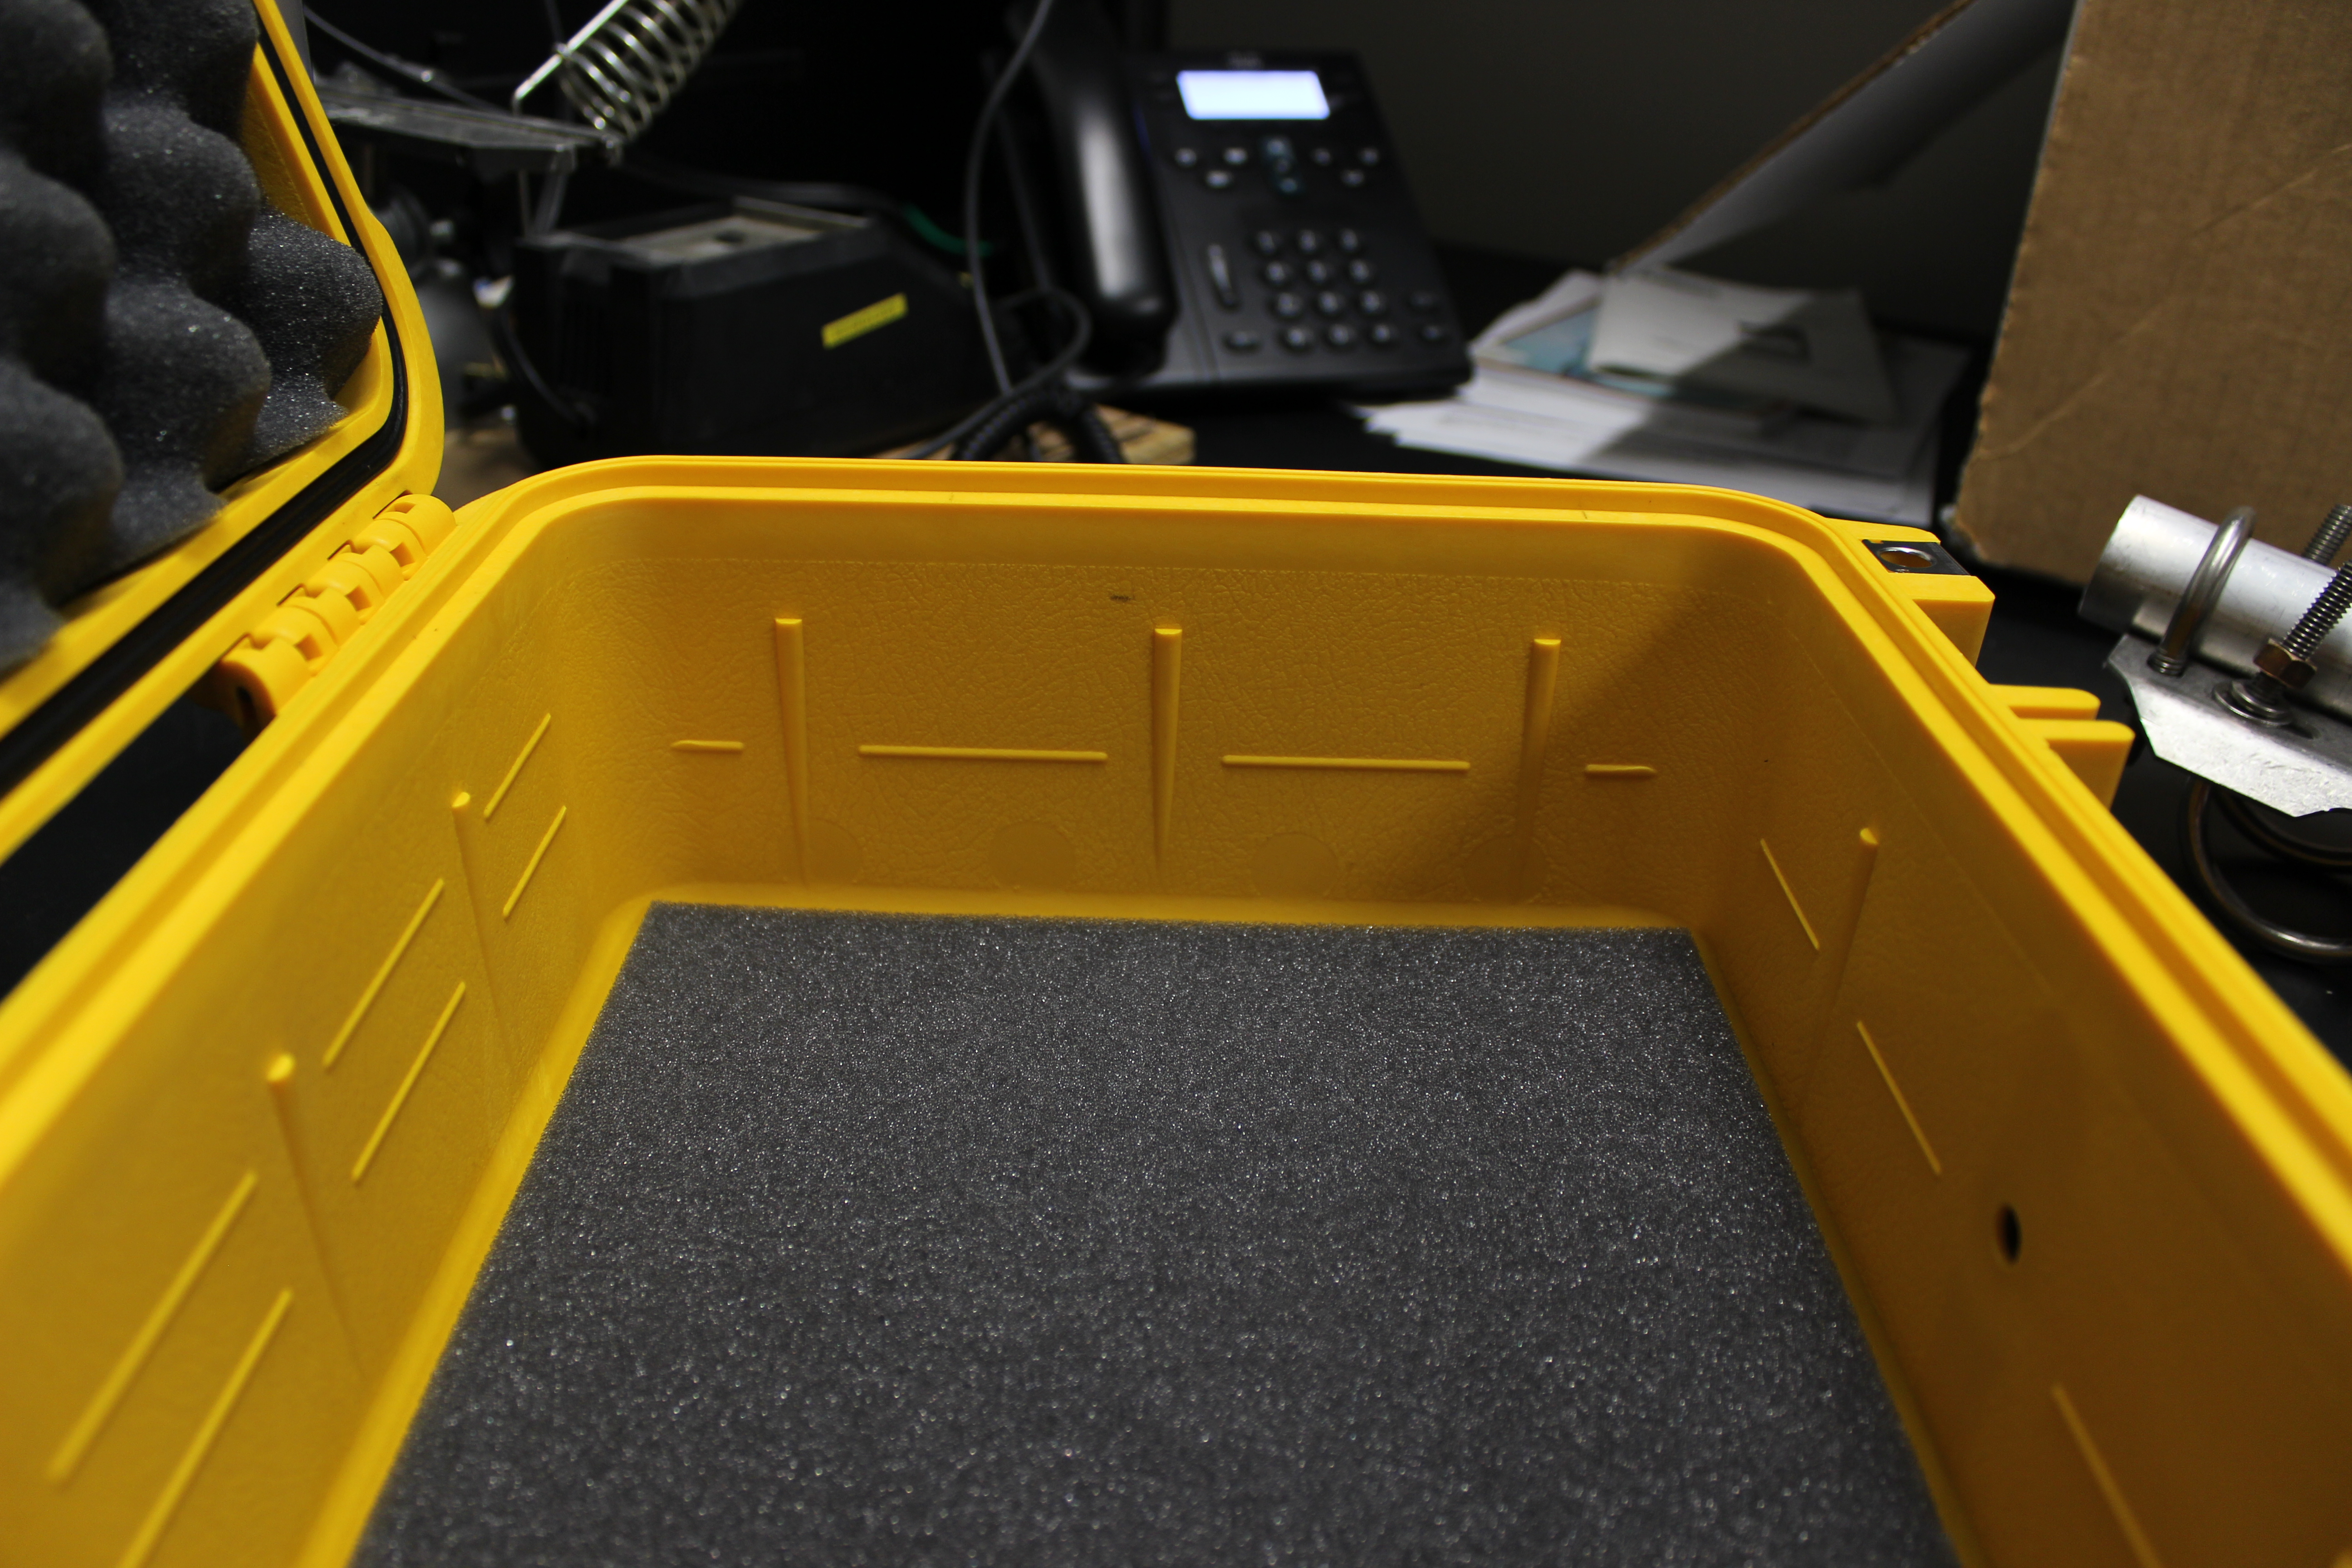
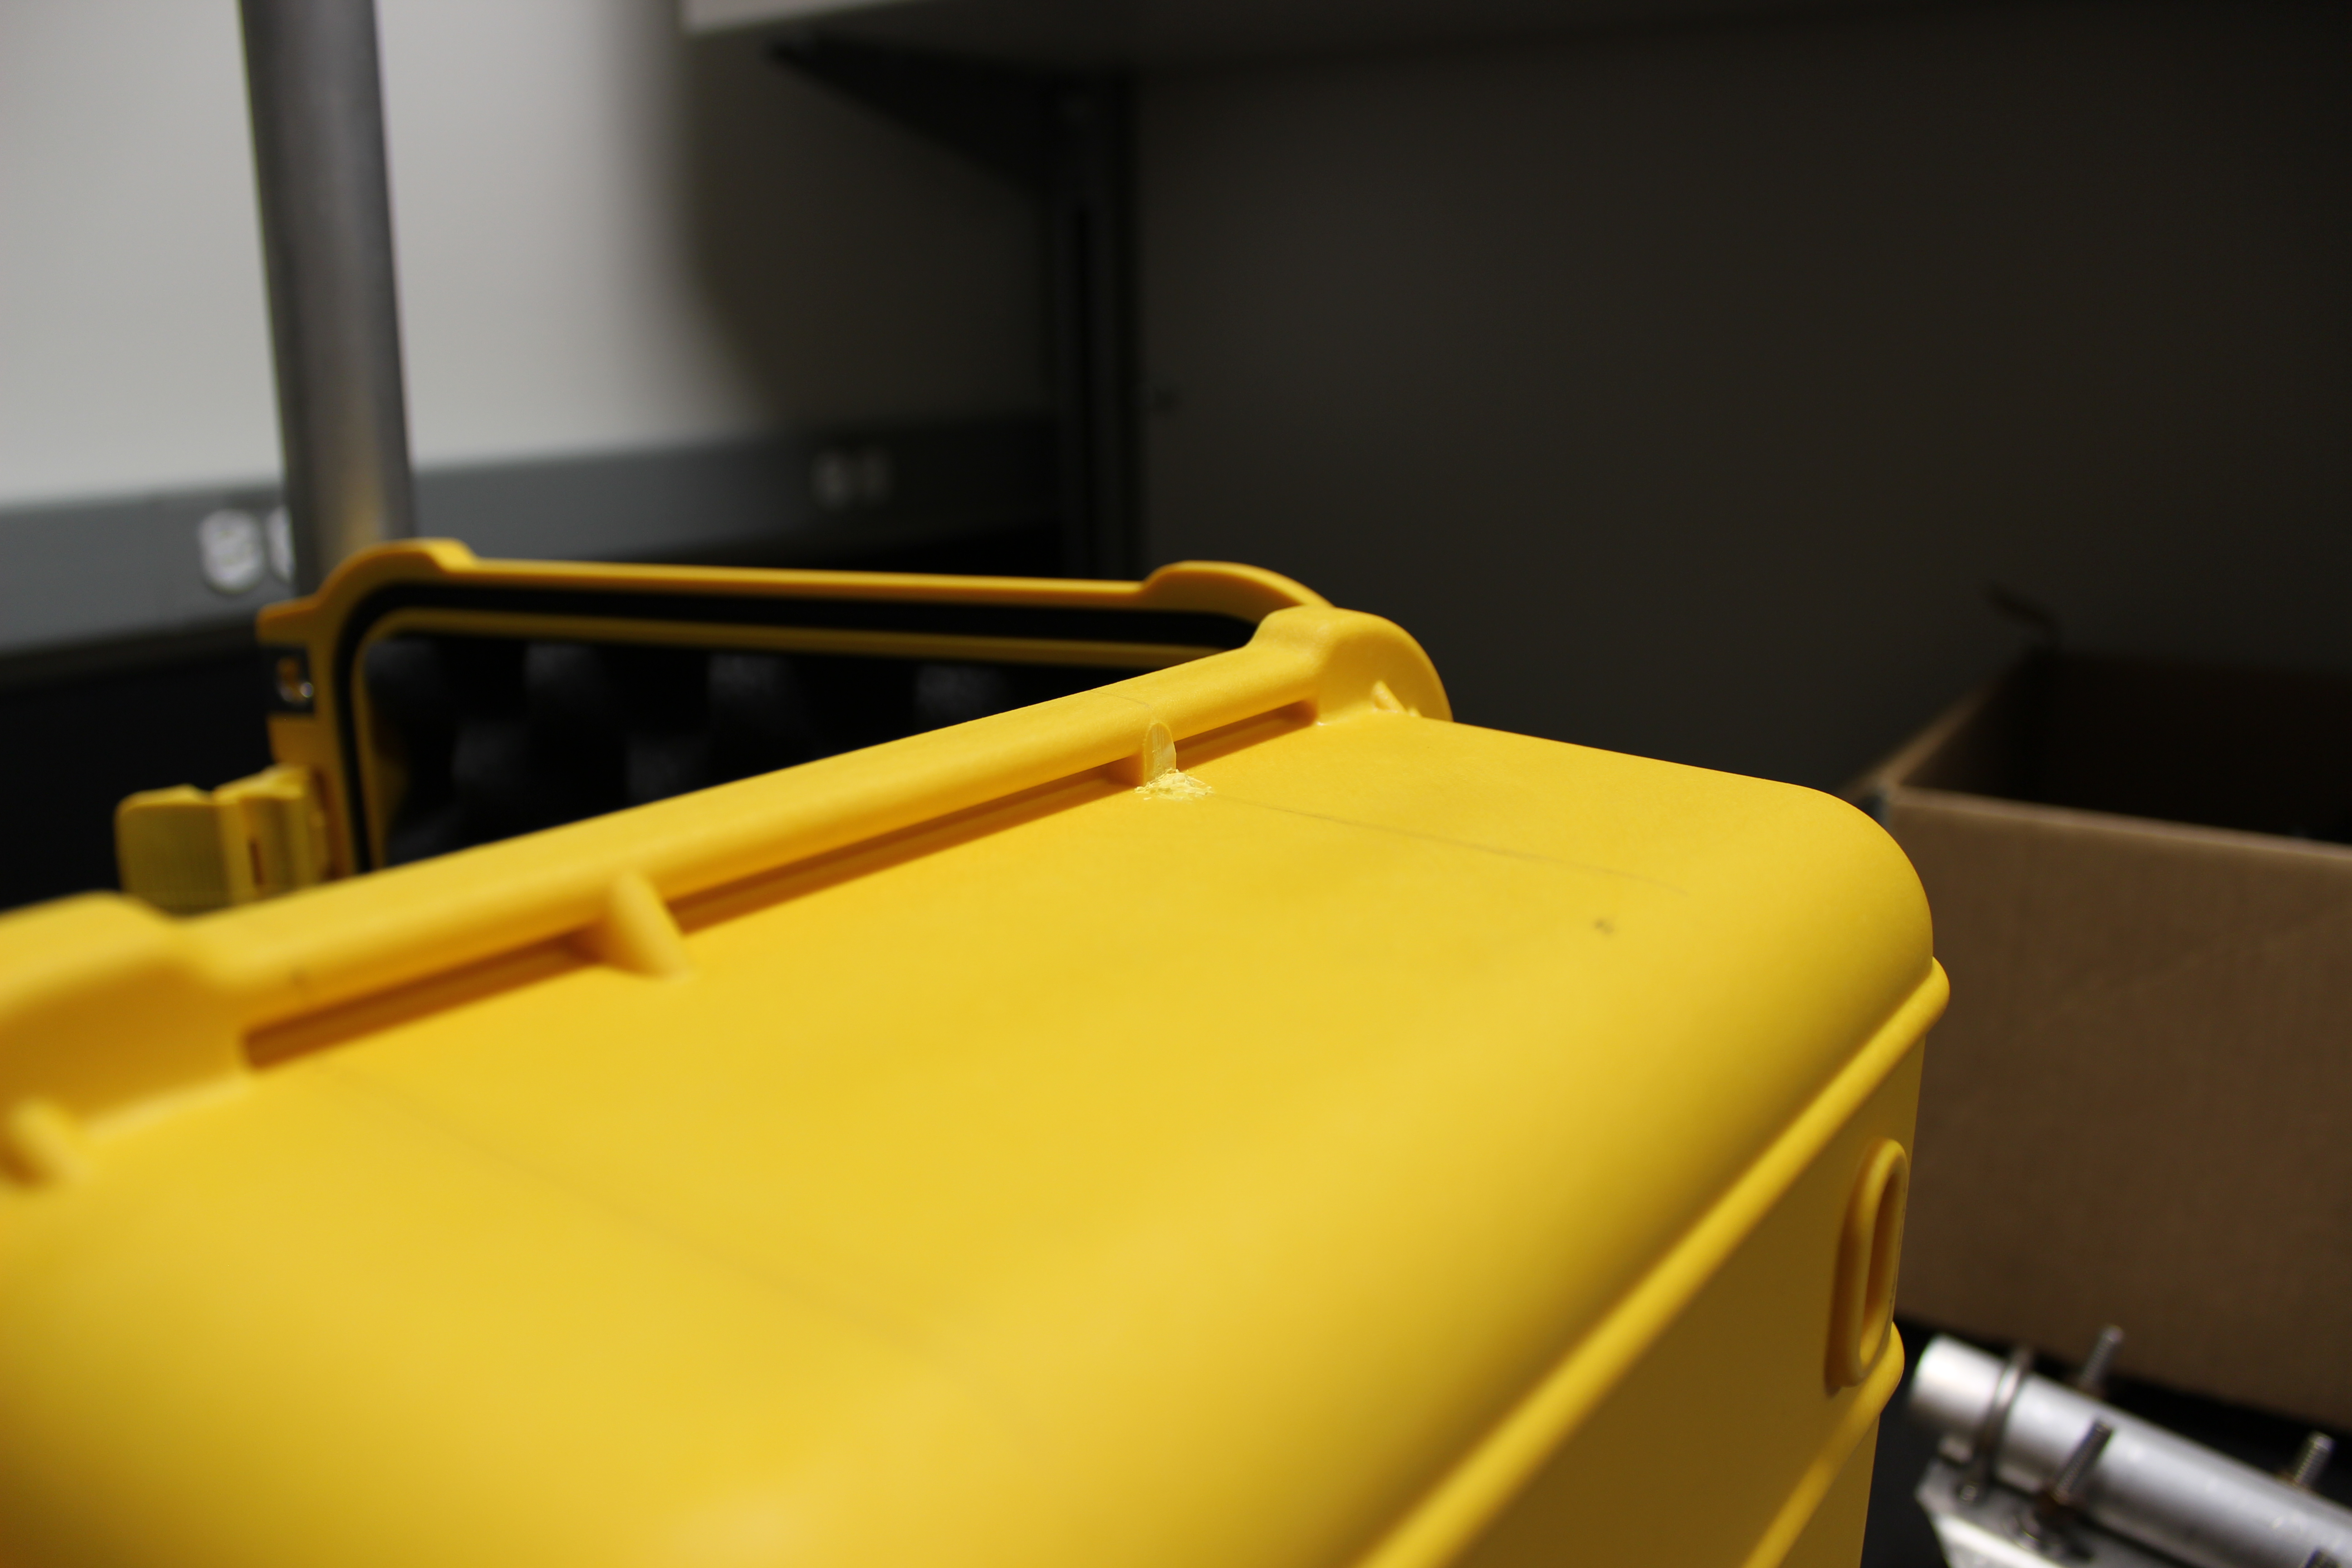
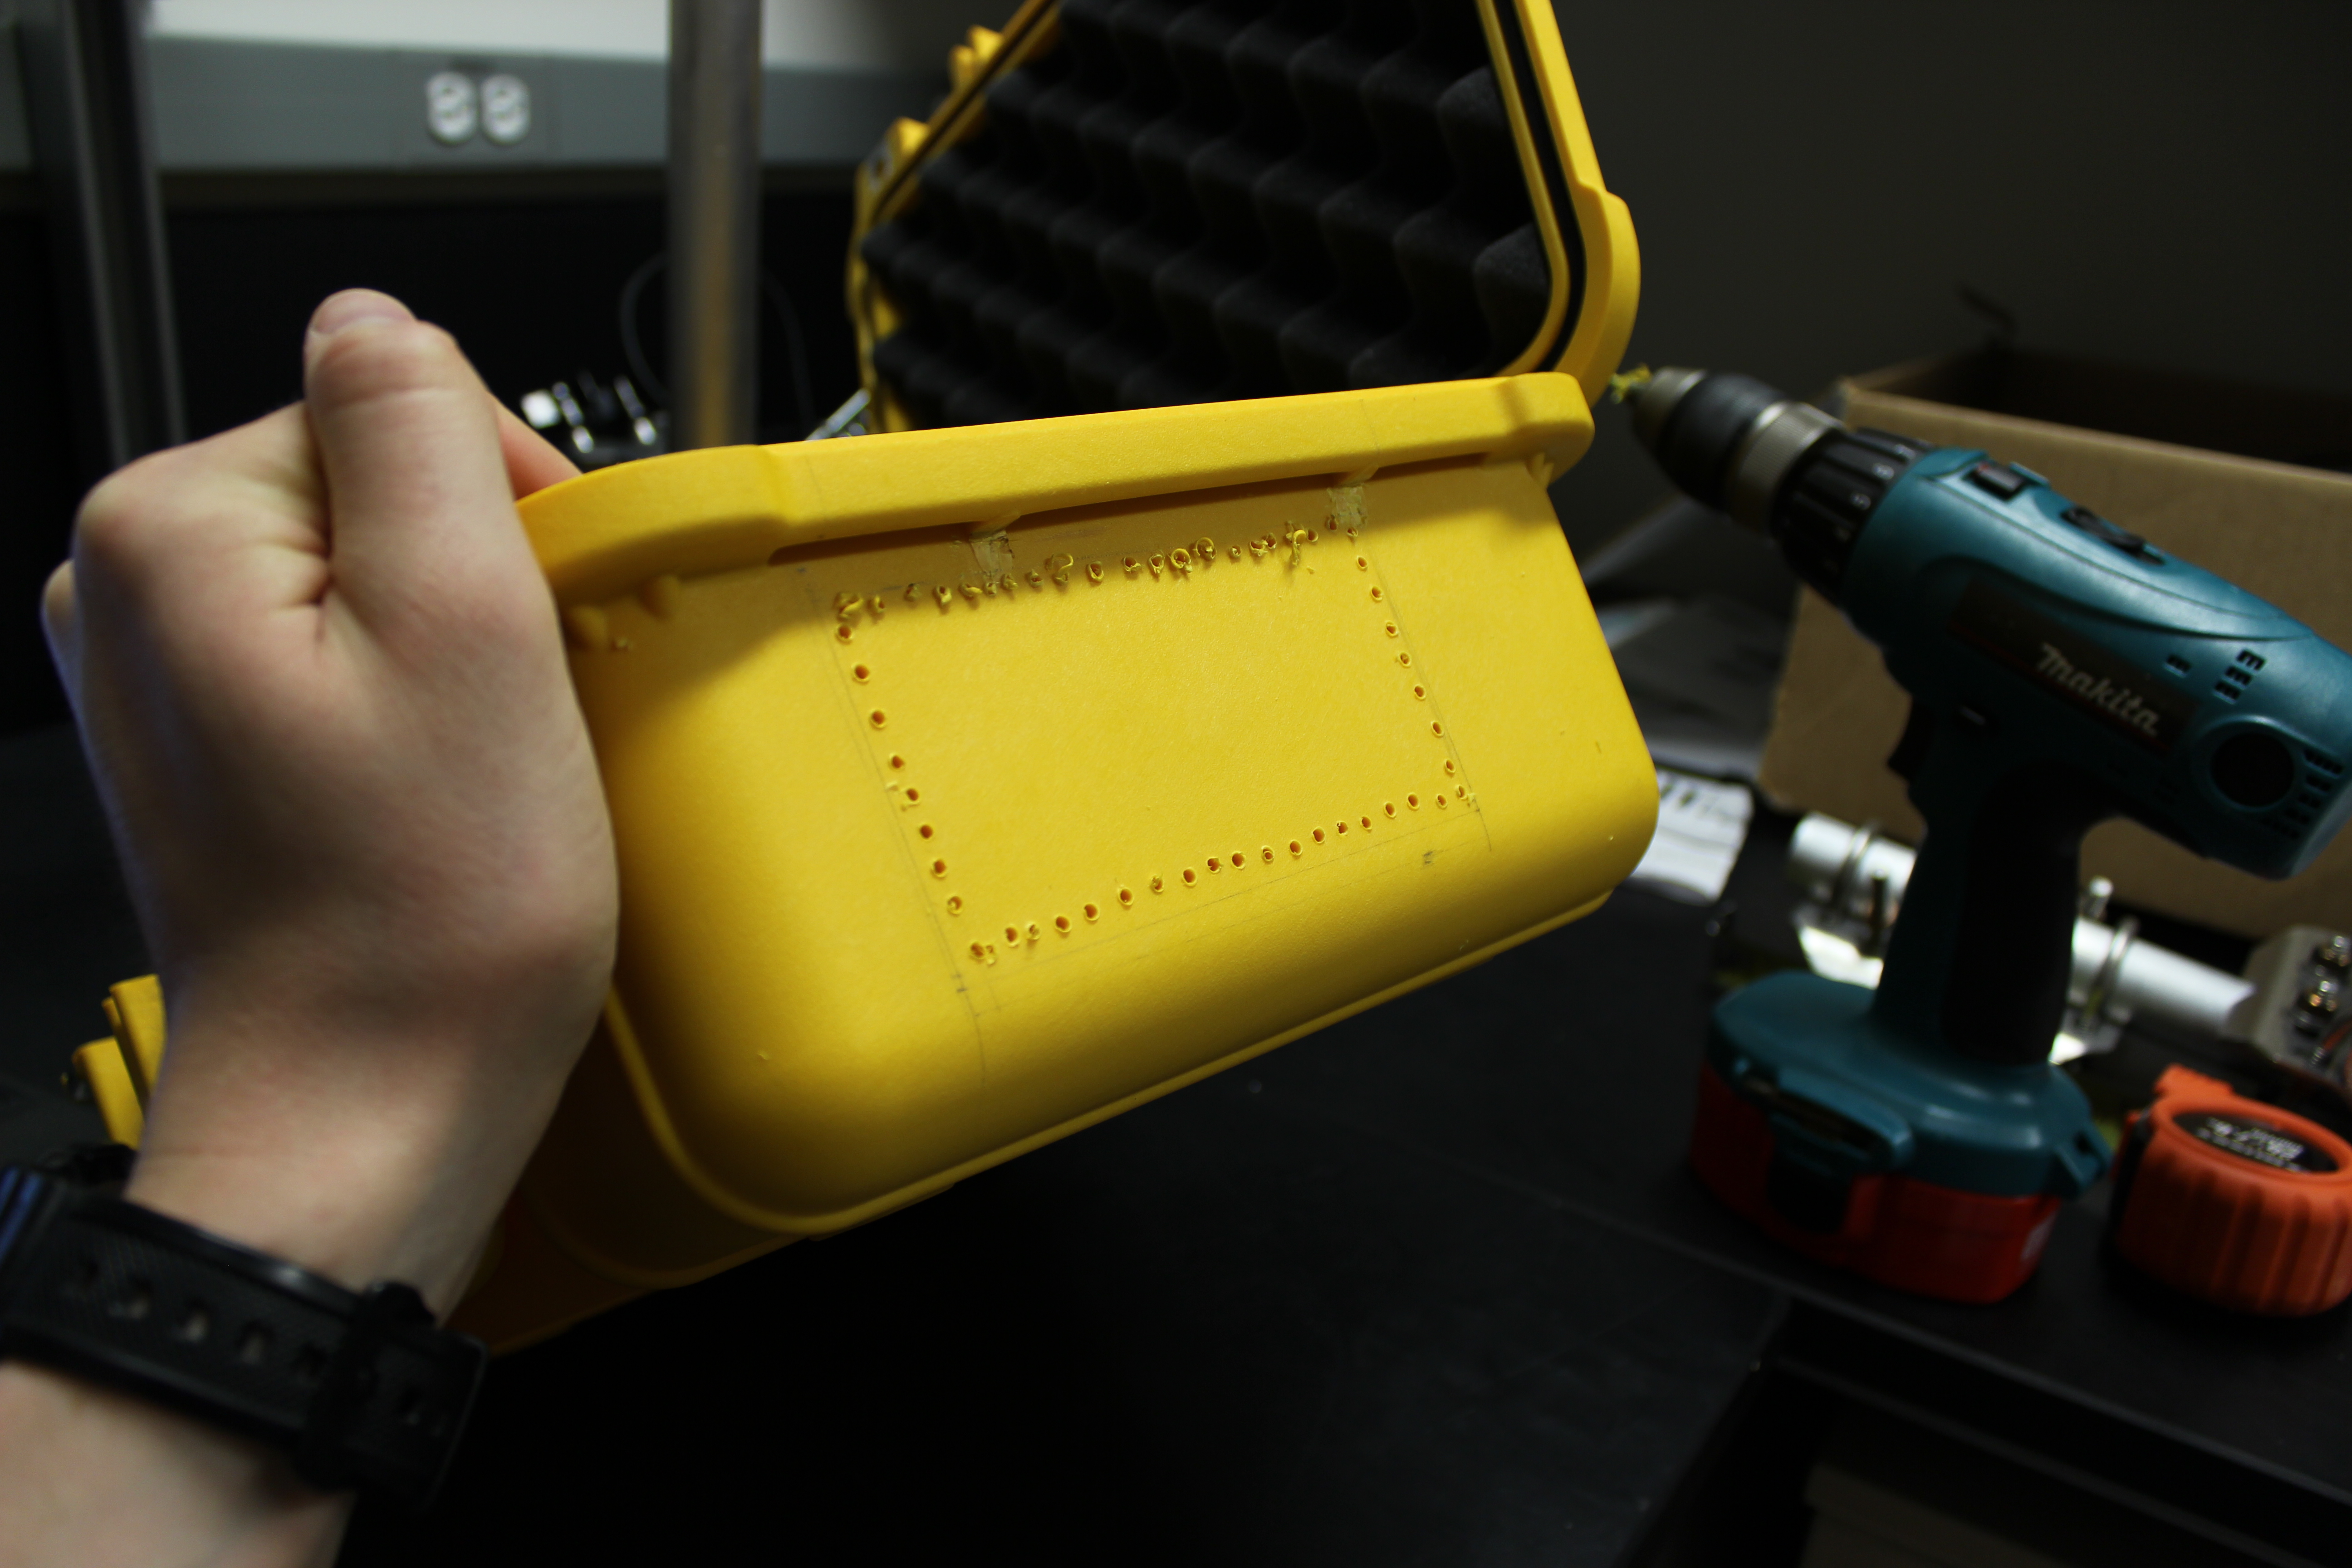
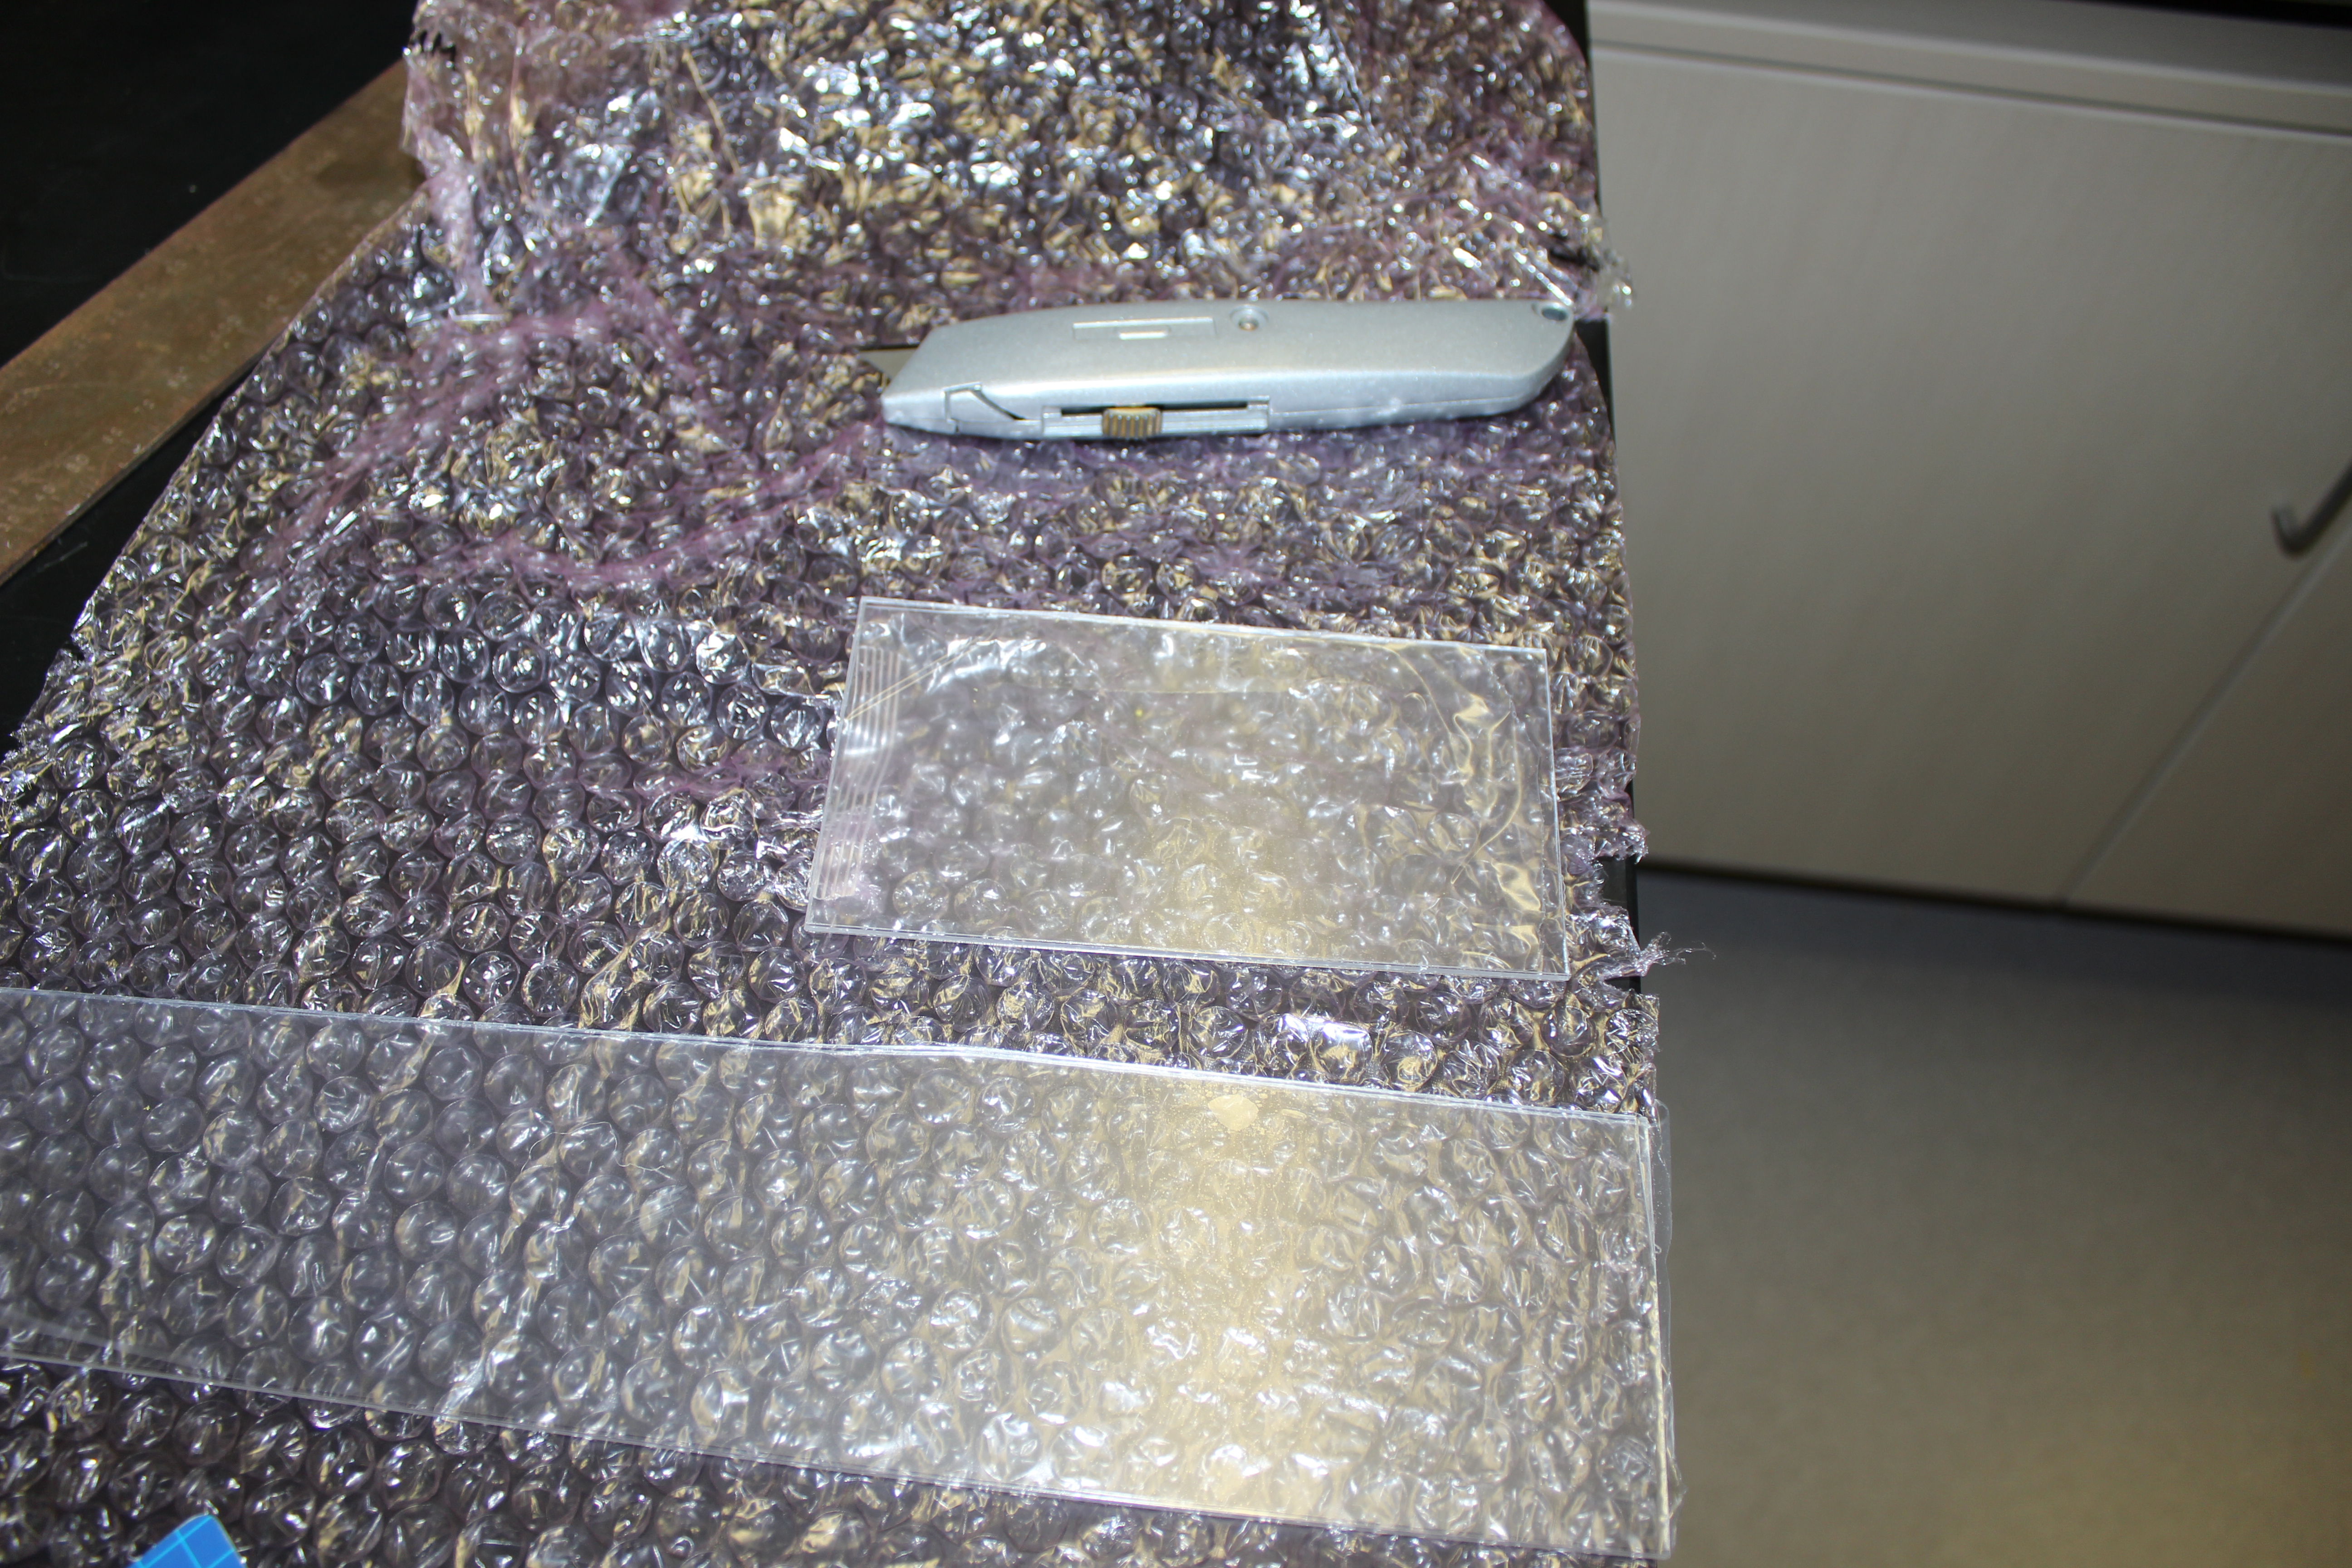
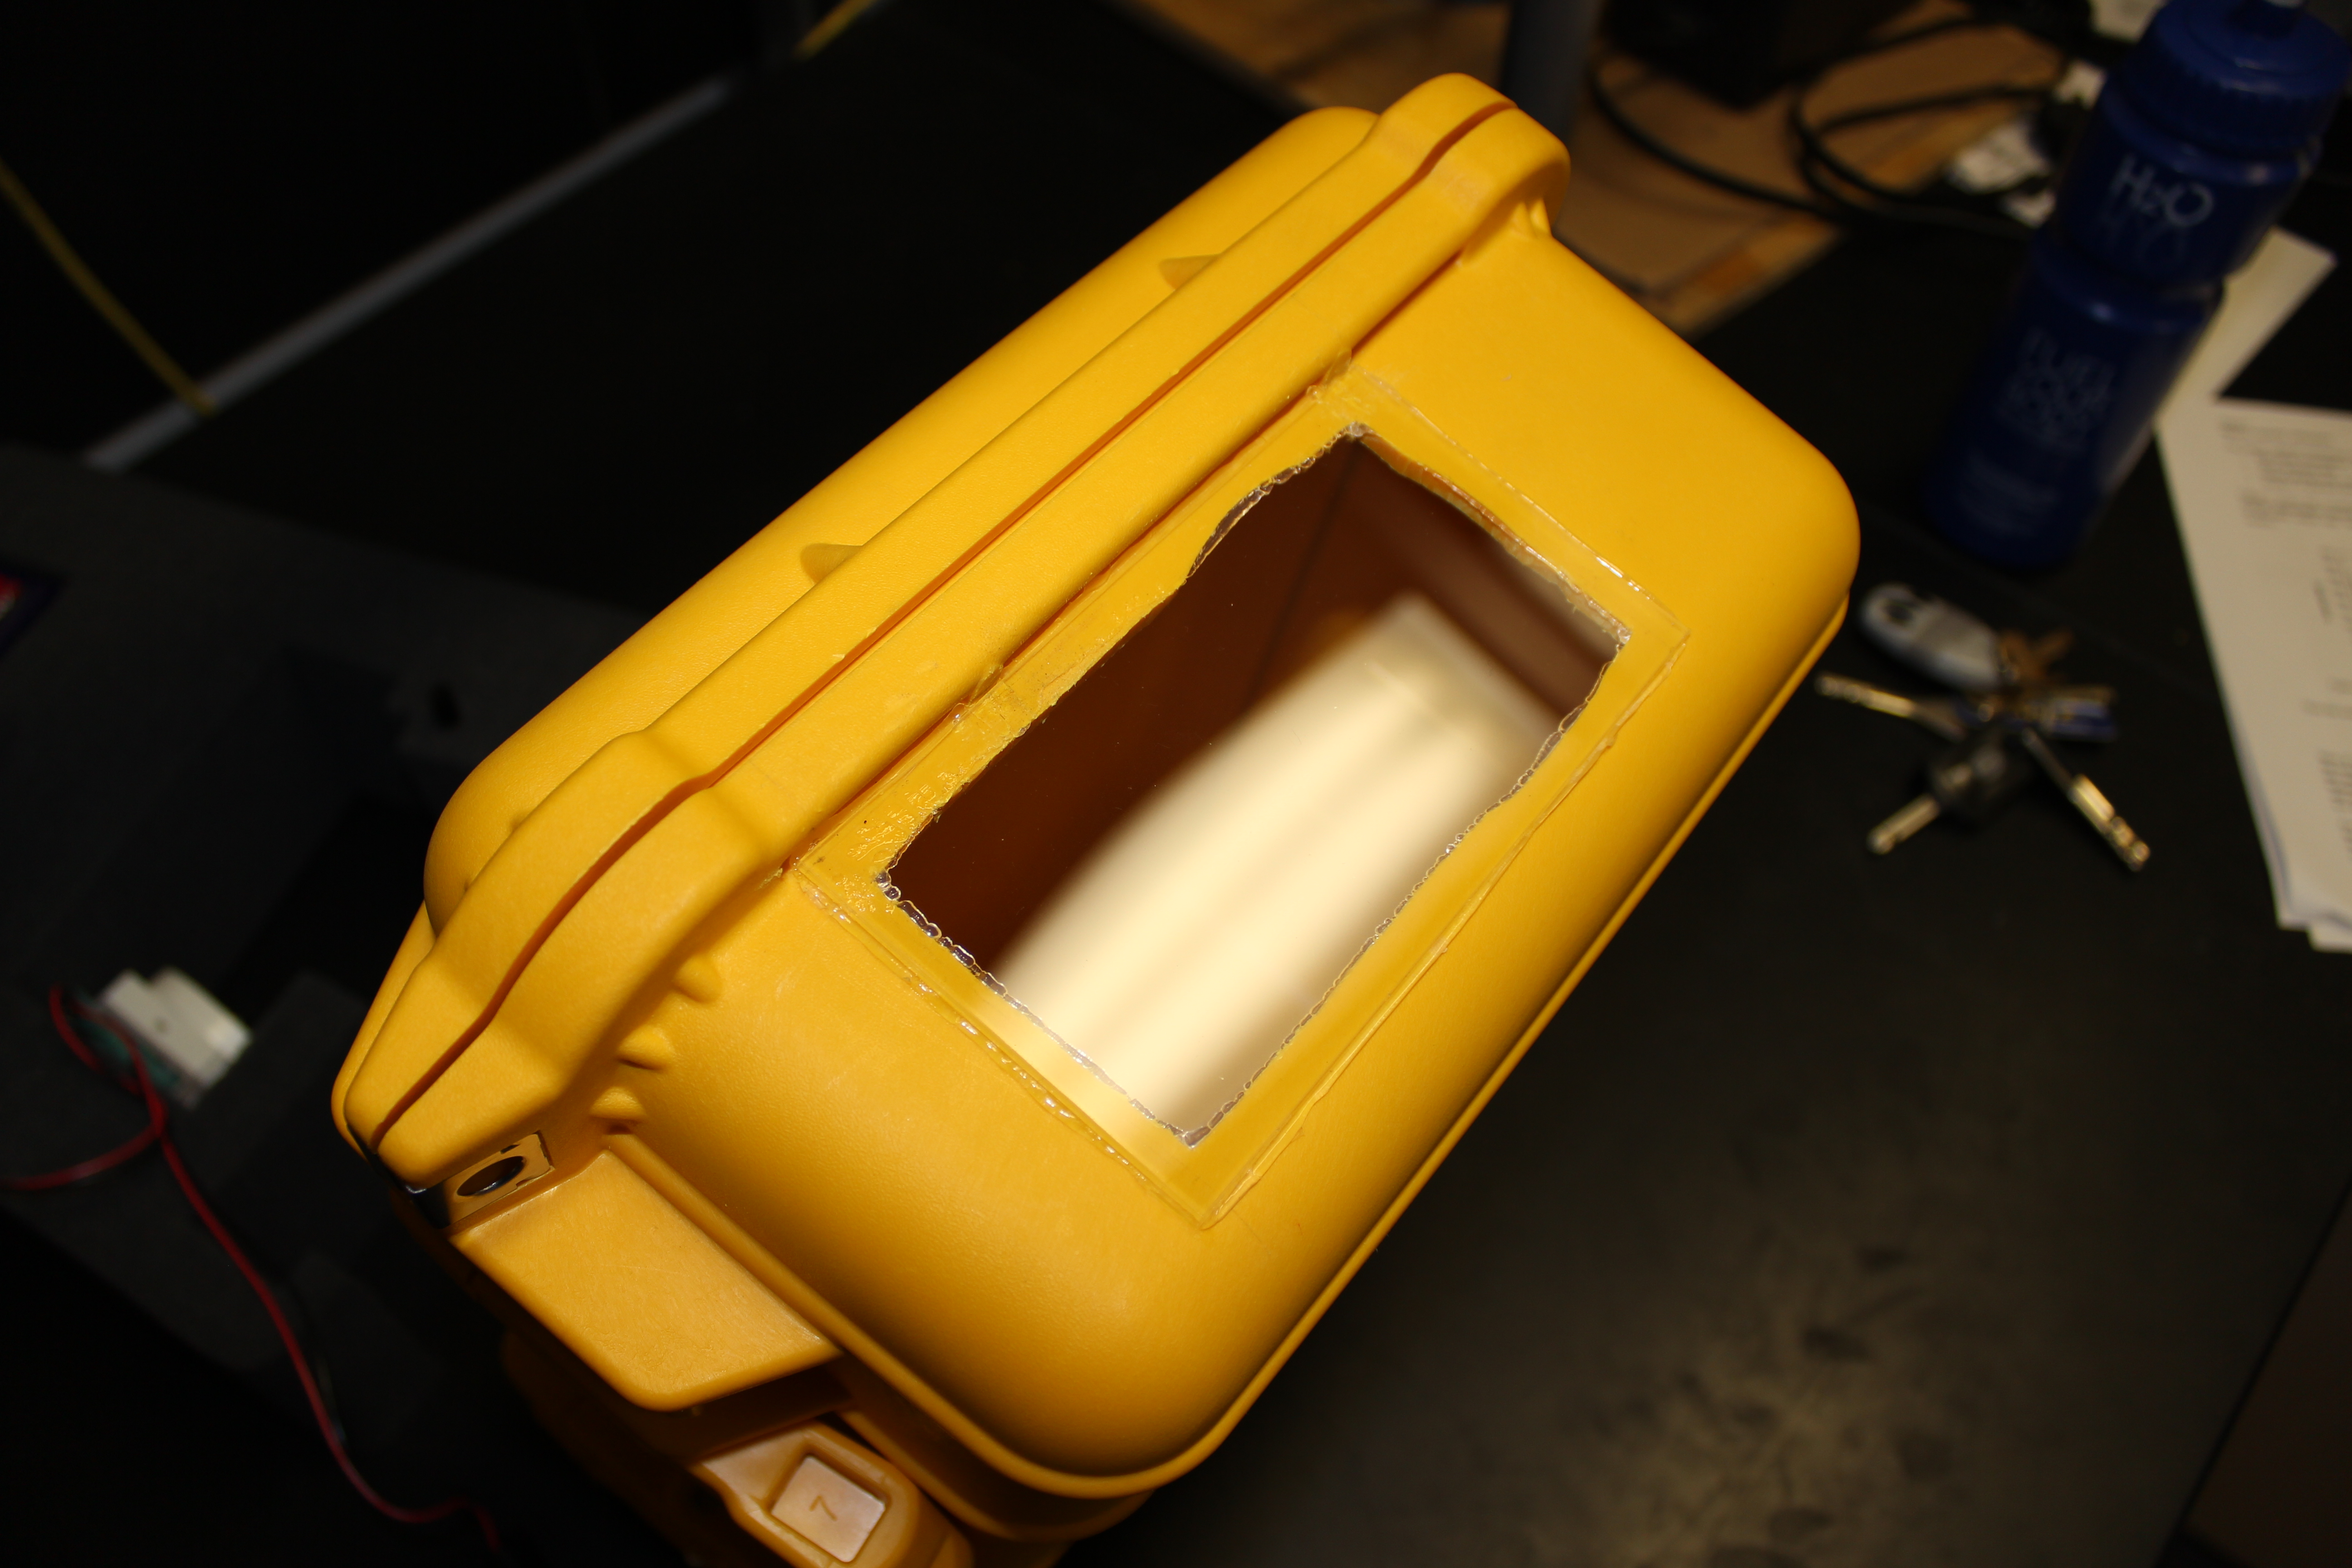
In order to weatherproof the camera rig, and keep it protected, I housed the equipment in a Pelican case. Firstly, I cut foam to fit the various components so that they are held securely in place. As a camera will not work very well in a completely opaque box, I created a window. I cut out a section of the side wall, using a drill and knife initially for the rough cut, and then a file to smooth the edges. I fitted a piece of clear acrylic for the window; I chose transparent acrylic rather than glass as it is easier to cut and is less likely to scratch or break . I bought acrylic that had a protective removable plastic covering (like cling film) which I left on until the end of building so as to avoided scratches. Basically, I treated the window like I would a lens. I used a silicone glue to attach the acrylic to the box, and left it to cure for 24 hours.
Pelican case, with foam cut out to fit camera etc.
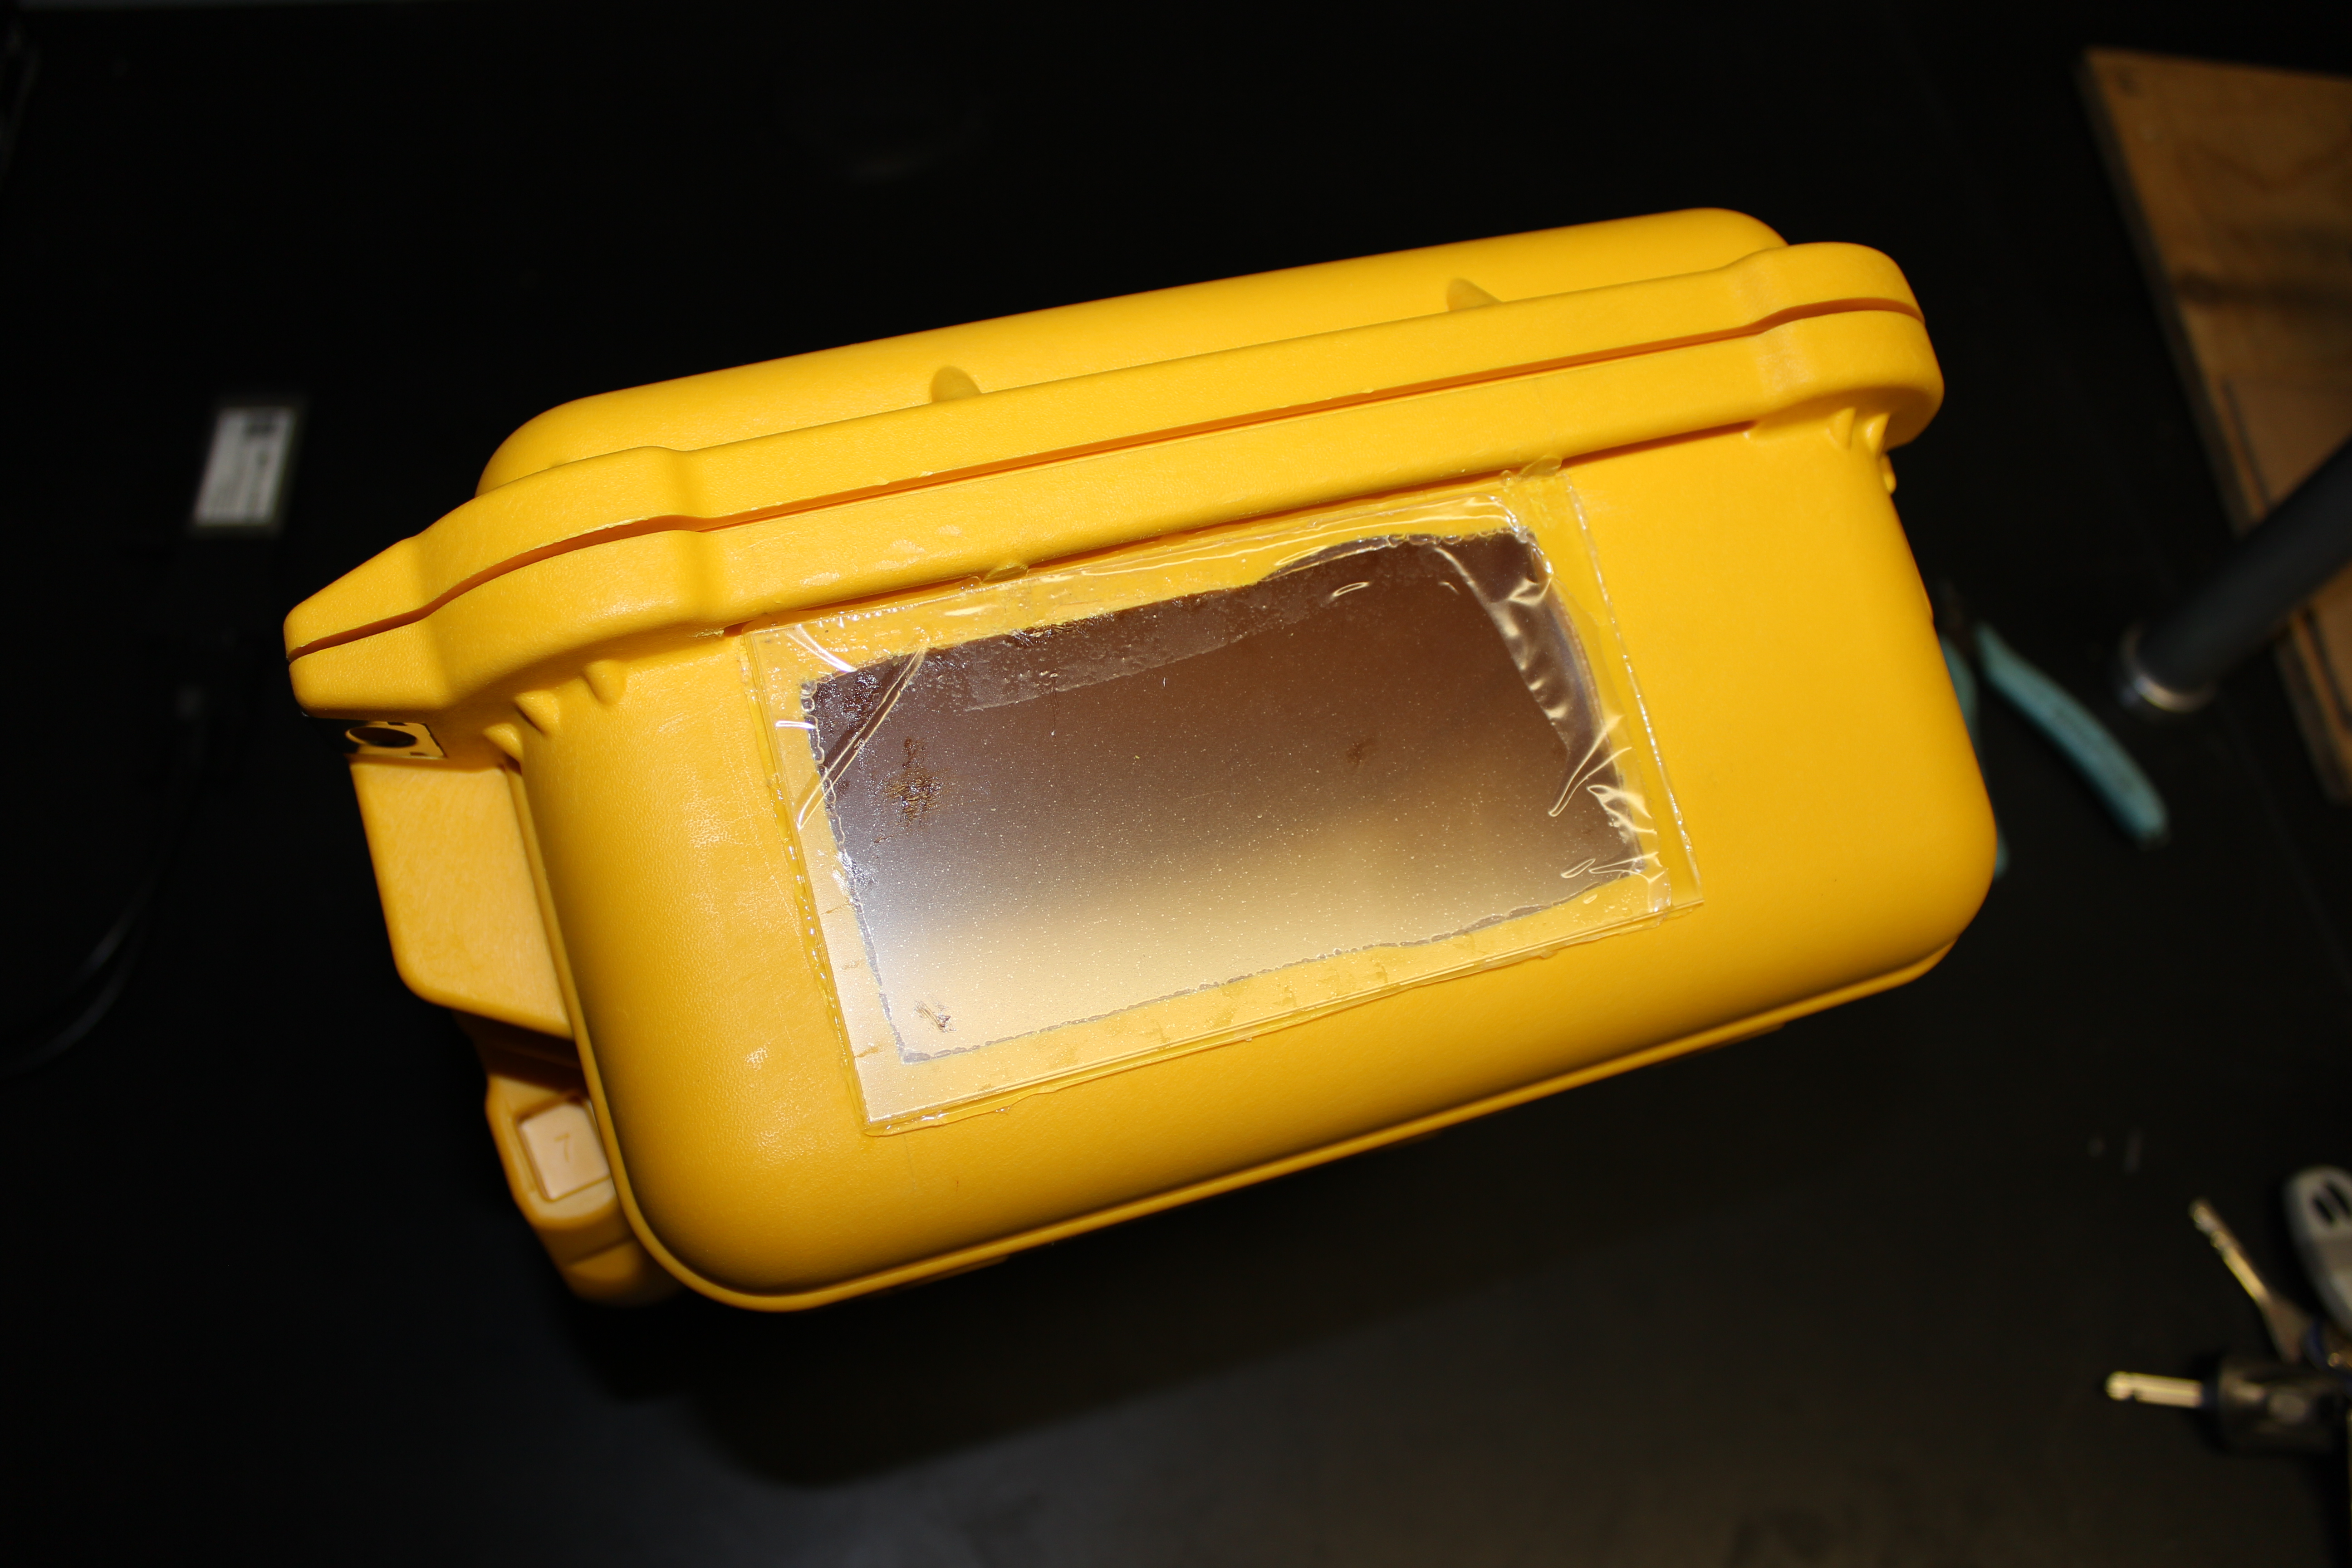
Won’t be able to see much through that.
Completed camera rig
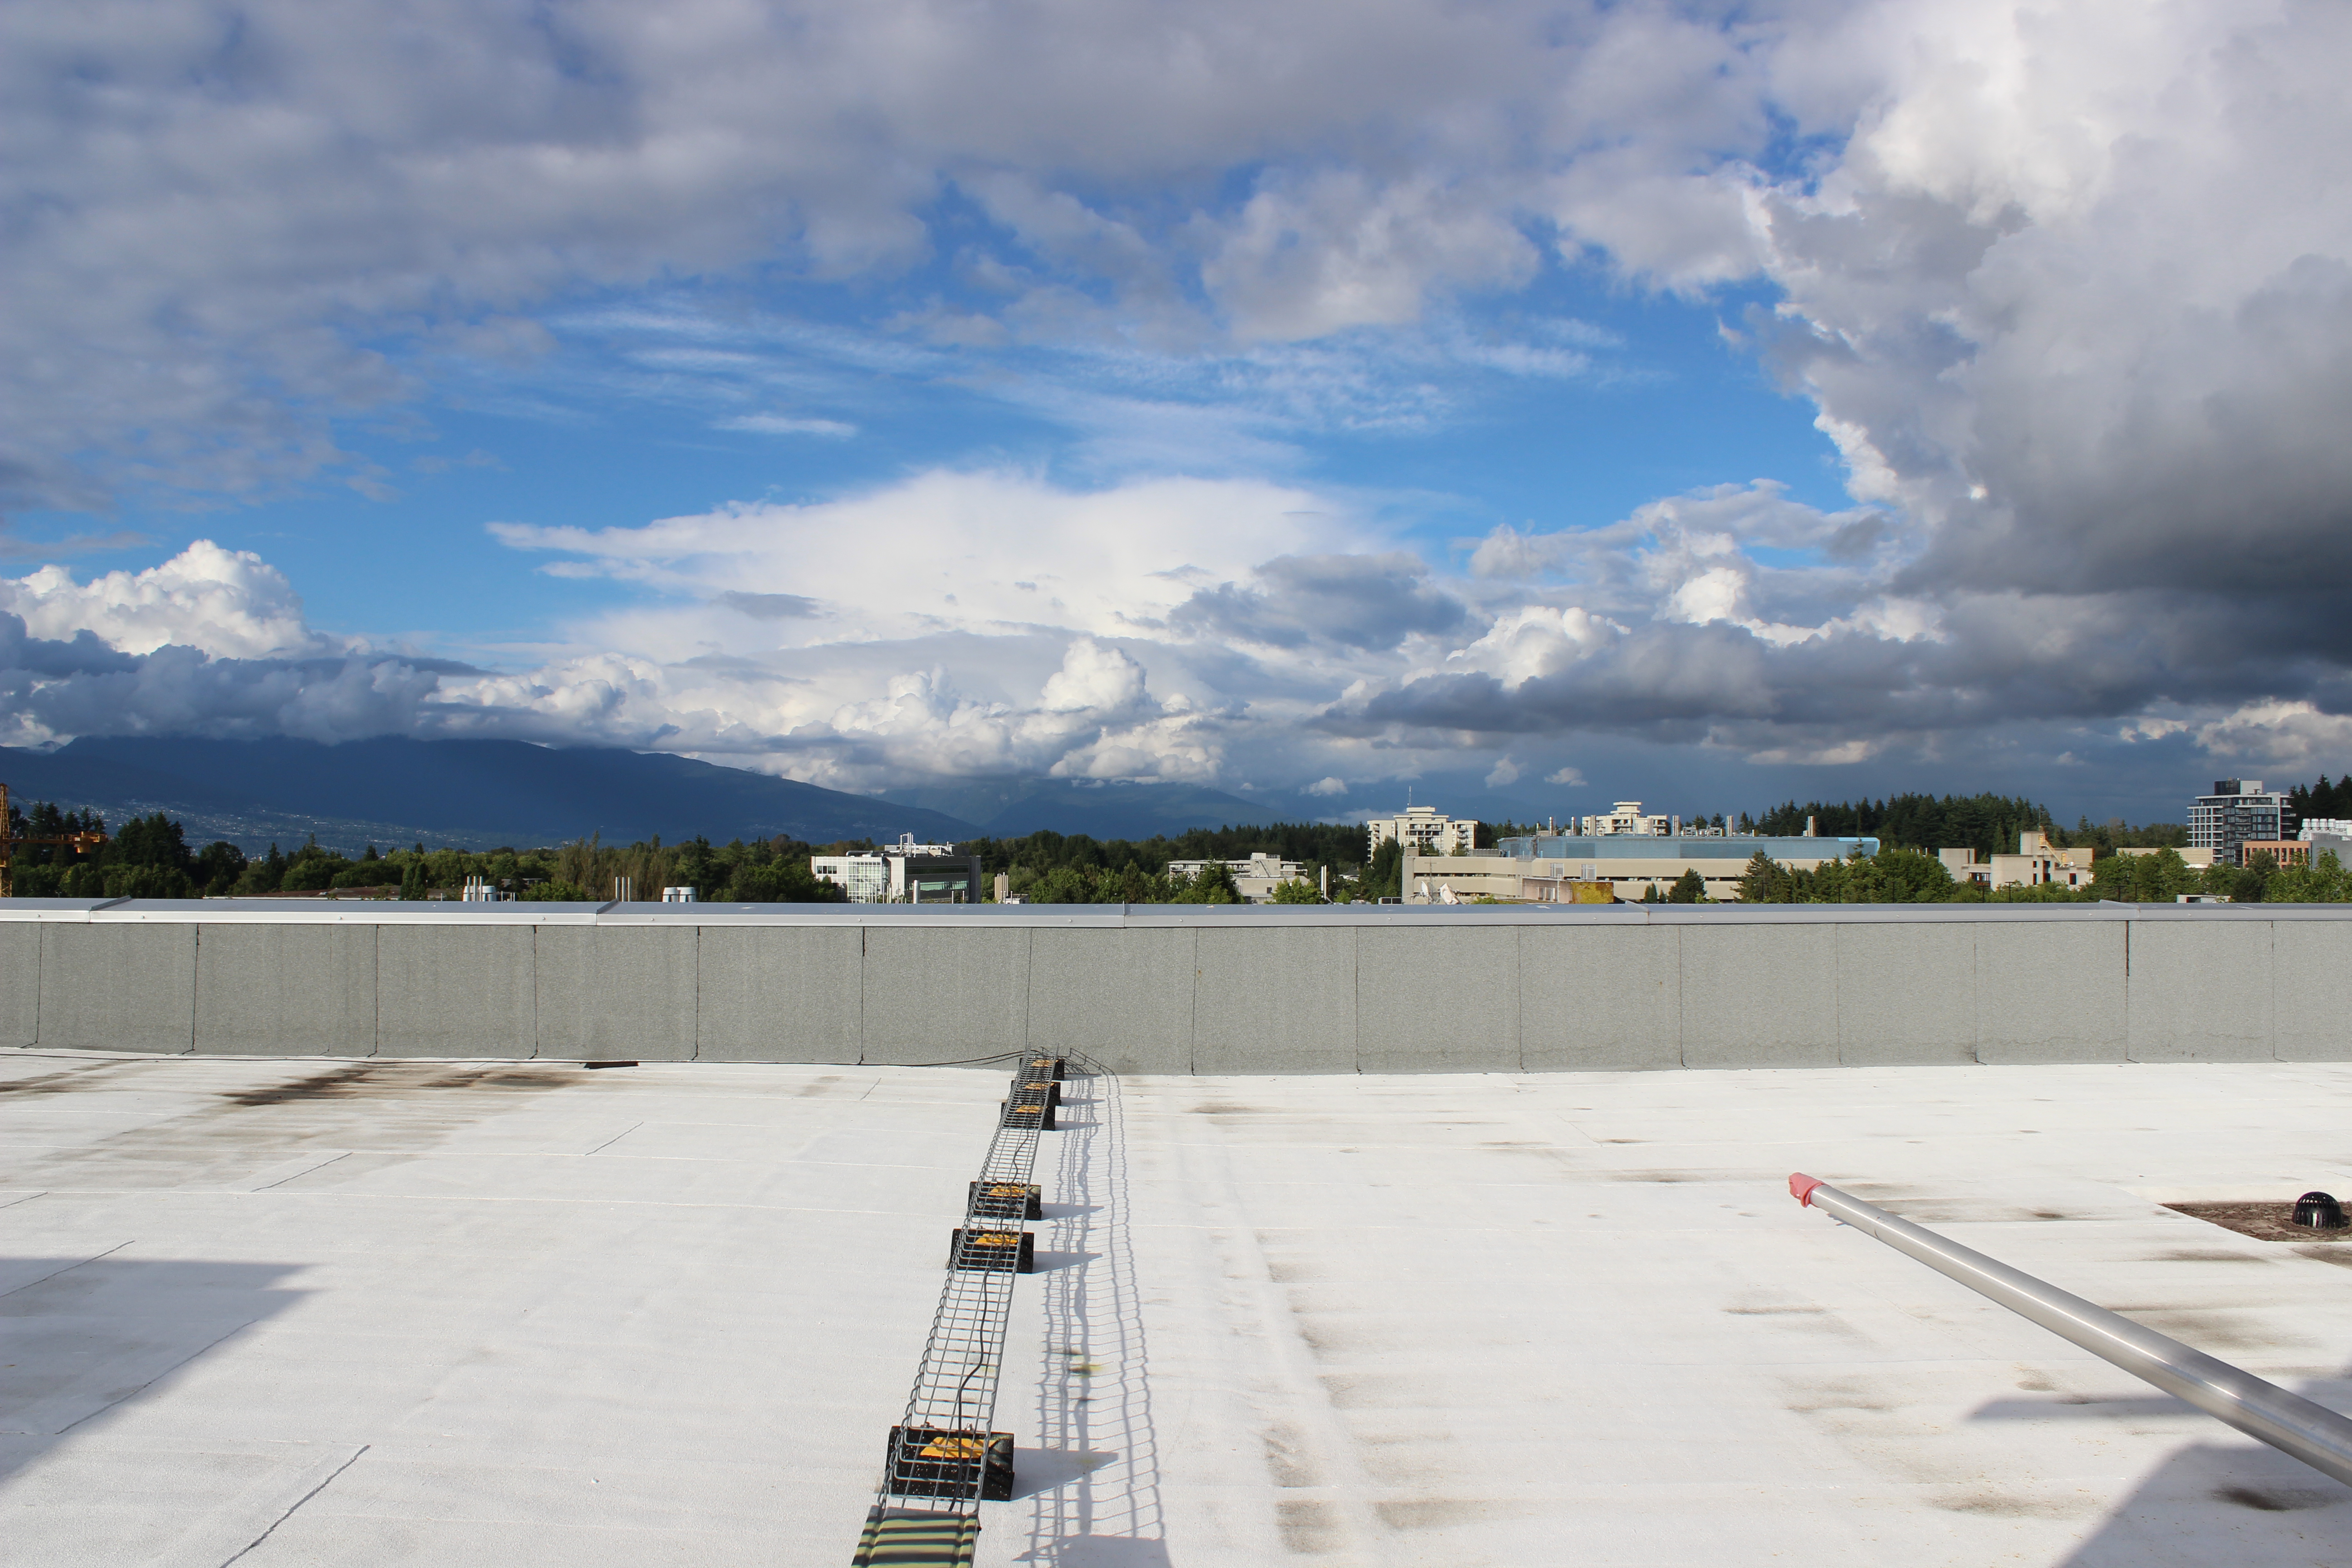
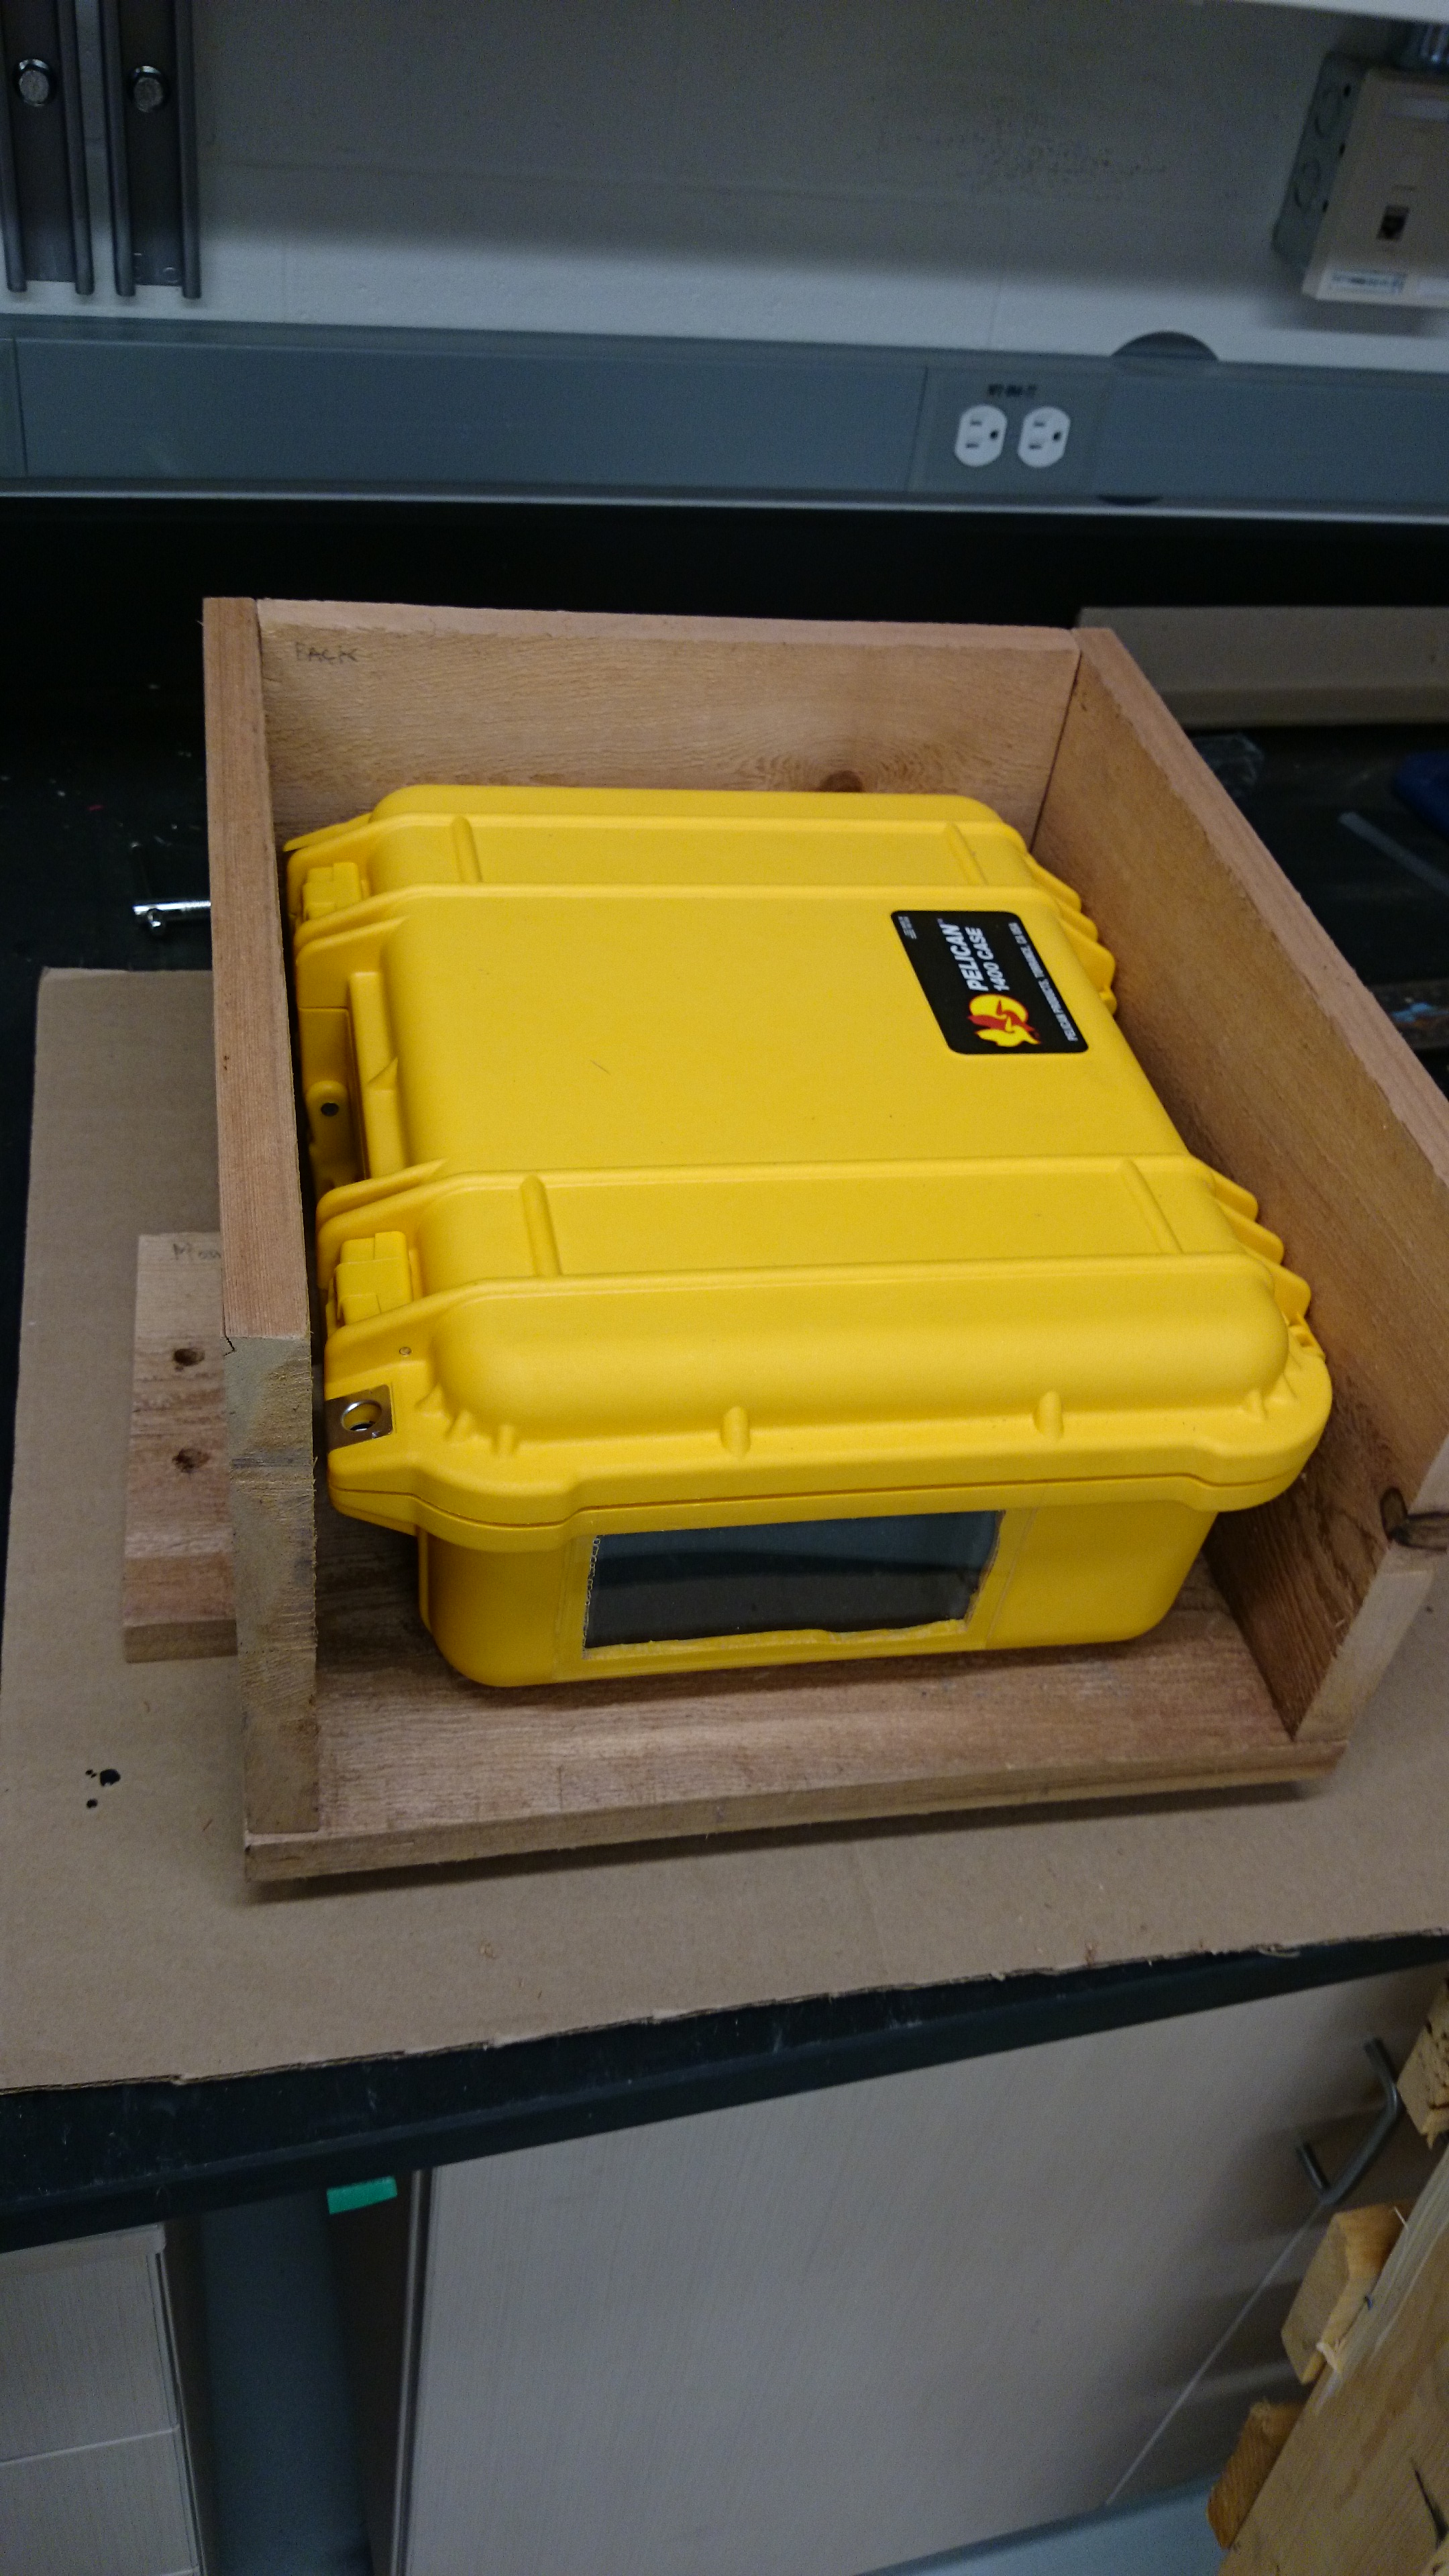
I test ran the camera on the roof of the Earth, Ocean, and Atmospheric Sciences Department here at UBC over the course of a few days, and it performed well. At the glacier, I will install the camera box in an additional wooden shelter (which I’m currently building), in order to keep it in a steady position, and to provide additional protection from anything that might damage or obscure the window. It will be set up to take images every three hours, and will hopefully provide reference and context for our data.
Testing on the roof of my department at UBC.Daytime image from test run of camera, looking east from UBC.Nighttime image from test run.
Update (July 4th 2014):
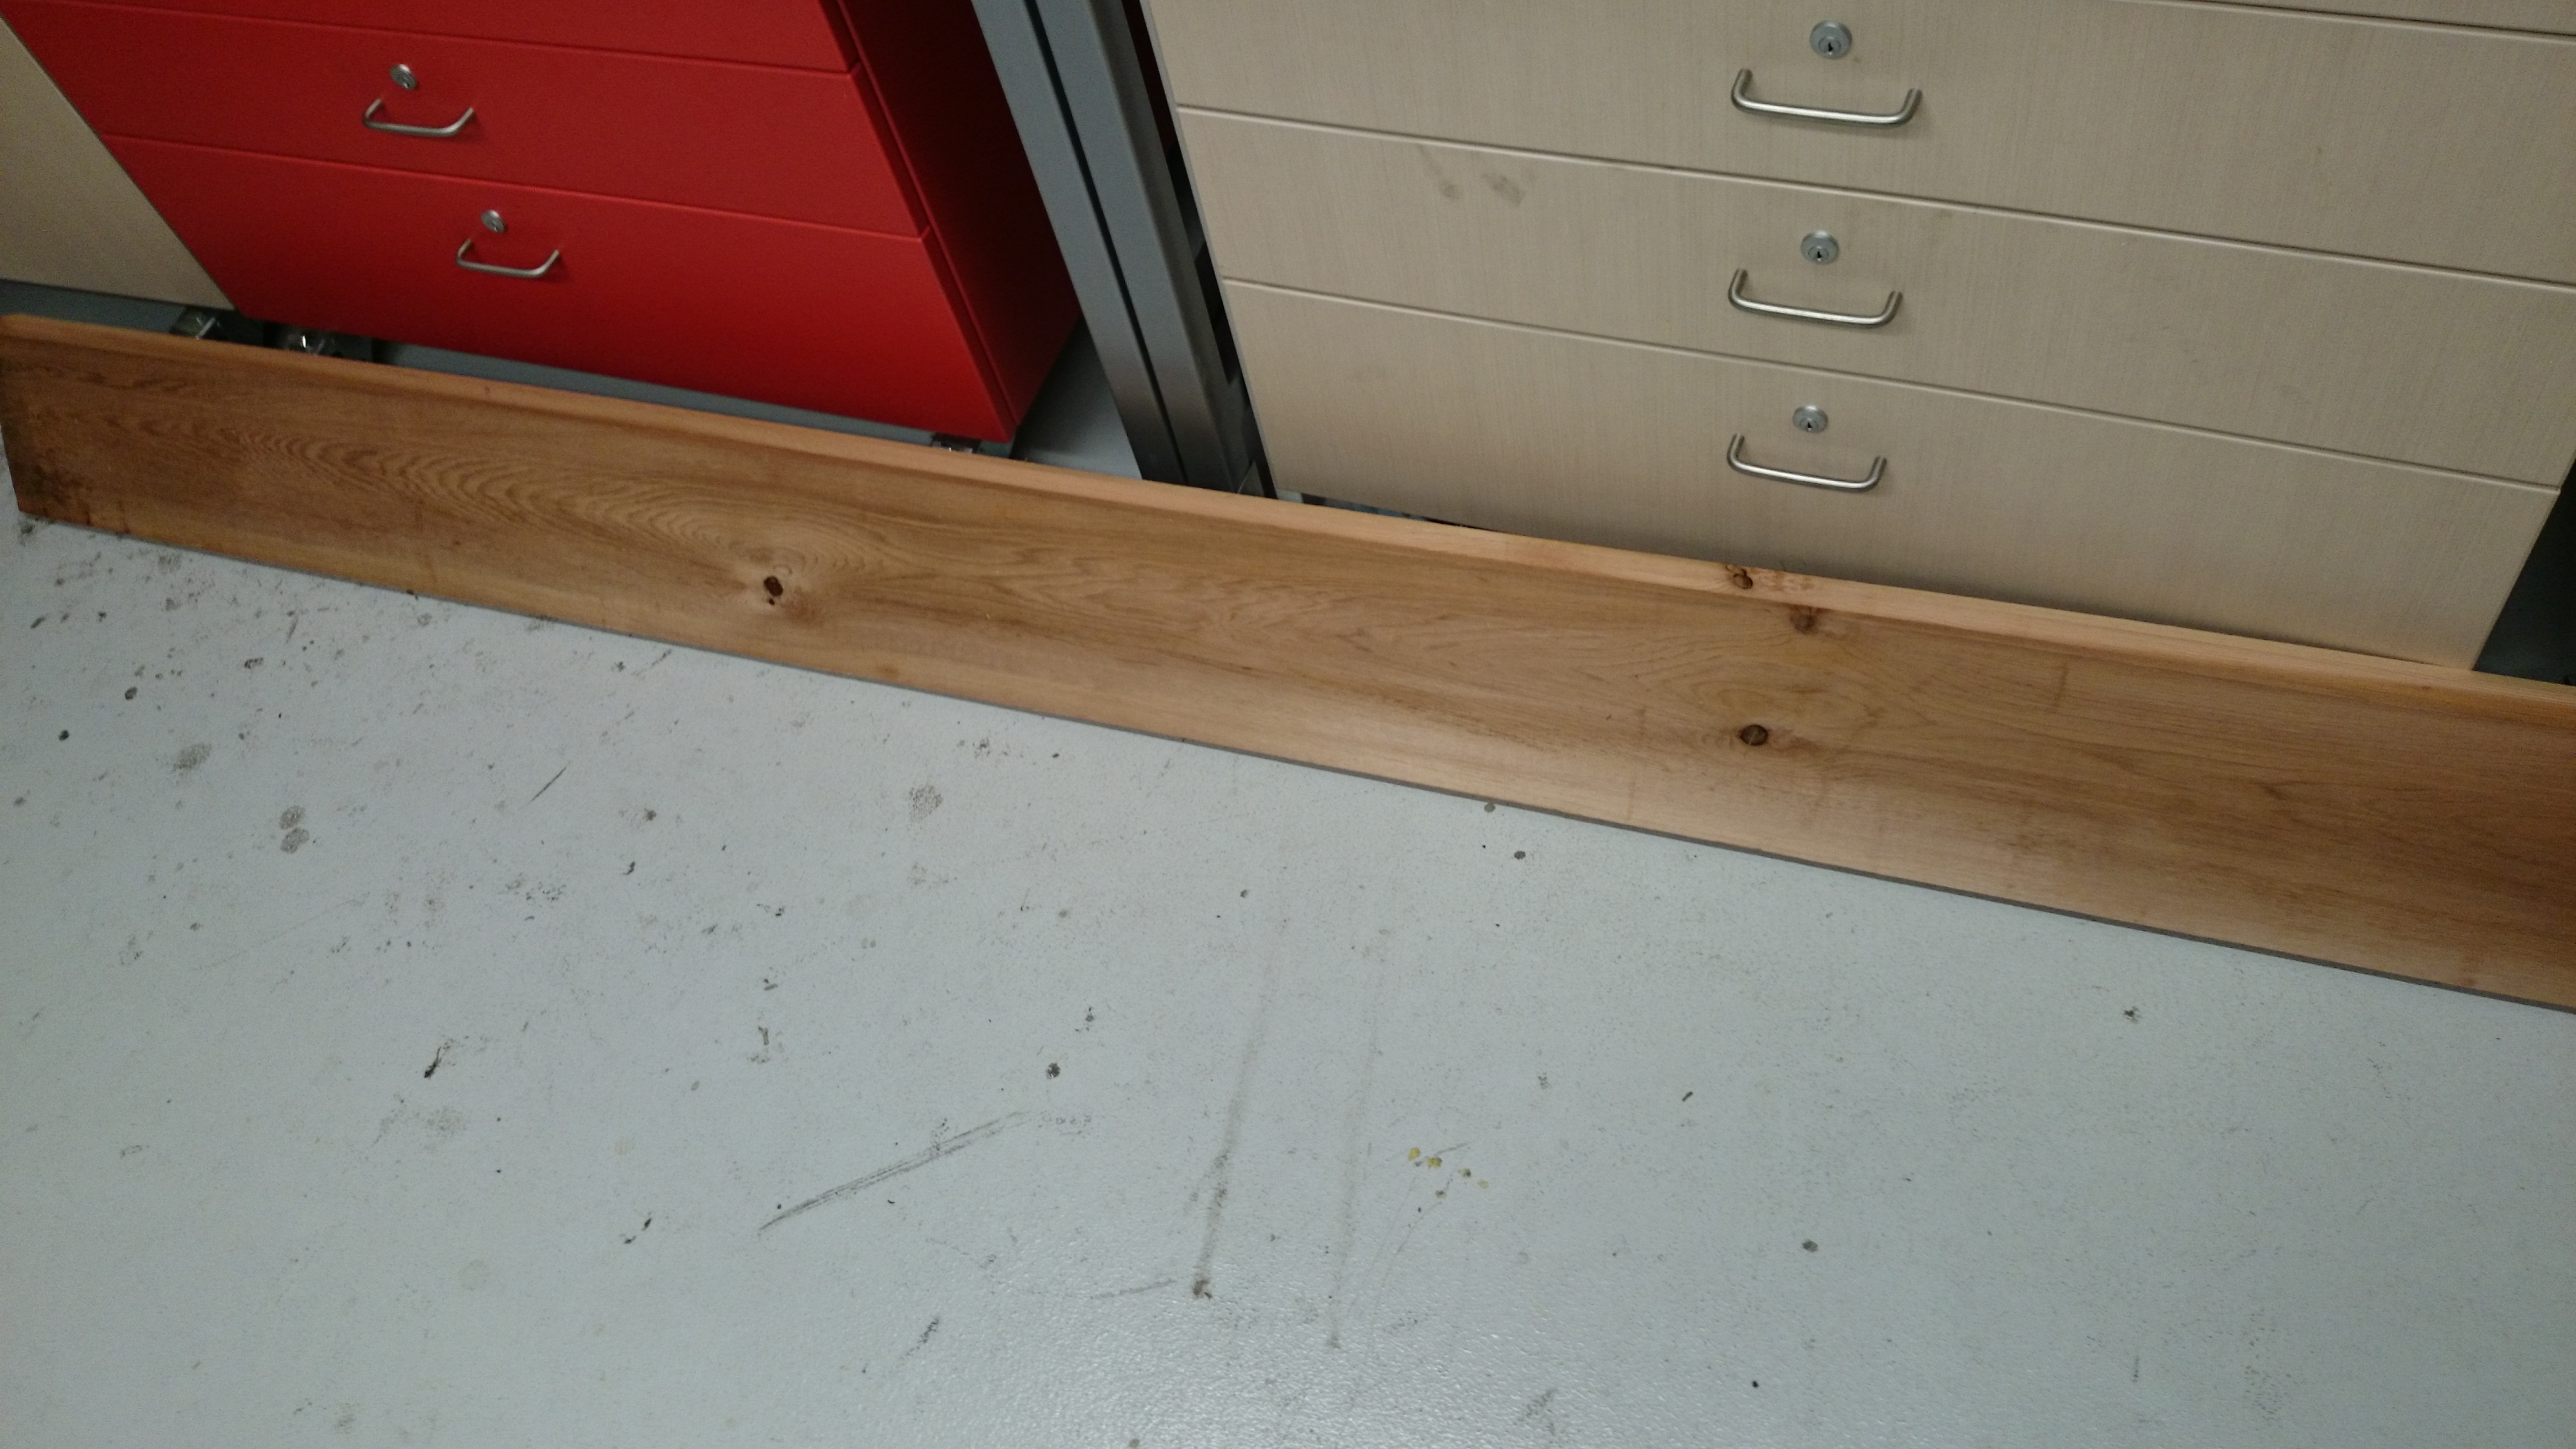
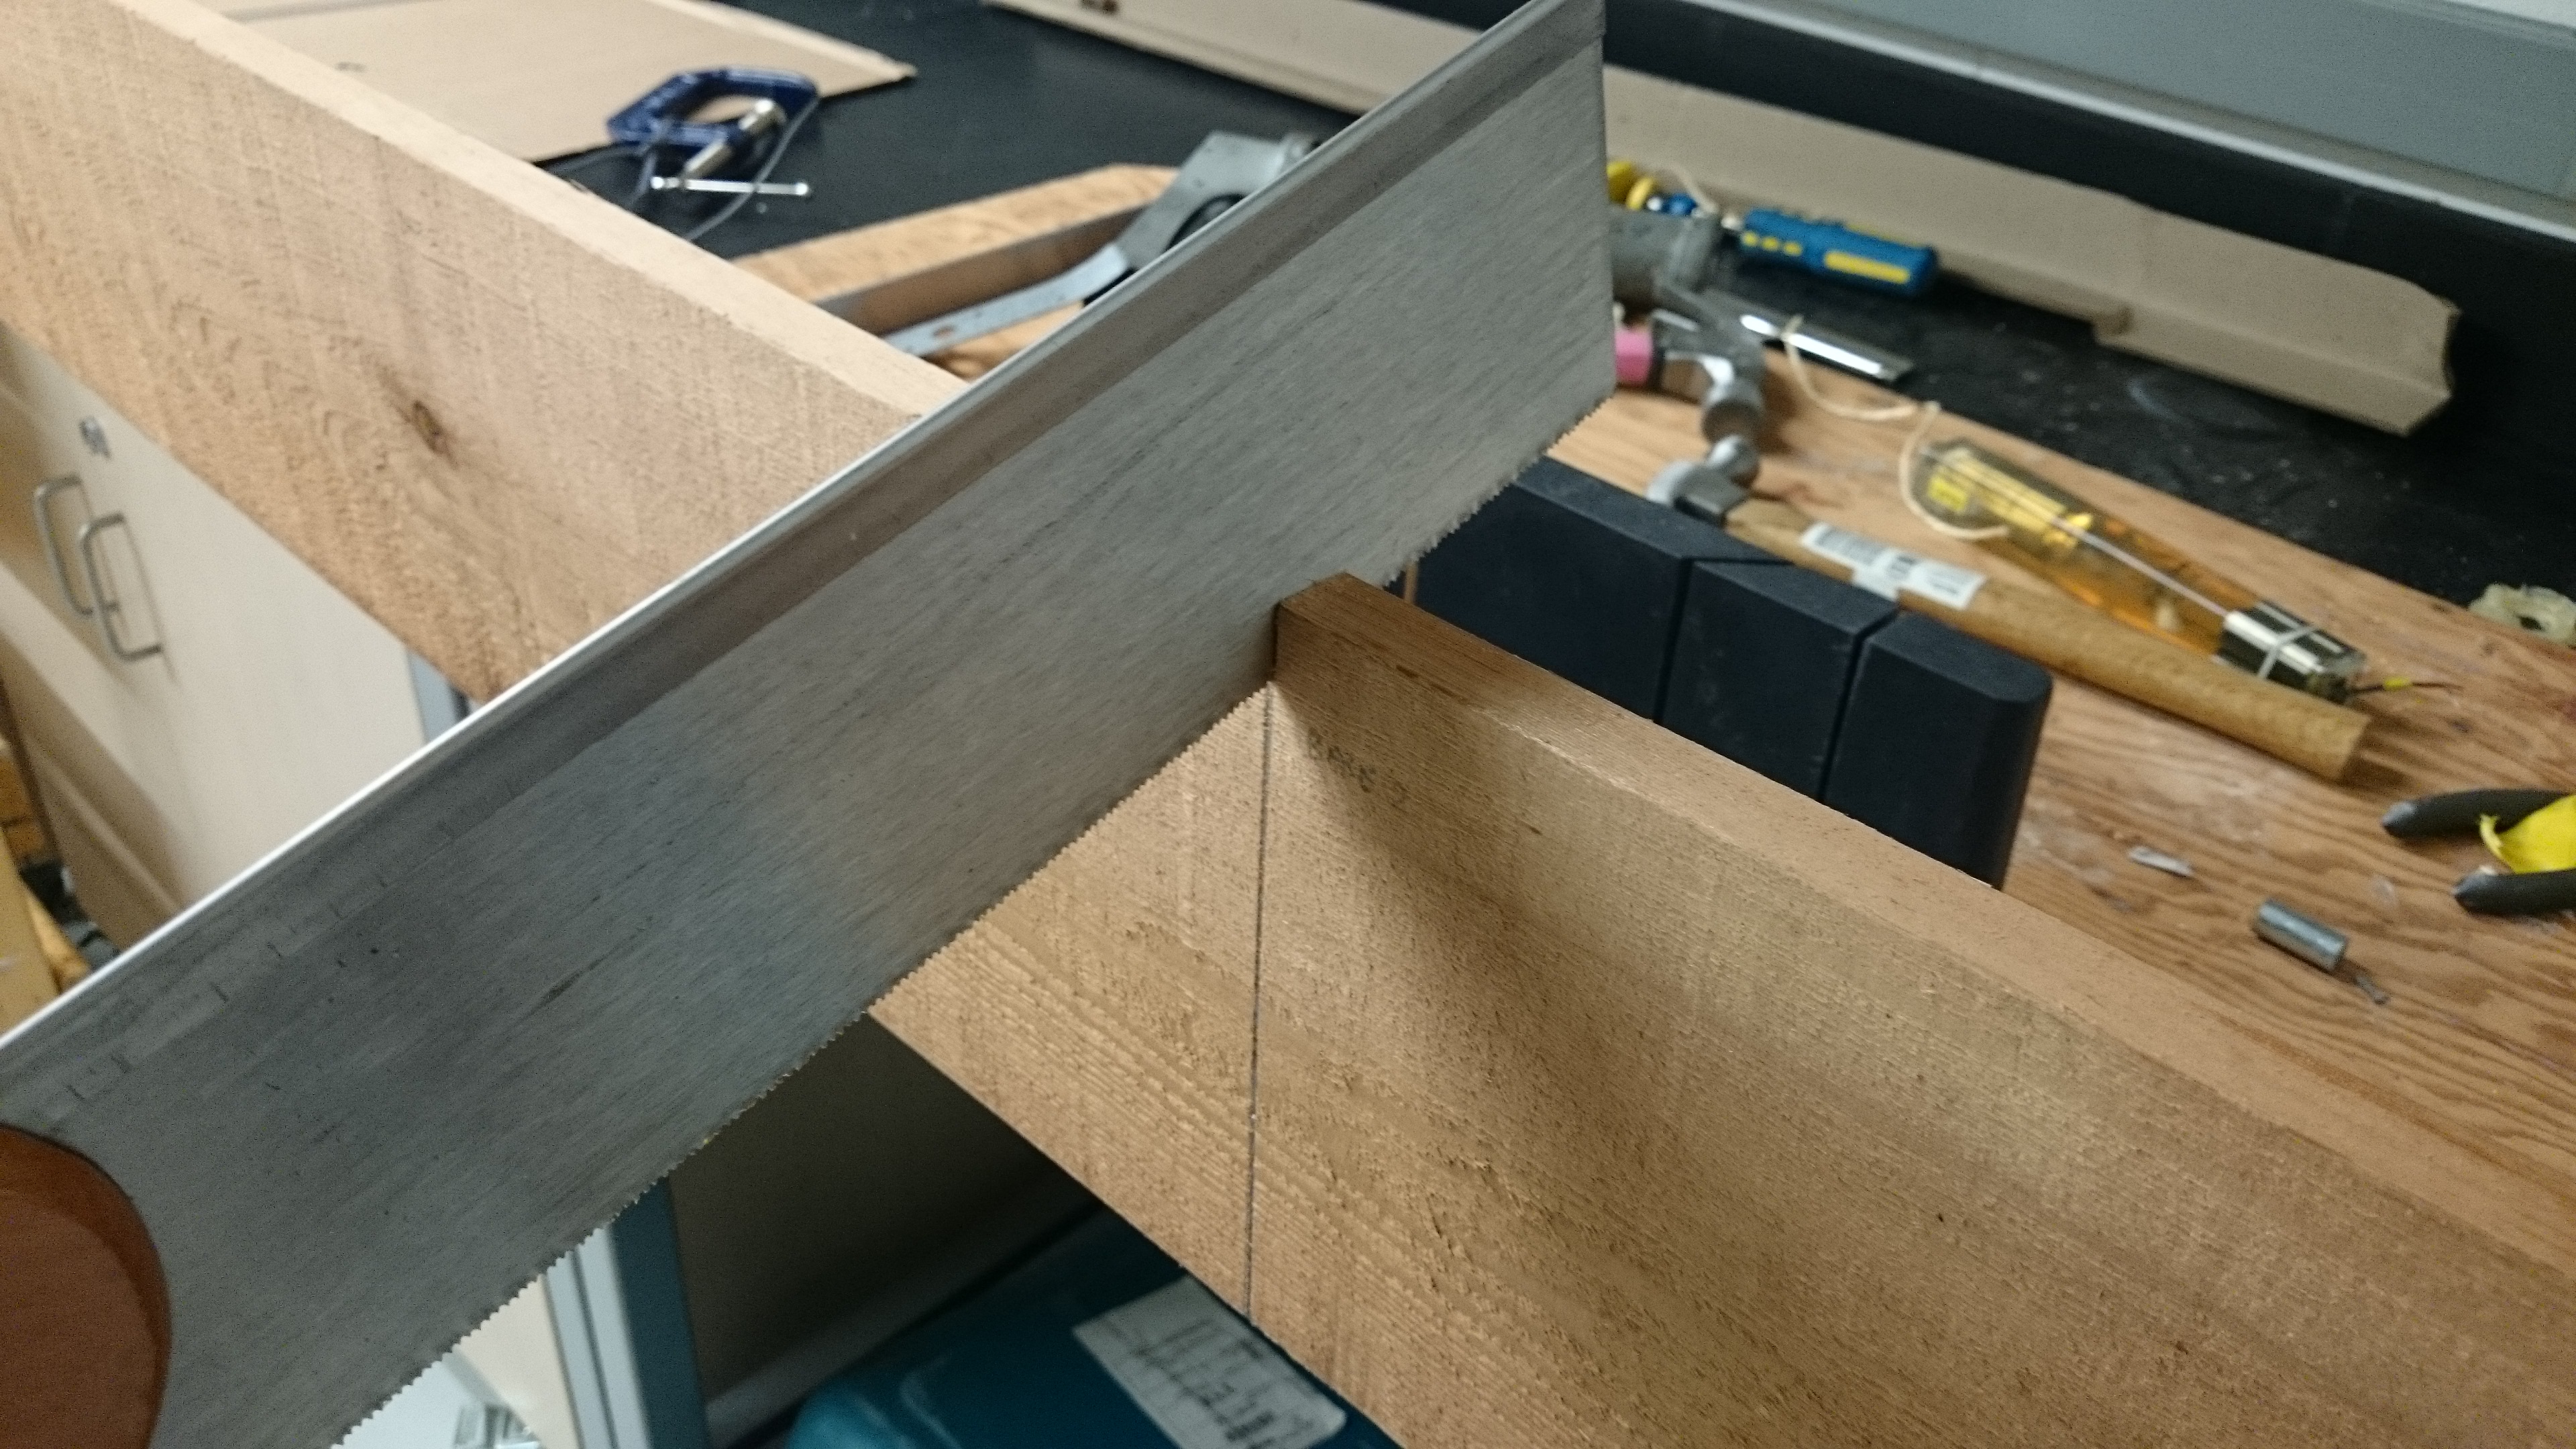
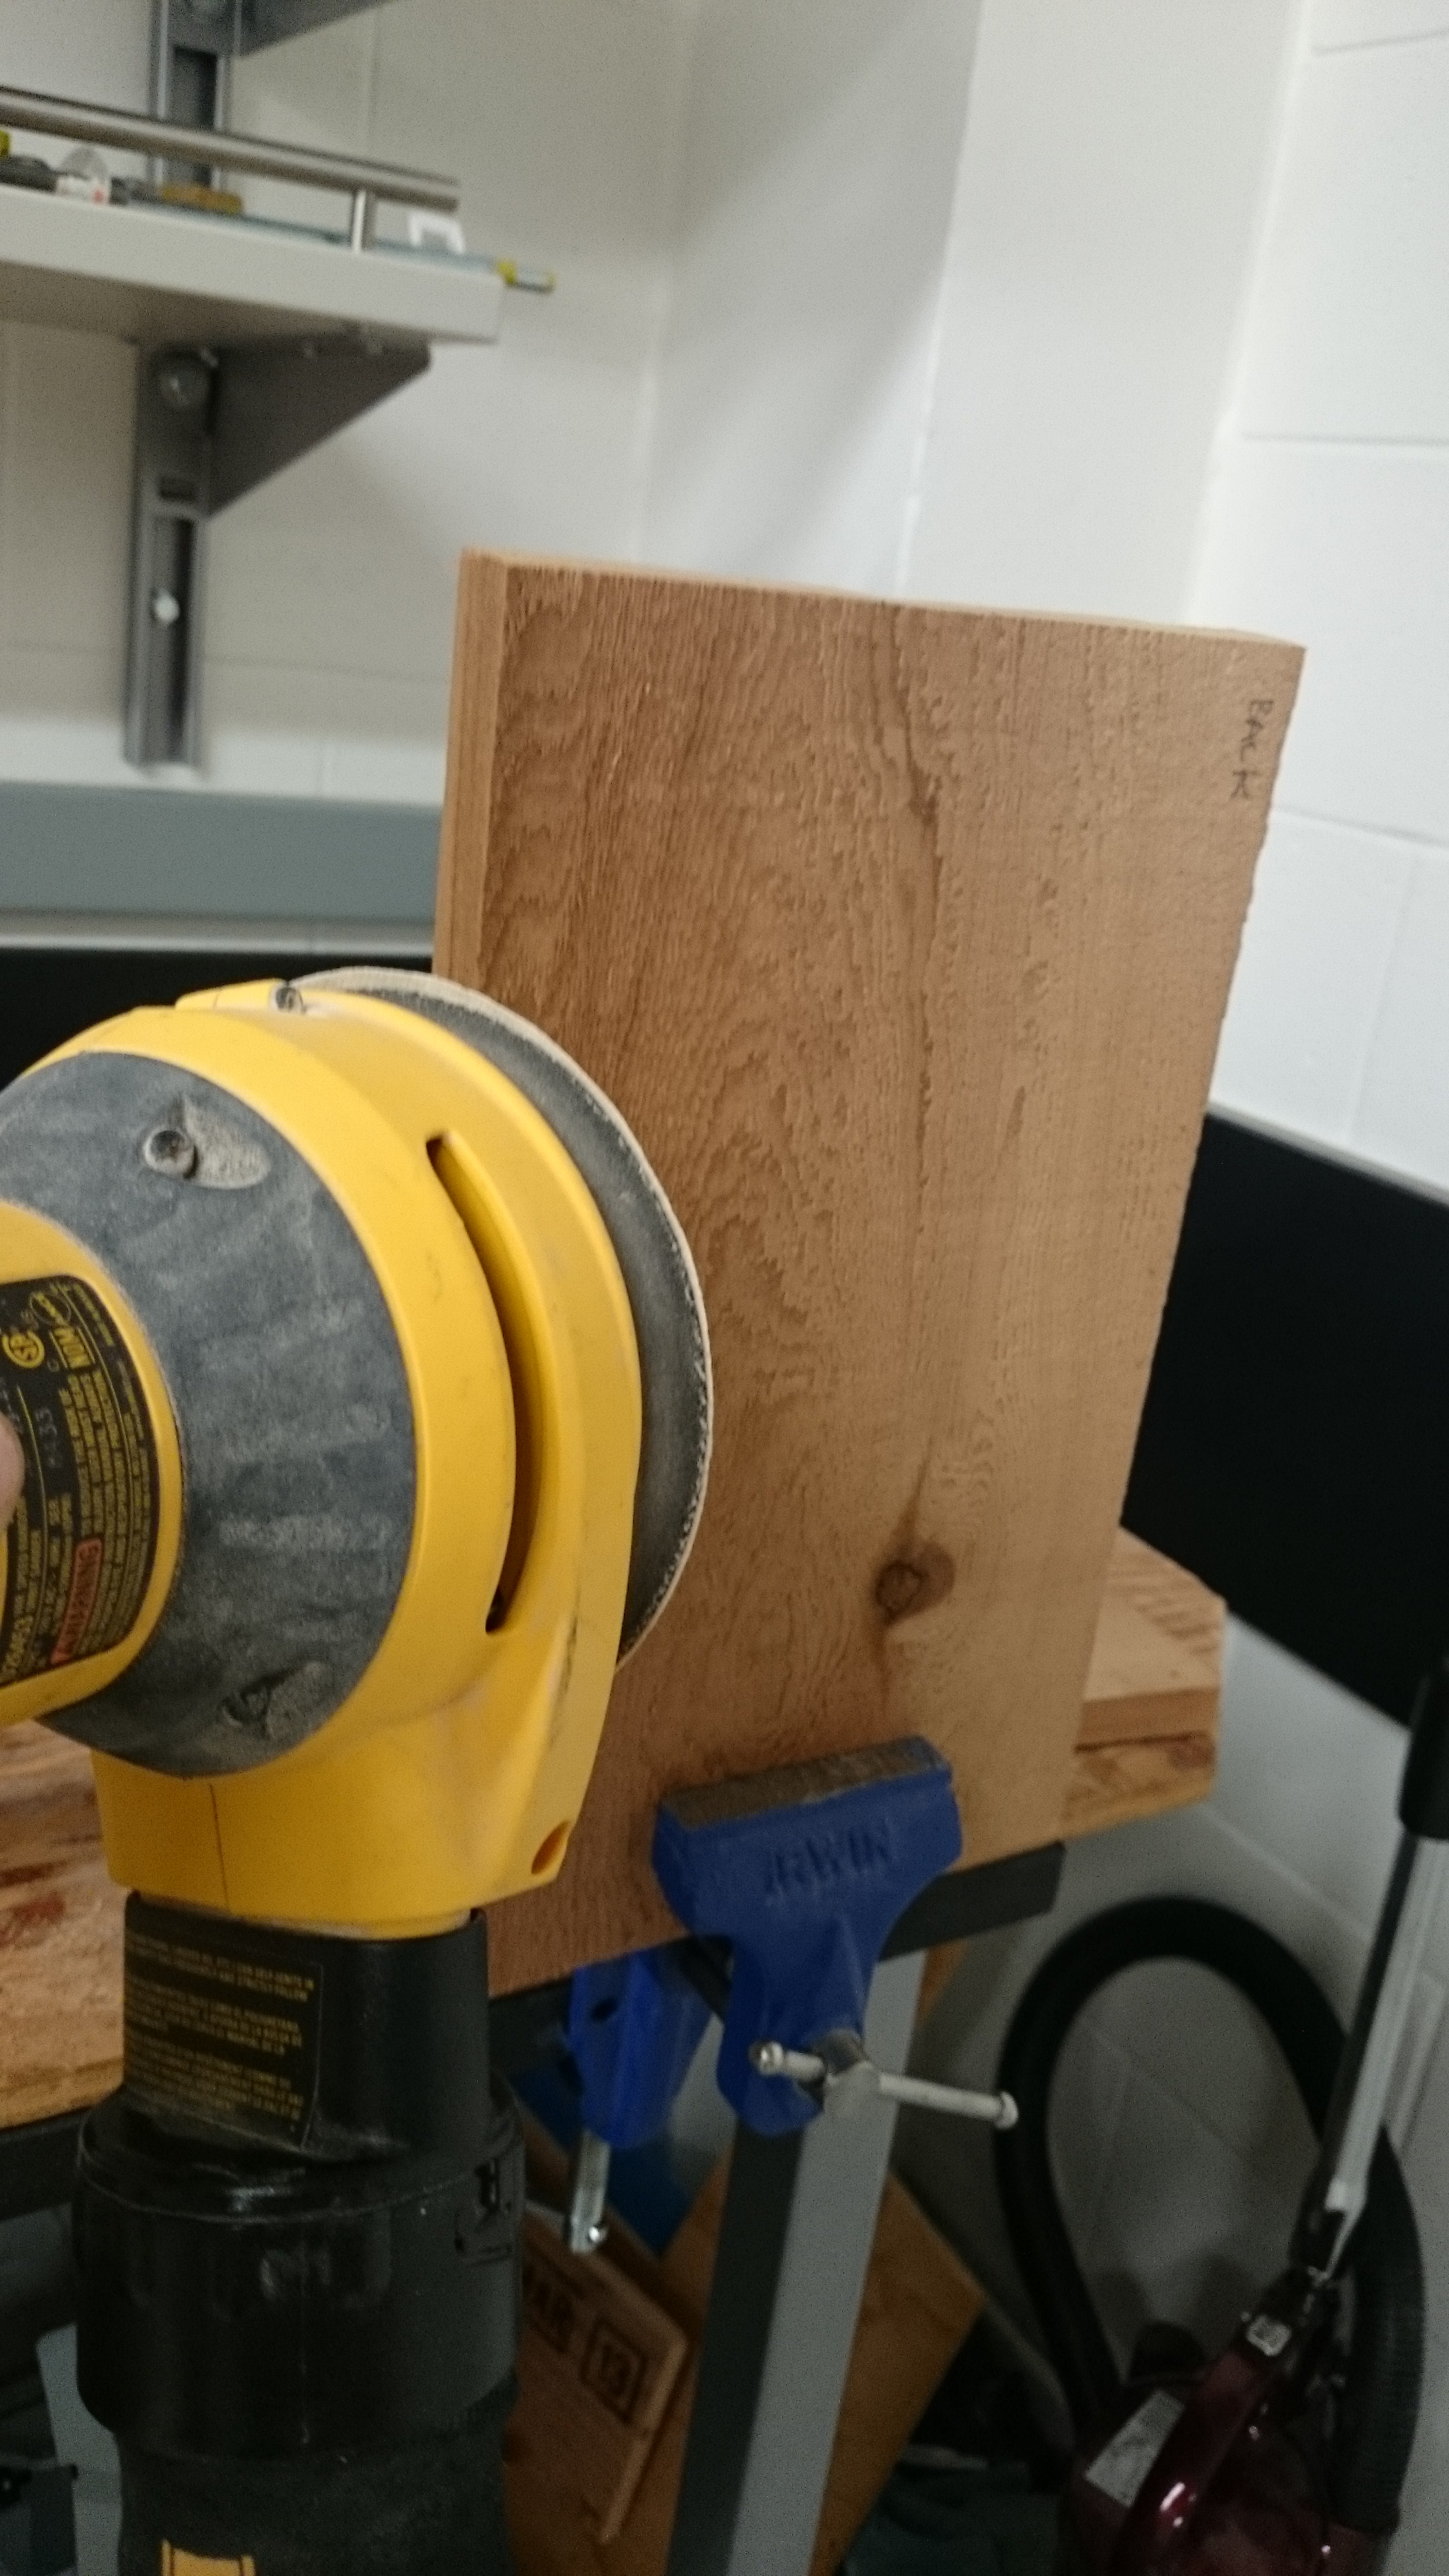
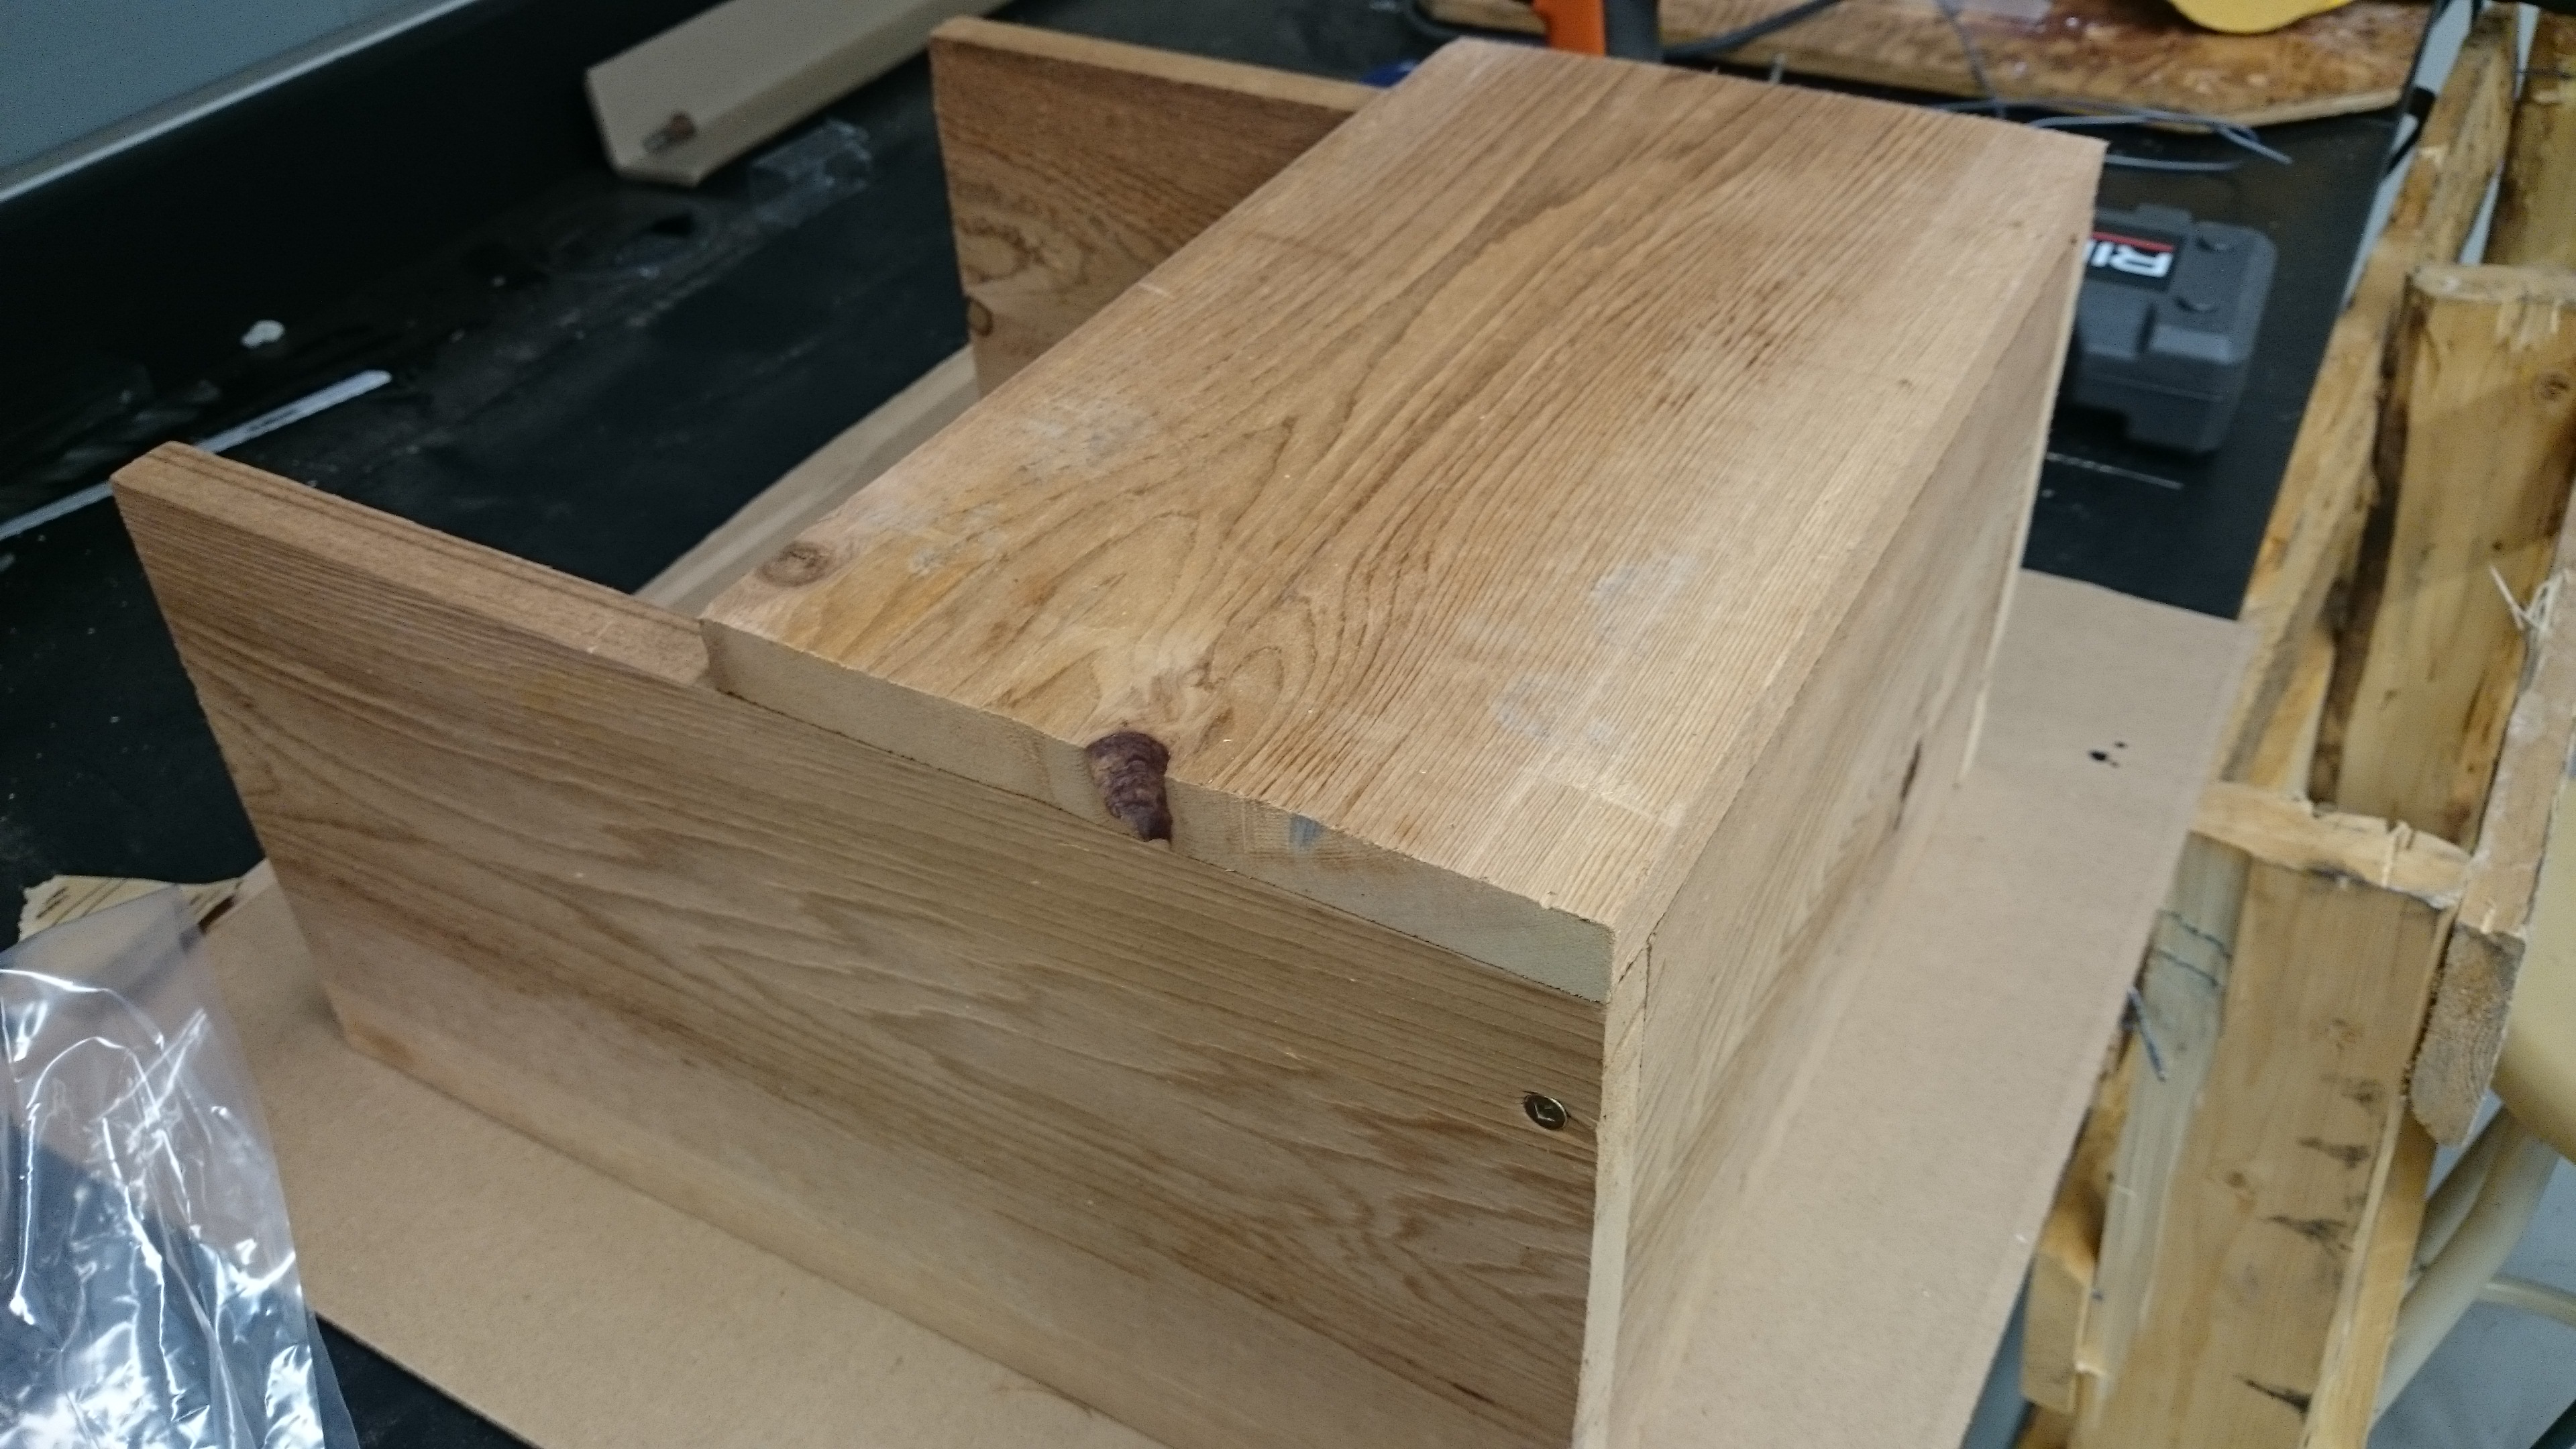
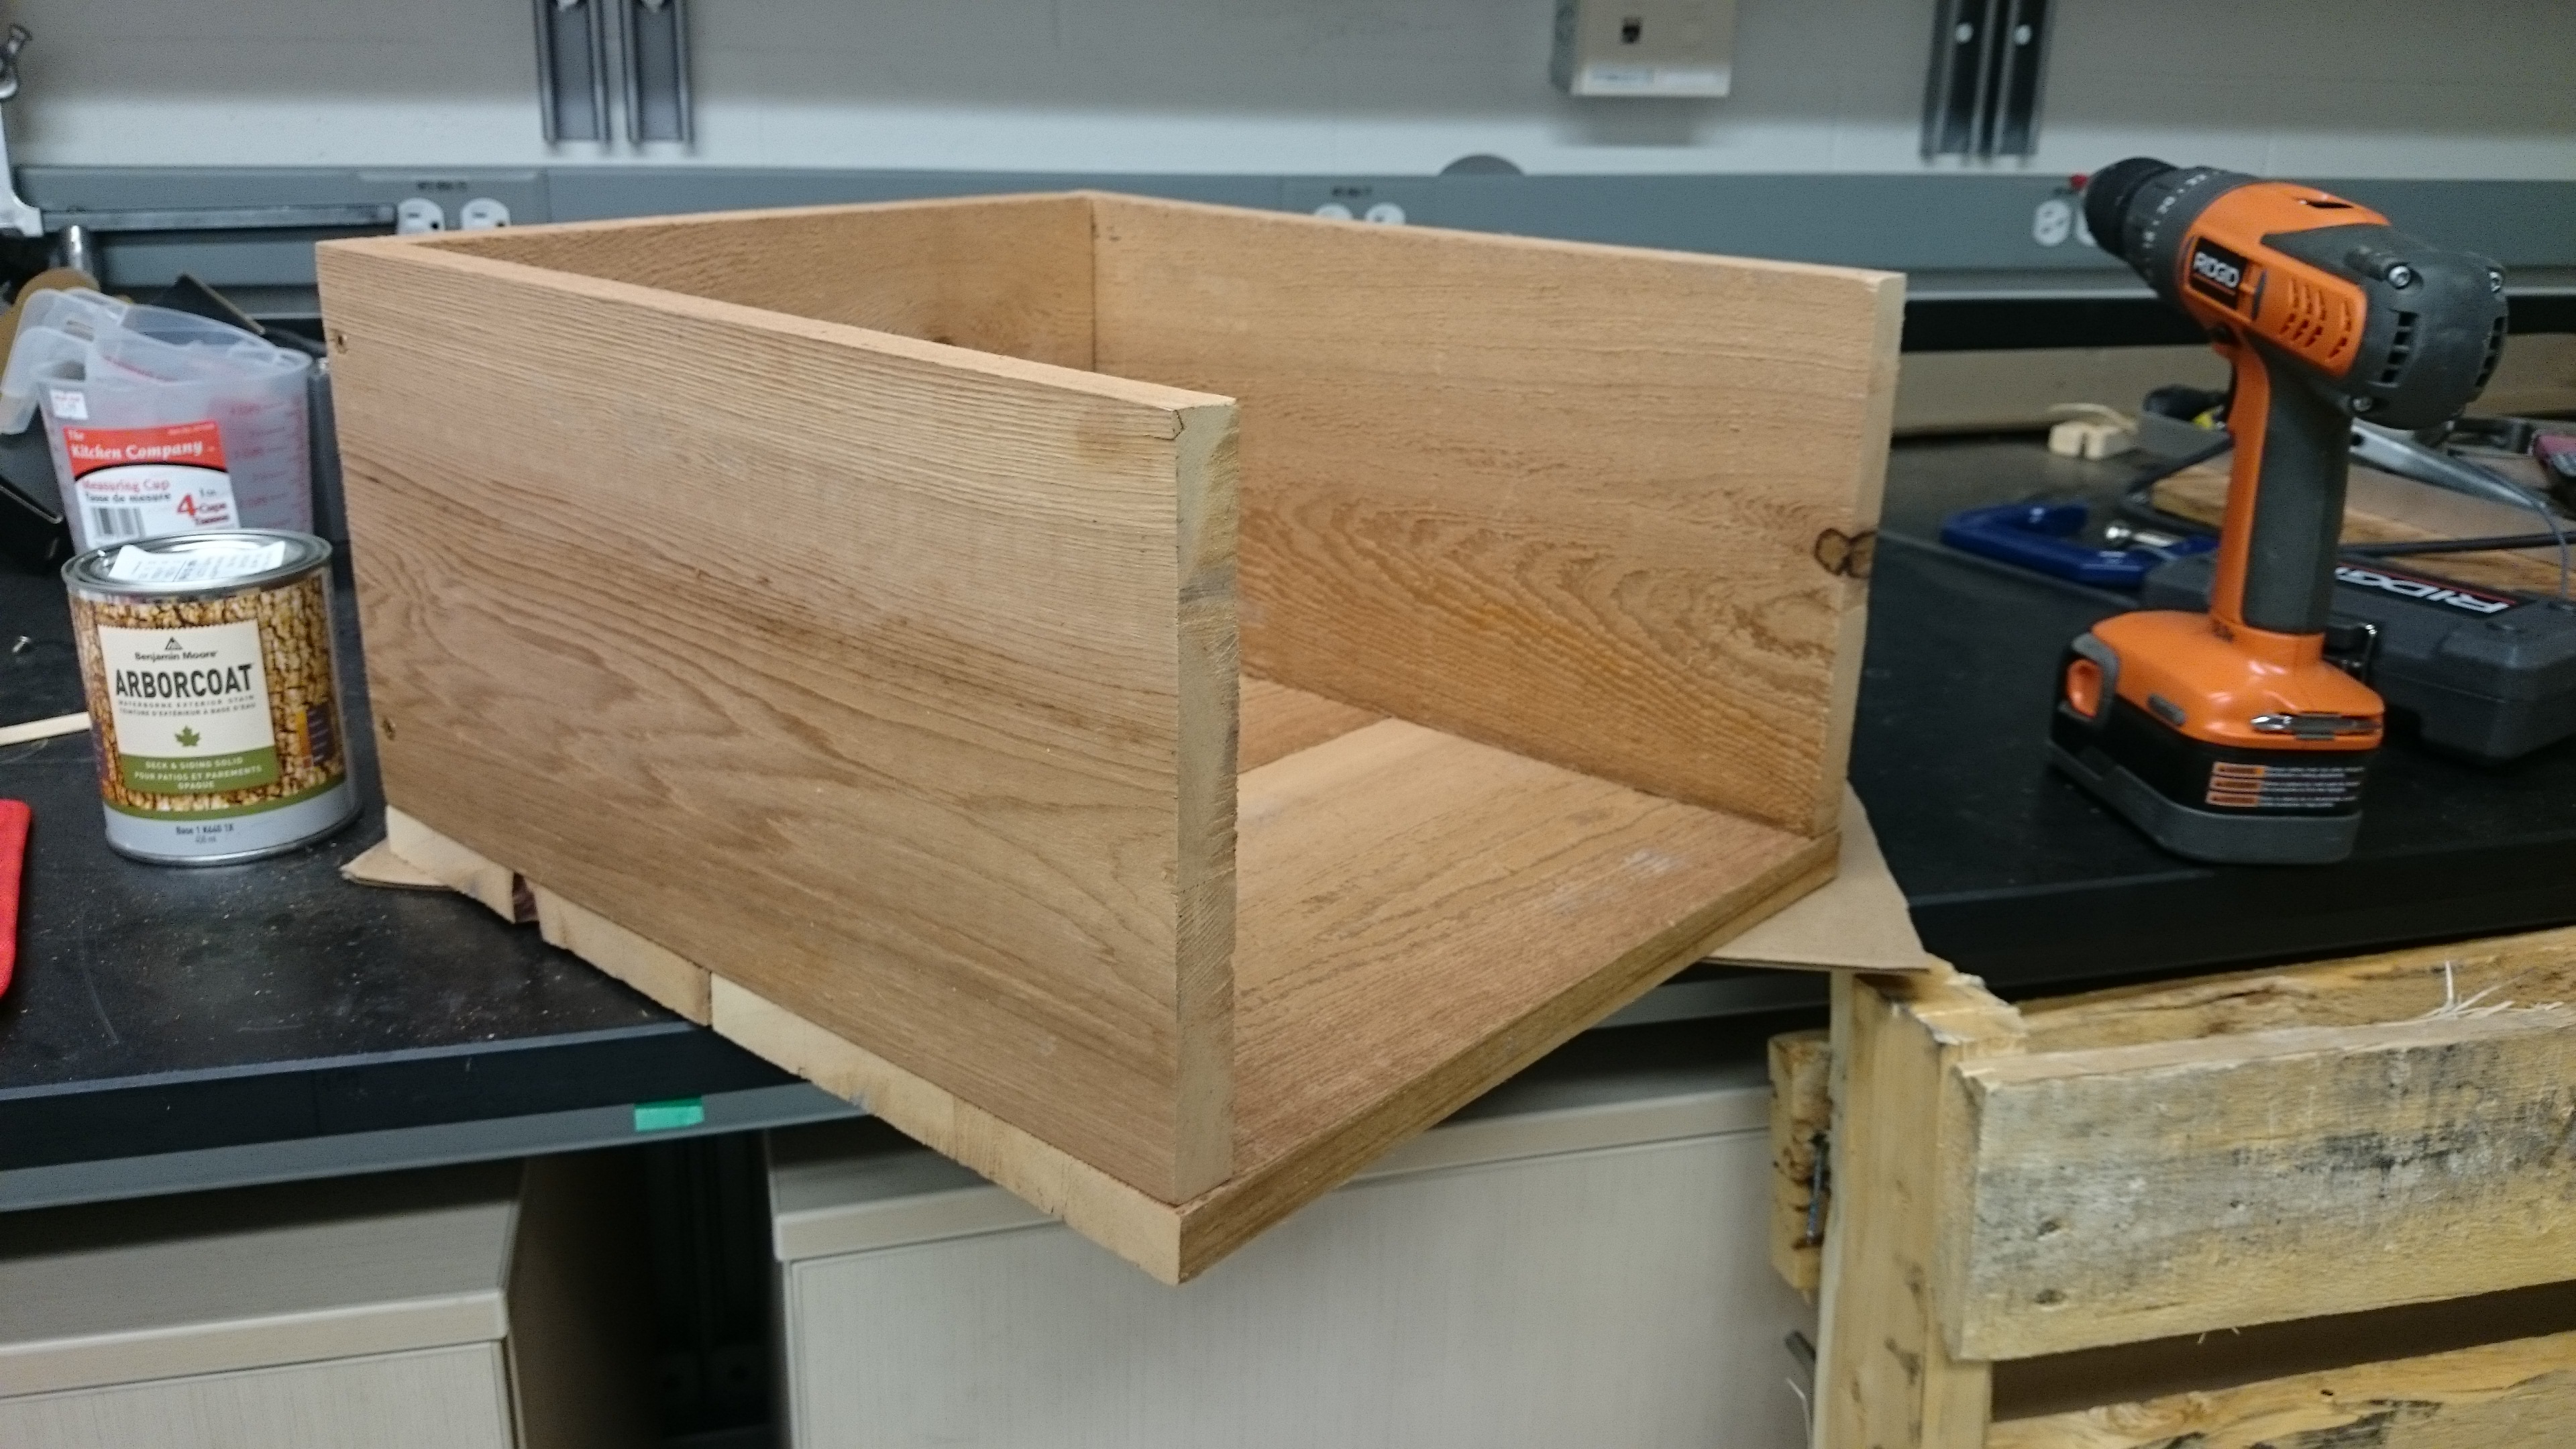
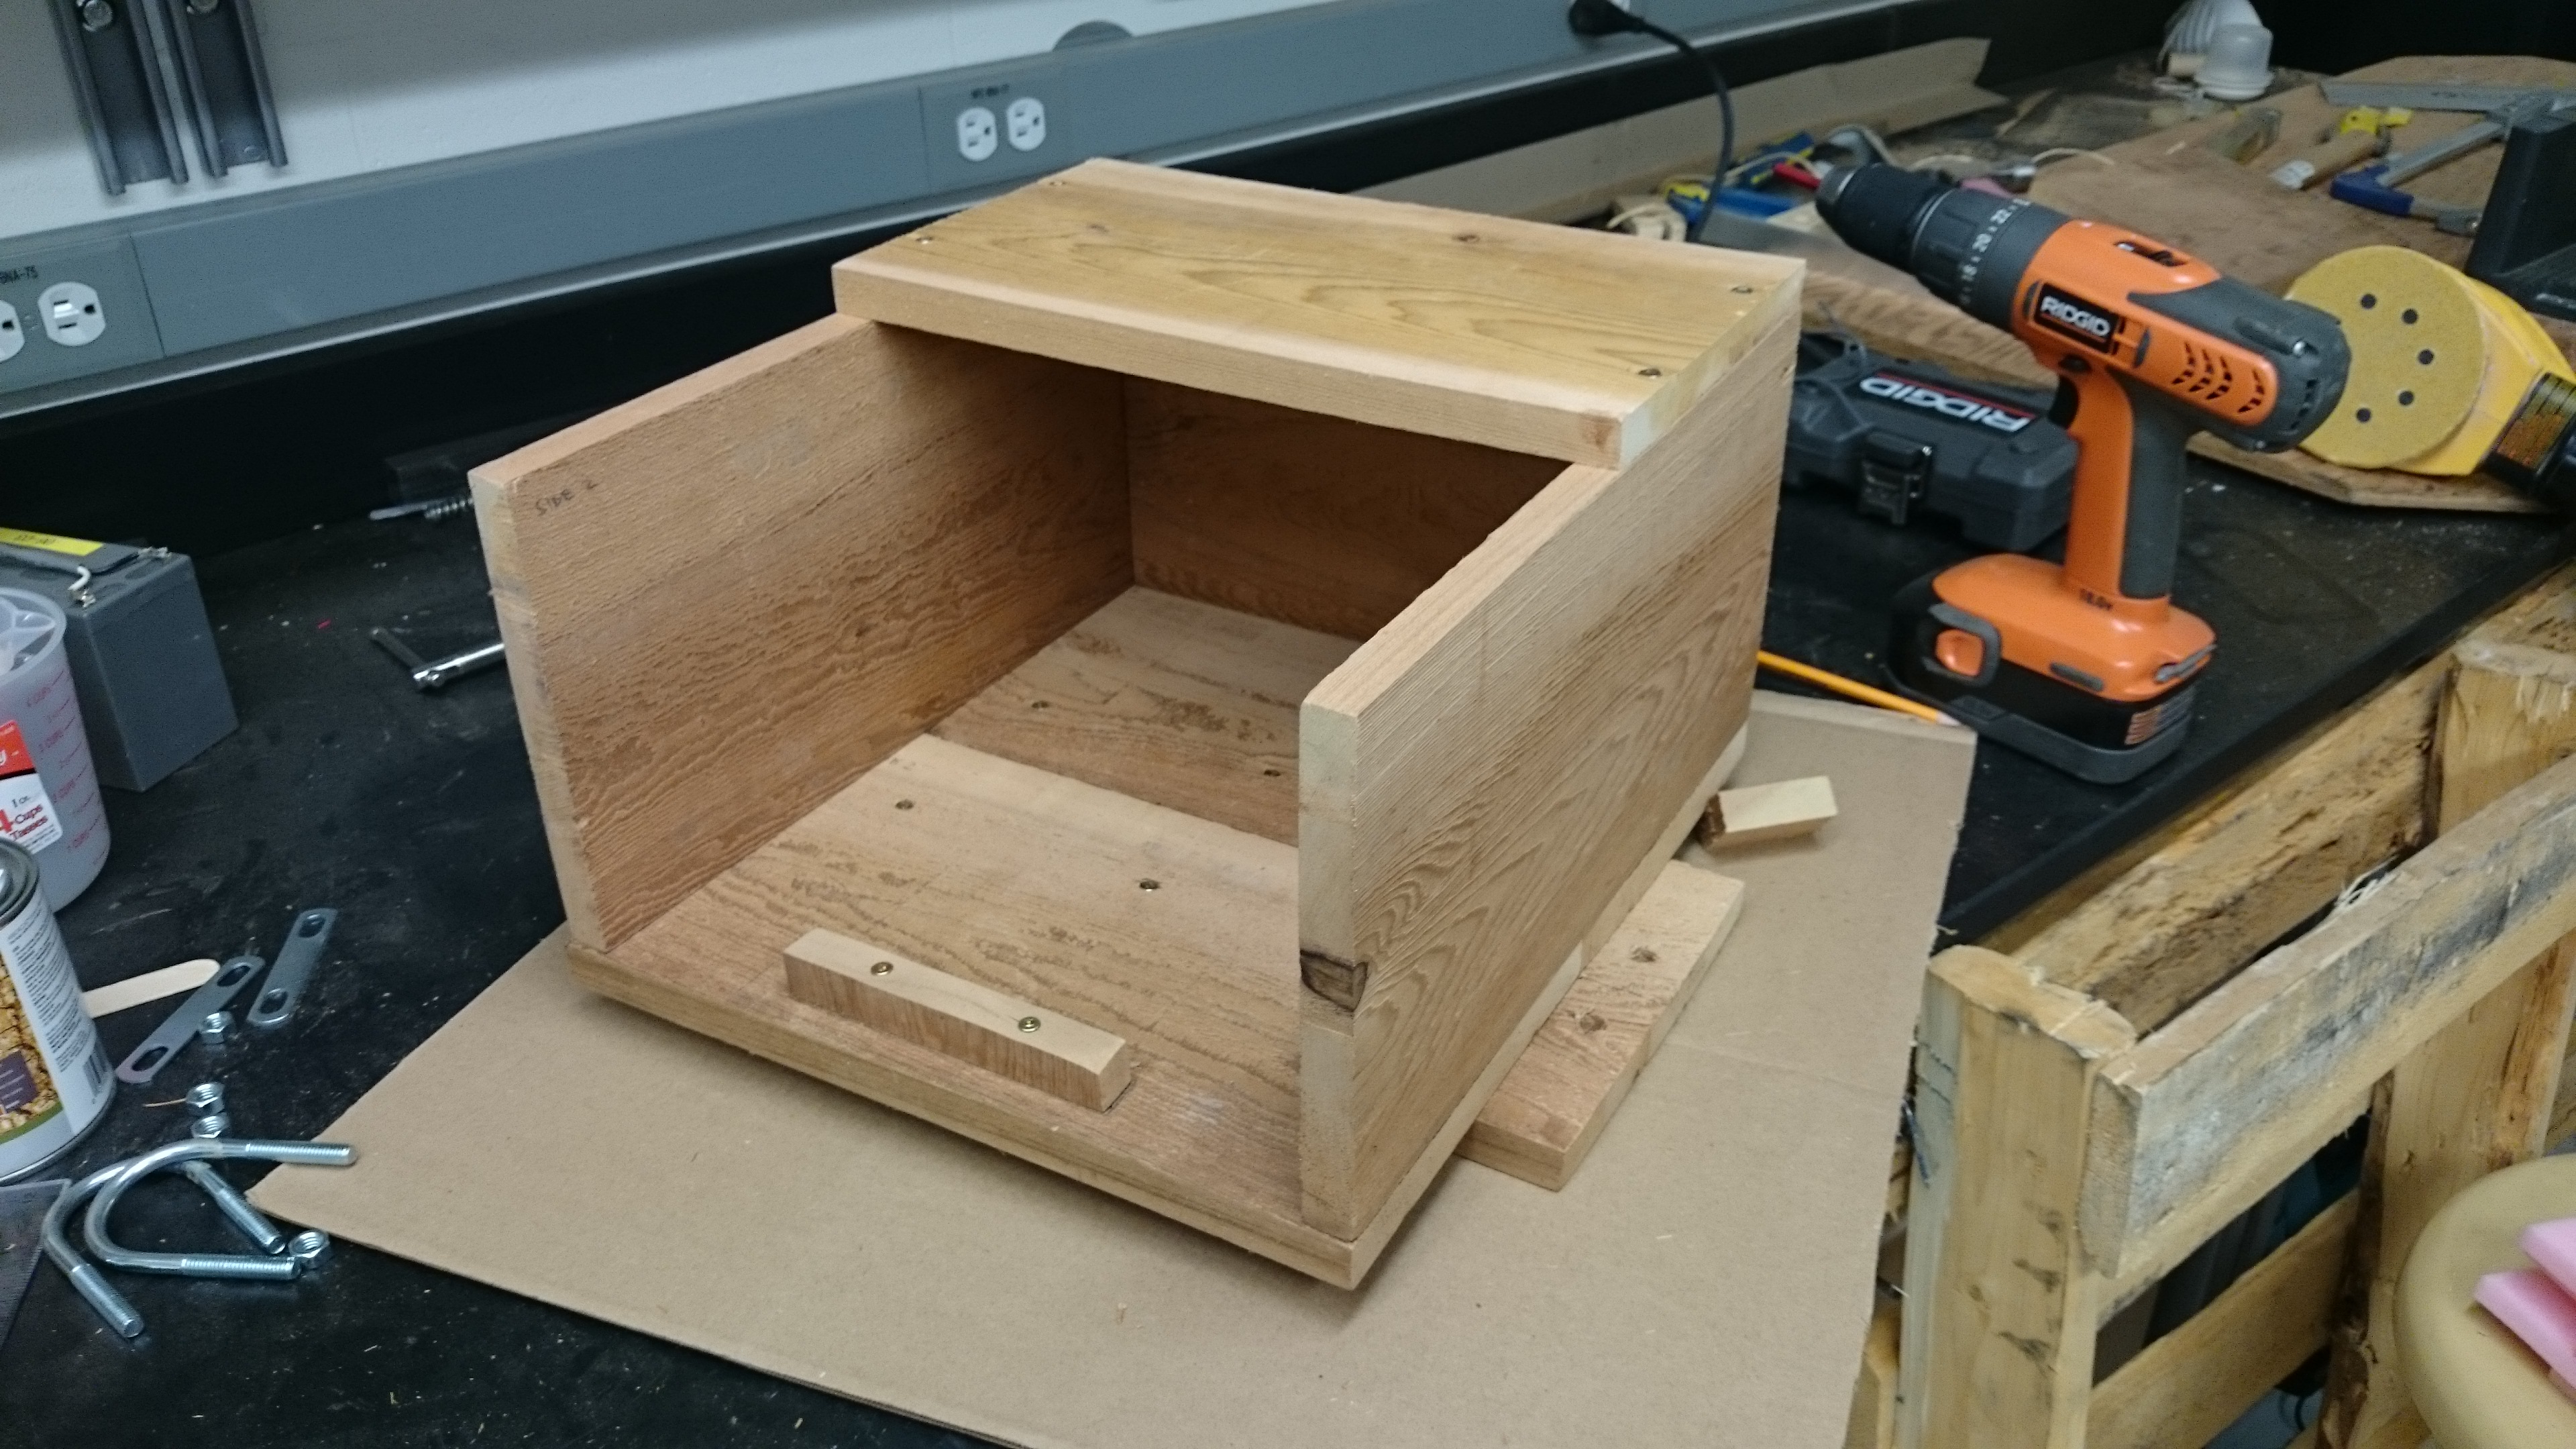
Yesterday, I built the aforementioned wooden shelter for the camera. This will act as a mount for the camera, protect the window from damage, dirt, and droplet build up, and reduce excessive heating from the sun. It was constructed using two 1″x8″x8′ pieces of cedar, some U-bolts, and assorted screws. I’m not a carpenter, and this was just a design that I thought up to solve a problem; there are probably far more elegant solutions! Below are some images from the build.
White paint will help reflect sunlight (reduce heating), and protect the wood.
Off the southwest coast of British Columbia, like a breakwater to the Pacific ocean, lies Vancouver Island. It stretches for 480 mountainous, forest-cloaked kilometers; a perfect hideout for a (temporary) jailbreak from the city. I recently crossed the island on a short trip to the coastal village of Tofino, my route taking me westwards through its interior from the port of Nanaimo.
Transecting the island gave me a chance to get an impression of the variety of its landscape, and the wildlife within it, including bears, wolves, whales, and eagles. The images below are really just an opening glance. I had a very narrow window of time to explore, but saw enough to know that the island deserves several longer visits. I will return!
The old growth forest of Cathedral Grove
This Douglas Fir is 76 meters tall, and was already over 300 years old when Christopher Columbus reached North America in 1492.
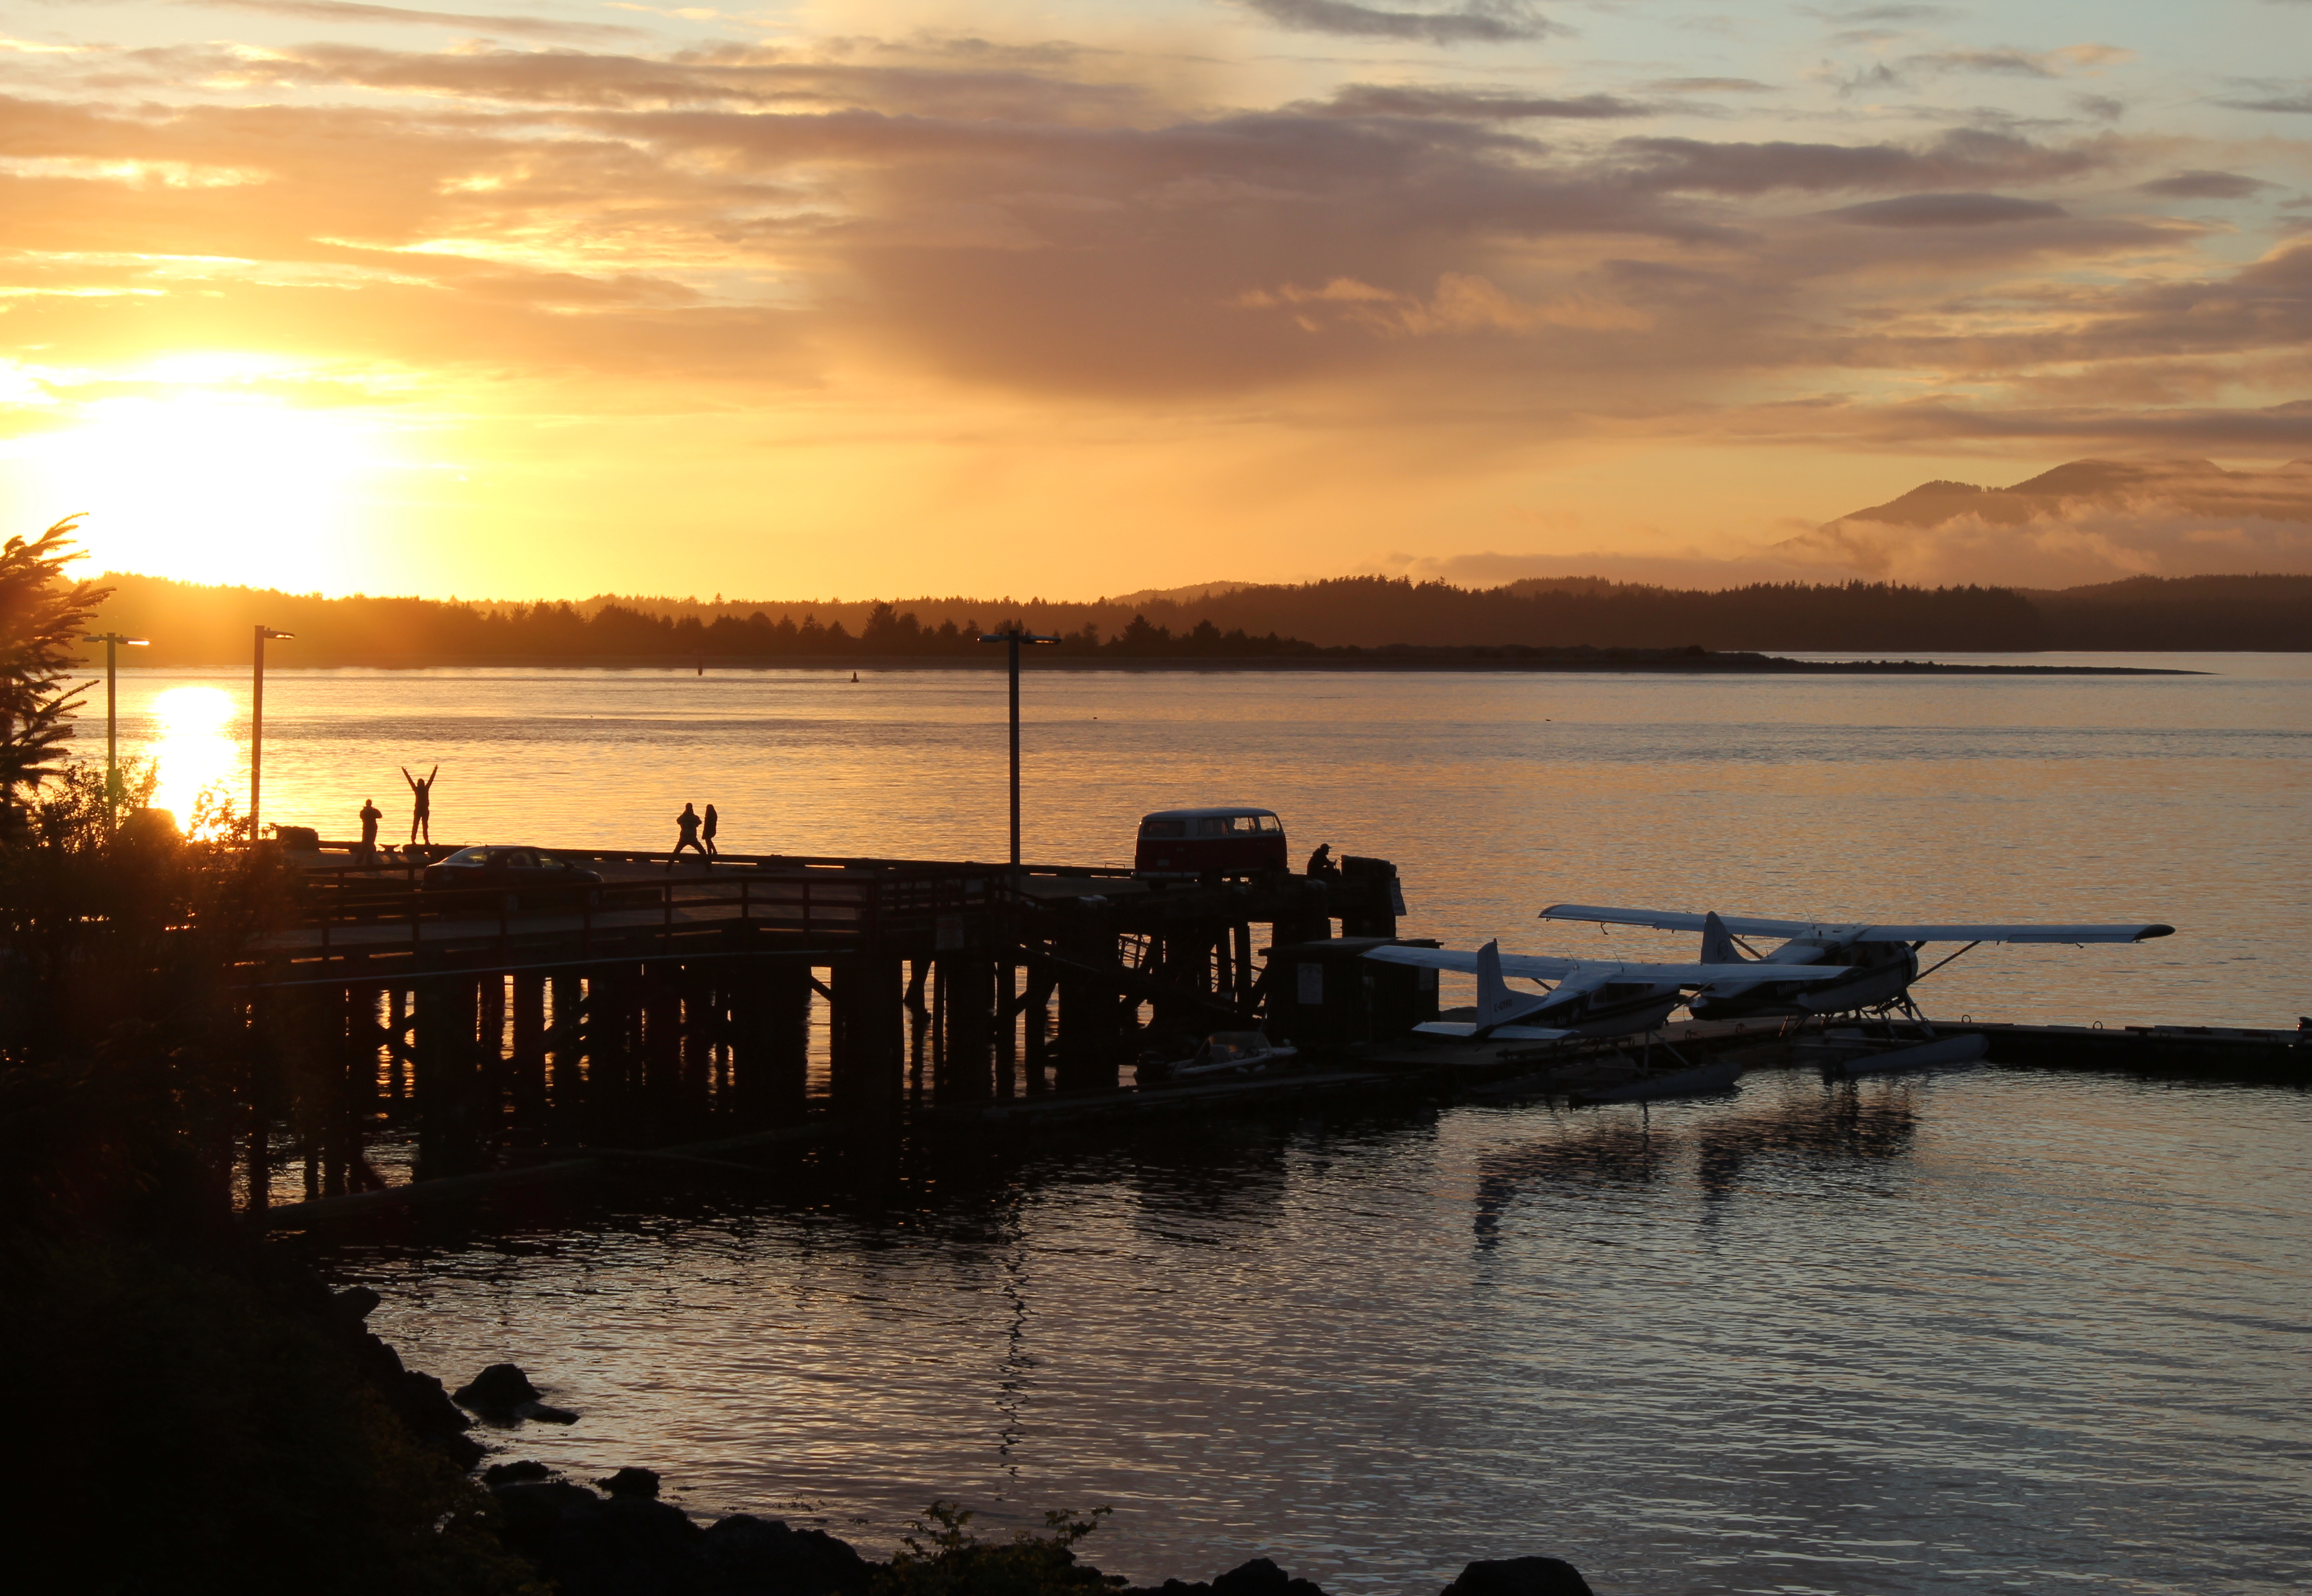
Sunset at journey’s end, Tofino.
Here, there are whales. Gray, Humpback, and Orca whales can be seen along the coast, depending on season.Bald Eagle, Tofino.A Gray whale fluking its tail, signaling that it is about to dive, and may remain under for anything from 3 to 30 minutes. (On the day I was out, the whales were in a quiet mood, rarely breaching the surface, or only doing so for a split second. Hence, this blurry image is the best I could get!)
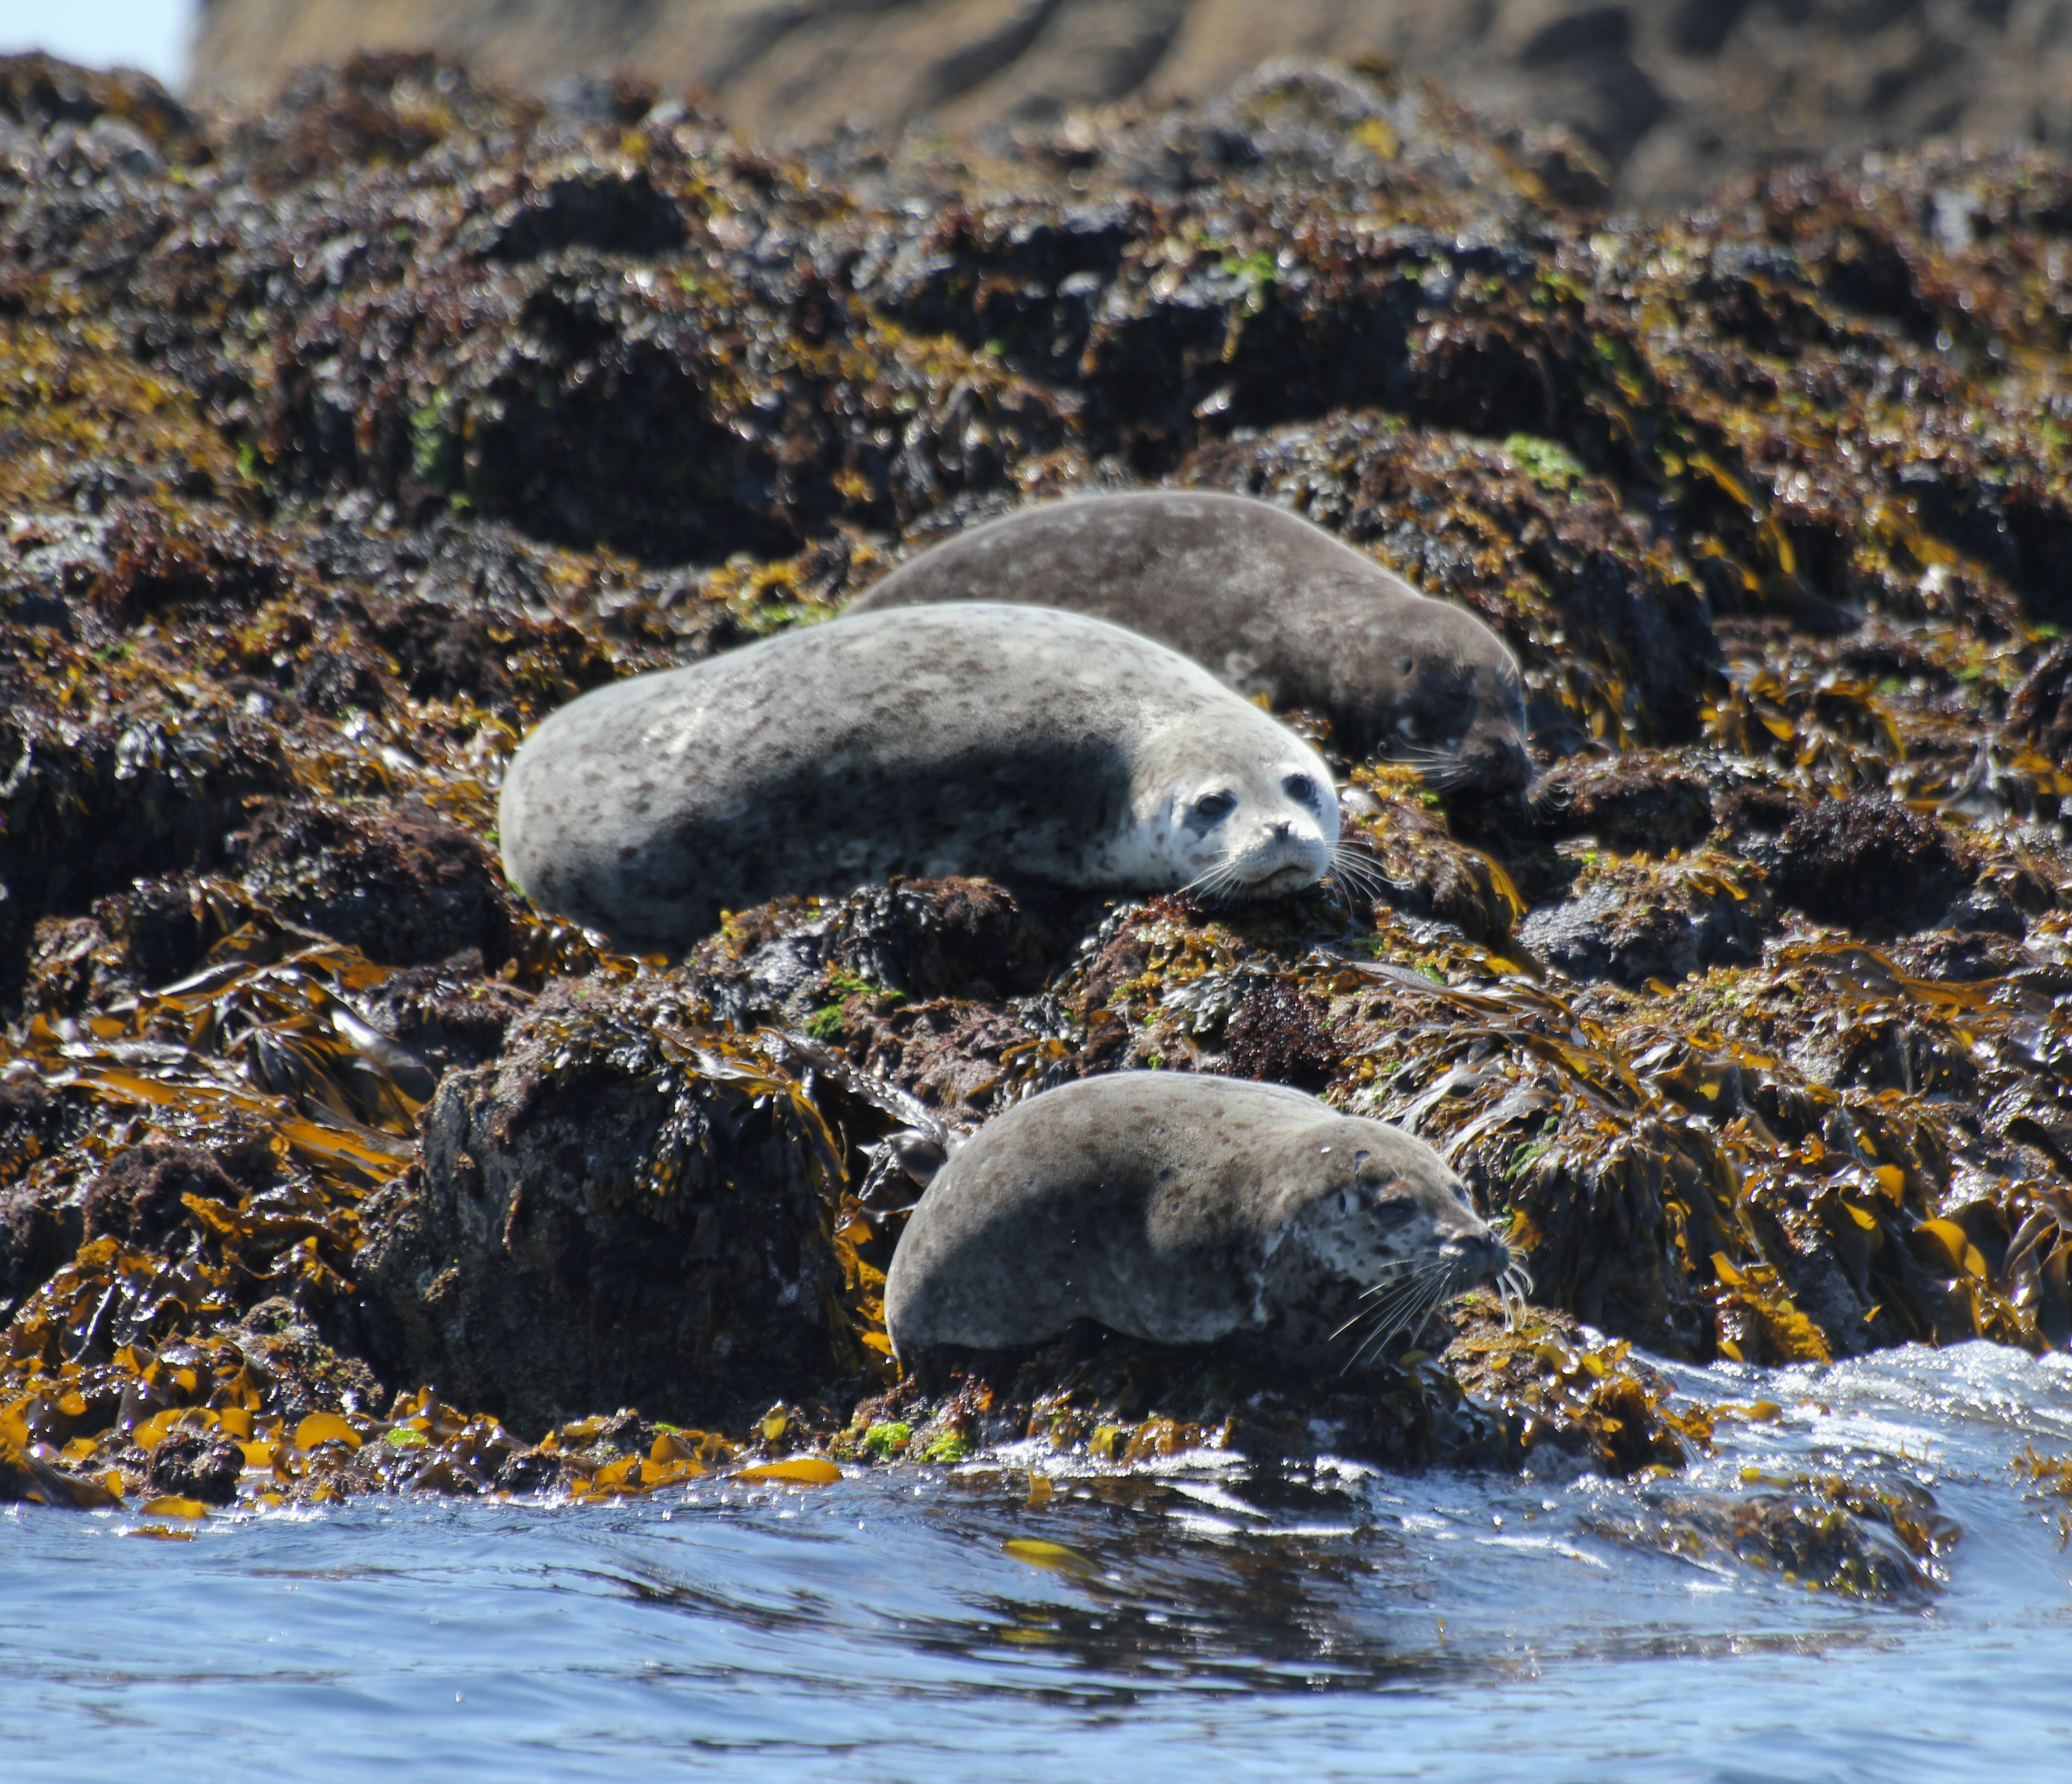
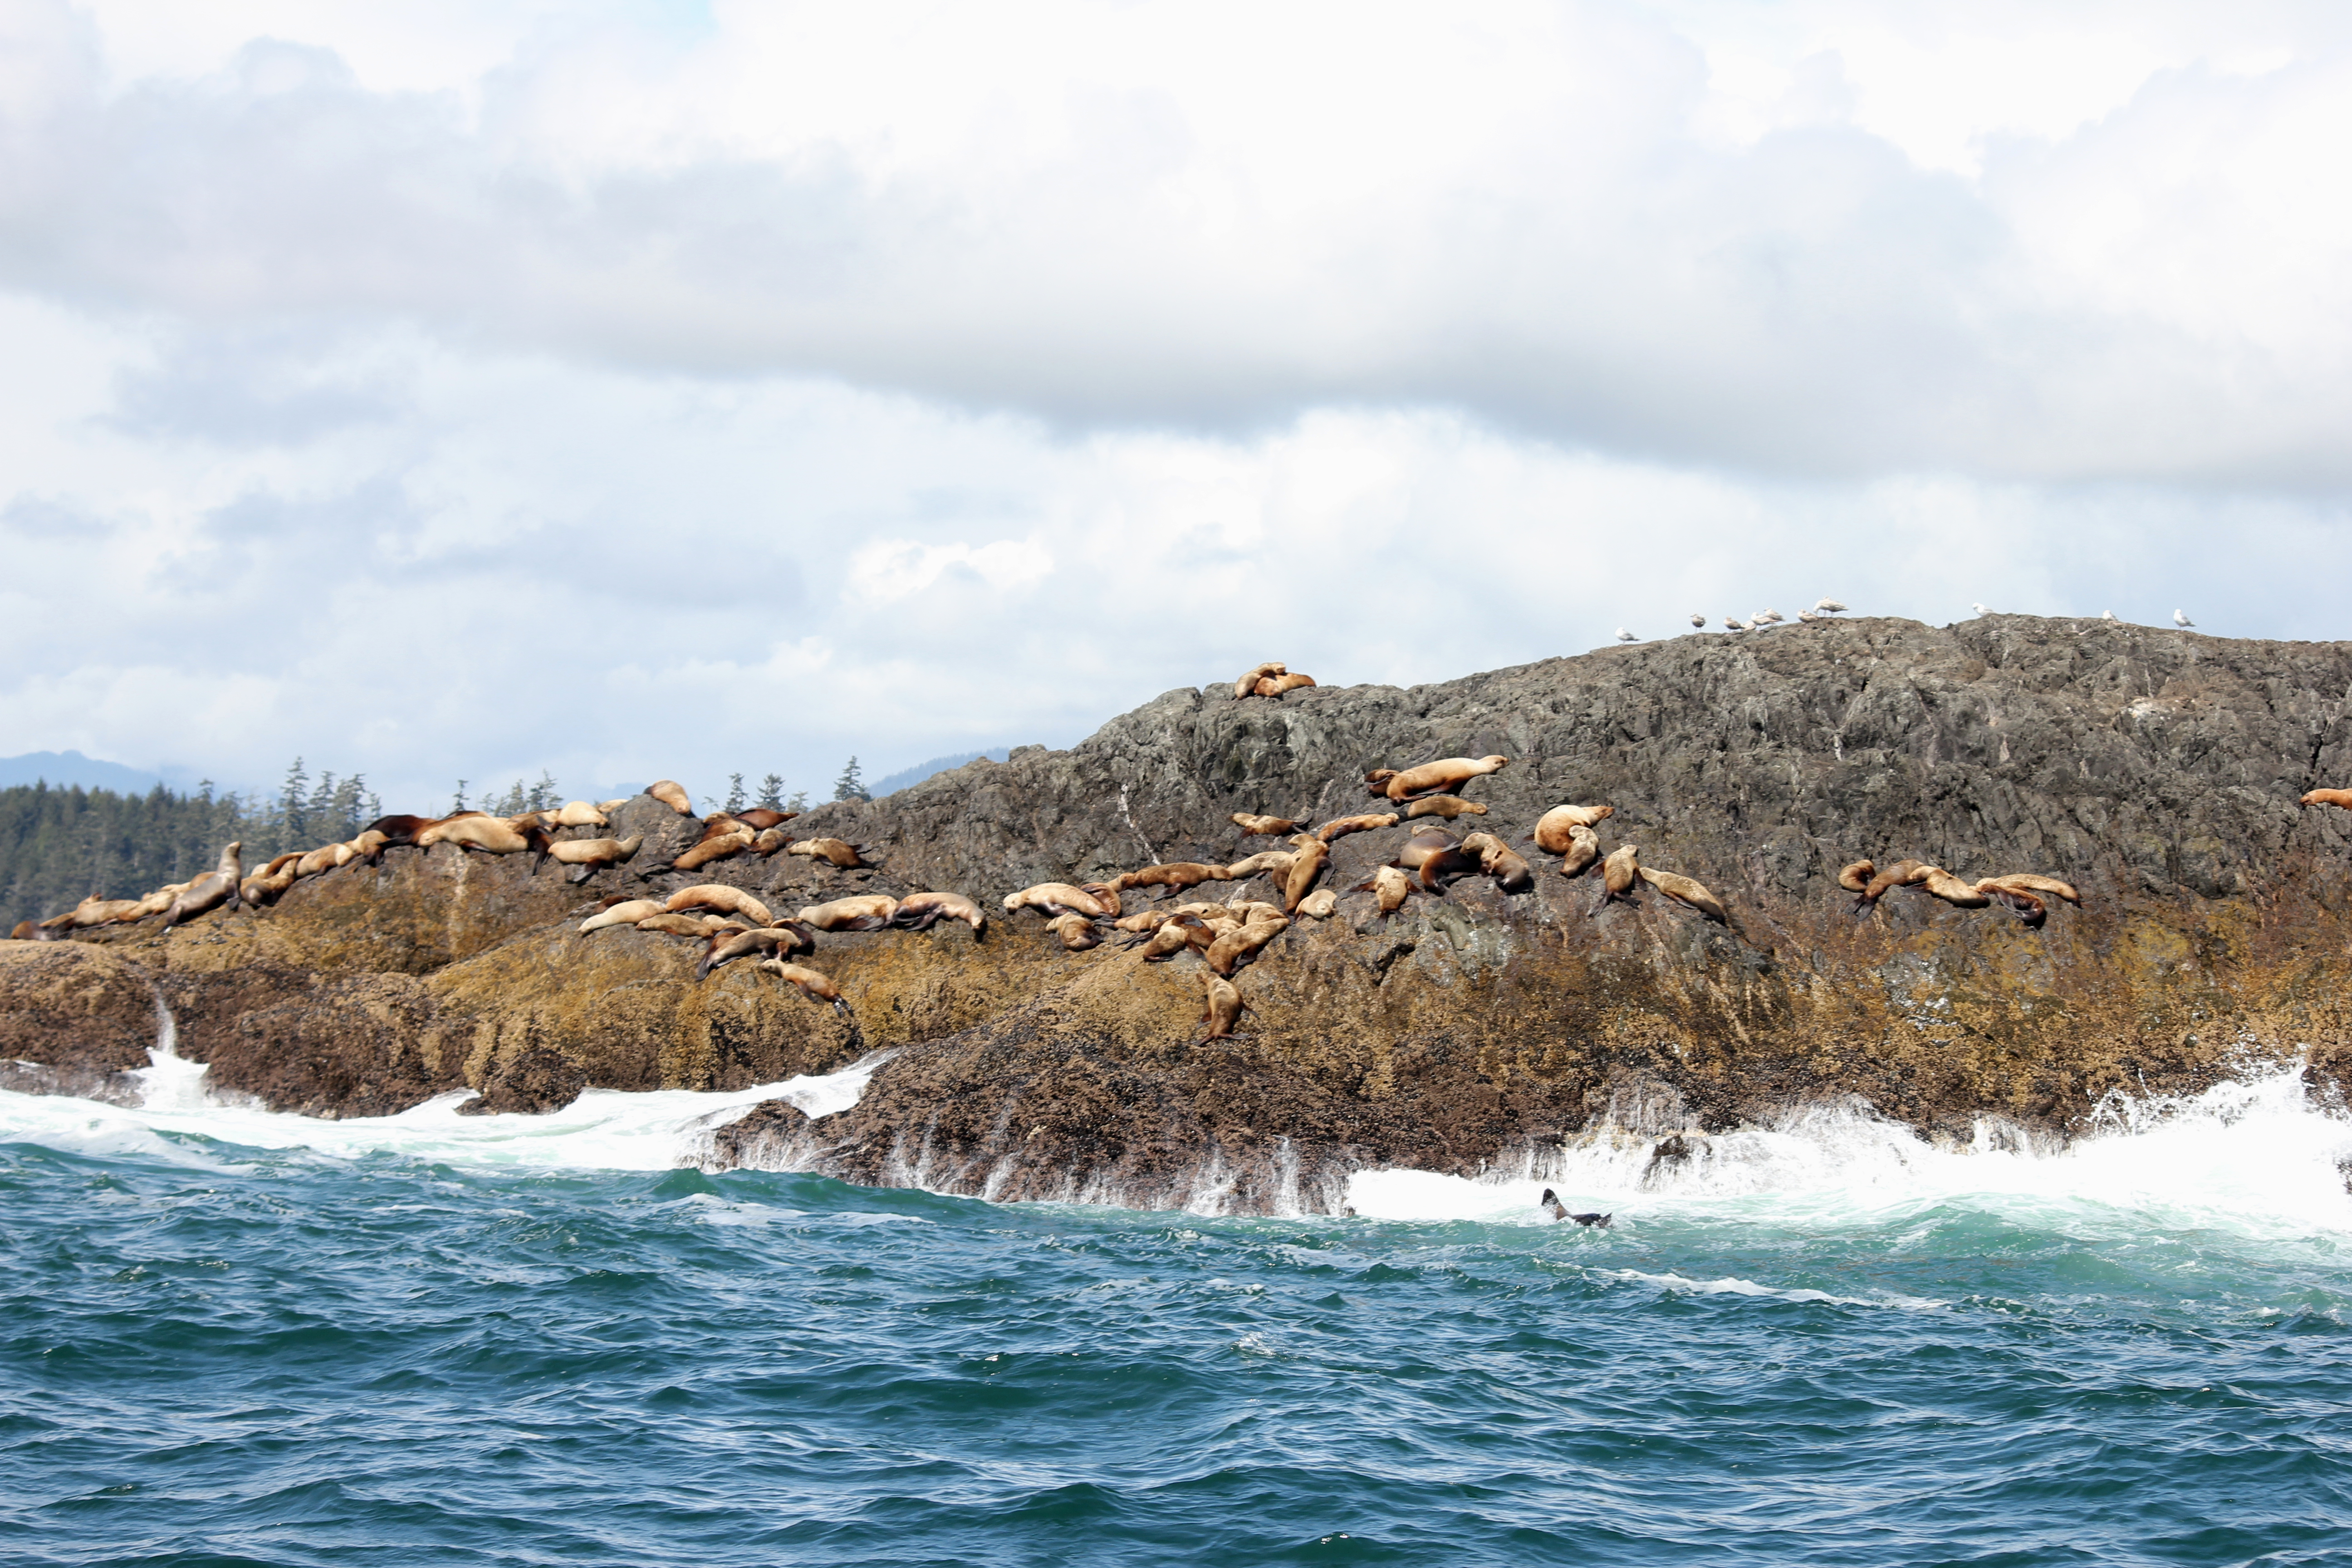
Sea lions, on the coast of Pacific Rim National Park
So a brief explanation as to why I’m here is required.
I’ve come to Vancouver to start a research project examining the relationships between the atmosphere and glaciers. I had been working as a research meteorologist for Met Éireann (Irish national weather service), when the opportunity arose to take up a PhD in Atmospheric Sciences at the University of British Columbia (UBC).
Evening view looking north over UBC, Vancouver.The Department of Earth, Ocean, and Atmospheric Sciences, UBC (snowfall is actually a relatively rare occurrence in urban Vancouver).
In a nutshell, my project aims to examine all the ways in which energy enters and exits the surface of a glacier, and how the balance between incoming and outgoing energy affects the melting or cooling of a glacier’s snow and ice. On a broader scale, my hope is to put this work towards improving our understanding of how glaciers will respond to changes in our climate. The initial plan is to install a weather station on a glacier in the Selkirk mountains in British Columbia, beginning this summer.
So, what’s required for the design?
The station needs to have sensors to measure each of the variables relevant to glacier energy balance. These include air temperature and humidity, radiation (for example, the incoming energy from sunlight), wind speed, and the transfer of heat and moisture by local air currents or ‘eddies’.
It needs to be robust and reliable enough to operate in a remote mountain environment, unsupervised for several months.
It needs to have its own independent power source.
Initial design and set up stage. Despite extensive testing, no interesting weather was detected in the lab.
The first step was to assemble and test all of the individual components in the lab, and to set up a method to automatically record and save the measurements made by each sensor. The lab is where you want to make your mistakes, and where you want things to go wrong. The more problems that present themselves in the warm, dry lab, the fewer that will come as a surprise when you’re struggling with cold fingers on the side of a mountain, or worse, when you’re already hundreds of kilometers away, oblivious to the fact that your PhD is falling into a metaphorical or very literal crevasse.
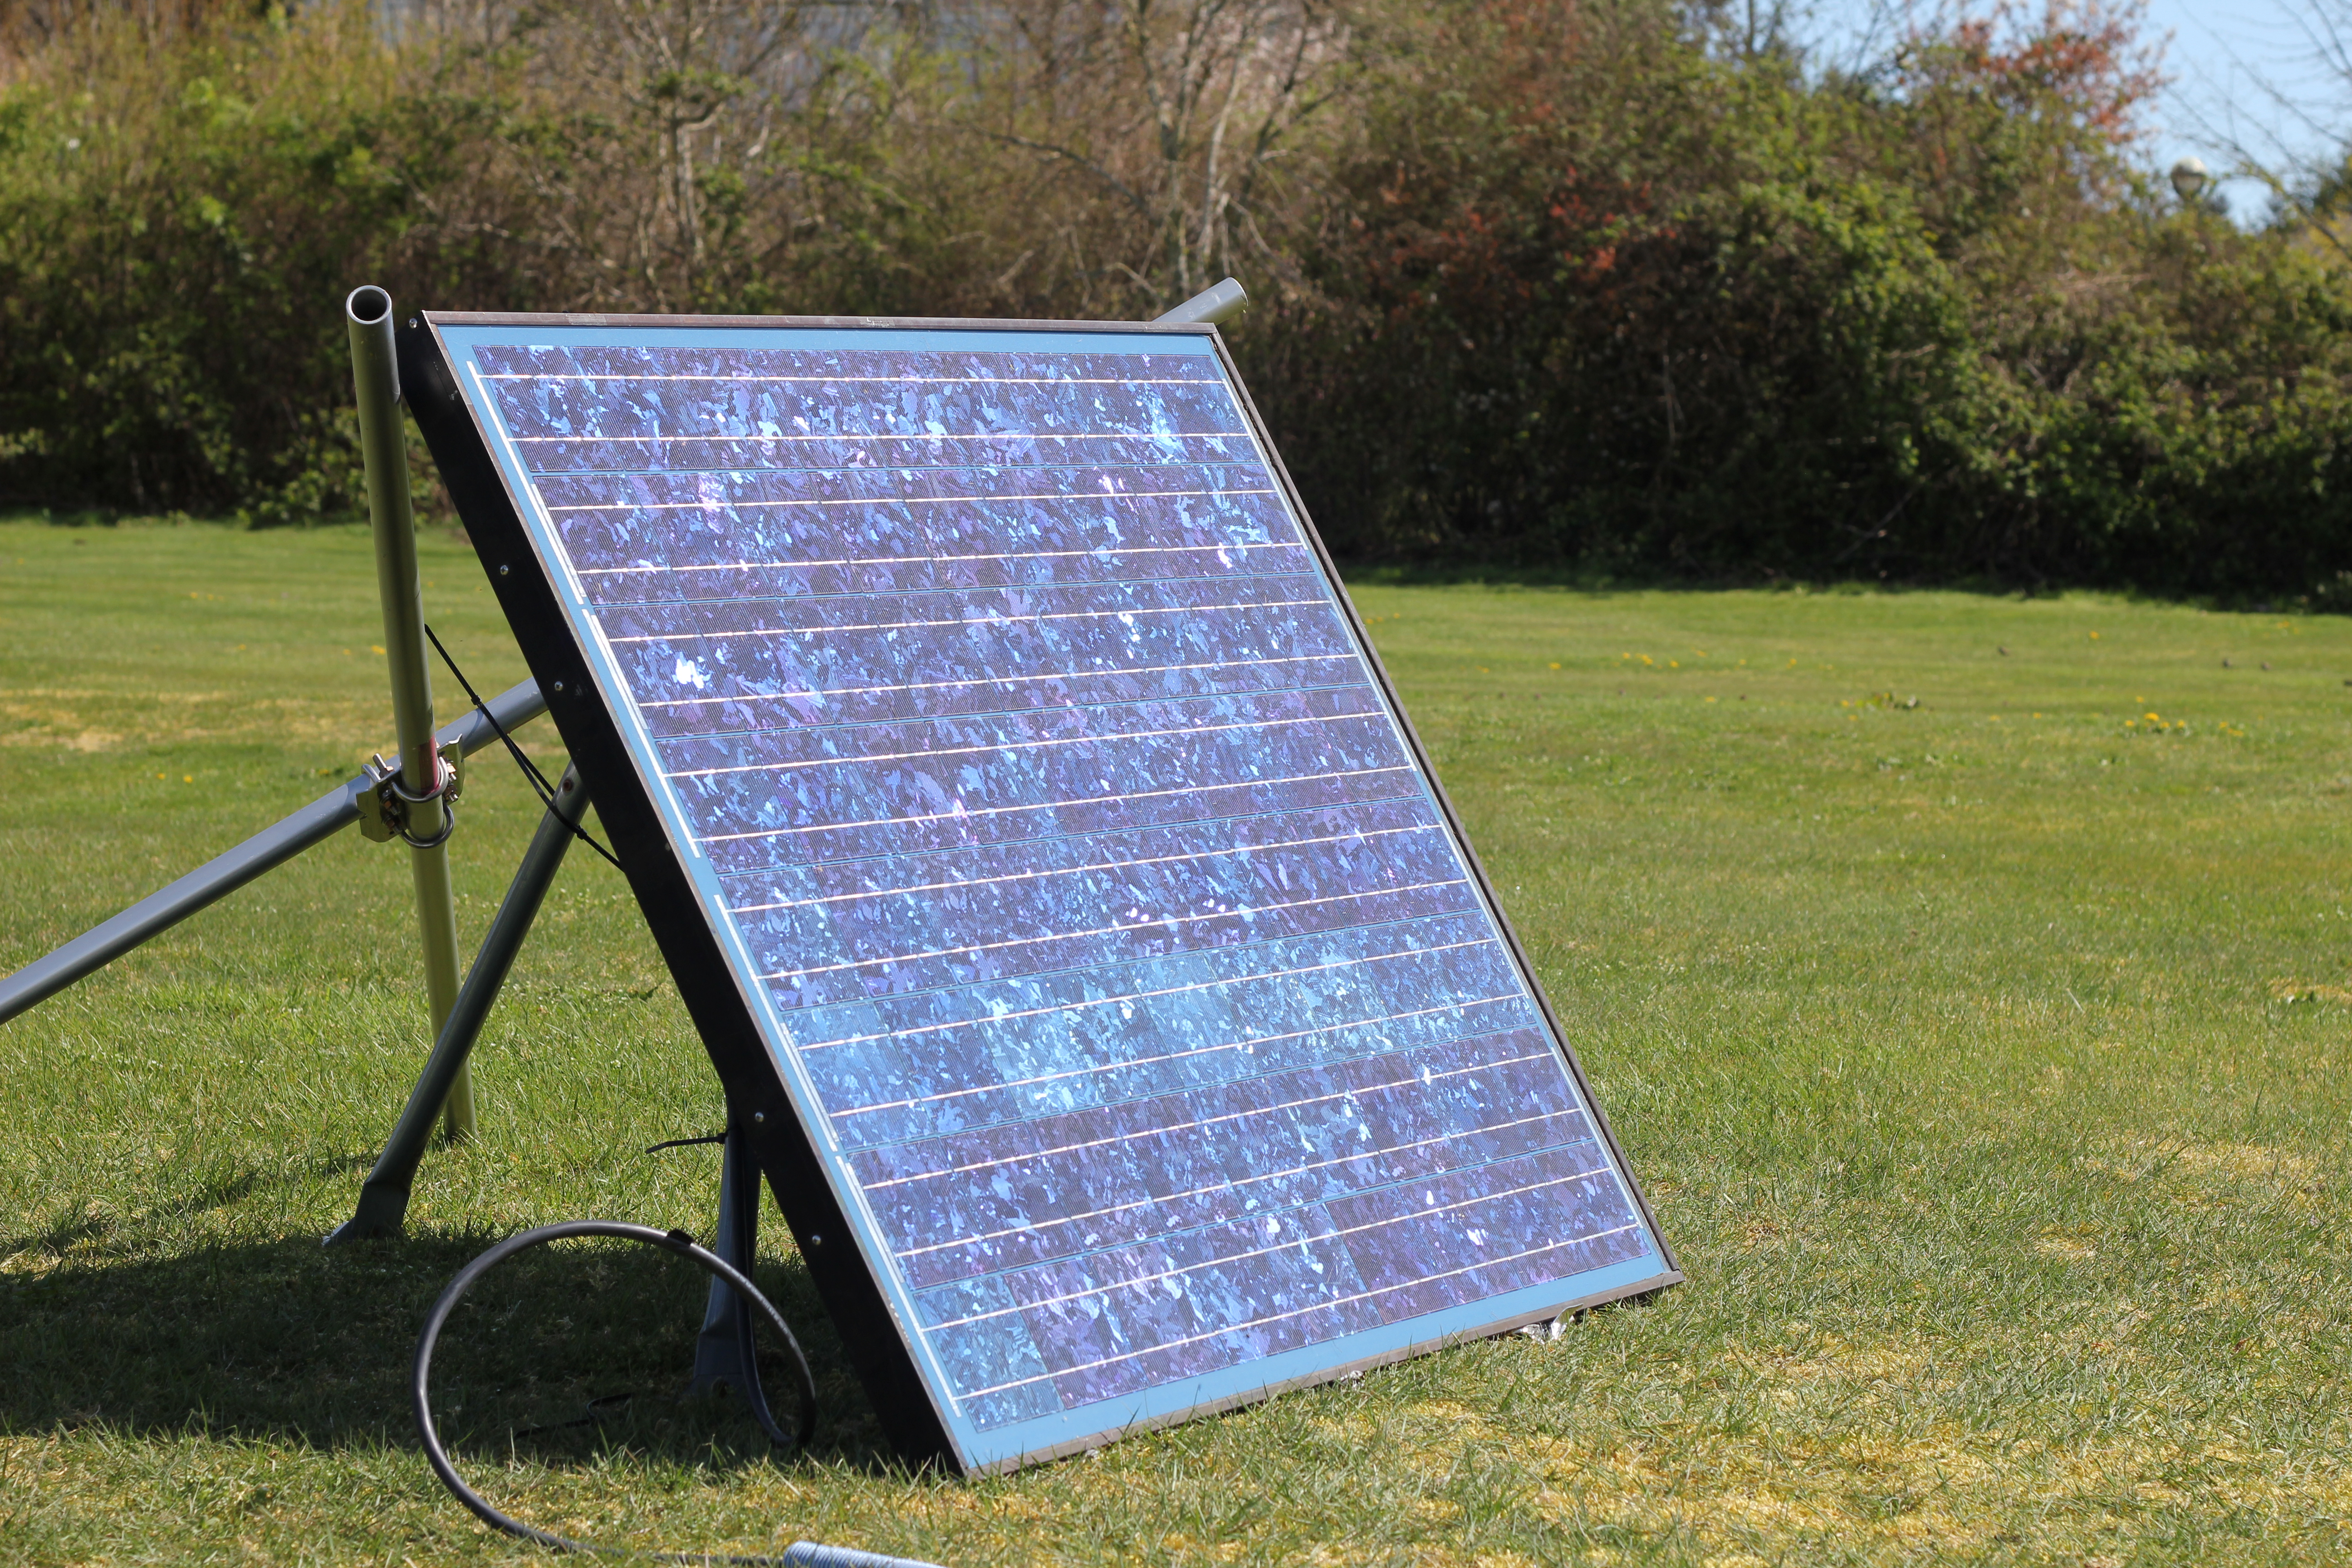
With things up and running in the lab, thoughts turned to how all the components will be brought together and mounted on the glacier, and on how to reliably power the station in such a remote setting. The plan is to rig the sensors on to a wide, stable tripod, with power provided from two marine batteries (like rugged car batteries for boats). The batteries will be recharged using a solar panel mounted nearby.
From sketches, to nuts and bolts.
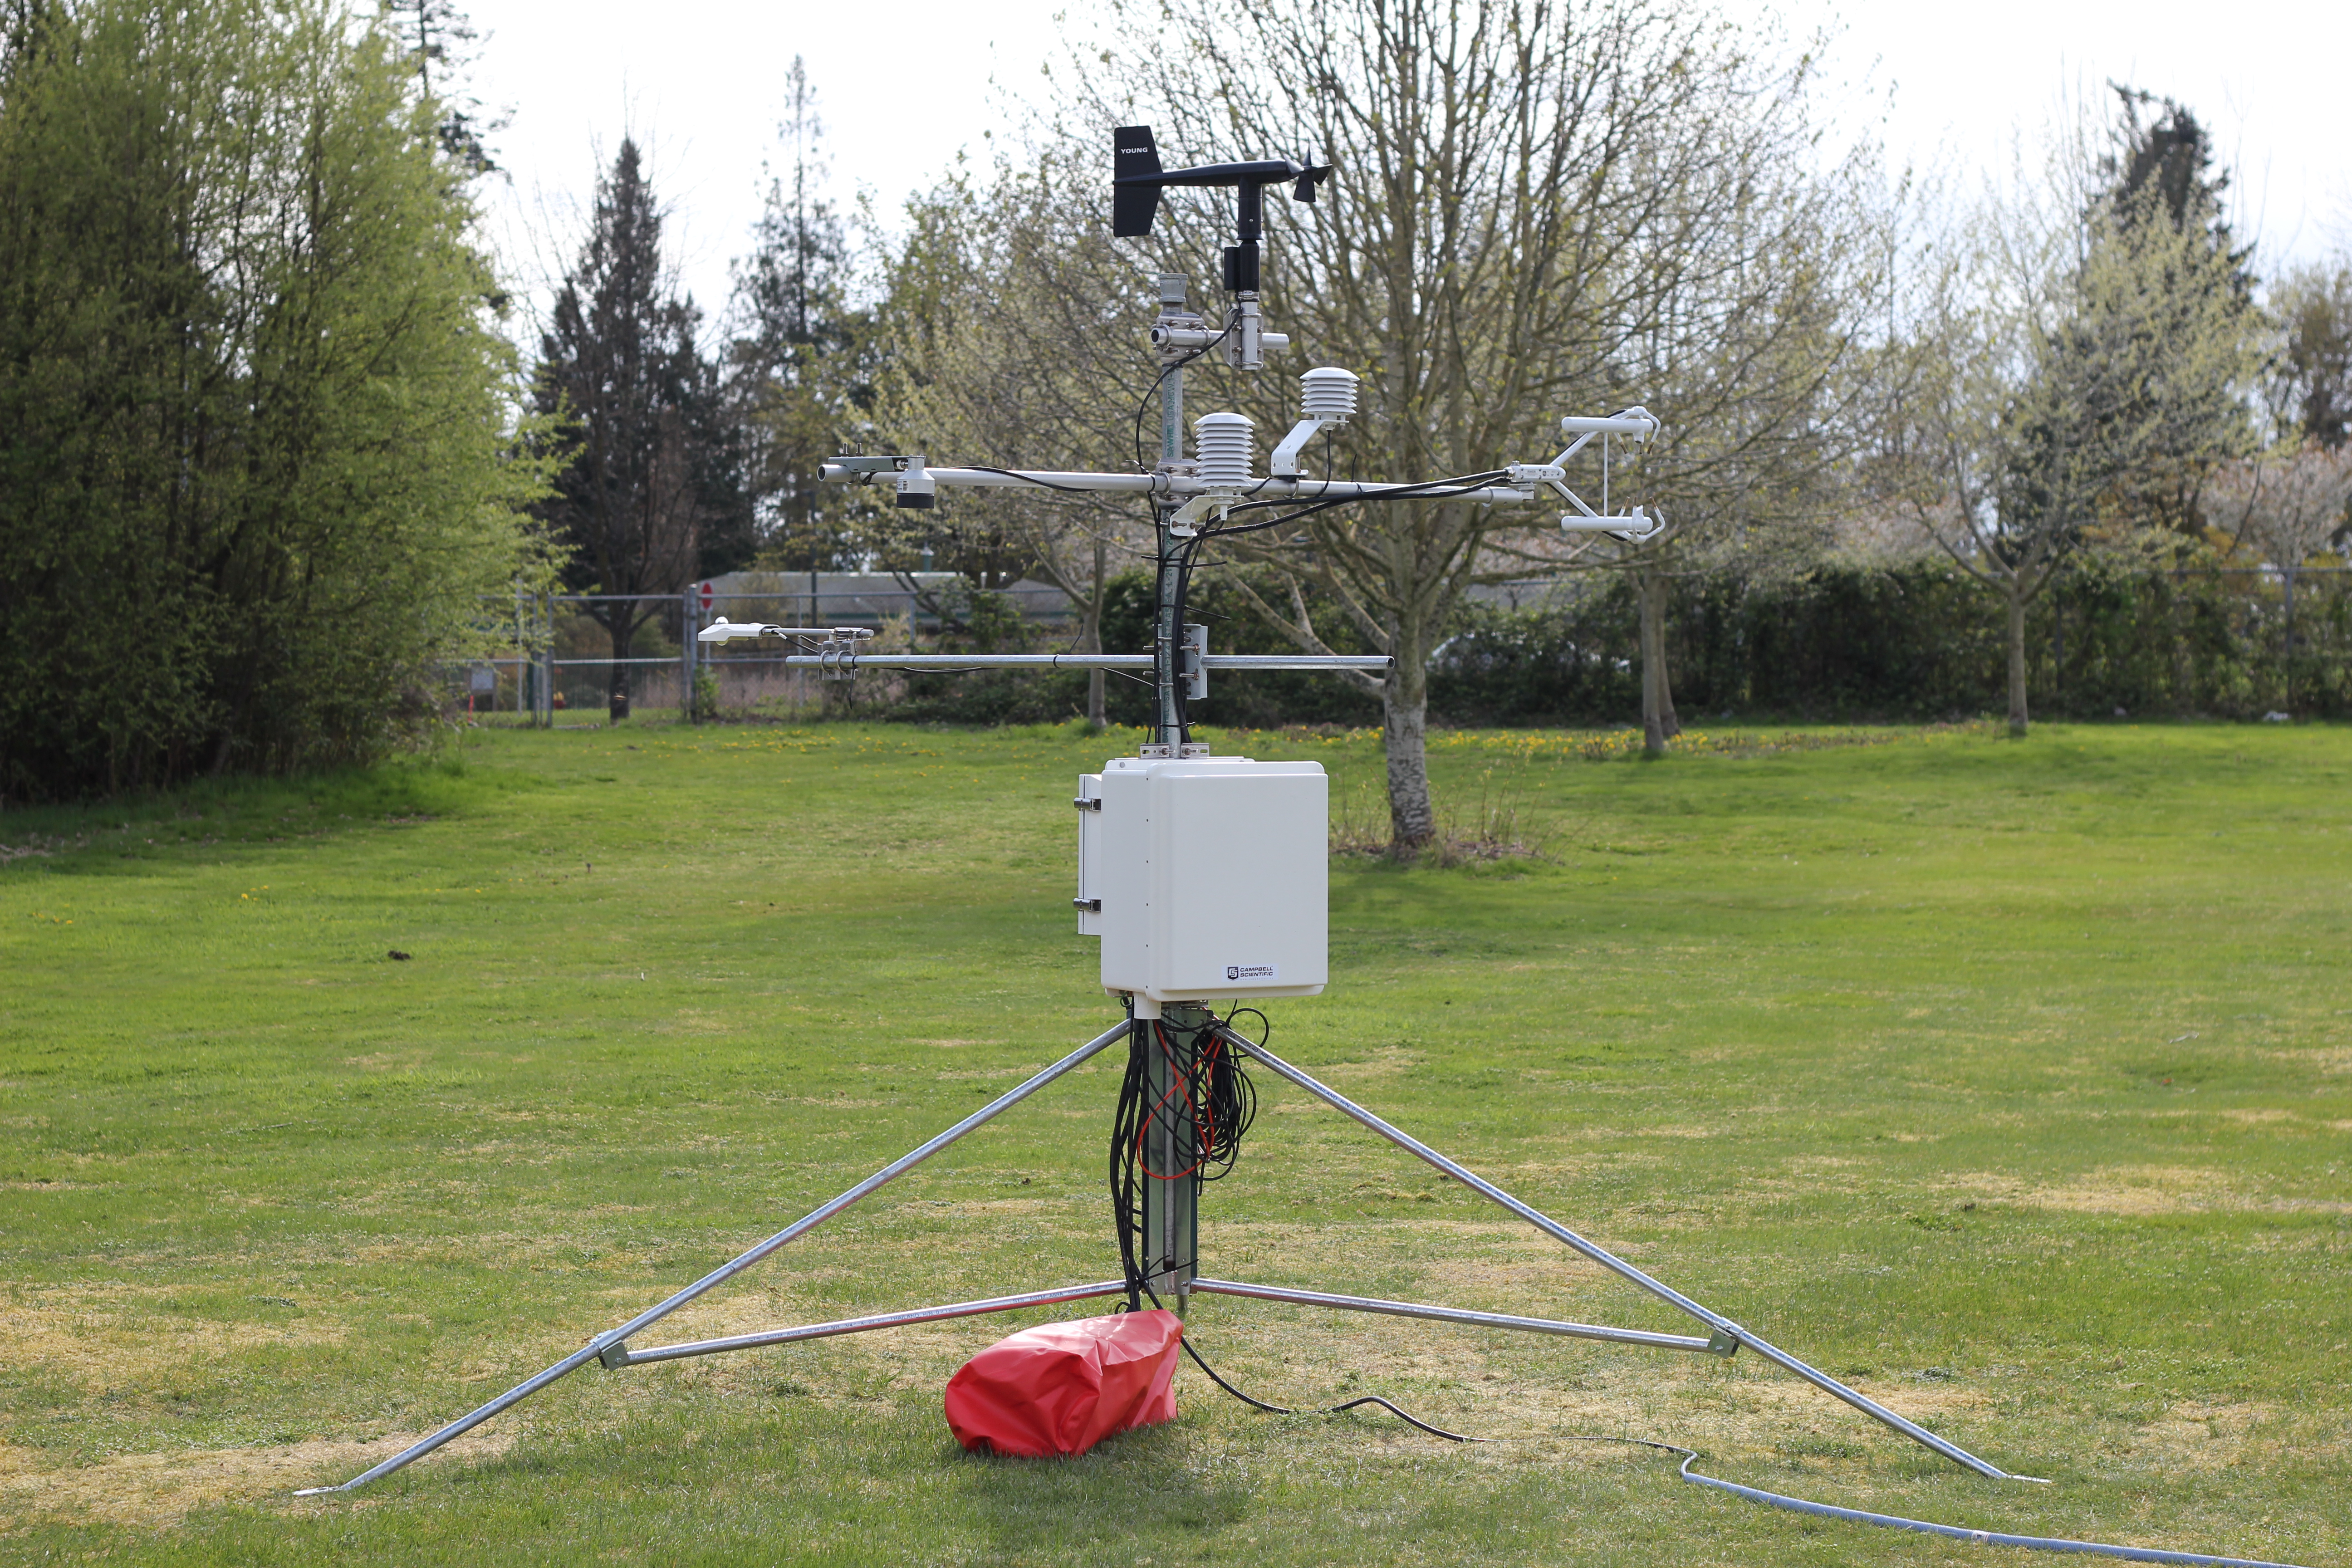
A test rig has been put together, and is now running at an outdoor site on campus. The main issues I’ll be keeping an eye on during this test include insuring the system records all the data it’s supposed to, when it’s supposed to, that the data makes sense and the sensors aren’t interfering with each other, and that a few cloudy days don’t cause my power system to flat line. Below are some images of the sensors I’m using and what they are for. For anyone interested, I intend to go into a little more detail on the science behind the project in future posts. I’m no expert though, so it should all be fairly readable!
Above and below views of the four component radiometer. This sensor measures incoming short and long wave radiation (from the sun, clouds etc) using the two instruments on top, and also outgoing short and long wave radiation reflected or emitted by the glacier using the bottom facing instruments. The balance of incoming and outgoing radiation is one of the most important controls of glacier surface energy.
The sensors for measuring air temperature and humidity are housed in beehive-like enclosures known as radiation shields. These white shields protect the sensors from direct heating by the sun or excessive cooling at night (which would cause inaccurate readings), while still allowing the air to flow past the sensor and be measured.
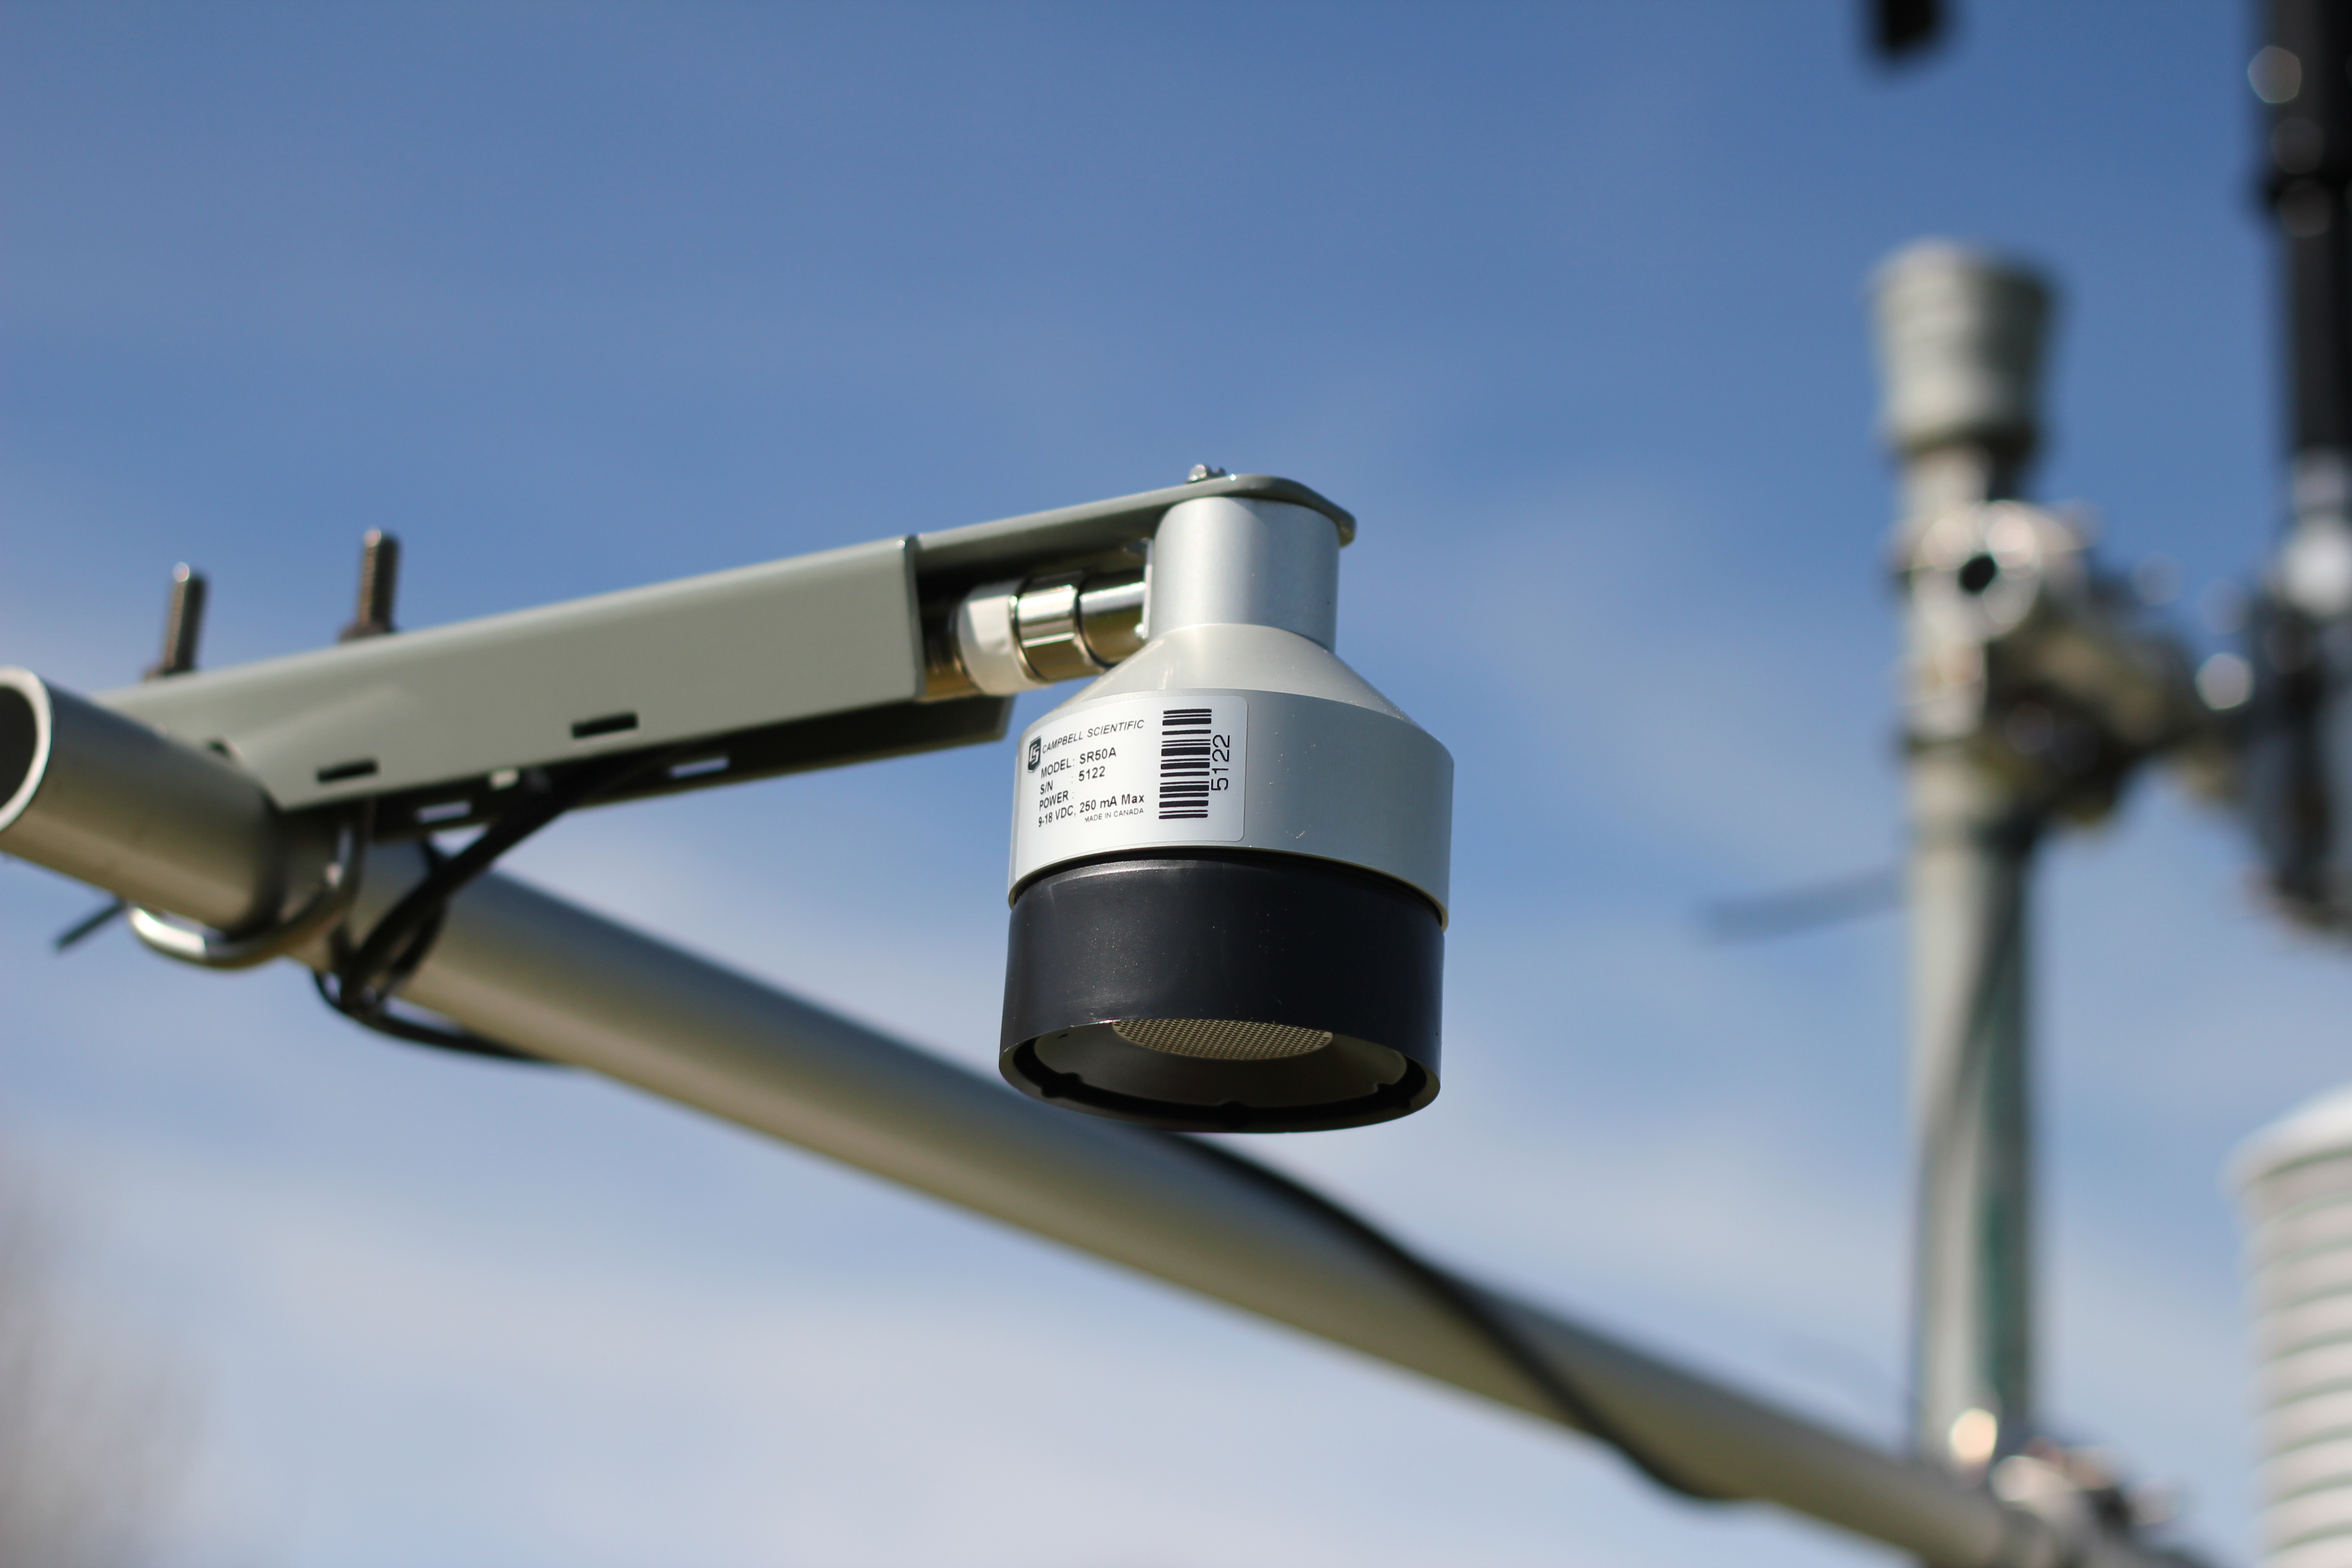
The snow depth sensor (also known as a sonic ranger) measures the time it takes for a sound wave to travel from the sensor down to the surface and back. Changes in the length of time taken equate to changes in the height of the snow/ice surface. In this study, it will be used to measure the rate of surface melting on the glacier, and it will be mounted on a separate fixed mast to the other sensors.
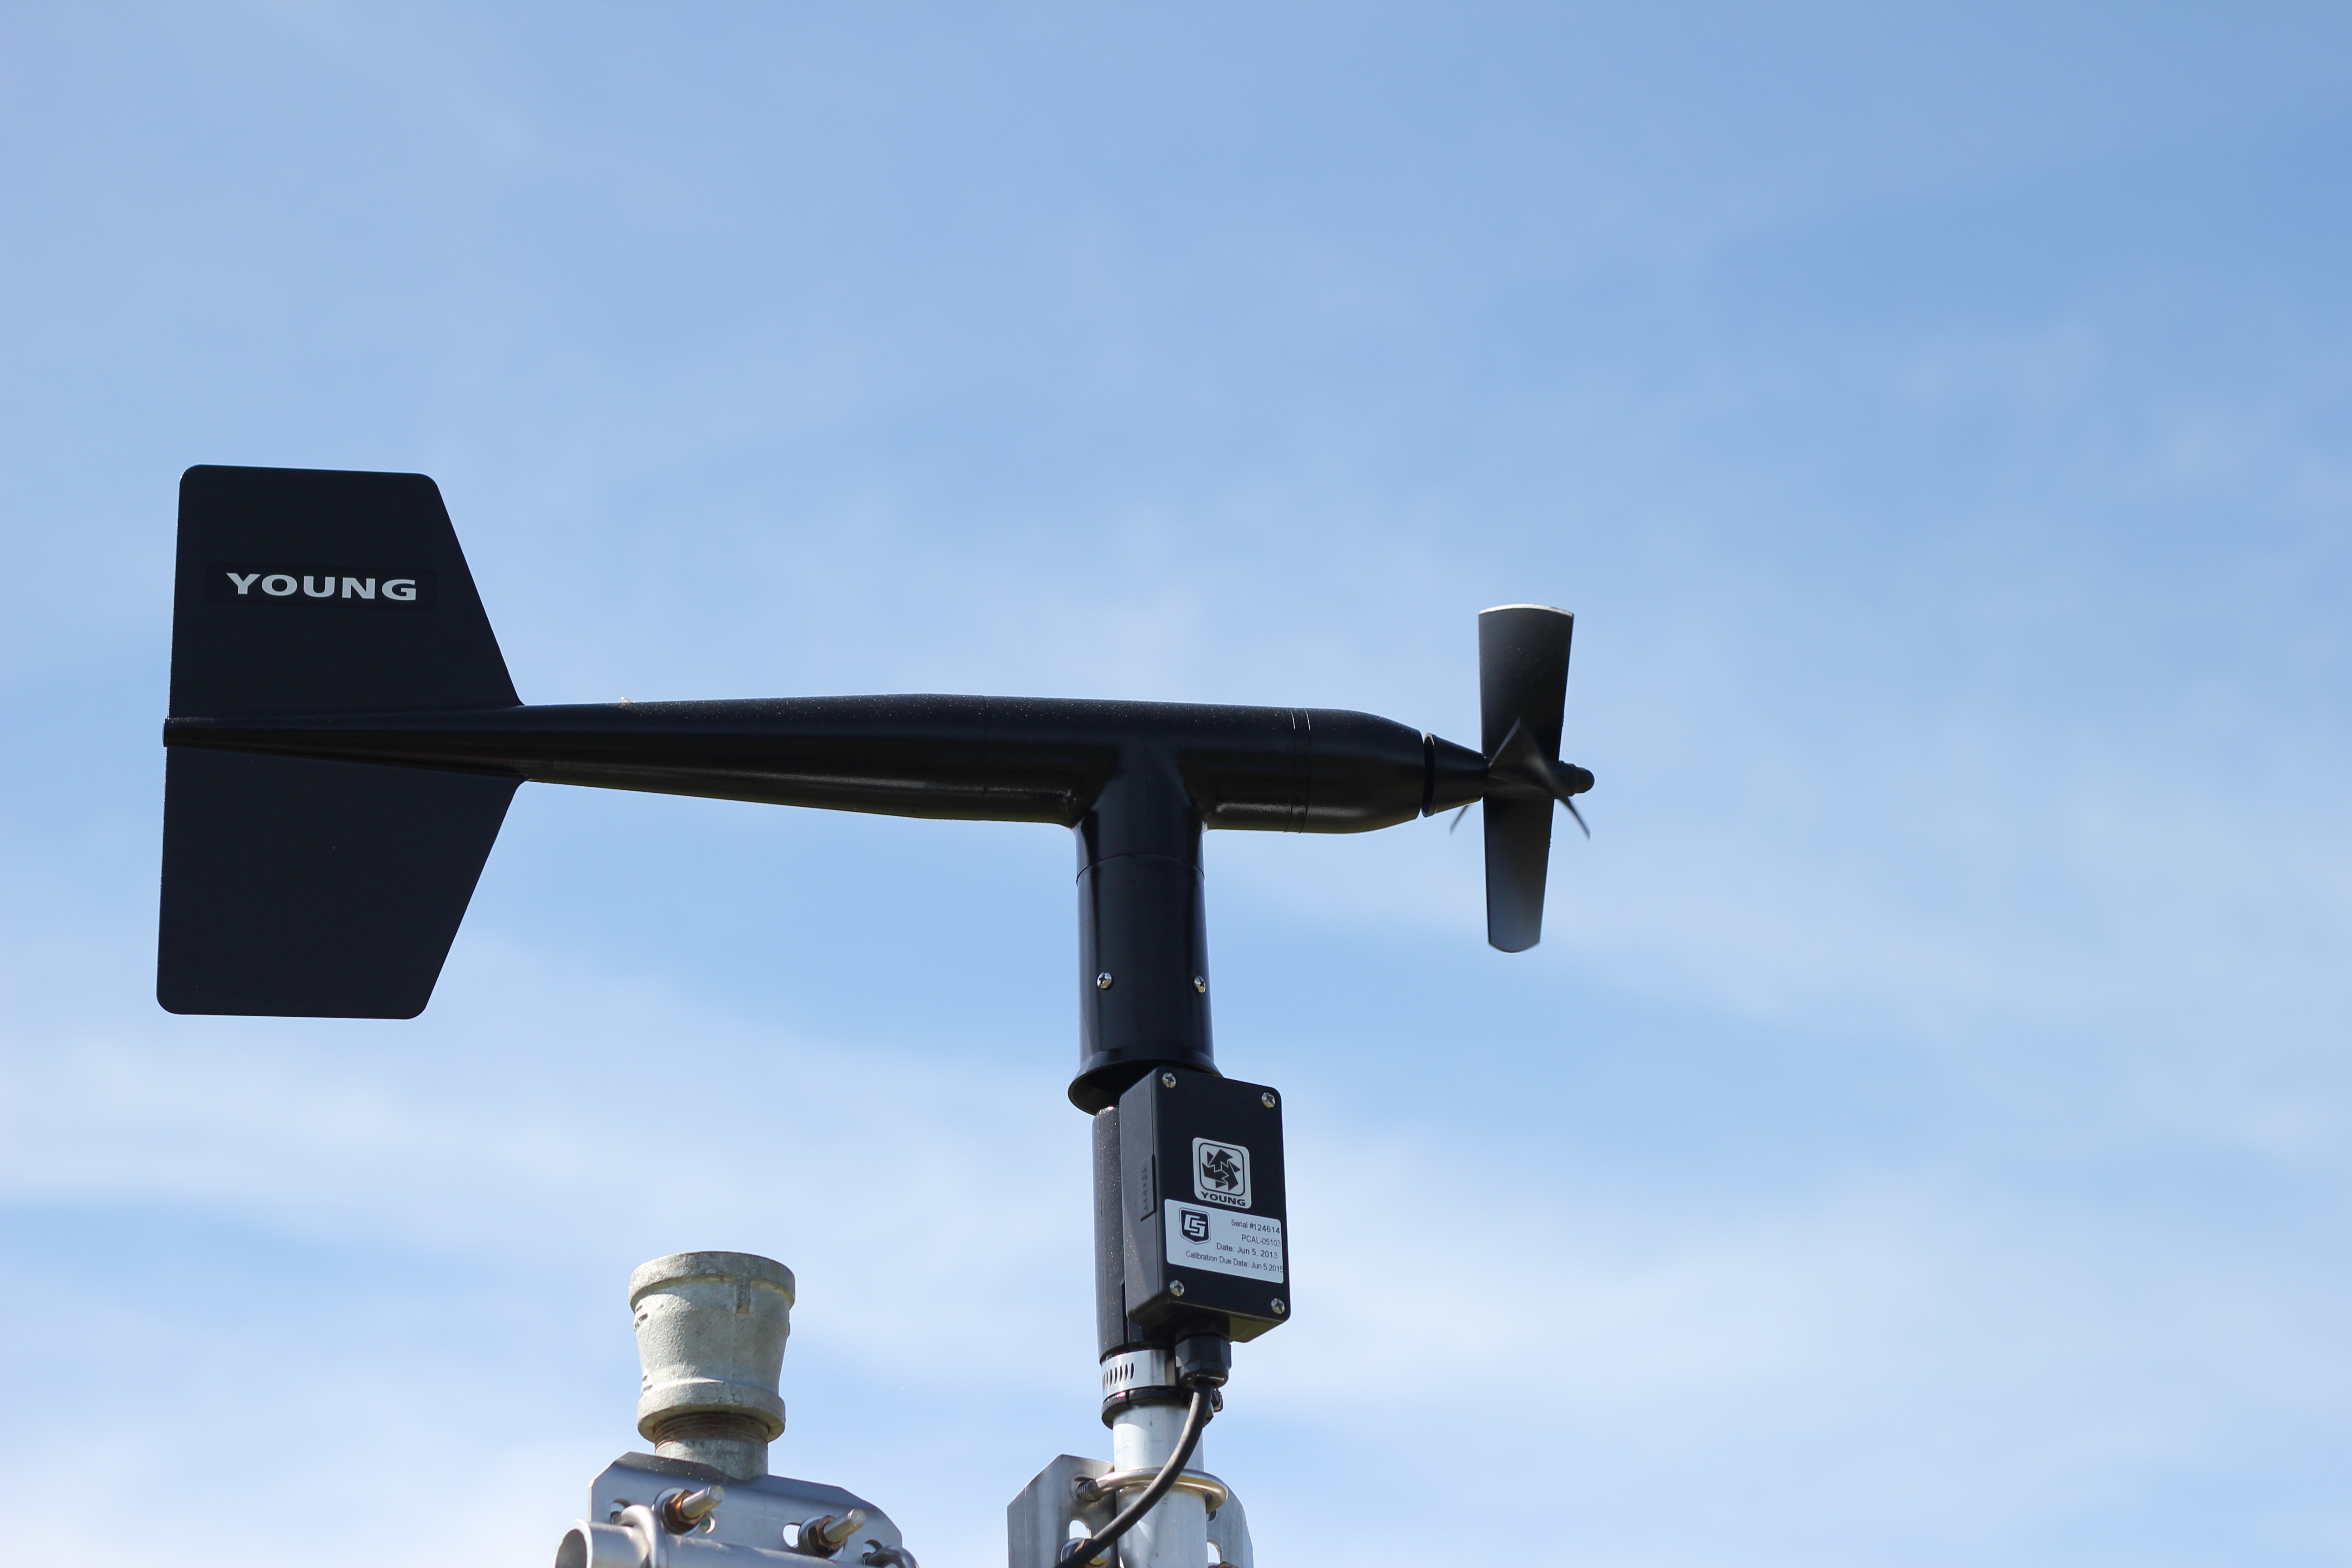
The wind sensor measures wind speed by the rate at which the propeller at the front is rotated by the wind, and the wind direction by which way the wind turns the sensor (it is designed so that the propeller end will always turn to face the direction of the oncoming wind).
This is a combined sensor which measures both the movement of air (wind), and its water content. The two claw-like structures make up the wind sensor, which is known as a 3D sonic anemometer. It measures wind speed or air movement in three dimensions. The two lenses in between this sensor make up the gas analyser, which uses an infrared beam to estimate the water content of the air flowing past. This sensor will be used to observe the the air currents or eddies which can transport heat and water to and from a glacier surface. These measurements are one of the more unique aspects of this project, know as the eddy covariance technique, and will be explained in greater detail in future posts.
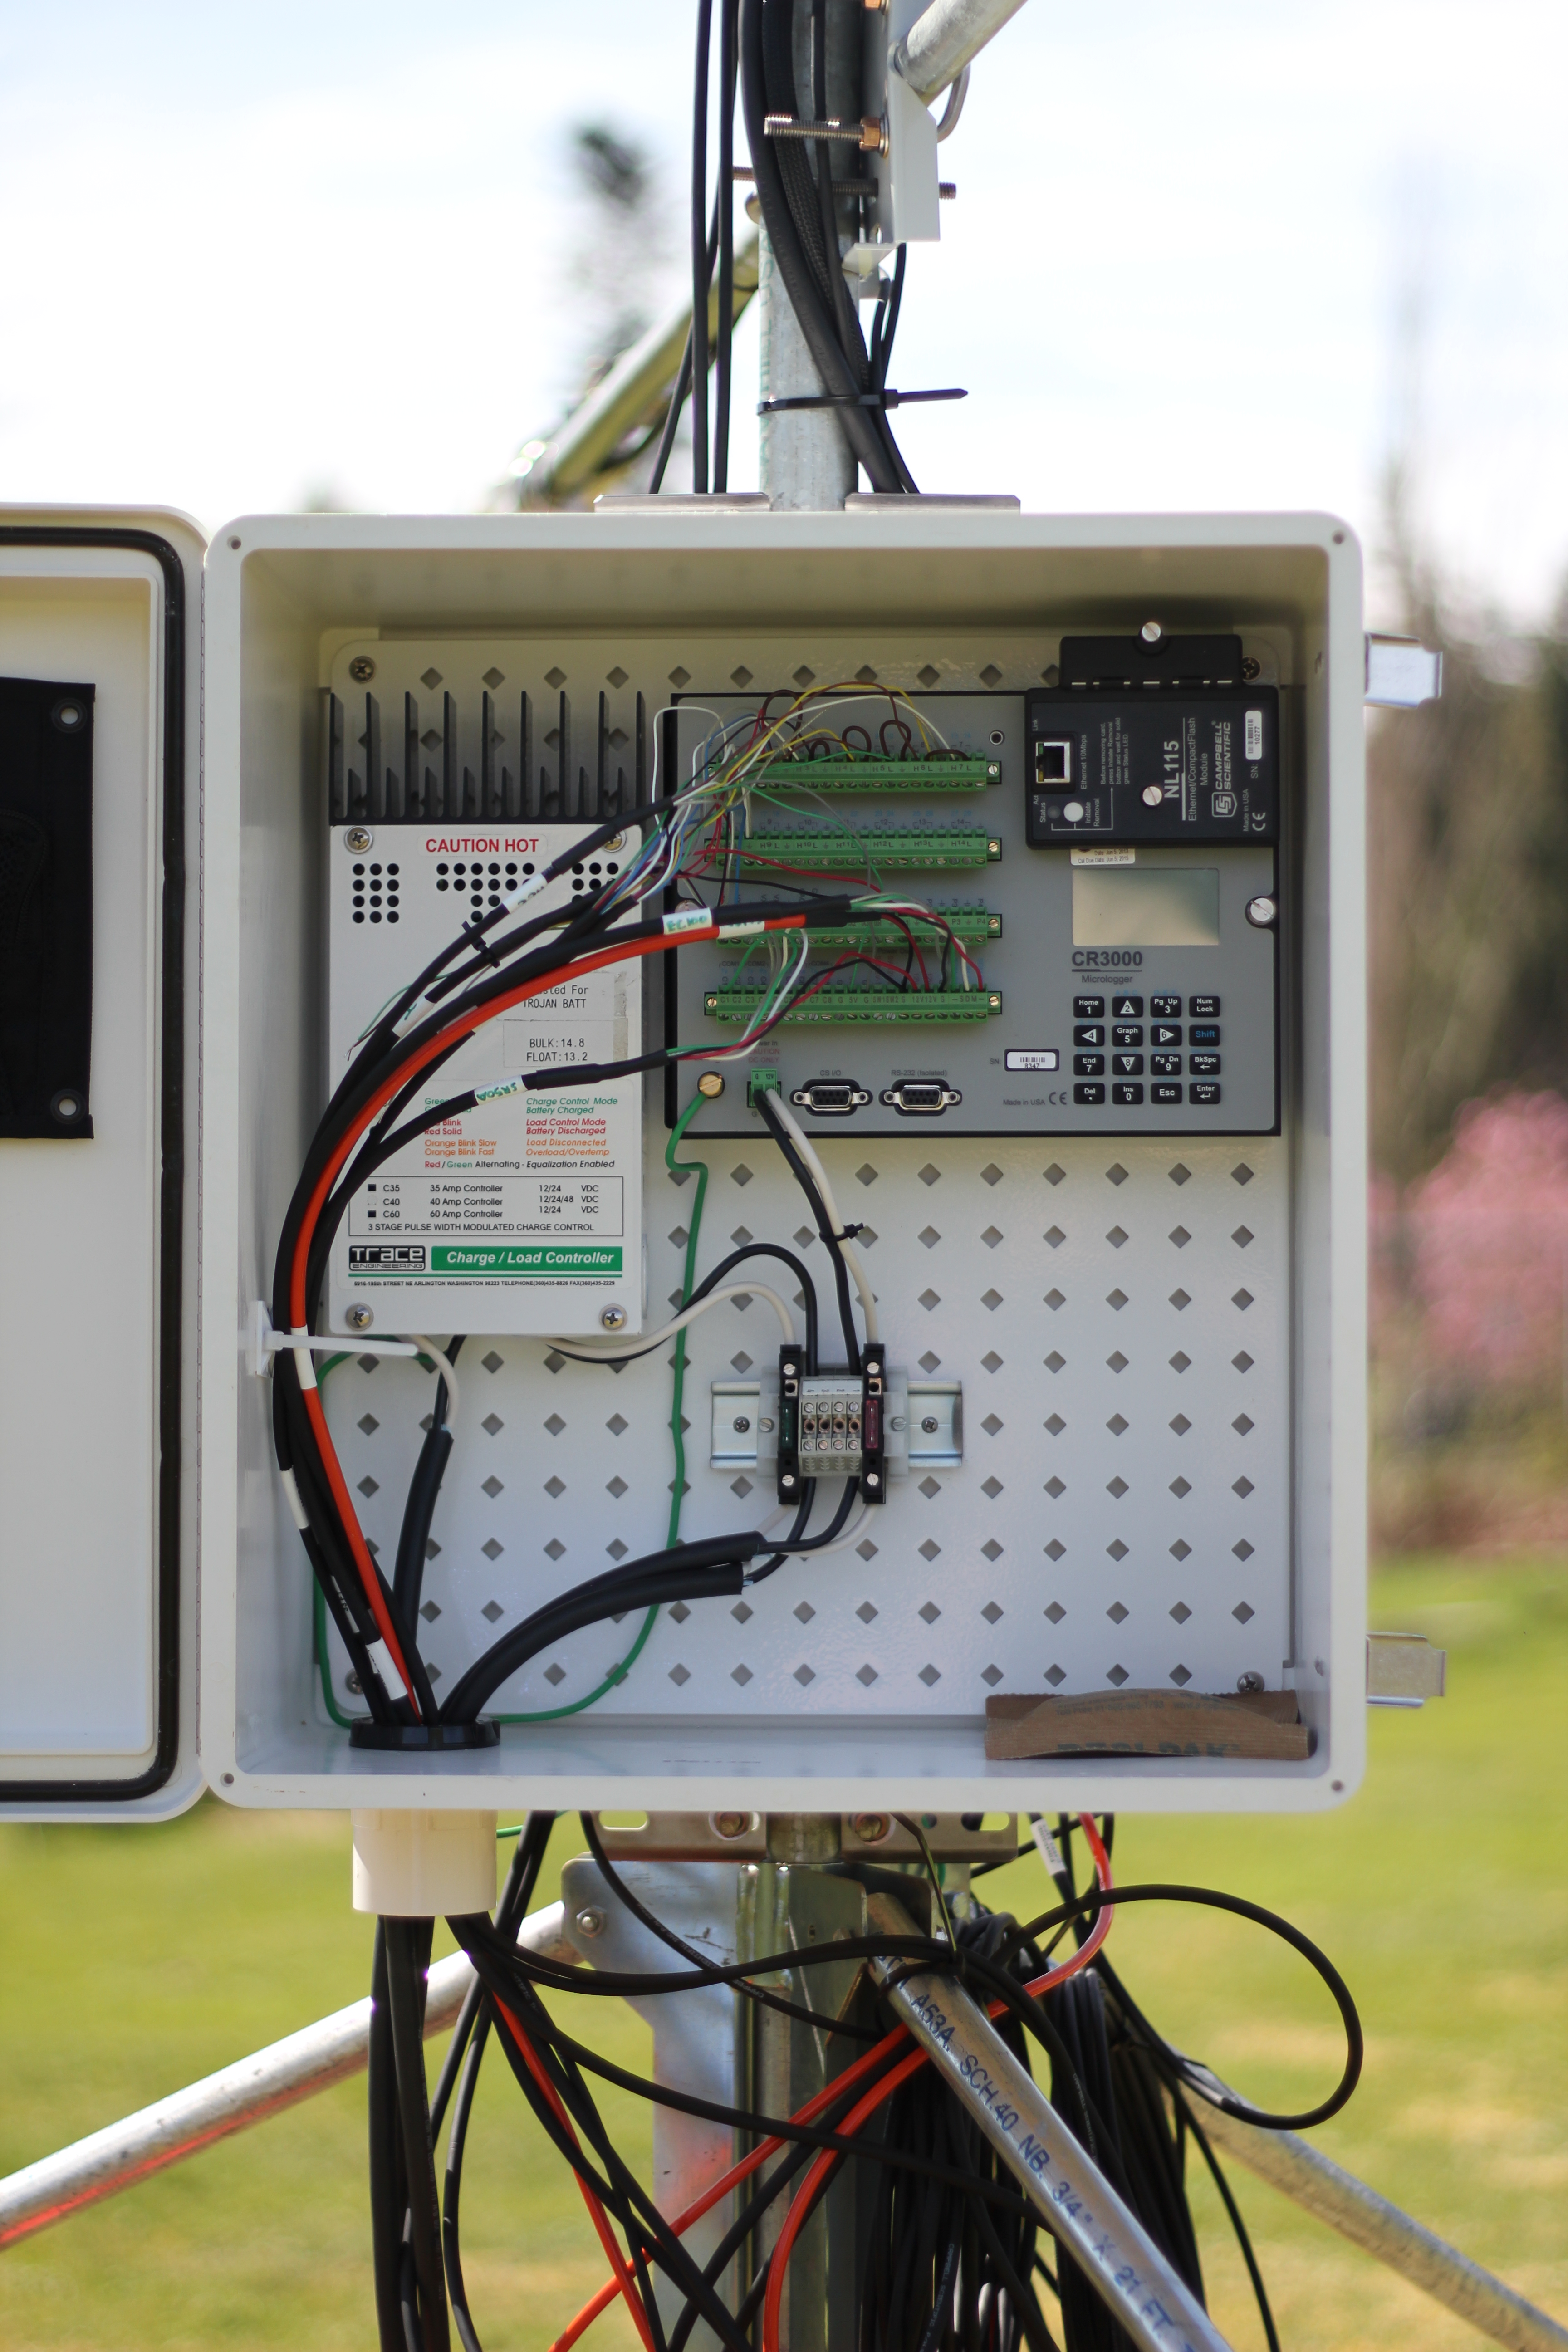
The brains of the operation: the data logger (top right) has been programmed to communicate with each sensor, telling it how and when to take measurements, and saving the data produced. The white box to its left controls how power from the solar panel (below) recharges the batteries.
All going to plan, we will travel to the glacier and install the weather station this July. There will be some modifications and additions leading up to this, including a new custom made 4 legged ‘tripod’ (quadpod?), and a timelapse camera system which I will be building in the meantime. Many more hours in the lab and office will be required to get everything ready, but from this campus, reminders for why we are doing this are never far away.
Looking north from UBC campus towards the peaks of Tetrahedron Provincial Park.
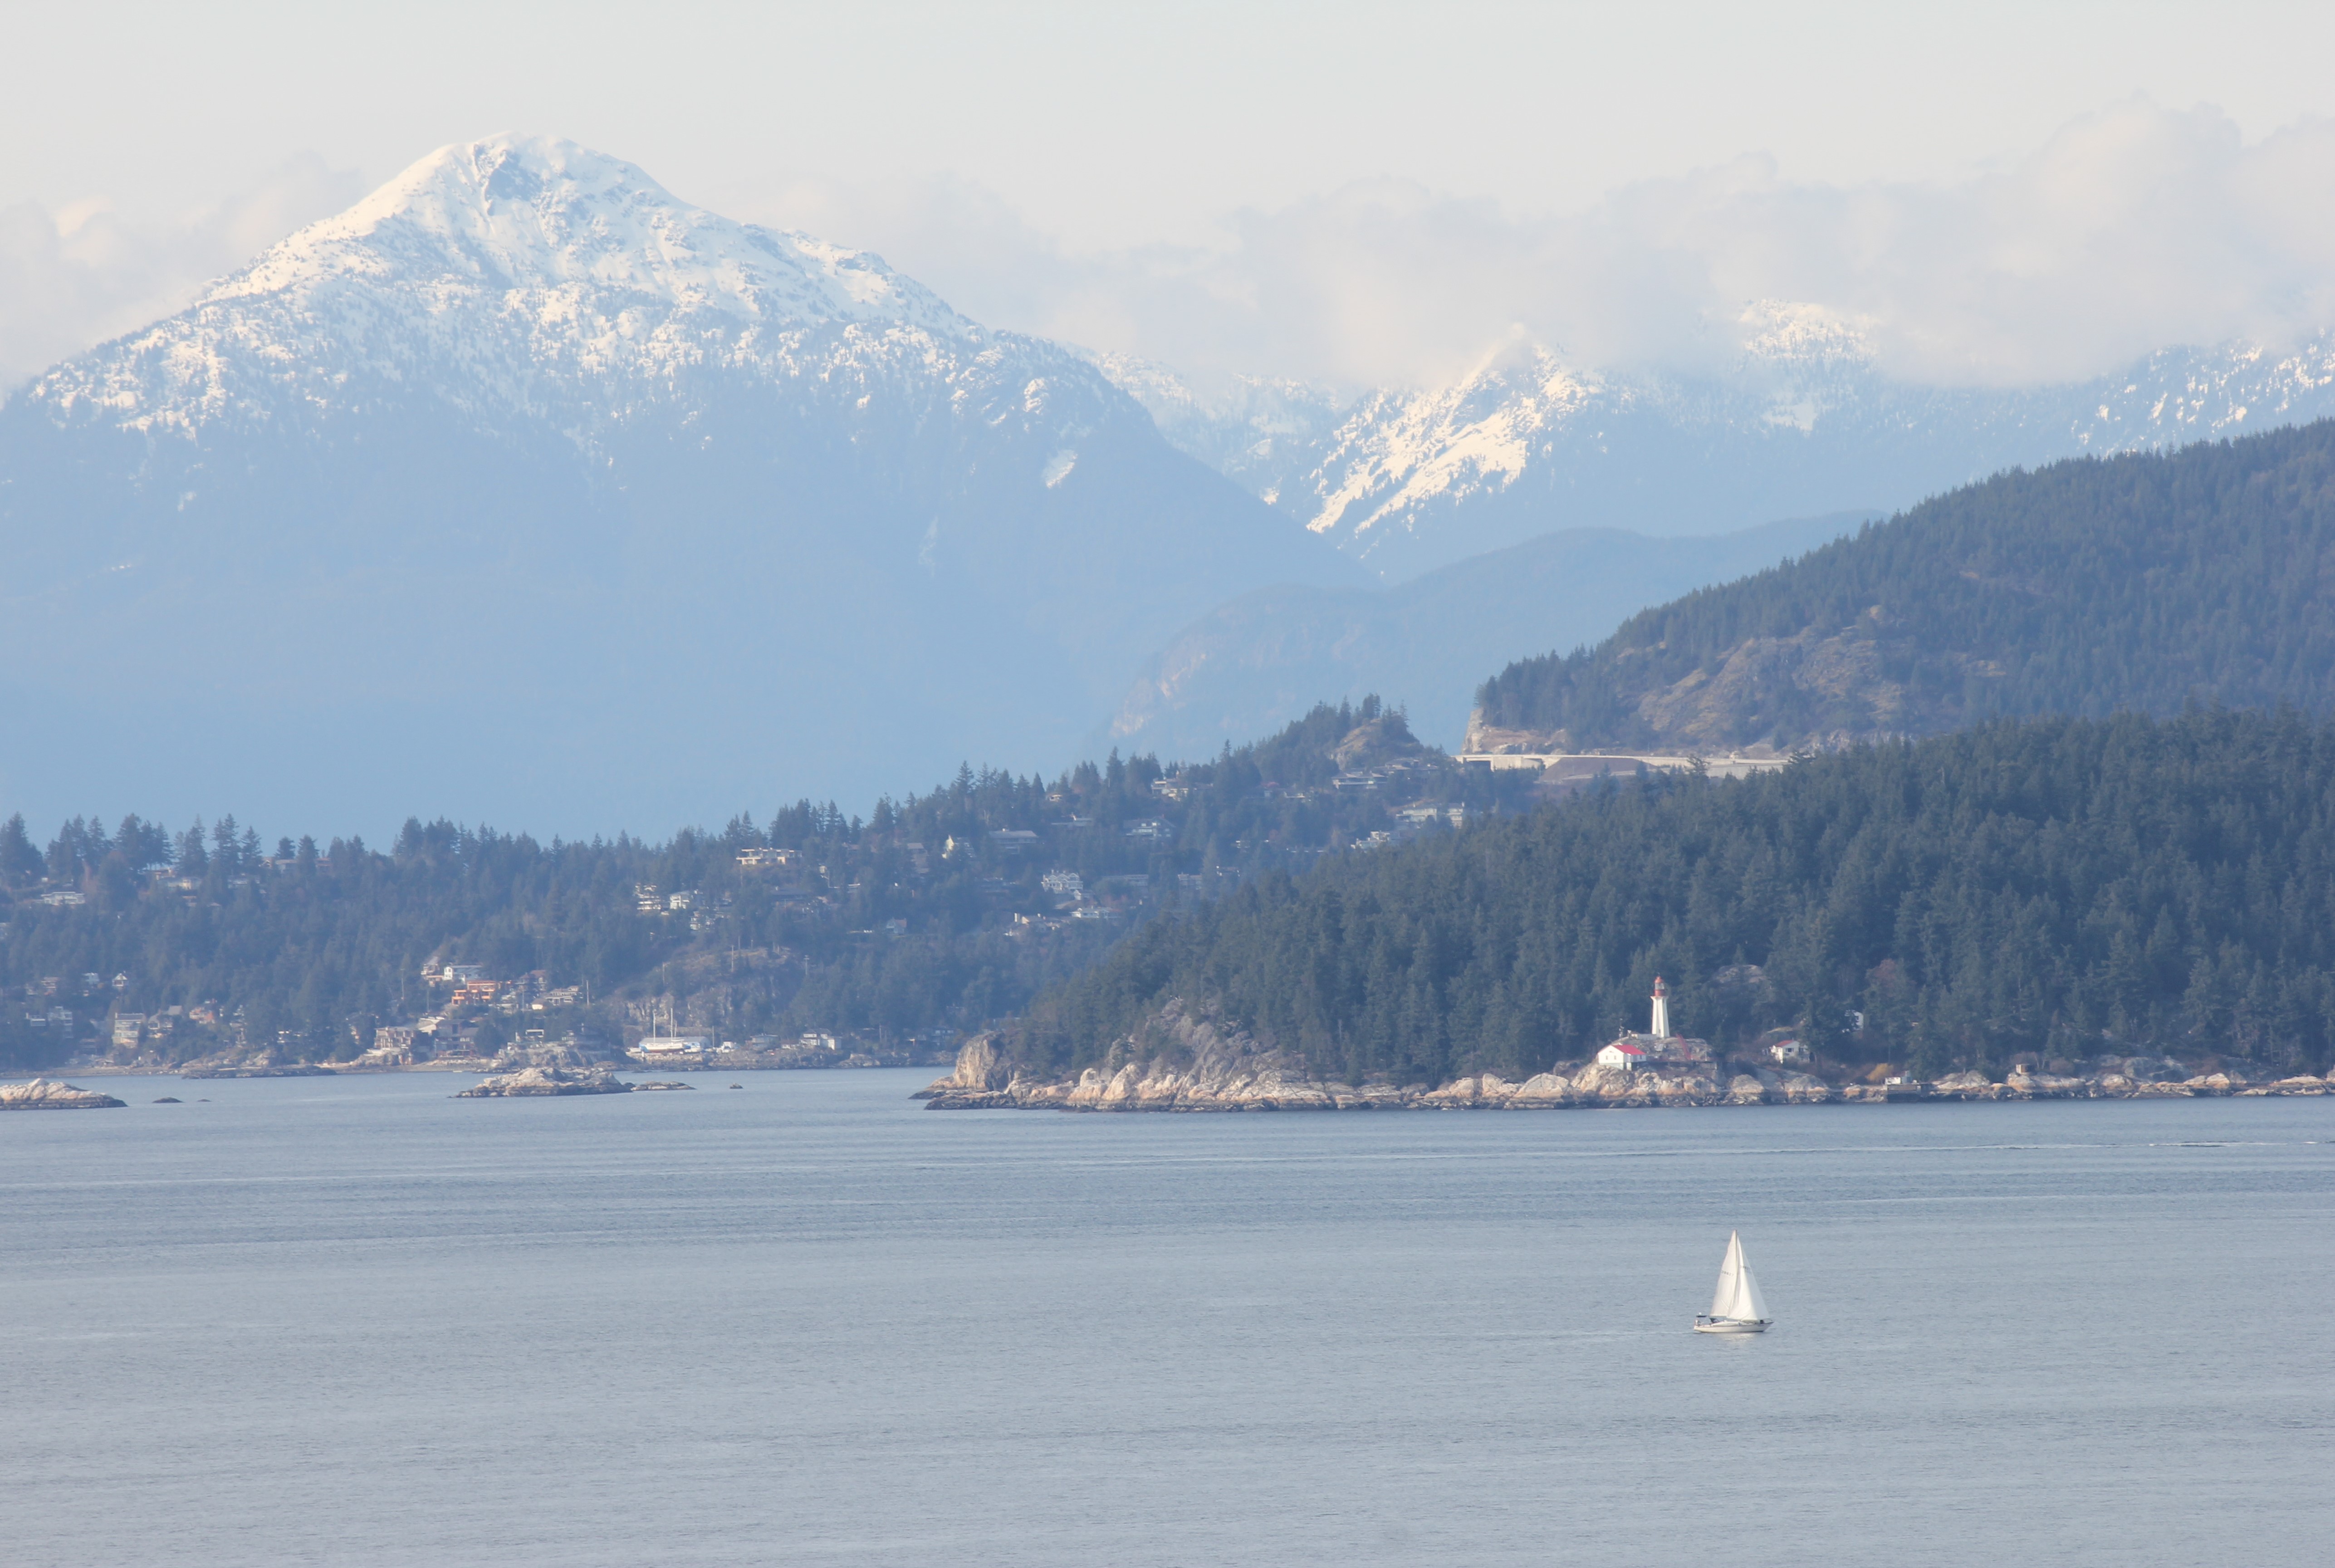
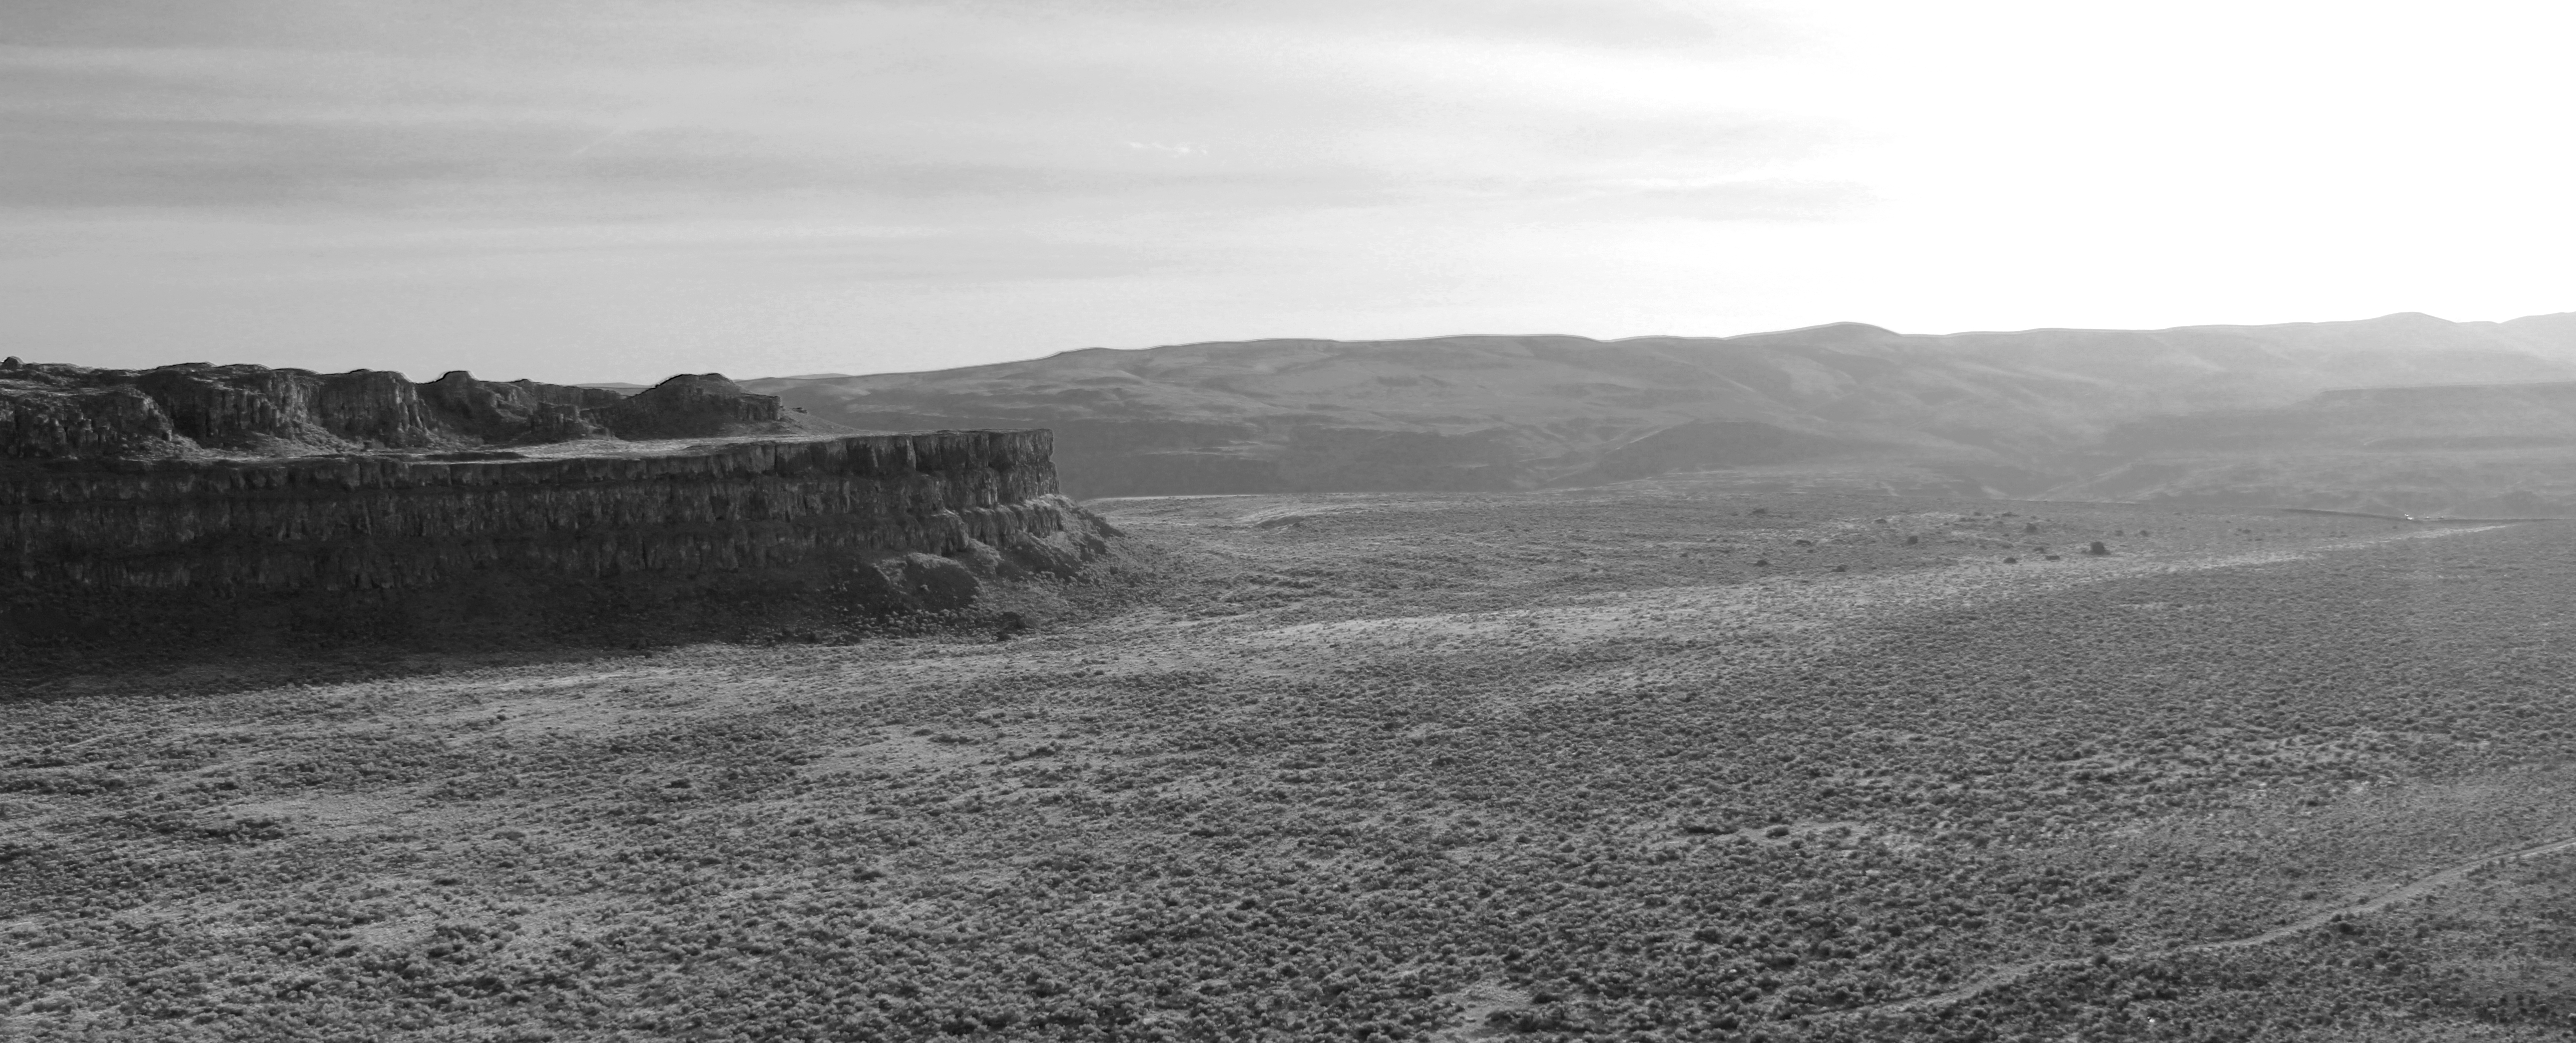
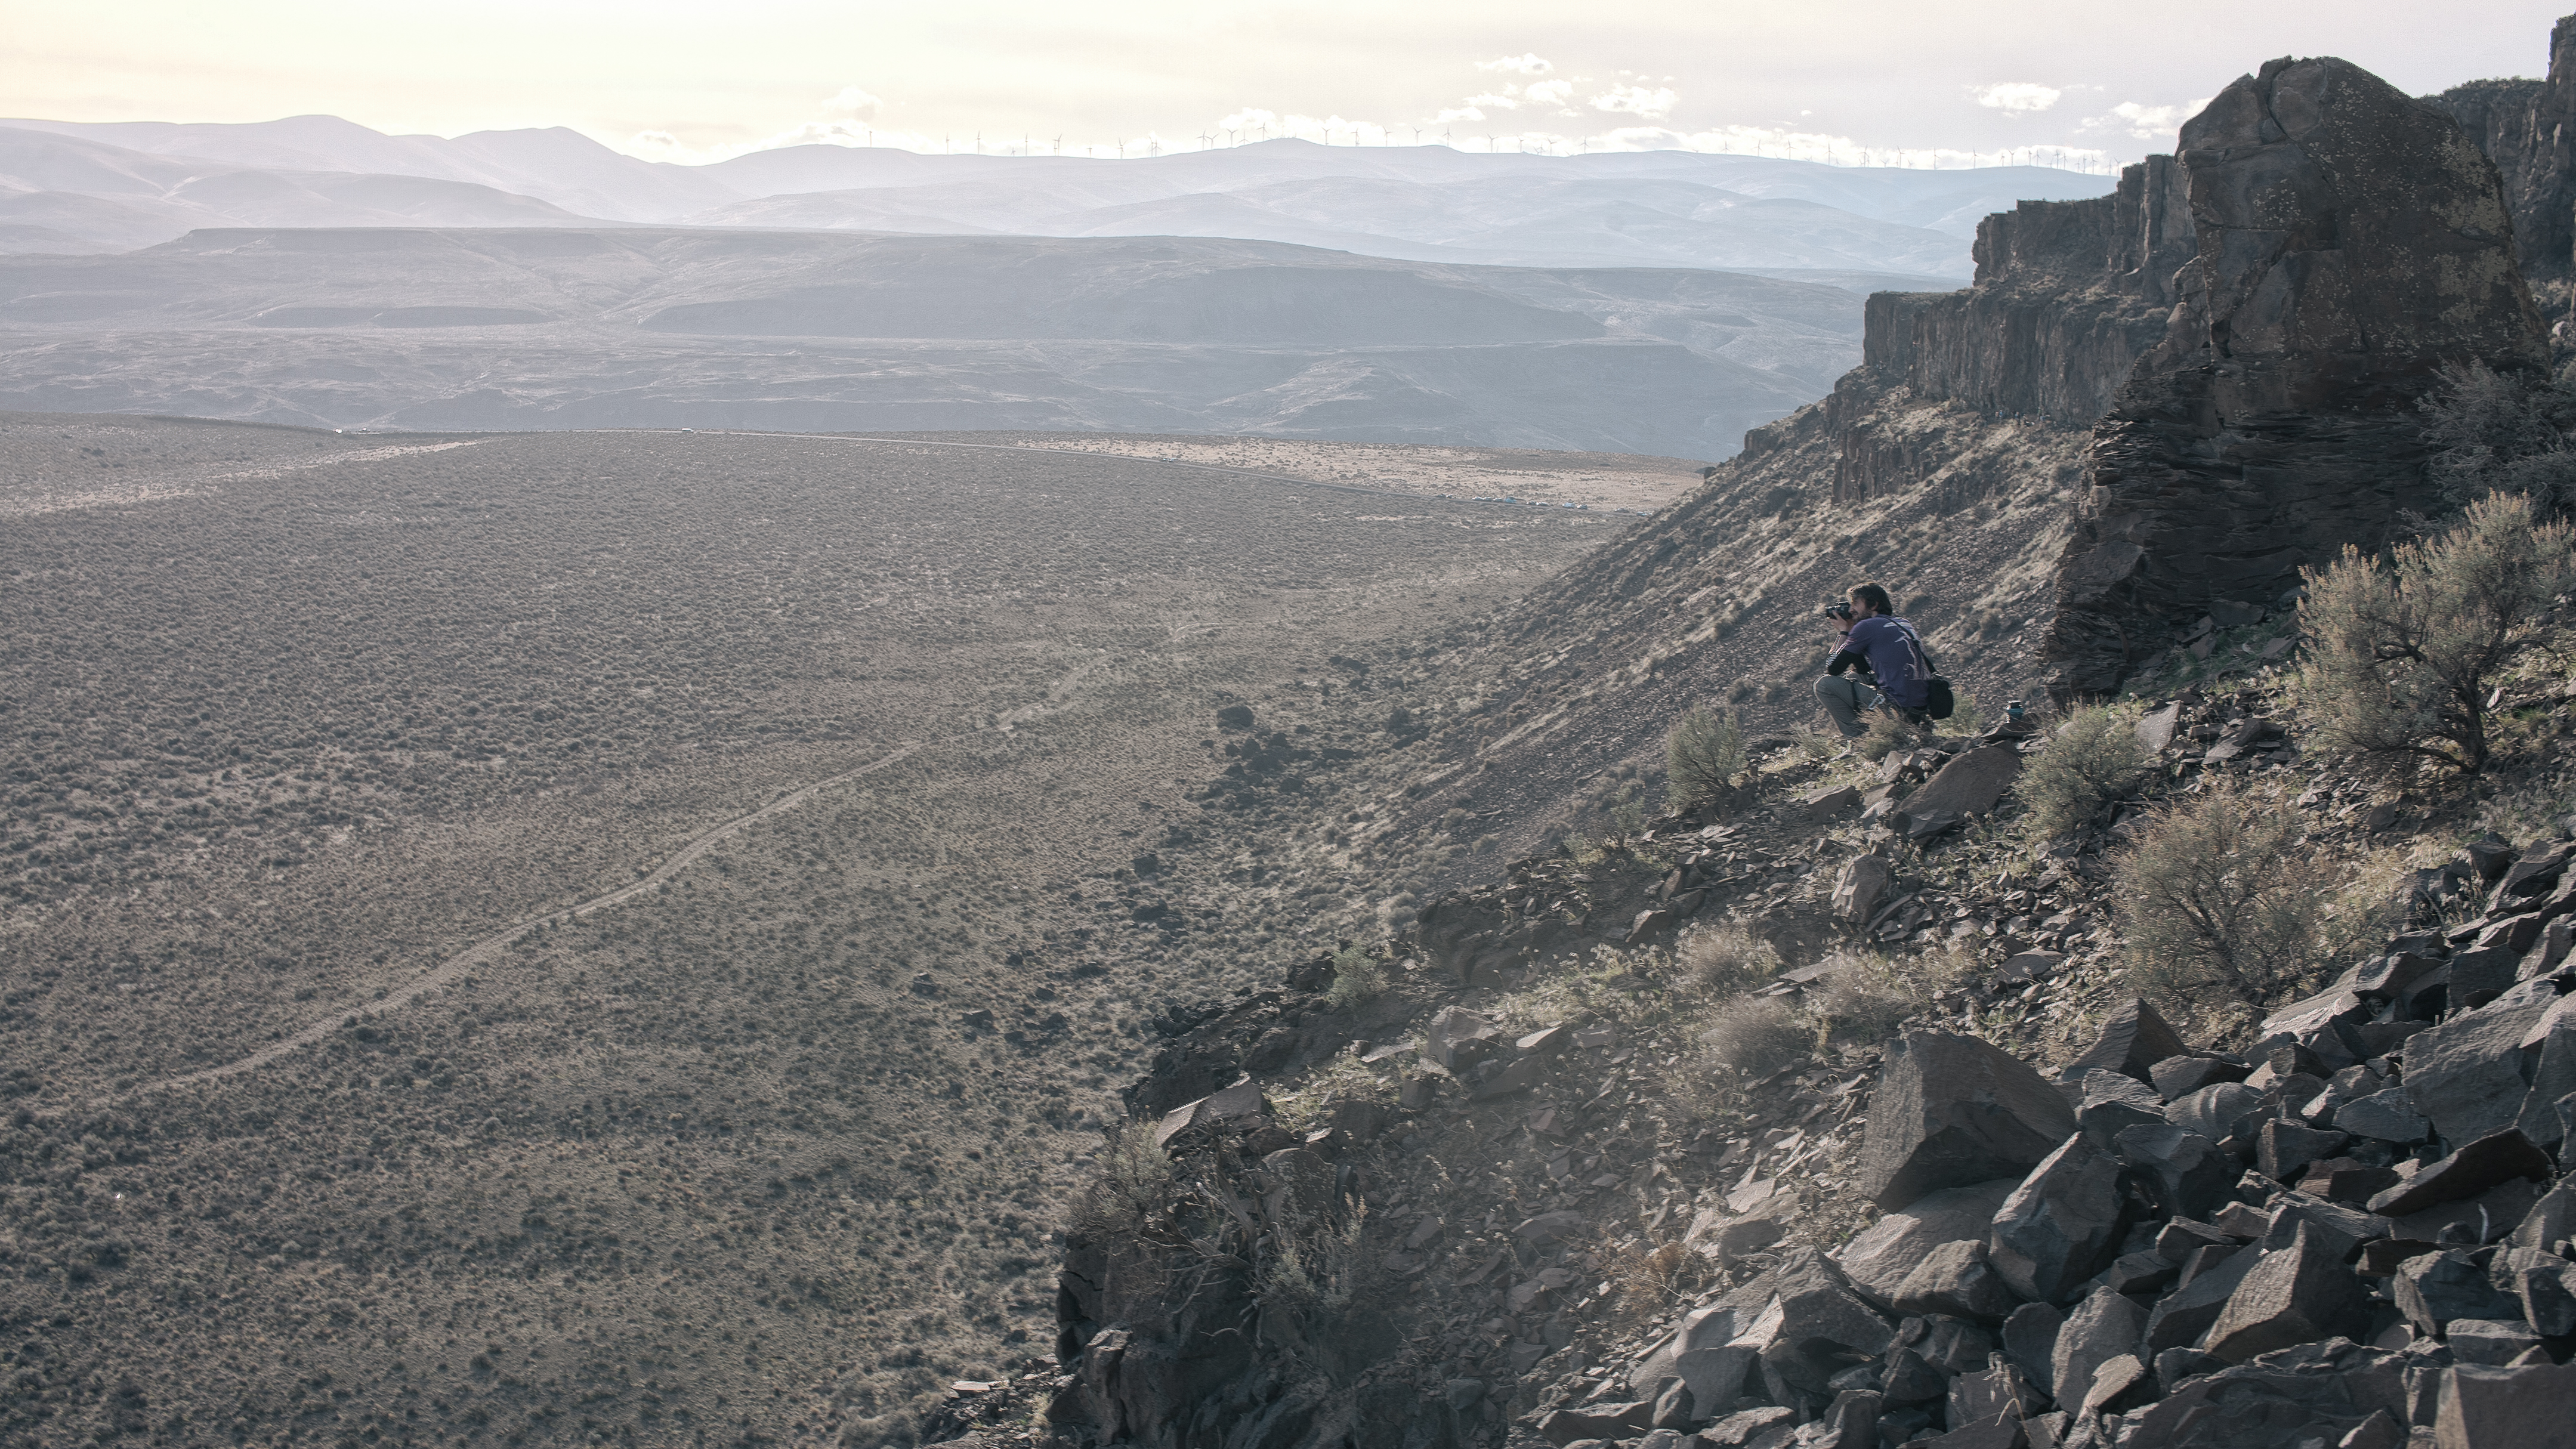
Our destination was south of the 49th parallel, to the home of some of Washington state’s finest rock climbing, Vantage. The drive east from Seattle is a compressed lesson in geography. Leaving behind the moist, cloud catching city on the Pacific coast, the road quickly rises to thread the barrier of the Cascade mountain range. Snow drifts, and white peaks signal the temperature drop as our altitude increases. Descending on the eastern side of the range, the snow vanishes as quickly as it appeared, replaced by a dry, rocky expanse, shielded from the moisture to the west by its lofty neighbours.
Landscape surrounding Vantage
We were a party of climbers from the University of British Columbia’s Varsity Outdoor Club (UBC VOC), with a plan to escape the inclement weather in Vancouver for a weekend. Having only decided to go the day before, approaching the US border, I had images of paperwork problems, and forcing my Canadian co-passengers to turn around and drop me at the nearest bus route back to Vancouver. In reality, the crossing was seamless; the benefit of an Irish passport. With the 450km drive complete, including a supply stop at the vast wilderness that is the American supermarket, we arrived just before midnight on Friday. Tents up. Bags down. Bed.
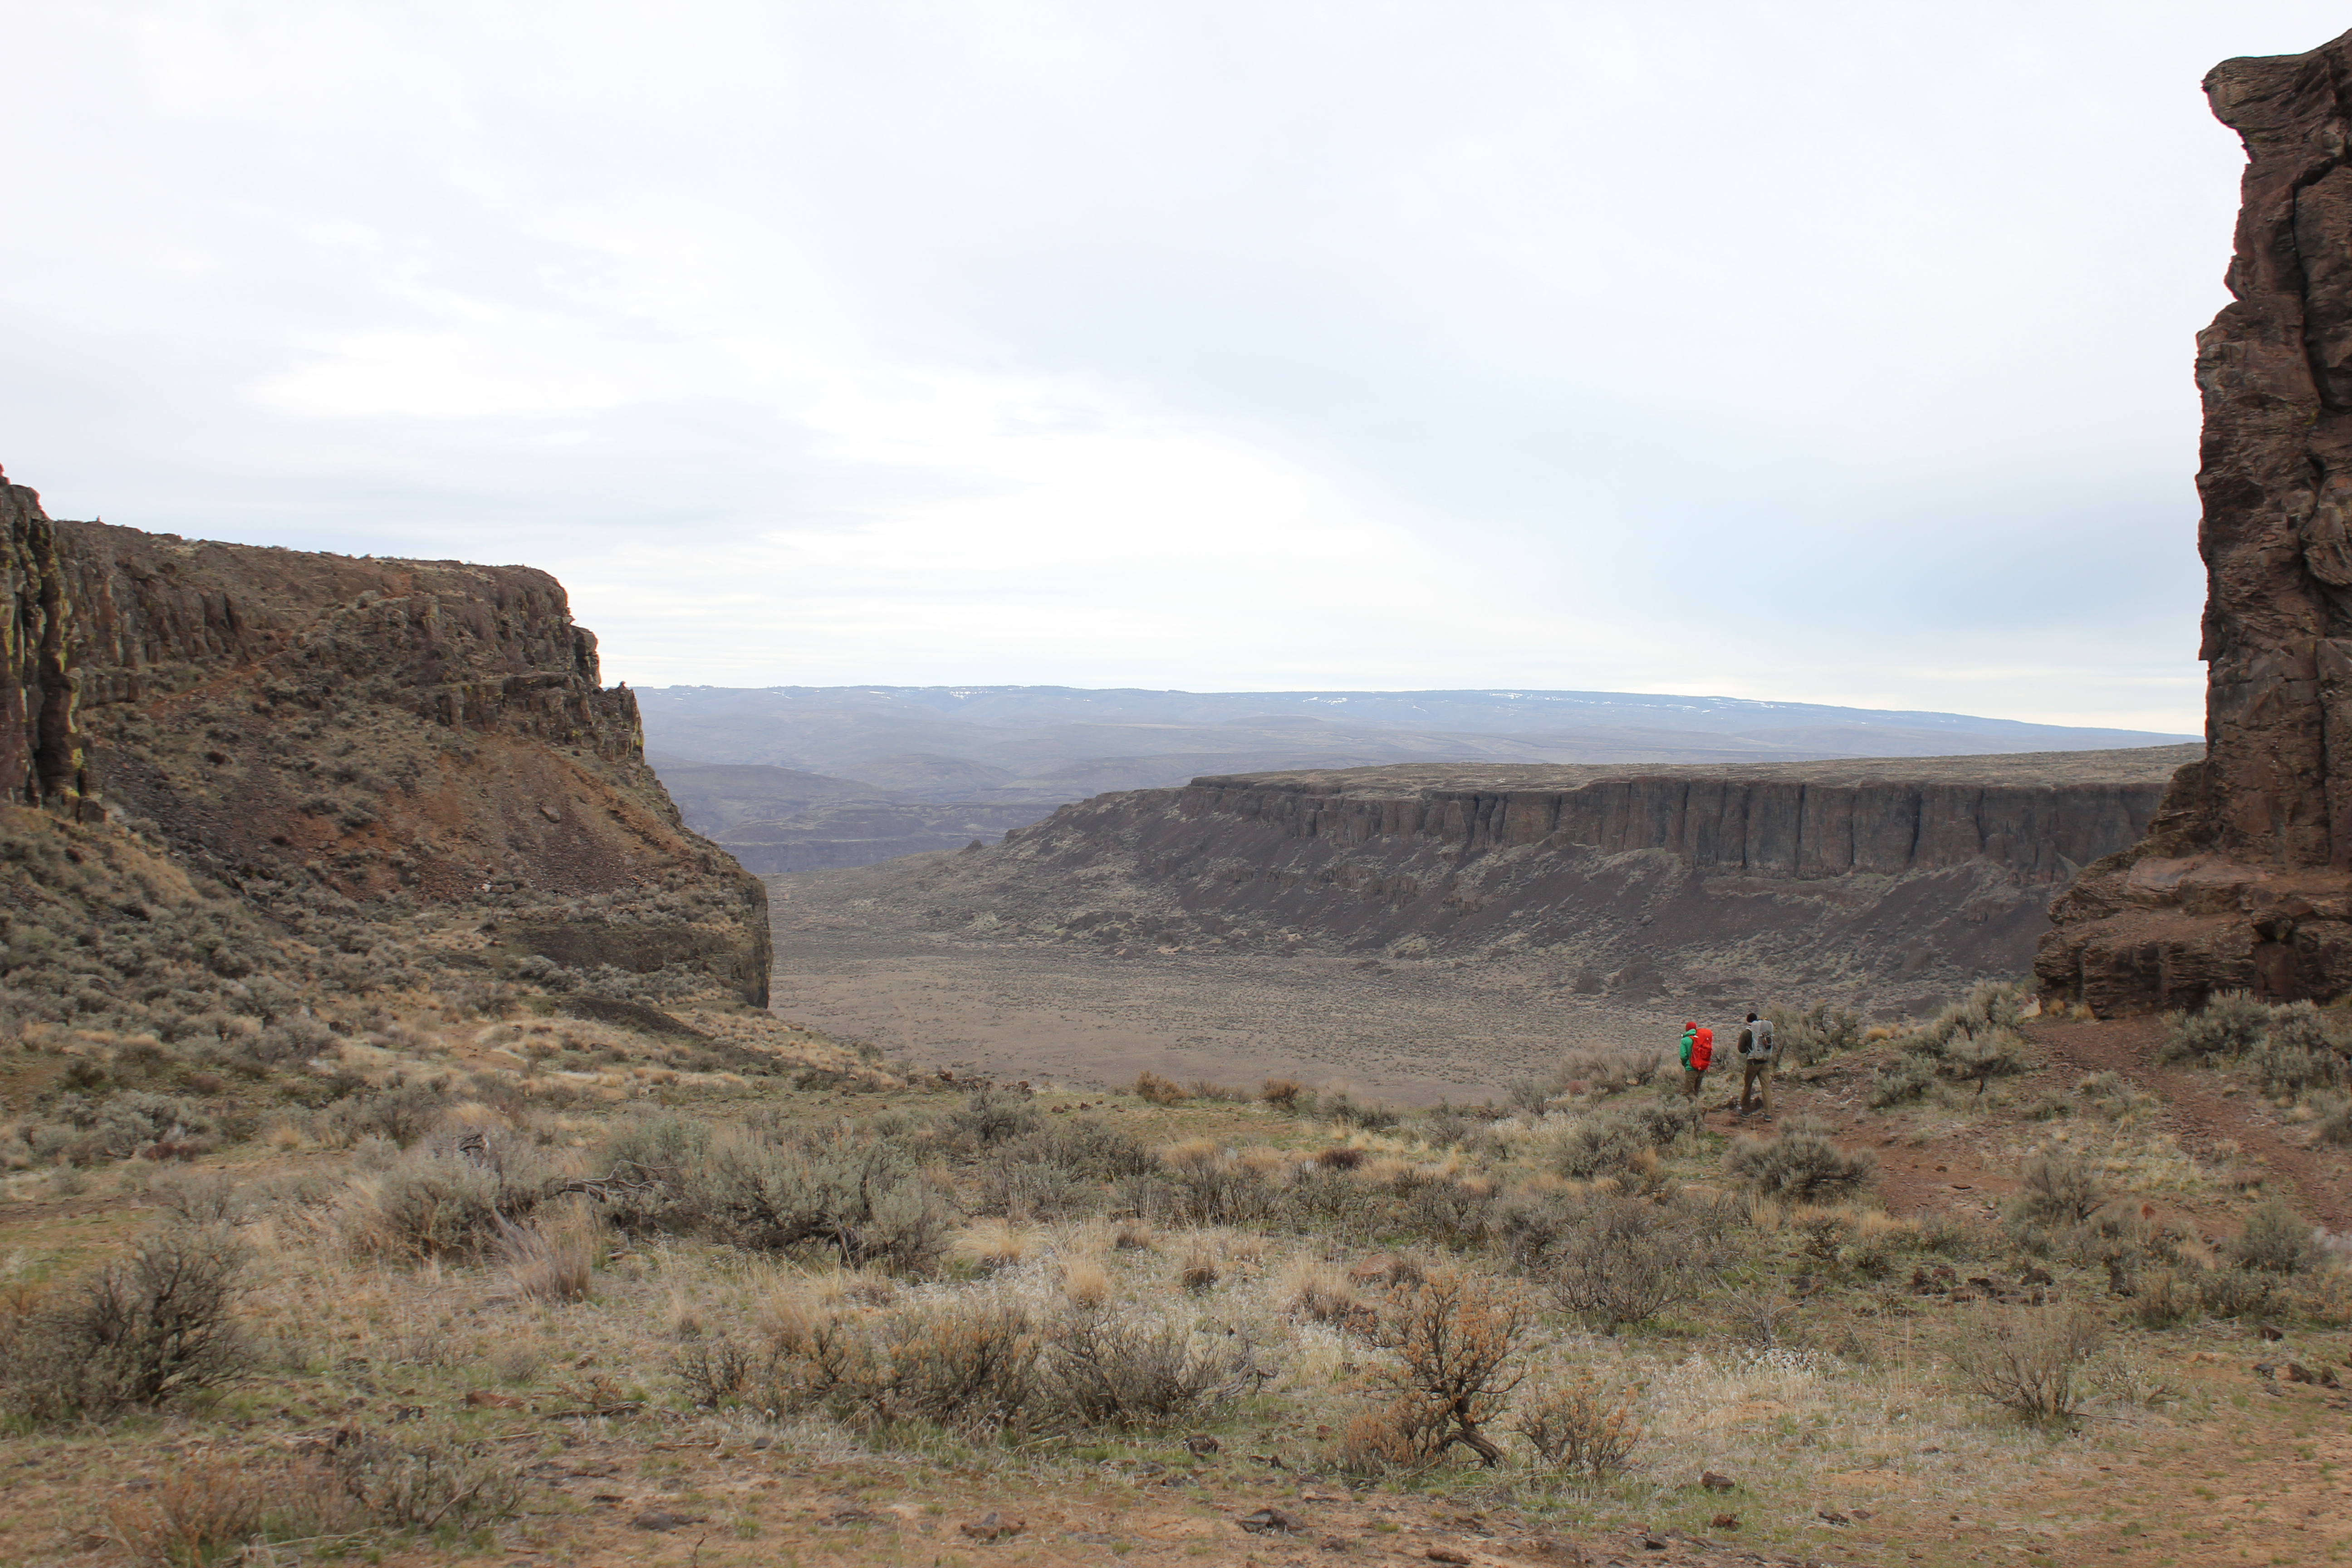
Morning walk in to the climbs on Sunshine Wall.
Restricted access
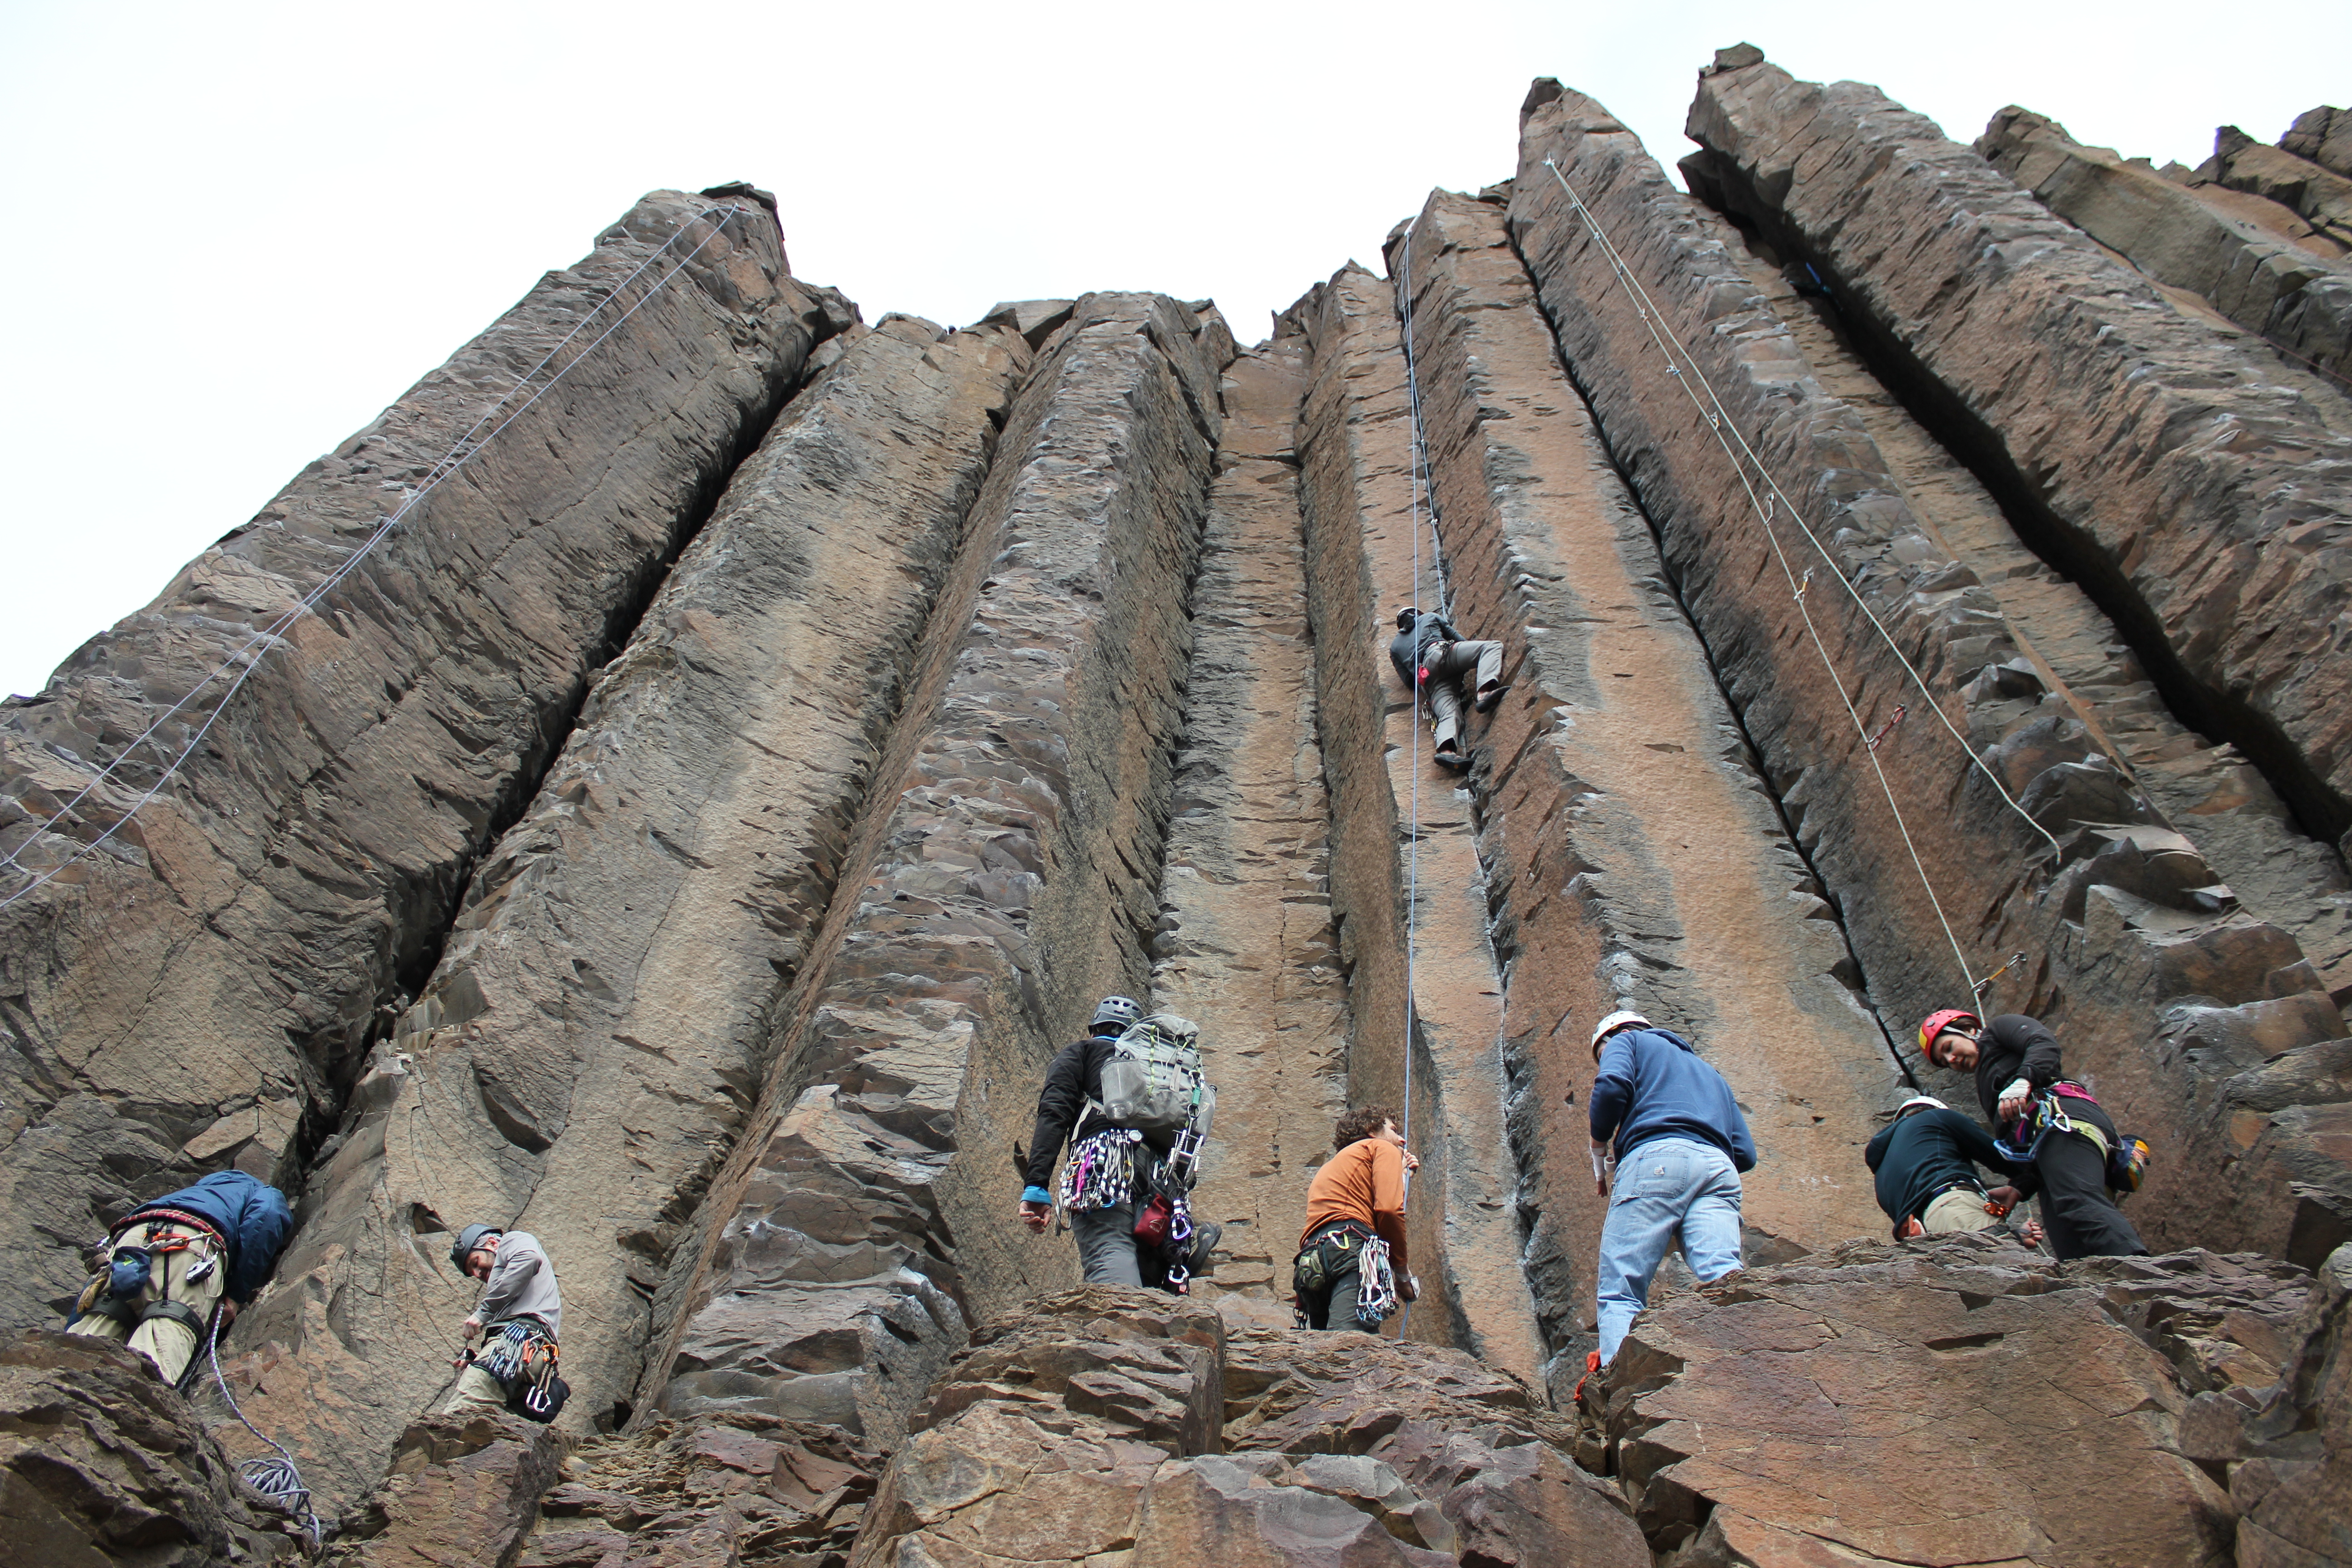
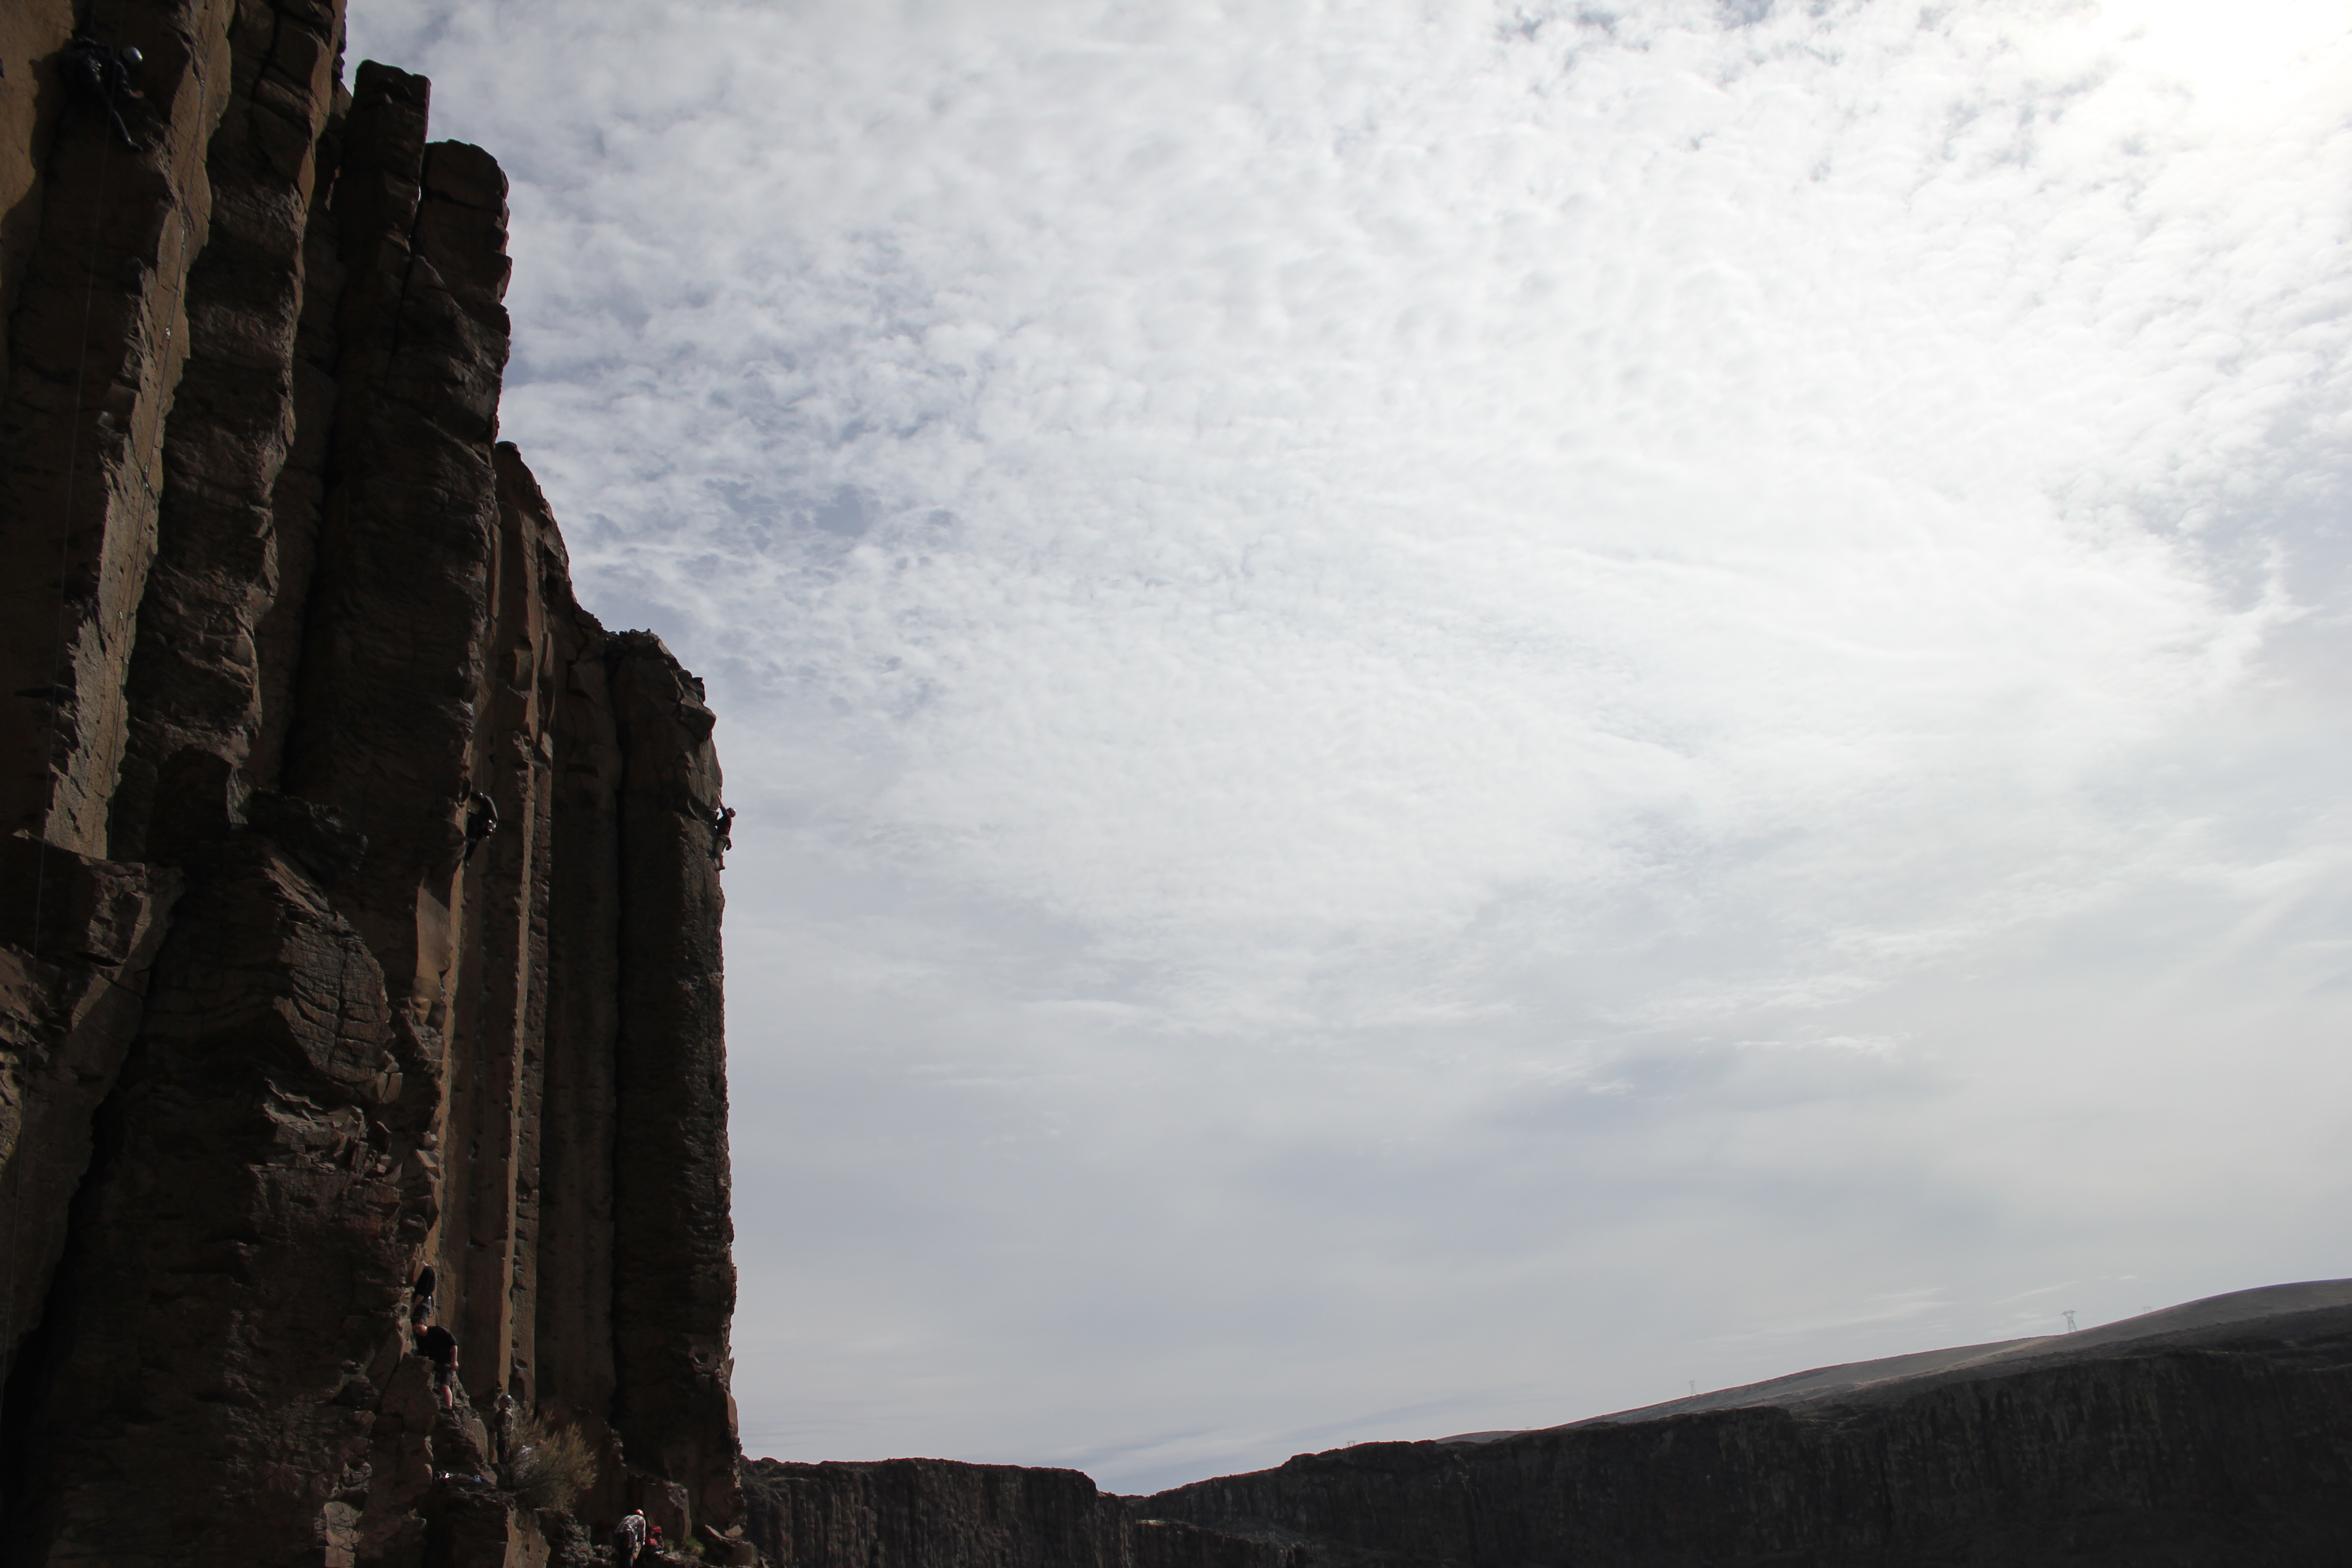
The climbing in Vantage is predominately located on the basalt columns that make up the cliff faces, giving a huge selection of arête and crack routes, with some good rock faces in between. On Saturday, we focused our efforts on Sunshine Wall, ticking off a few of the classic single pitch routes, and one very enjoyable multi pitch route with an amazing view.
Victor belaying on the first route of the day
Leading the first pitch (photograph by Victor Gan)Sunshine Wall lives up to its name
Time out to take in the surroundings (photograph by Victor Gan)
Climbing, like many things, had been put on the back burner while I was getting ready to move to Canada, and this was my first day on the rock since last summer. I am far from a good climber, but climbing can reward all equally. Once the underlying nerves and fear can be controlled, climbing gifts you with the opportunity to focus solely on the action at hand, remove distractions, and to reset from the loops that your mind can get stuck in during day to day life. And when all the swearing and scraping is done, it feels pretty epic to get to the top too.
The day ended like all good camping days should, with a big feed, a social fire, and a warm sleeping bag.
Stars emergeHarmony in camp
Saturday night was not without incident, the stillness punctuated with occasional distant but powerful booms, which we learned later were from artillery testing taking place in the region. We had our own pyrotechnics closer to hand, with what appeared to be a very sizeable gas canister explosion in another group’s camp. After a pause, the sound of hysterical drunken laughter drifting through the smoke assured us that all was well.
Sunday morning started as Saturday finished, with beautiful sunshine. Stocking up on vitamin D, and with a plan to hit the road at noon, we headed out early to a rock section overlooking our camp, known as the Feathers. In the more laid back atmosphere of a Sunday morning, we worked our way through three or four short but technical routes, and soaked up as much of the desert ambience as we could before we had to load up, and head out.
Climbing in the morning sunLast move on the last route
This trip was my first to the United States (apart from flight stopovers). A combination of striking surroundings, friendly locals, and some exciting climbing, made it memorable, and left me with a positive impression, despite the reminders coming from the sounds in the distance. More importantly, it achieved the goal I hope for the most when I travel. I felt like I was somewhere completely different.
Approaching the Columbia river crossing on the way out
Twenty four hours. From my front door in Sligo, on Ireland’s Atlantic west coast, to Vancouver, in the Pacific forests of Canada. A relatively long time to be travelling, but a remarkably short period to find yourself transplanted into a new life.
I’ve come to Vancouver to take up a research position at the University of British Columbia, looking at the relationships between the atmosphere and the planet’s snow and ice cover. I’ve decided to start a blog to keep family and friends updated on life here, and to give some information on the work I’m involved in, for those who may be interested. This opening post is just to get the ball rolling, and give a brief synopsis of the story so far.
In reality, my first two months in Canada have mostly involved all the excitement of endless application forms, house hunting, university registration, bank and phone account set ups, navigating cryptic public transport maps, getting lost in supermarkets, getting lost in translation, and incidents of general isolated wandering. This is combined with getting to grips with new courses, teaching, and getting a research project off the ground. So instead of having to read about that, here are some pictures of my initial weekend adventures!
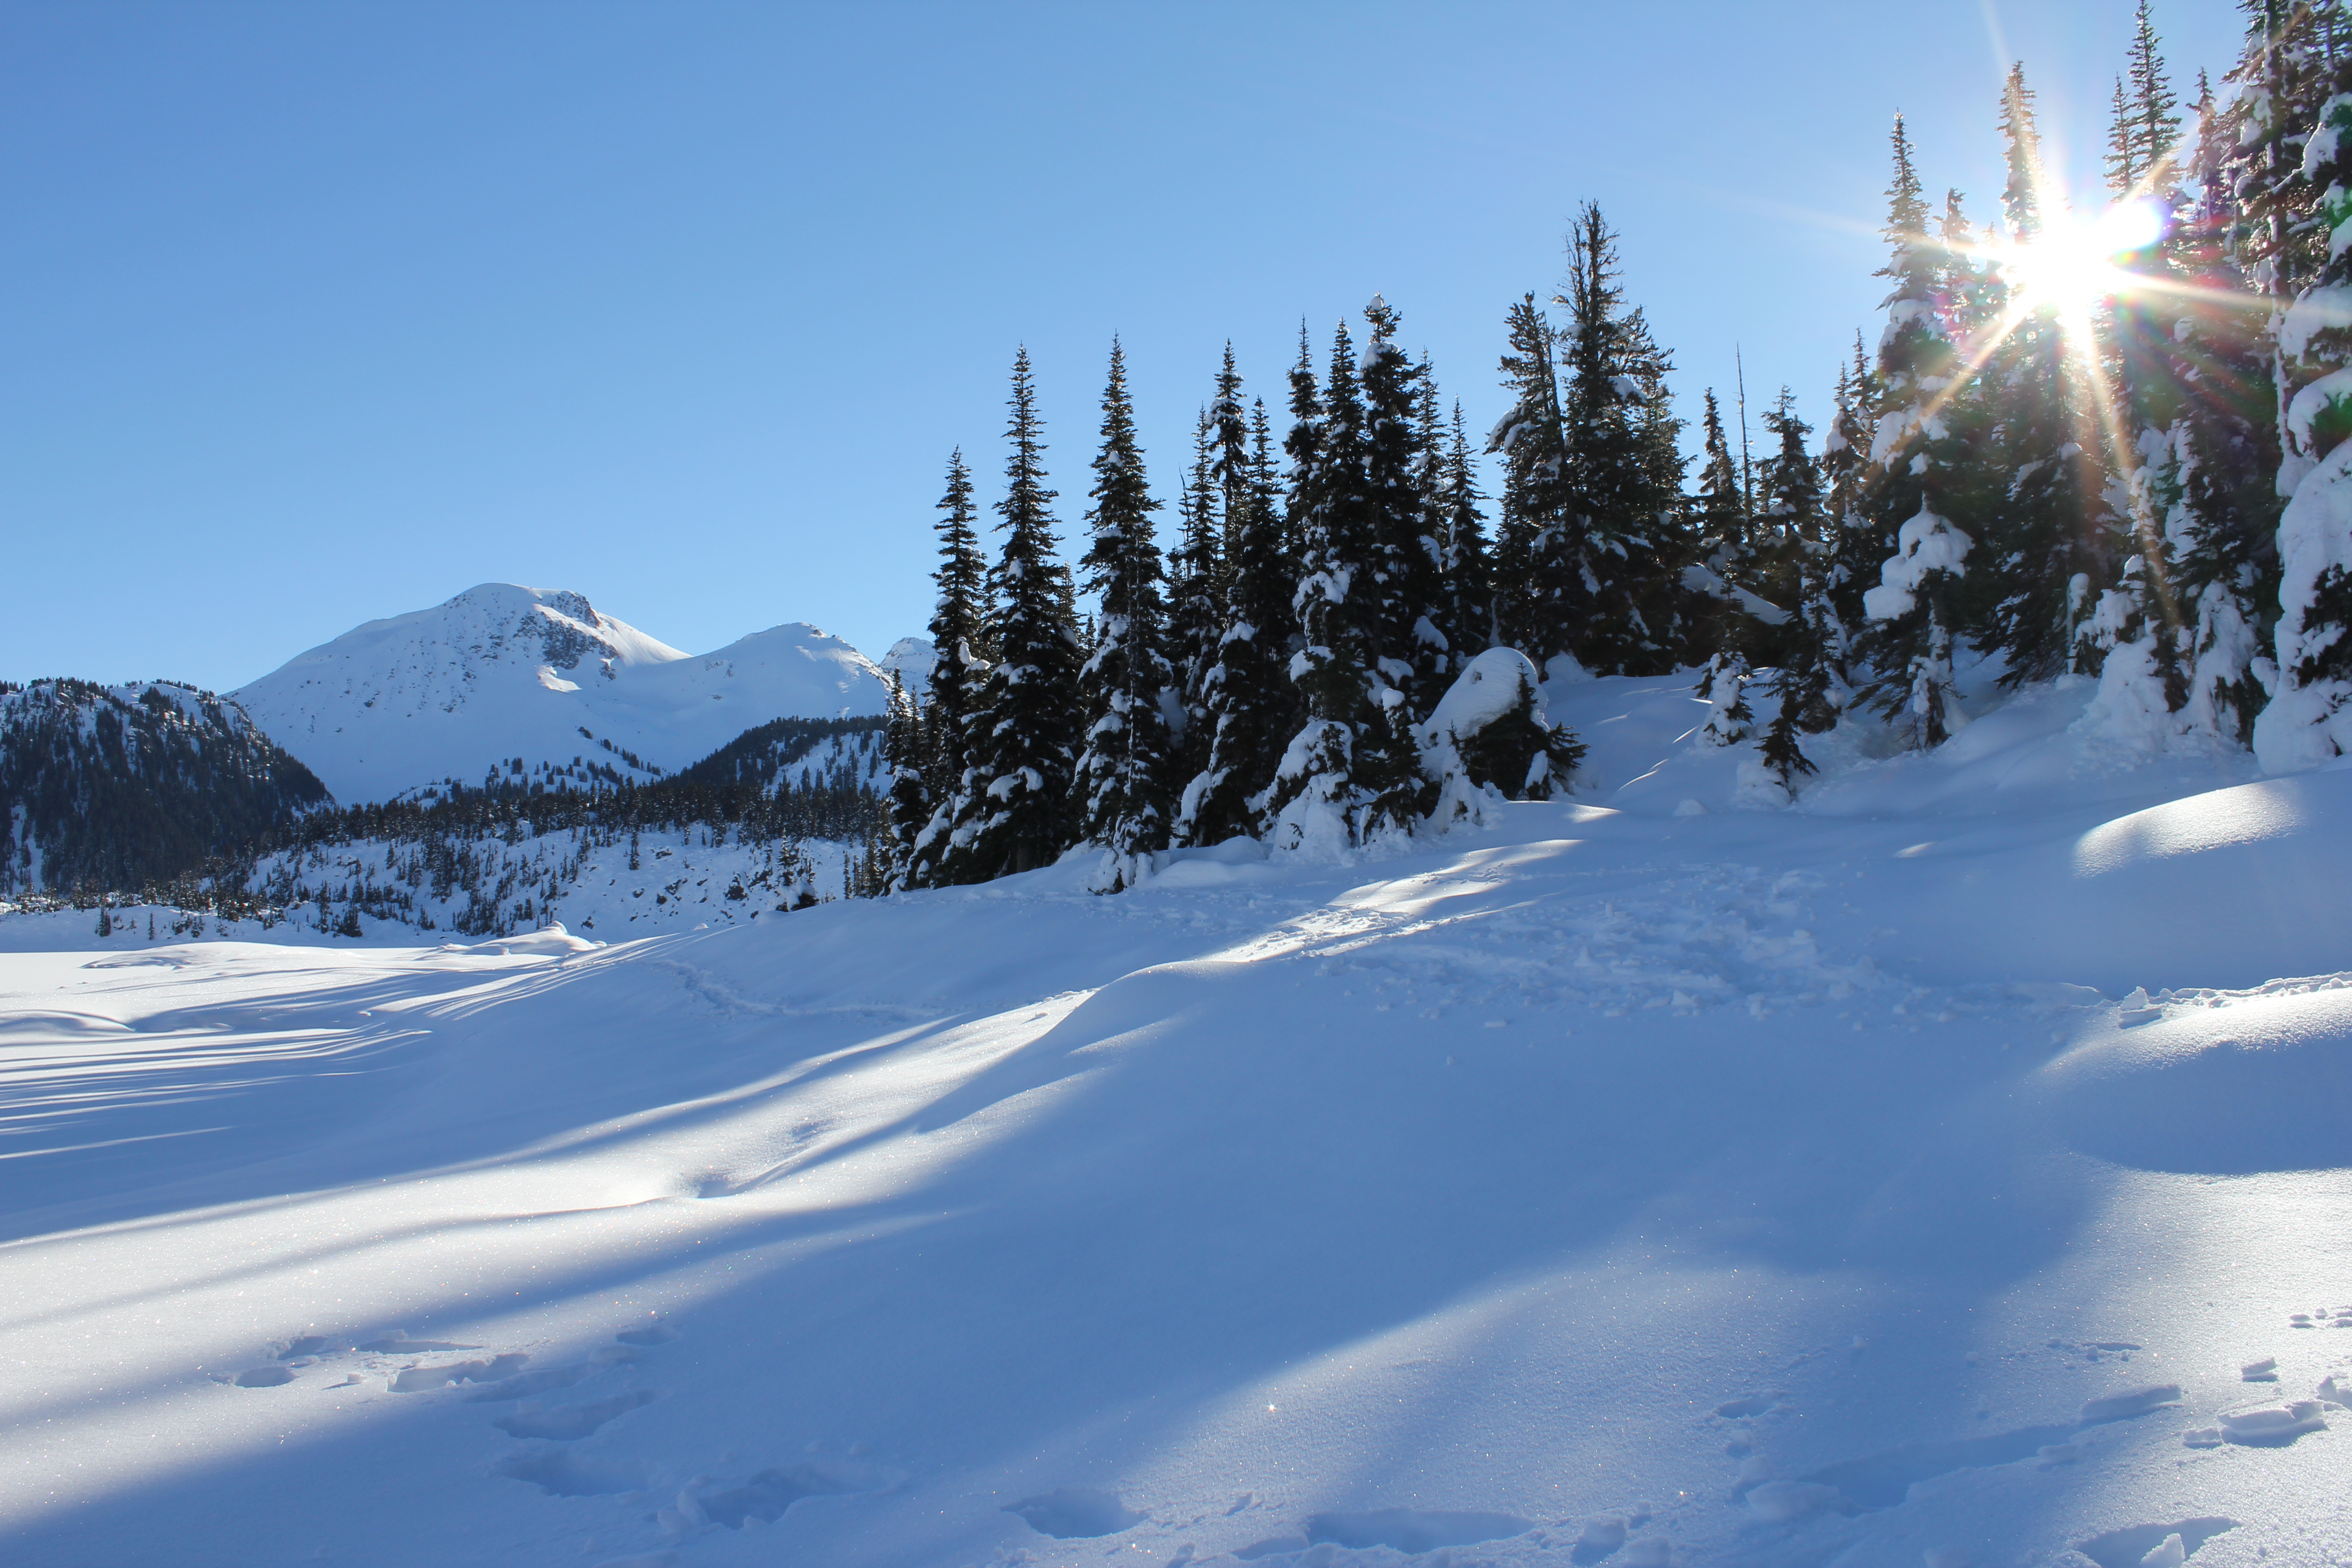
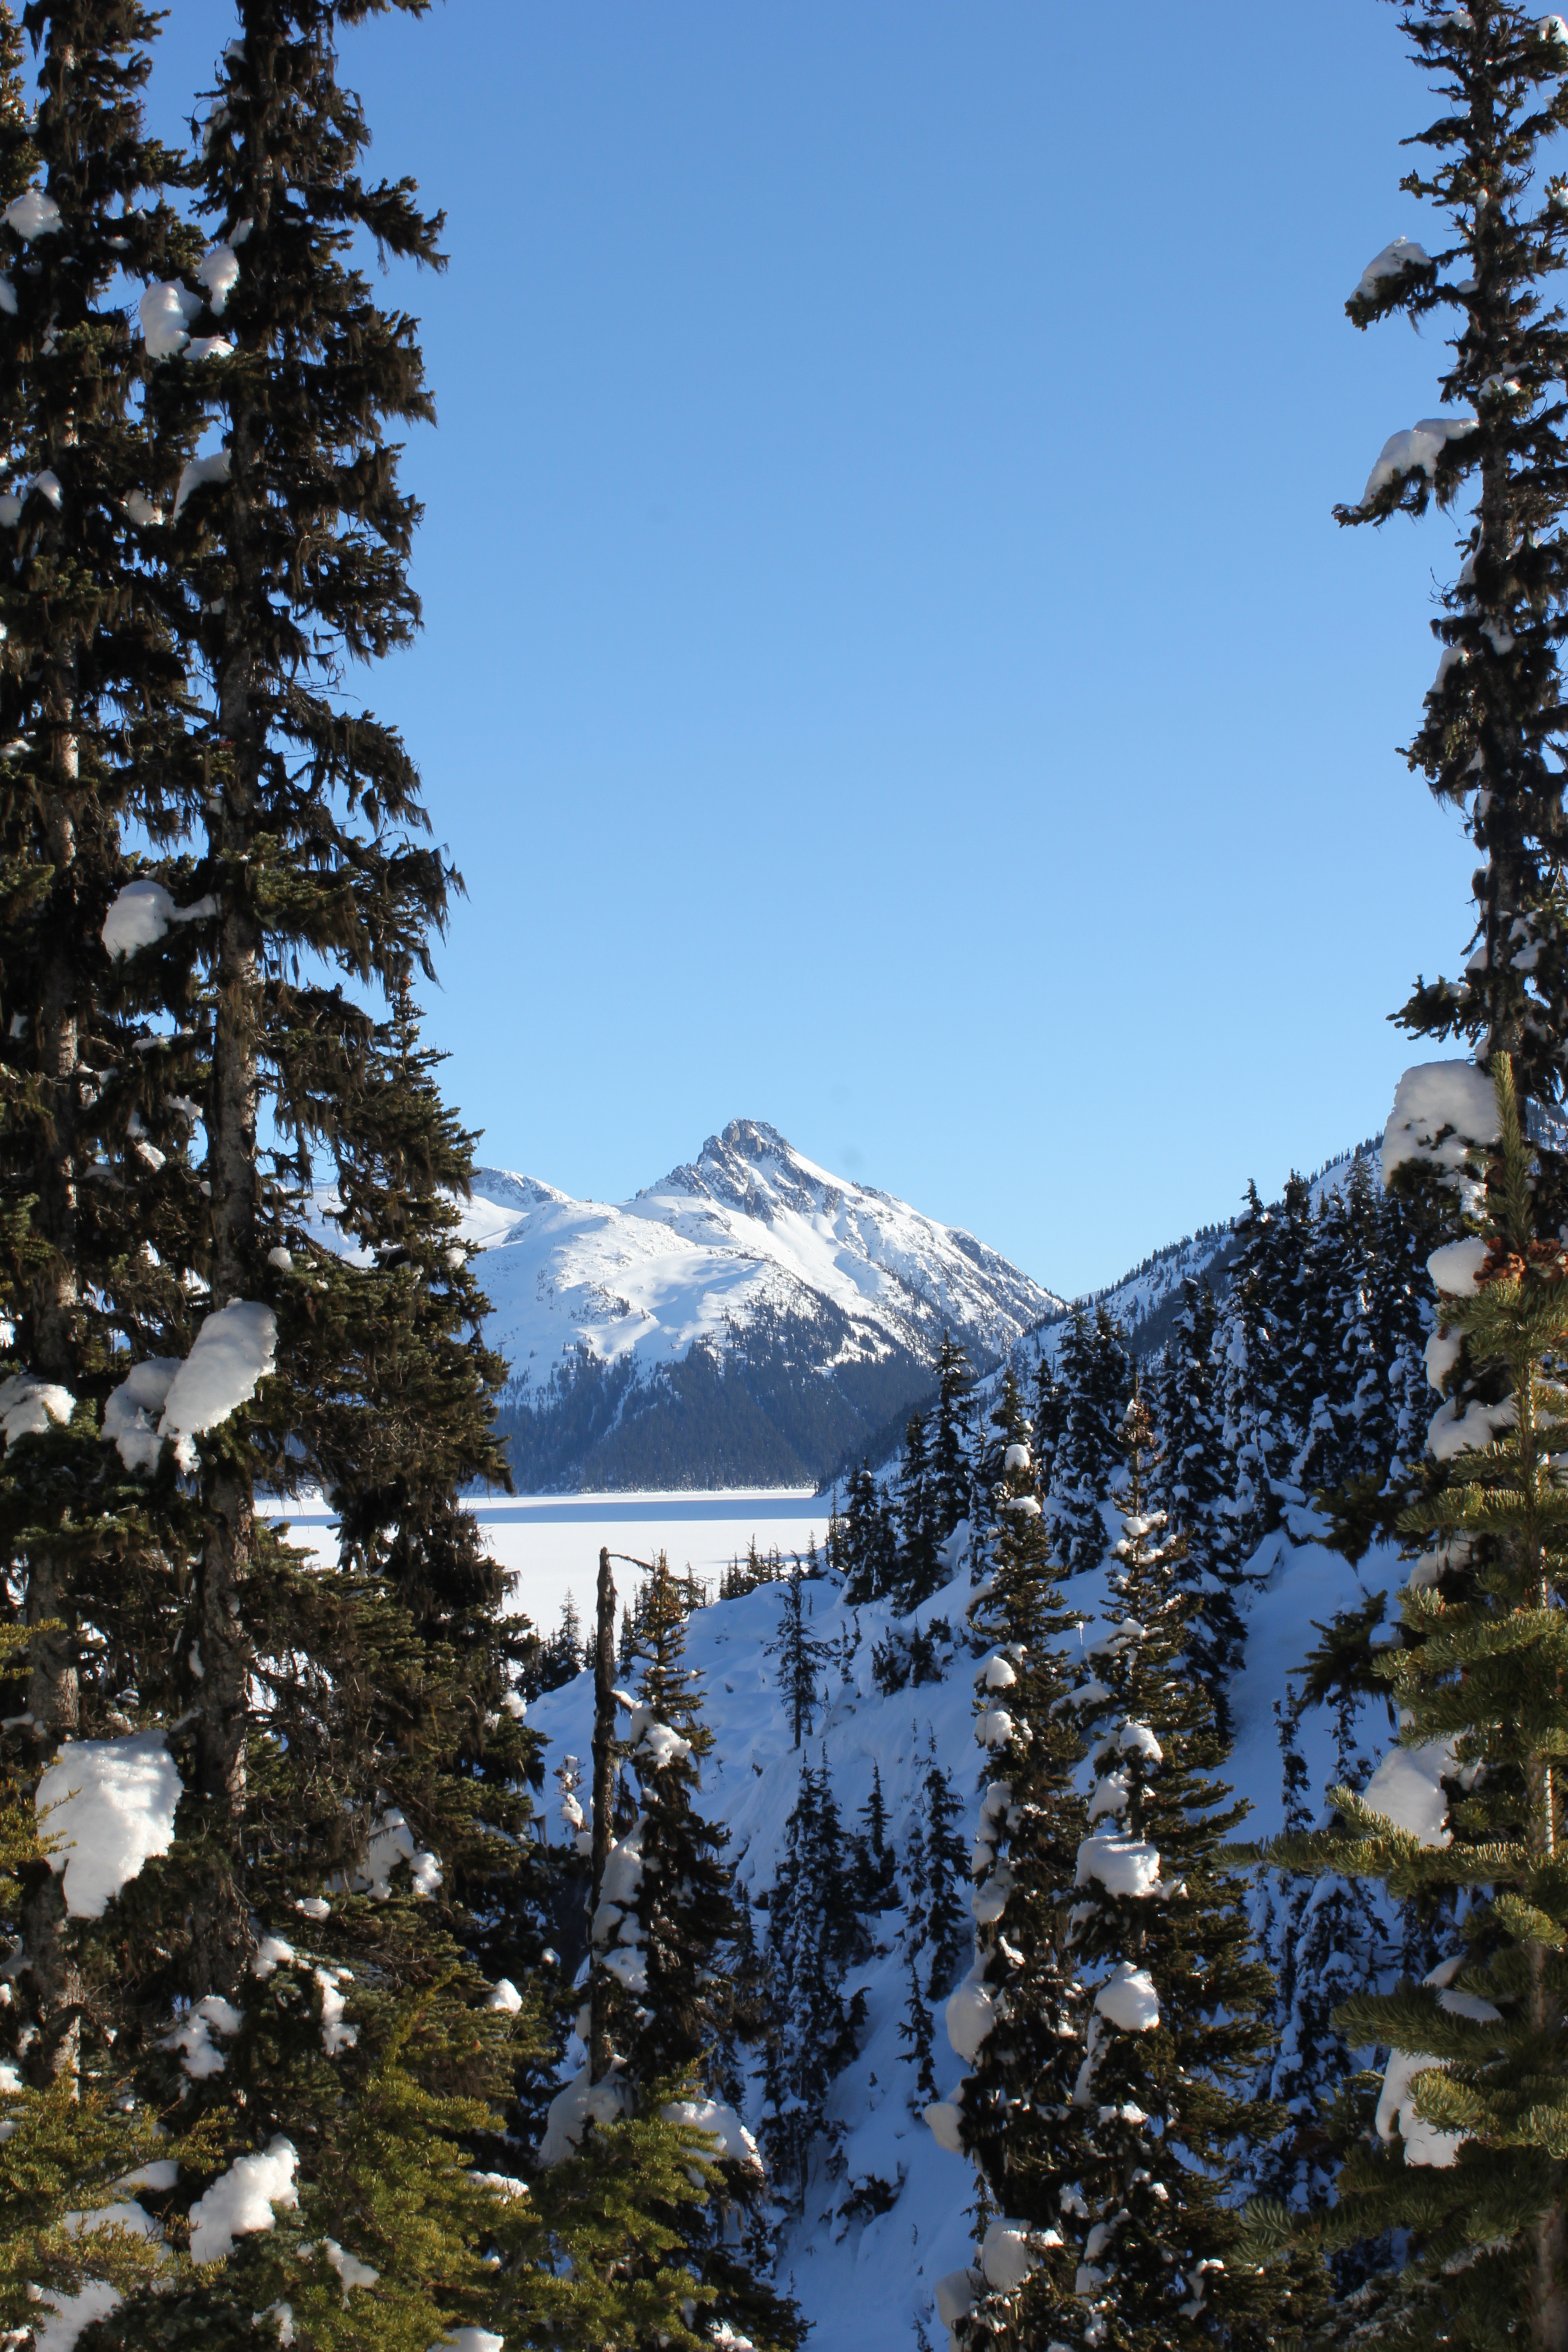
My first trip outside of Vancouver was a hike to Lake Garibaldi, a large, currently frozen alpine lake, surrounded by glaciated mountains. The drive to the lake is almost as spectacular as the hike itself, taking the scenic ‘Sea-to-Sky’ highway from Vancouver to Squamish, which winds along the coast between lush, brooding temperate rainforest of Douglas fir, and the snowcapped Coast range.
On the move on the Sea-to-Sky highwayApproaching Lake GaribaldiLengthening shadows on Lake Garibaldi
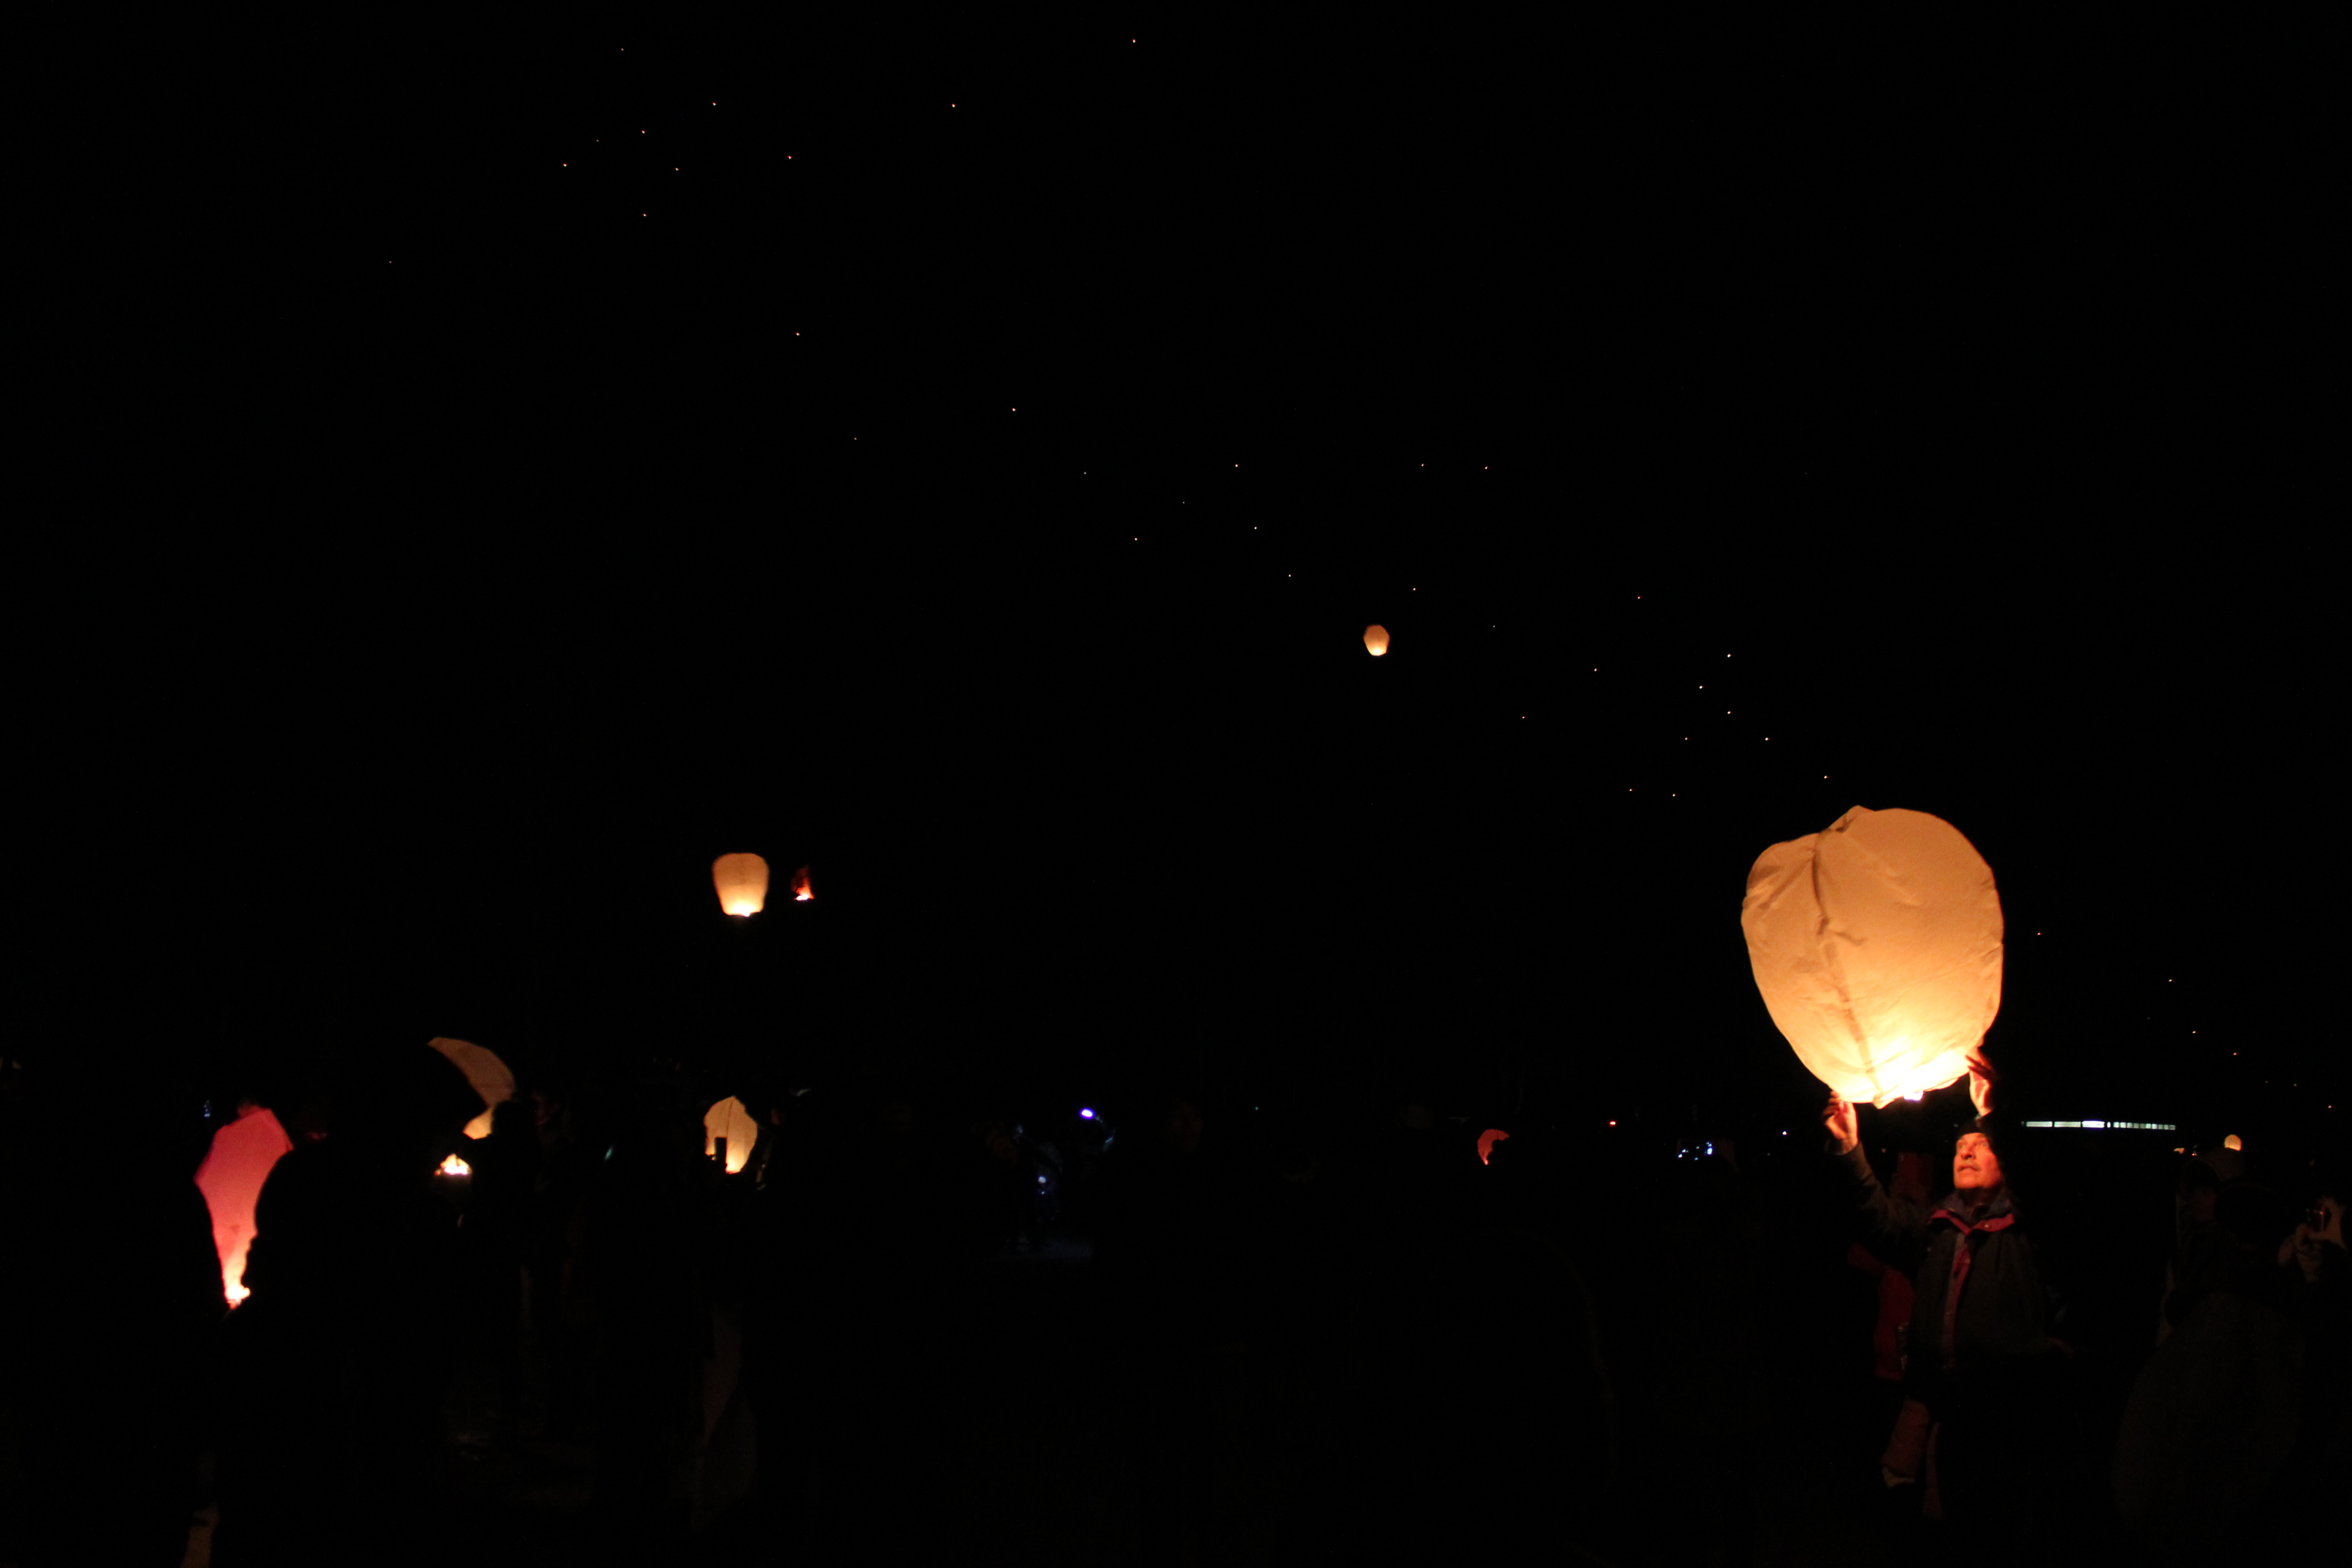
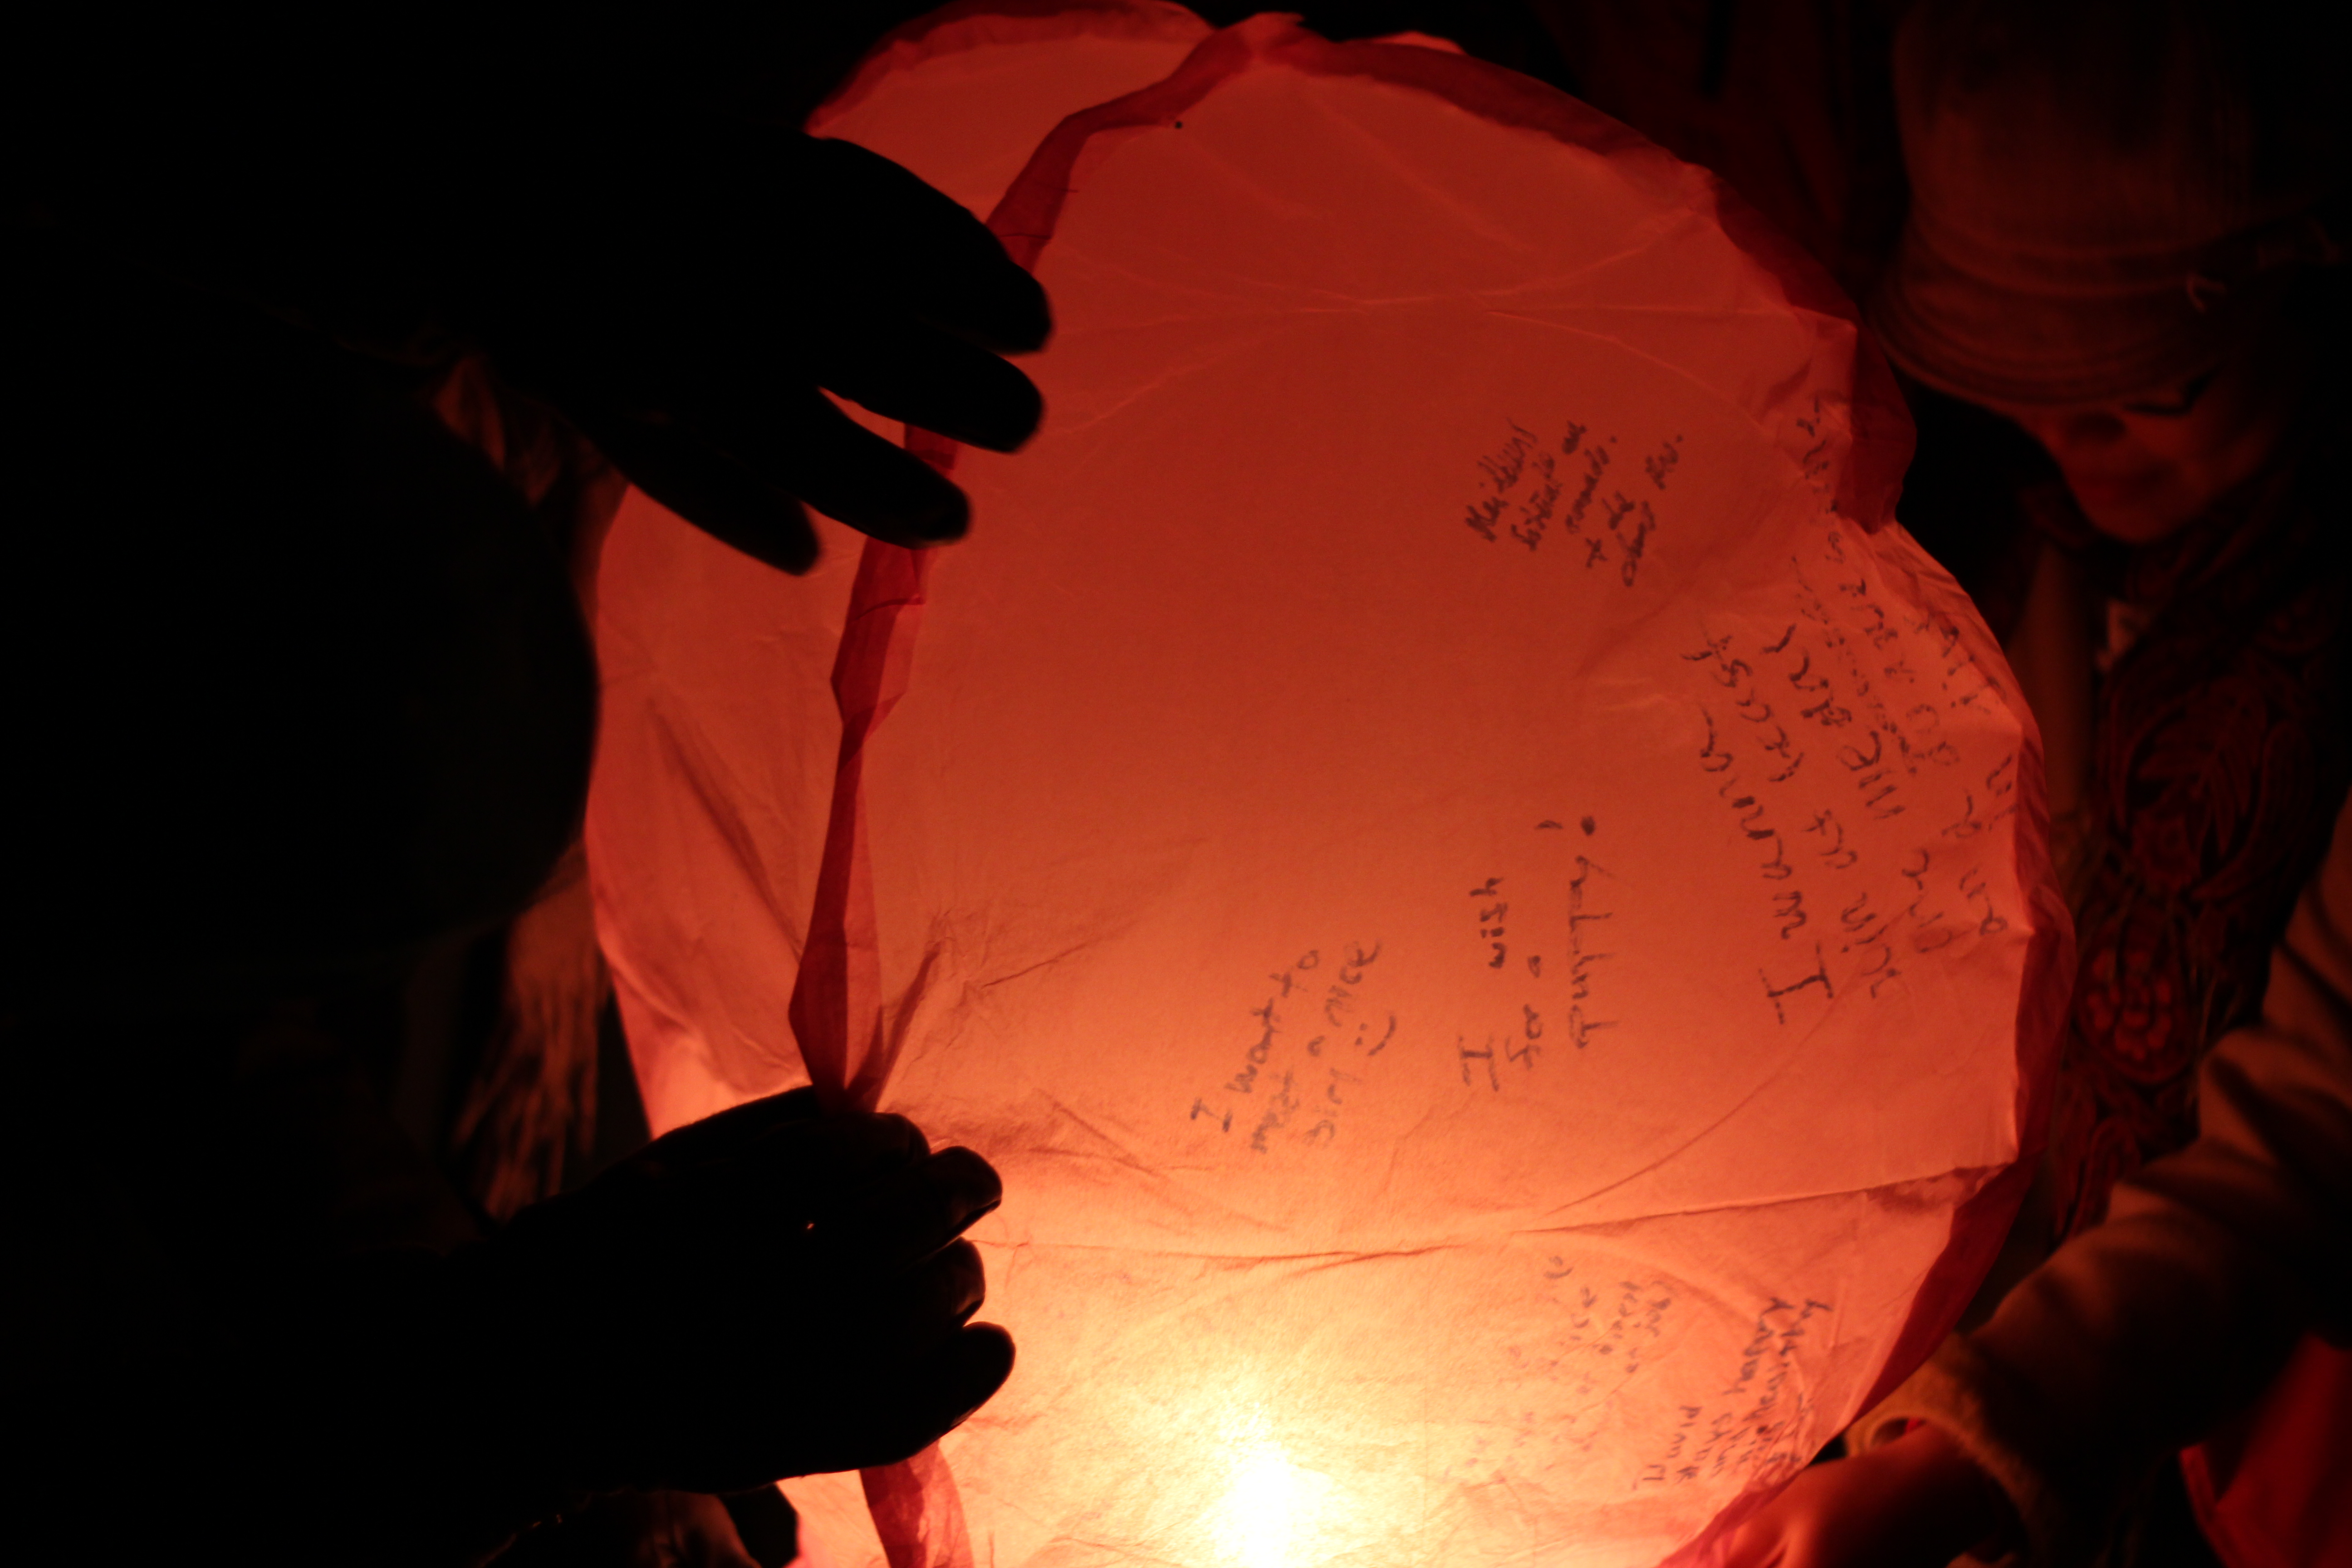
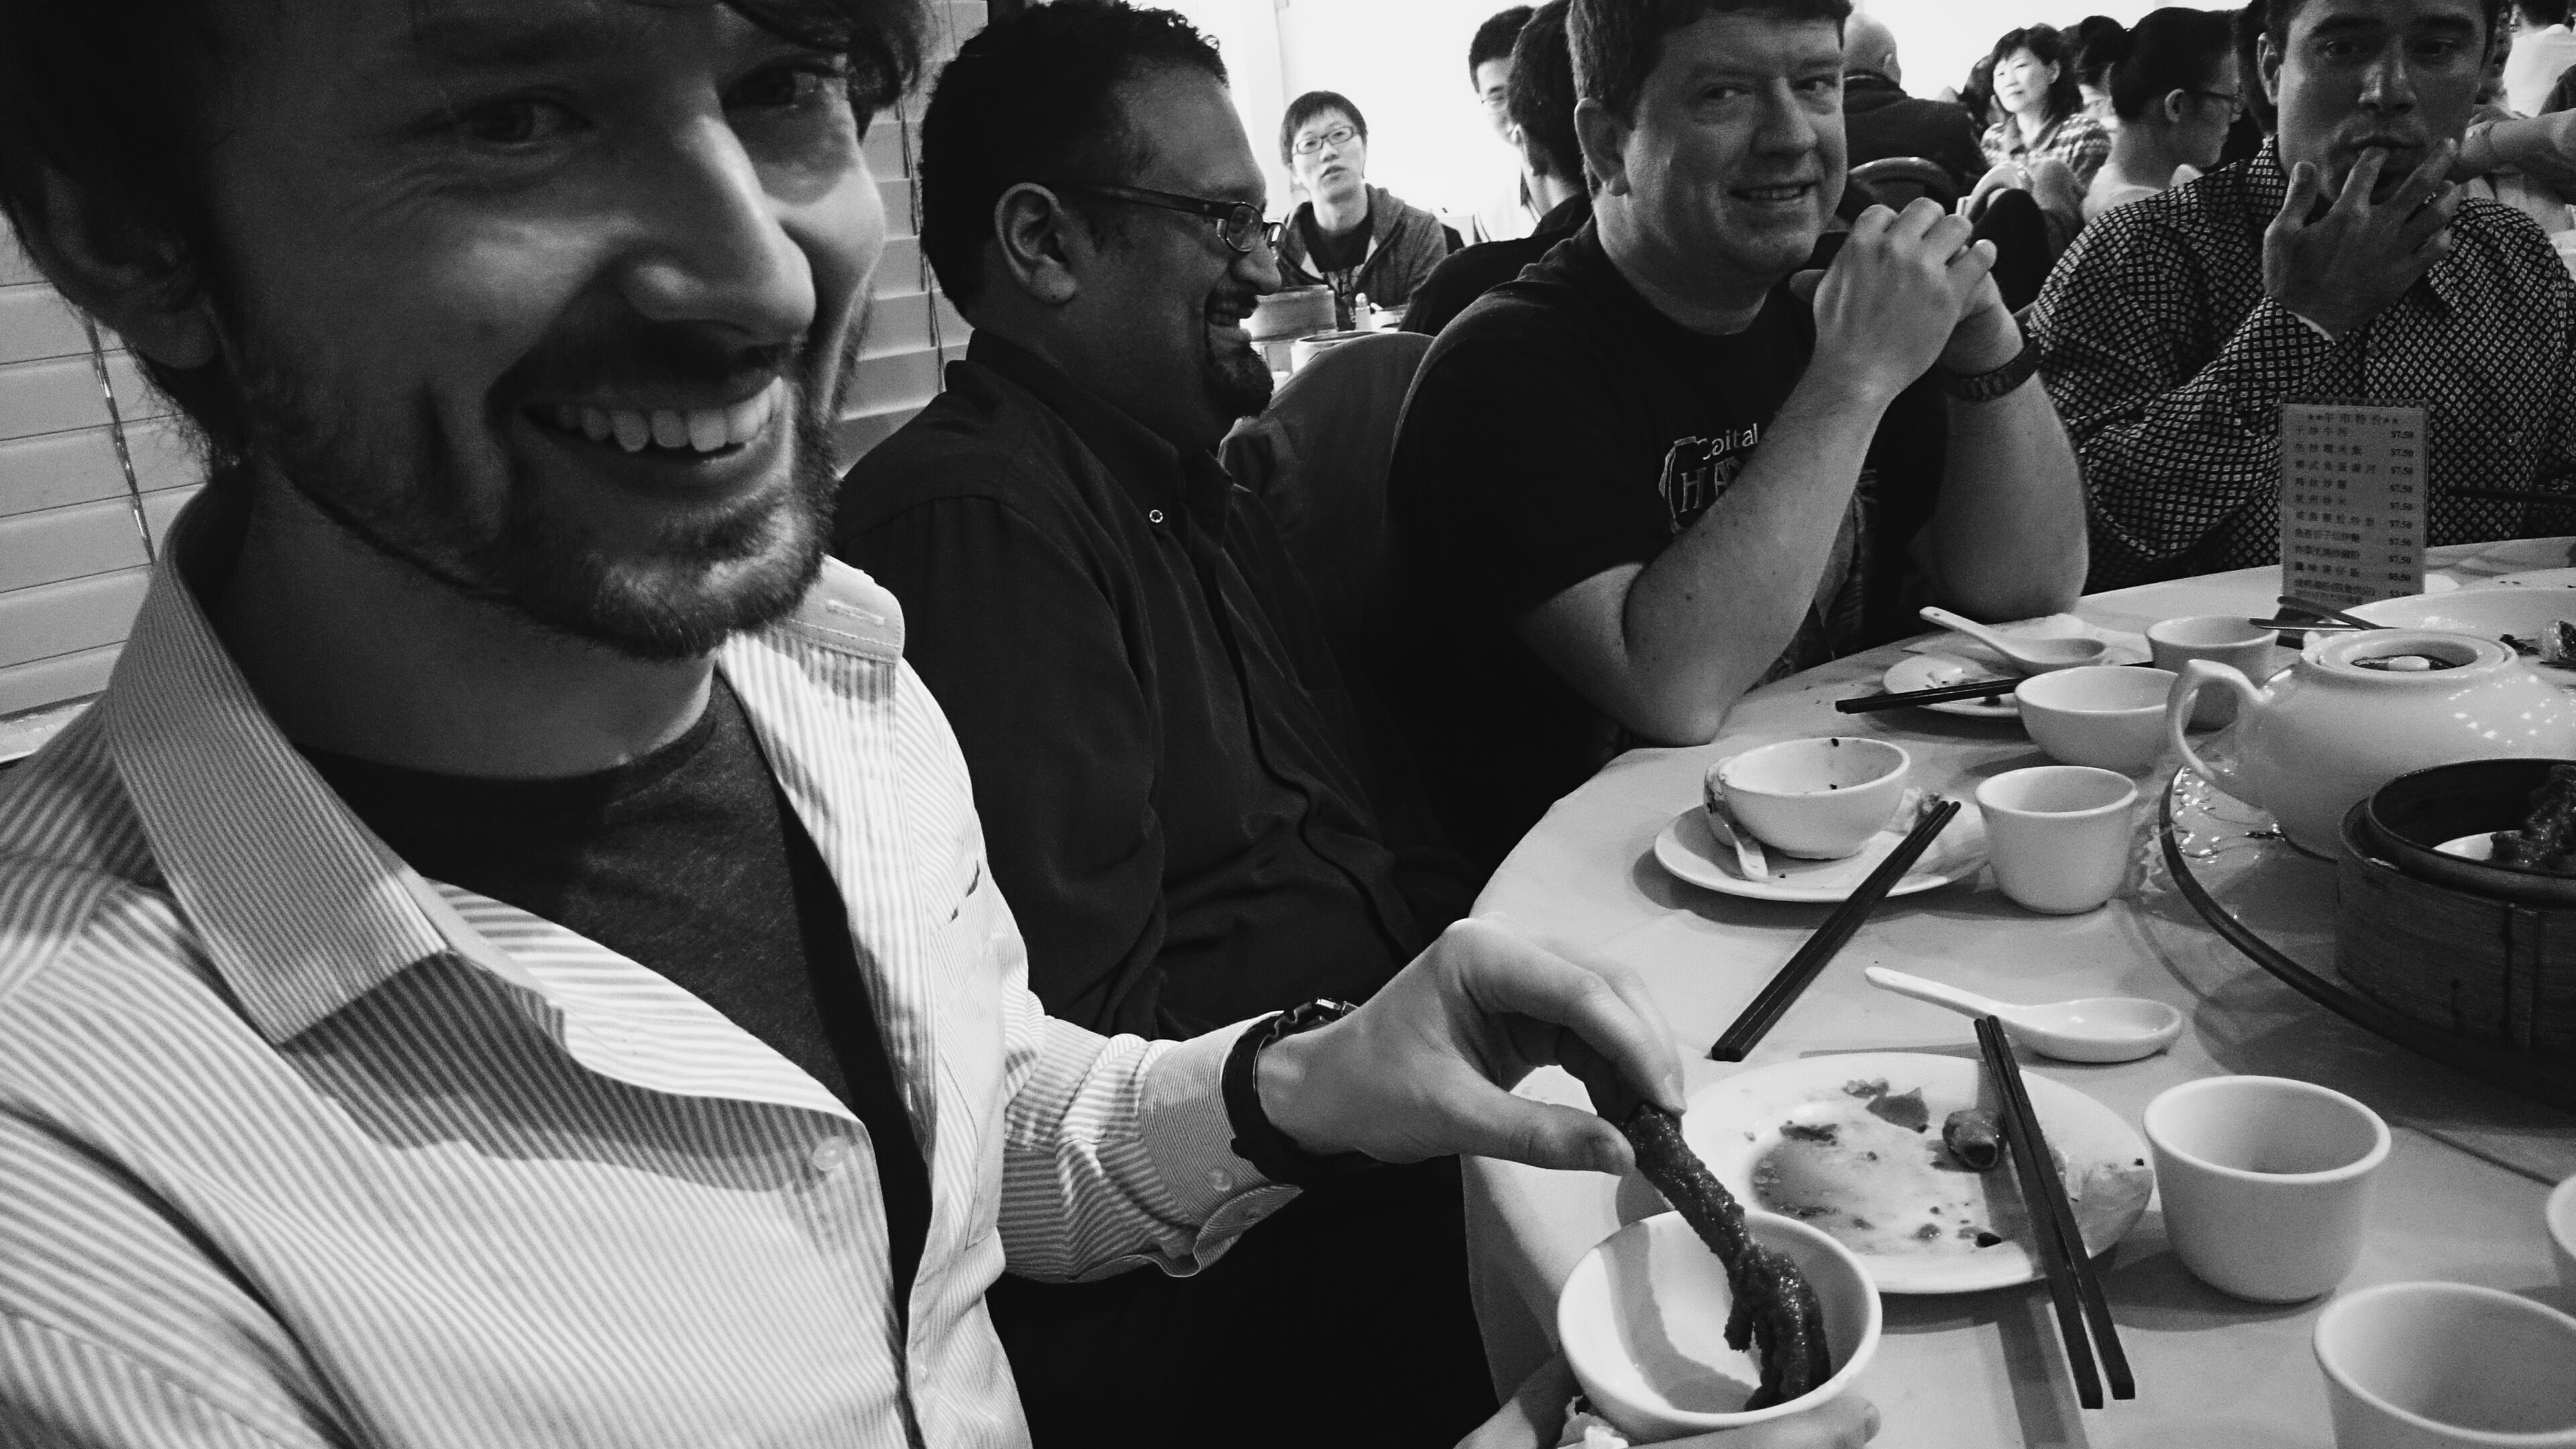
The city of Vancouver is incredibly diverse, with over half of the population having a first language other than English (very excited about trying as many different foods as possible). There is a thriving Chinese community, accounting for at least 20% of its population. The end of January saw the arrival of the year of the horse, and I was fortunate enough to take part in some of the Chinese New Year festivities.
Launching lanterns during the Chinese New Year festival, VancouverLighting up the wishes for the yearTrying the chicken feet at Chinese New Year breakfast
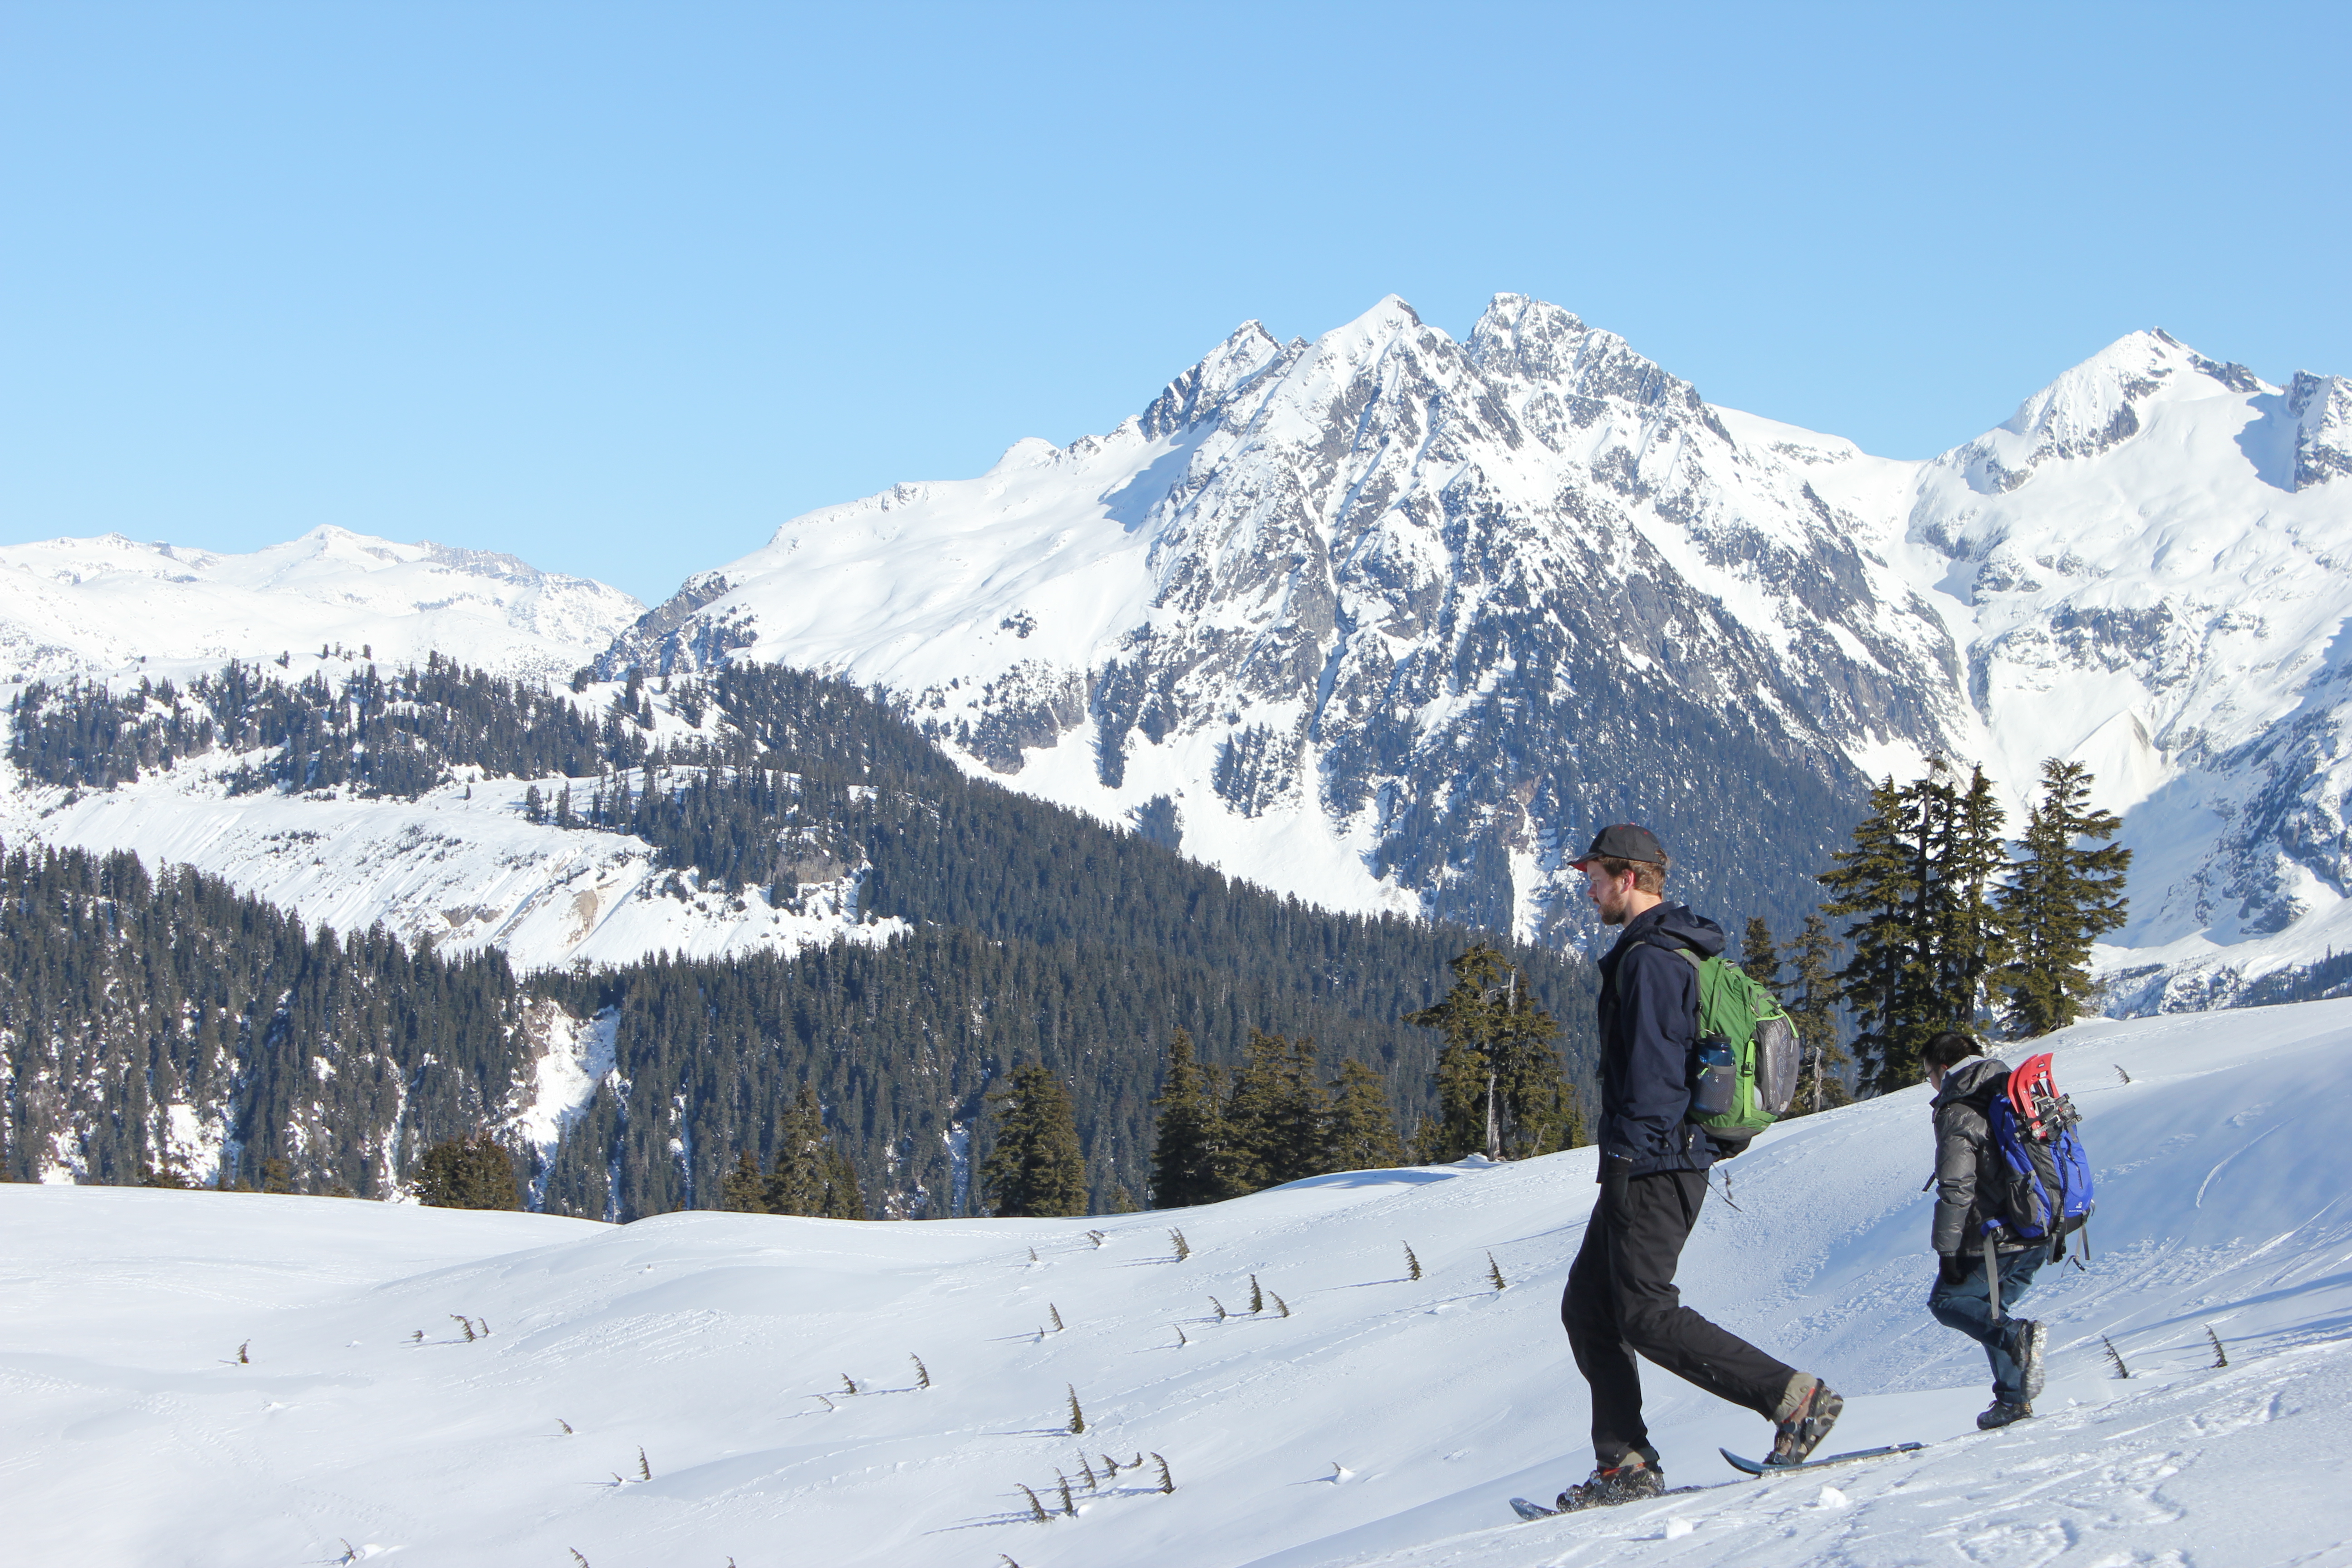
For my next wander, I did as the Canadians do, and strapped on a pair of snowshoes in search of Elfin lakes. The location lived up to its name, with stunning scenery, and enchanted animals (see image).
Snowshoeing to Elfin LakesSome friendly locals on routeHeading west on the return from Elfin Lakes
Following the unusual occurrence of snowfall in urban Vancouver, I found myself bricklaying, like many Irish migrants before me. Granted these were bricks of snow, as a Chinese man, a Kenyan man, a Malaysian woman, and an Irish man attempted to build an igloo; insert own punch line here. The world is a small place.
United Nations Igloo building
The world is a small place. British Columbia is enormous. Canada is incomprehensible. Being so tied up with getting started in a new country and position, I’ve only just made the lightest of scratches on its surface. I am eager and excited to see as much as this country has to offer. I expect that you could be born and raised here, and still not see a fraction of it. But I’m willing to give it a go.
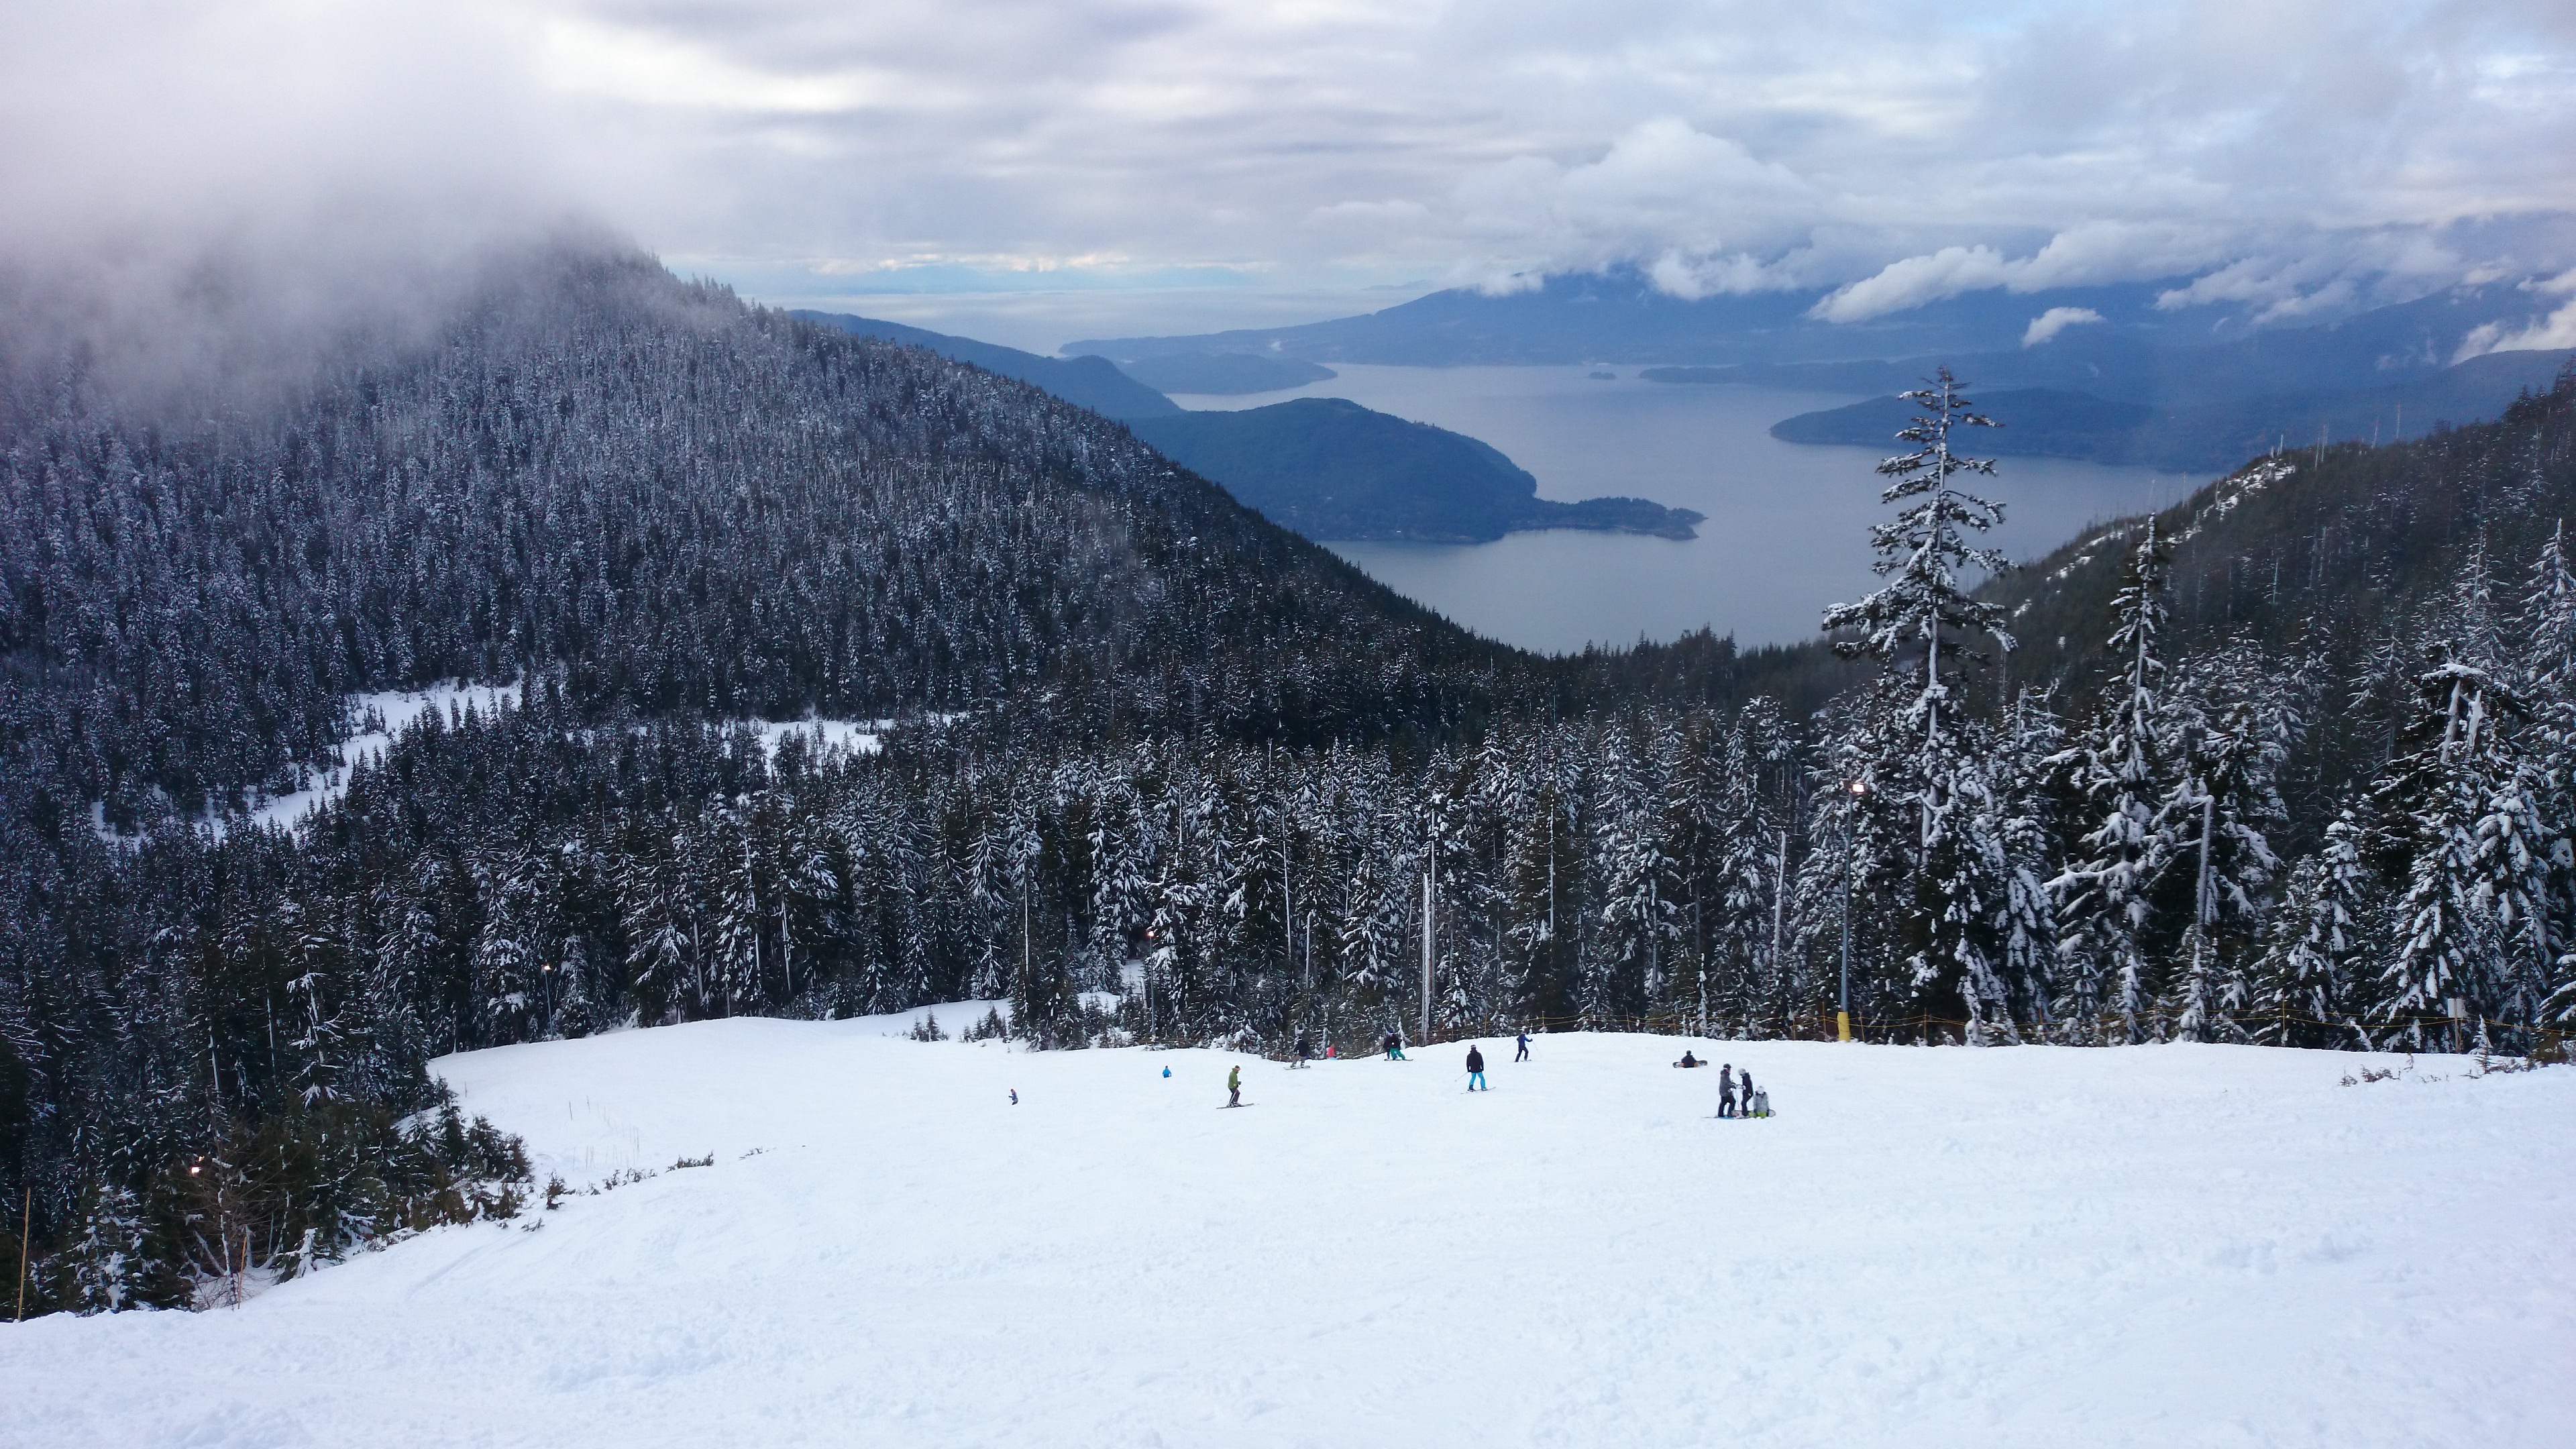
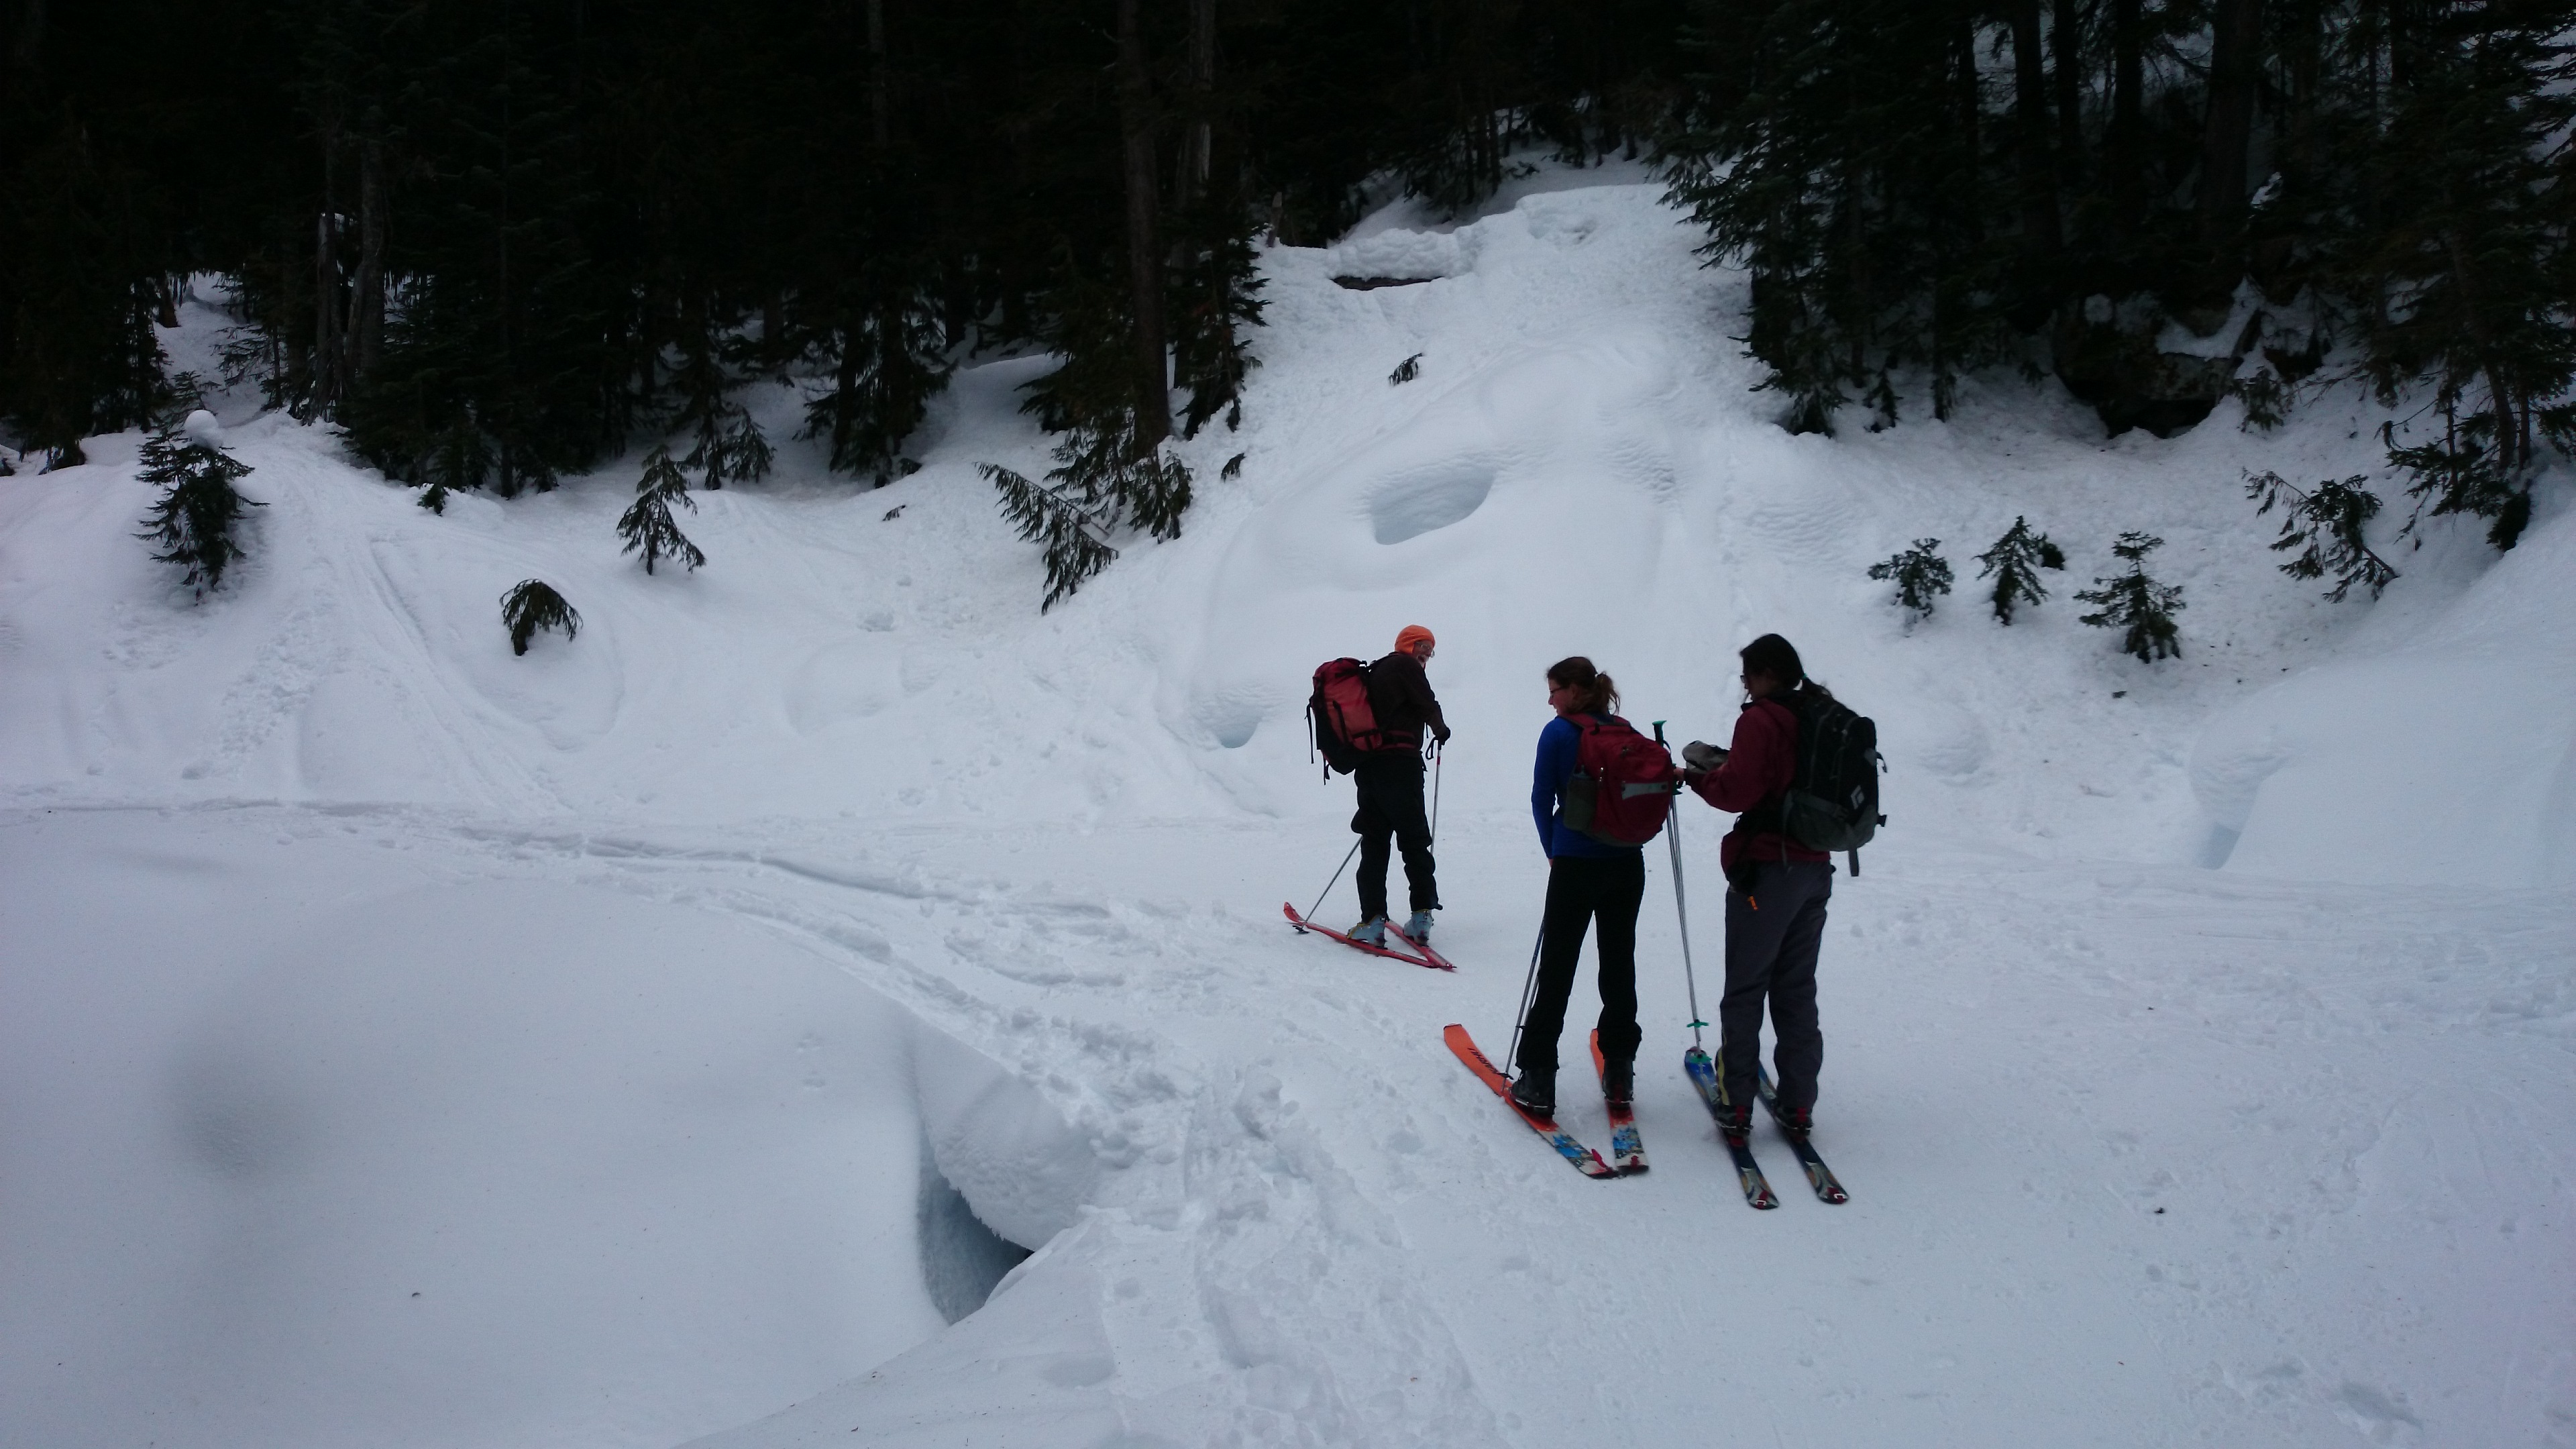
Downhill skiing above VancouverBackcountry skiing in Red Heather (I’m assuming it’s a summer name)Backcountry in bear country