
So a brief explanation as to why I’m here is required.
I’ve come to Vancouver to start a research project examining the relationships between the atmosphere and glaciers. I had been working as a research meteorologist for Met Éireann (Irish national weather service), when the opportunity arose to take up a PhD in Atmospheric Sciences at the University of British Columbia (UBC).


In a nutshell, my project aims to examine all the ways in which energy enters and exits the surface of a glacier, and how the balance between incoming and outgoing energy affects the melting or cooling of a glacier’s snow and ice. On a broader scale, my hope is to put this work towards improving our understanding of how glaciers will respond to changes in our climate. The initial plan is to install a weather station on a glacier in the Selkirk mountains in British Columbia, beginning this summer.
So, what’s required for the design?
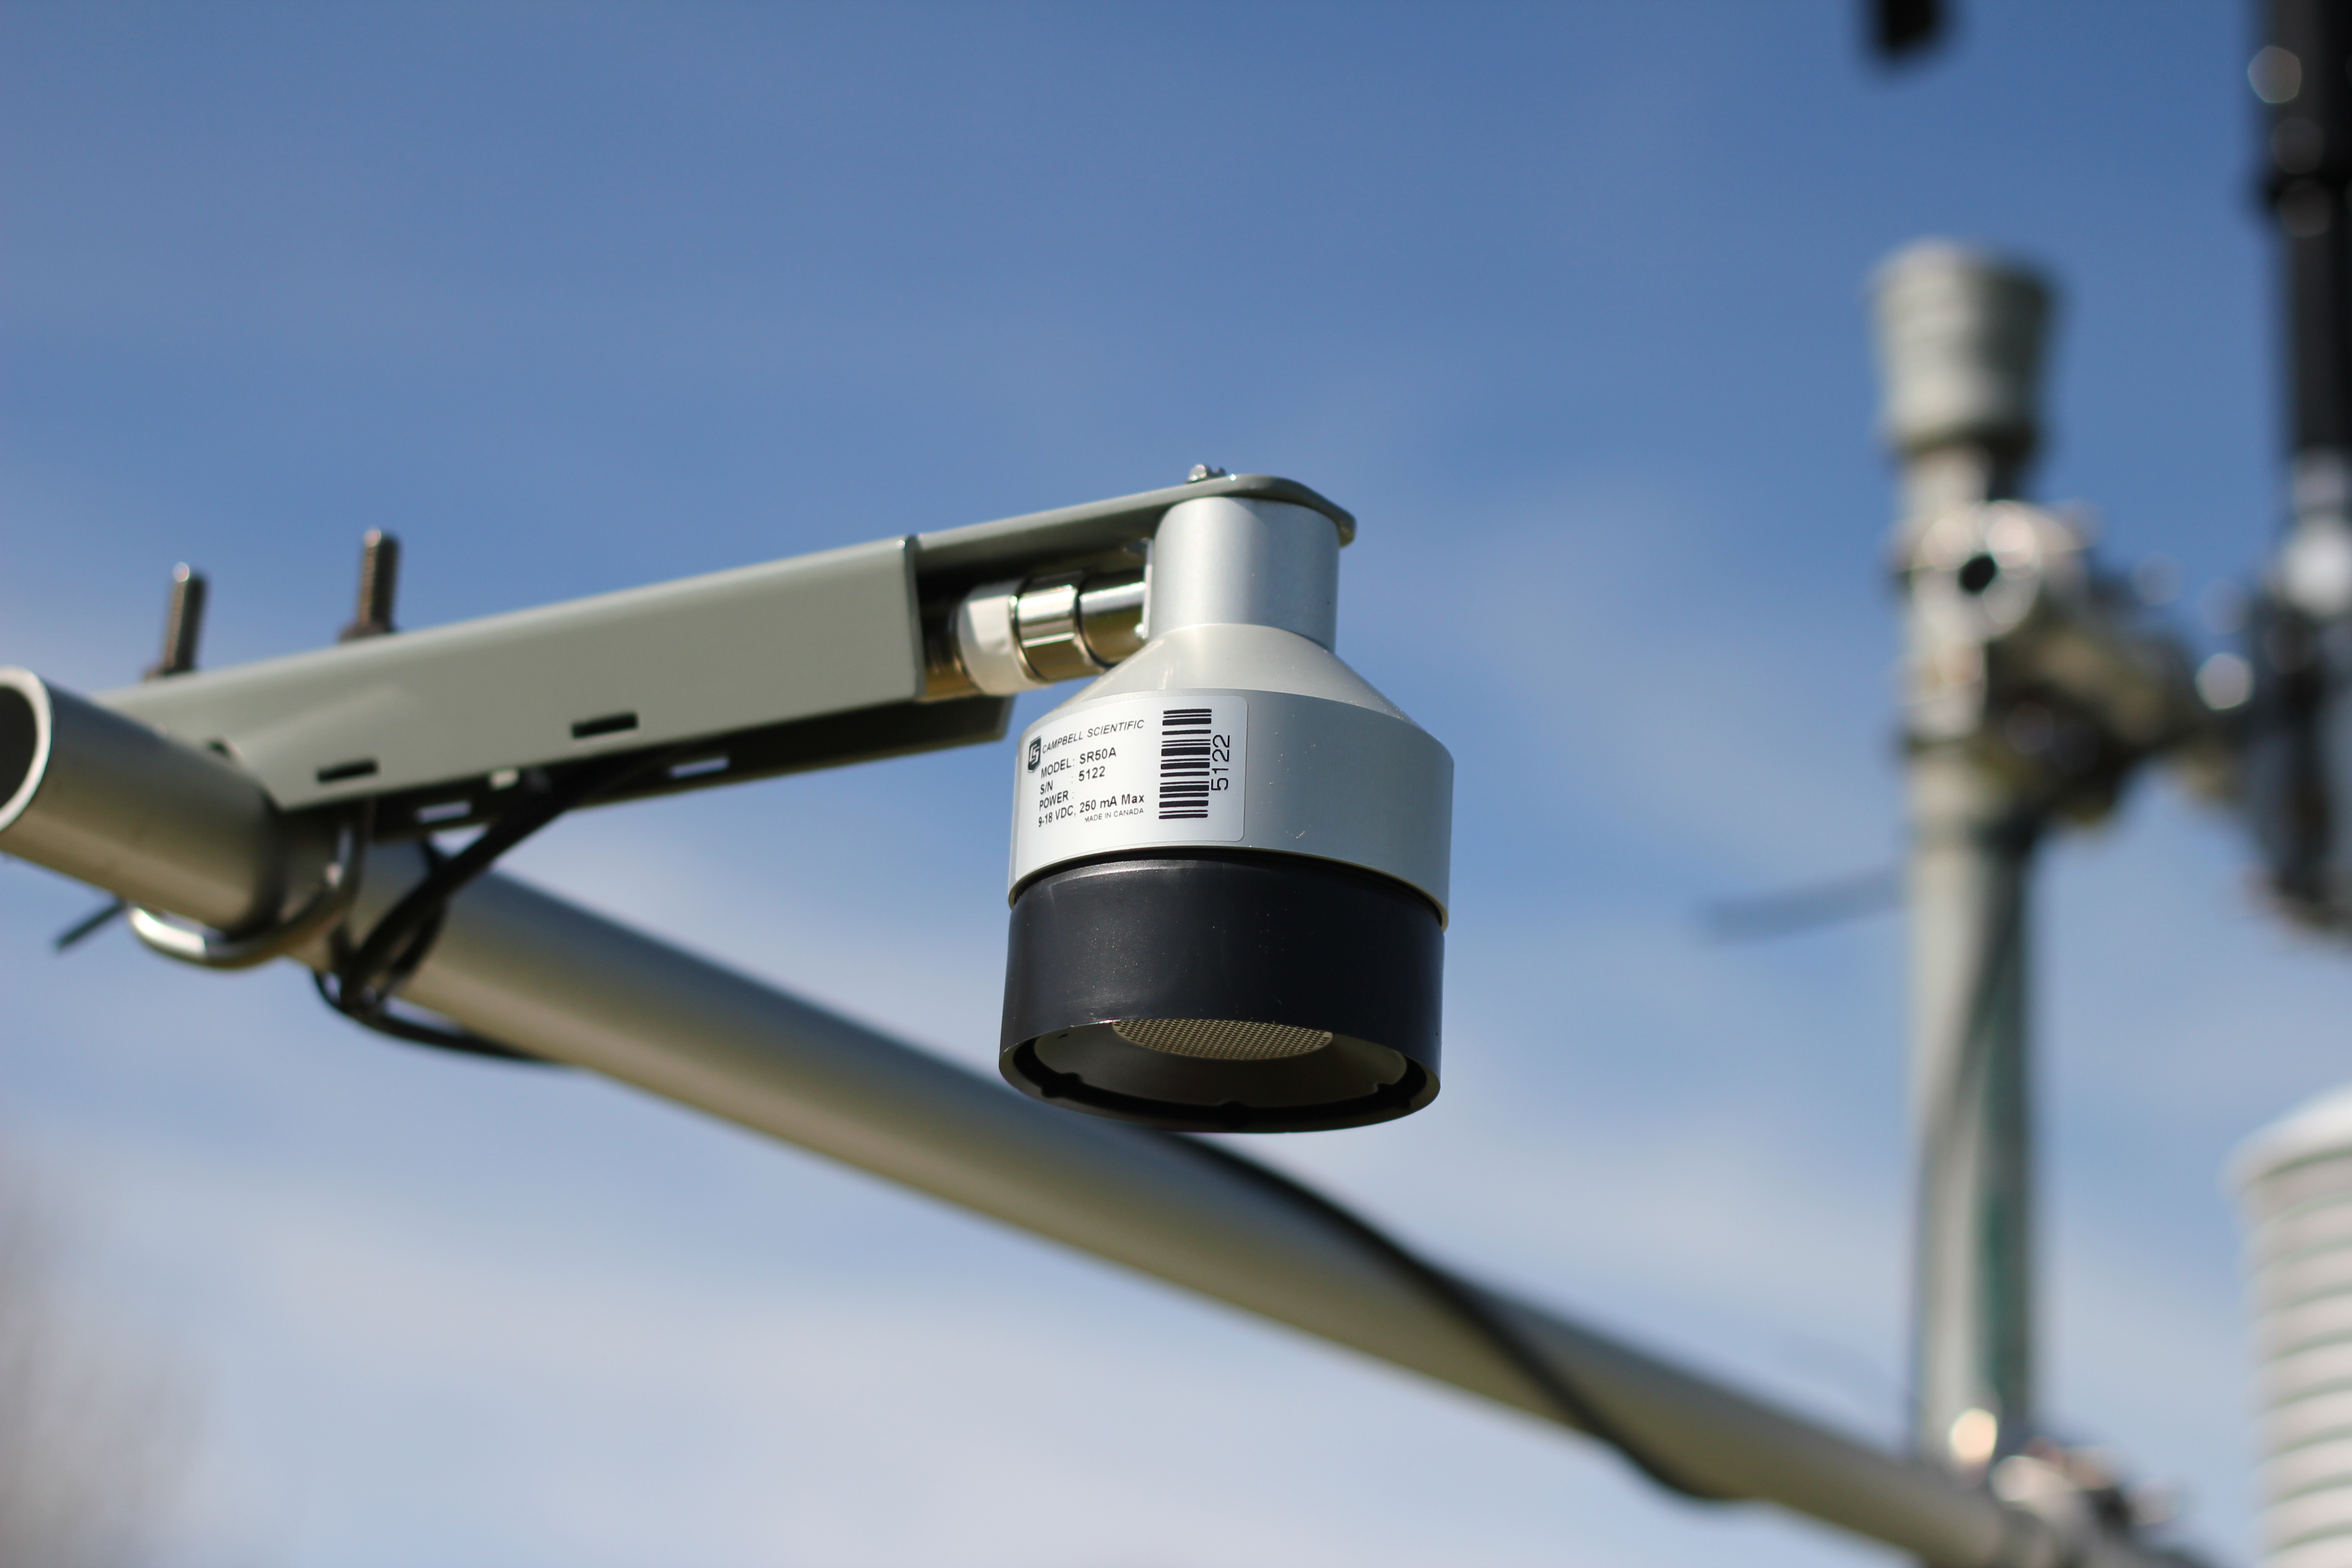
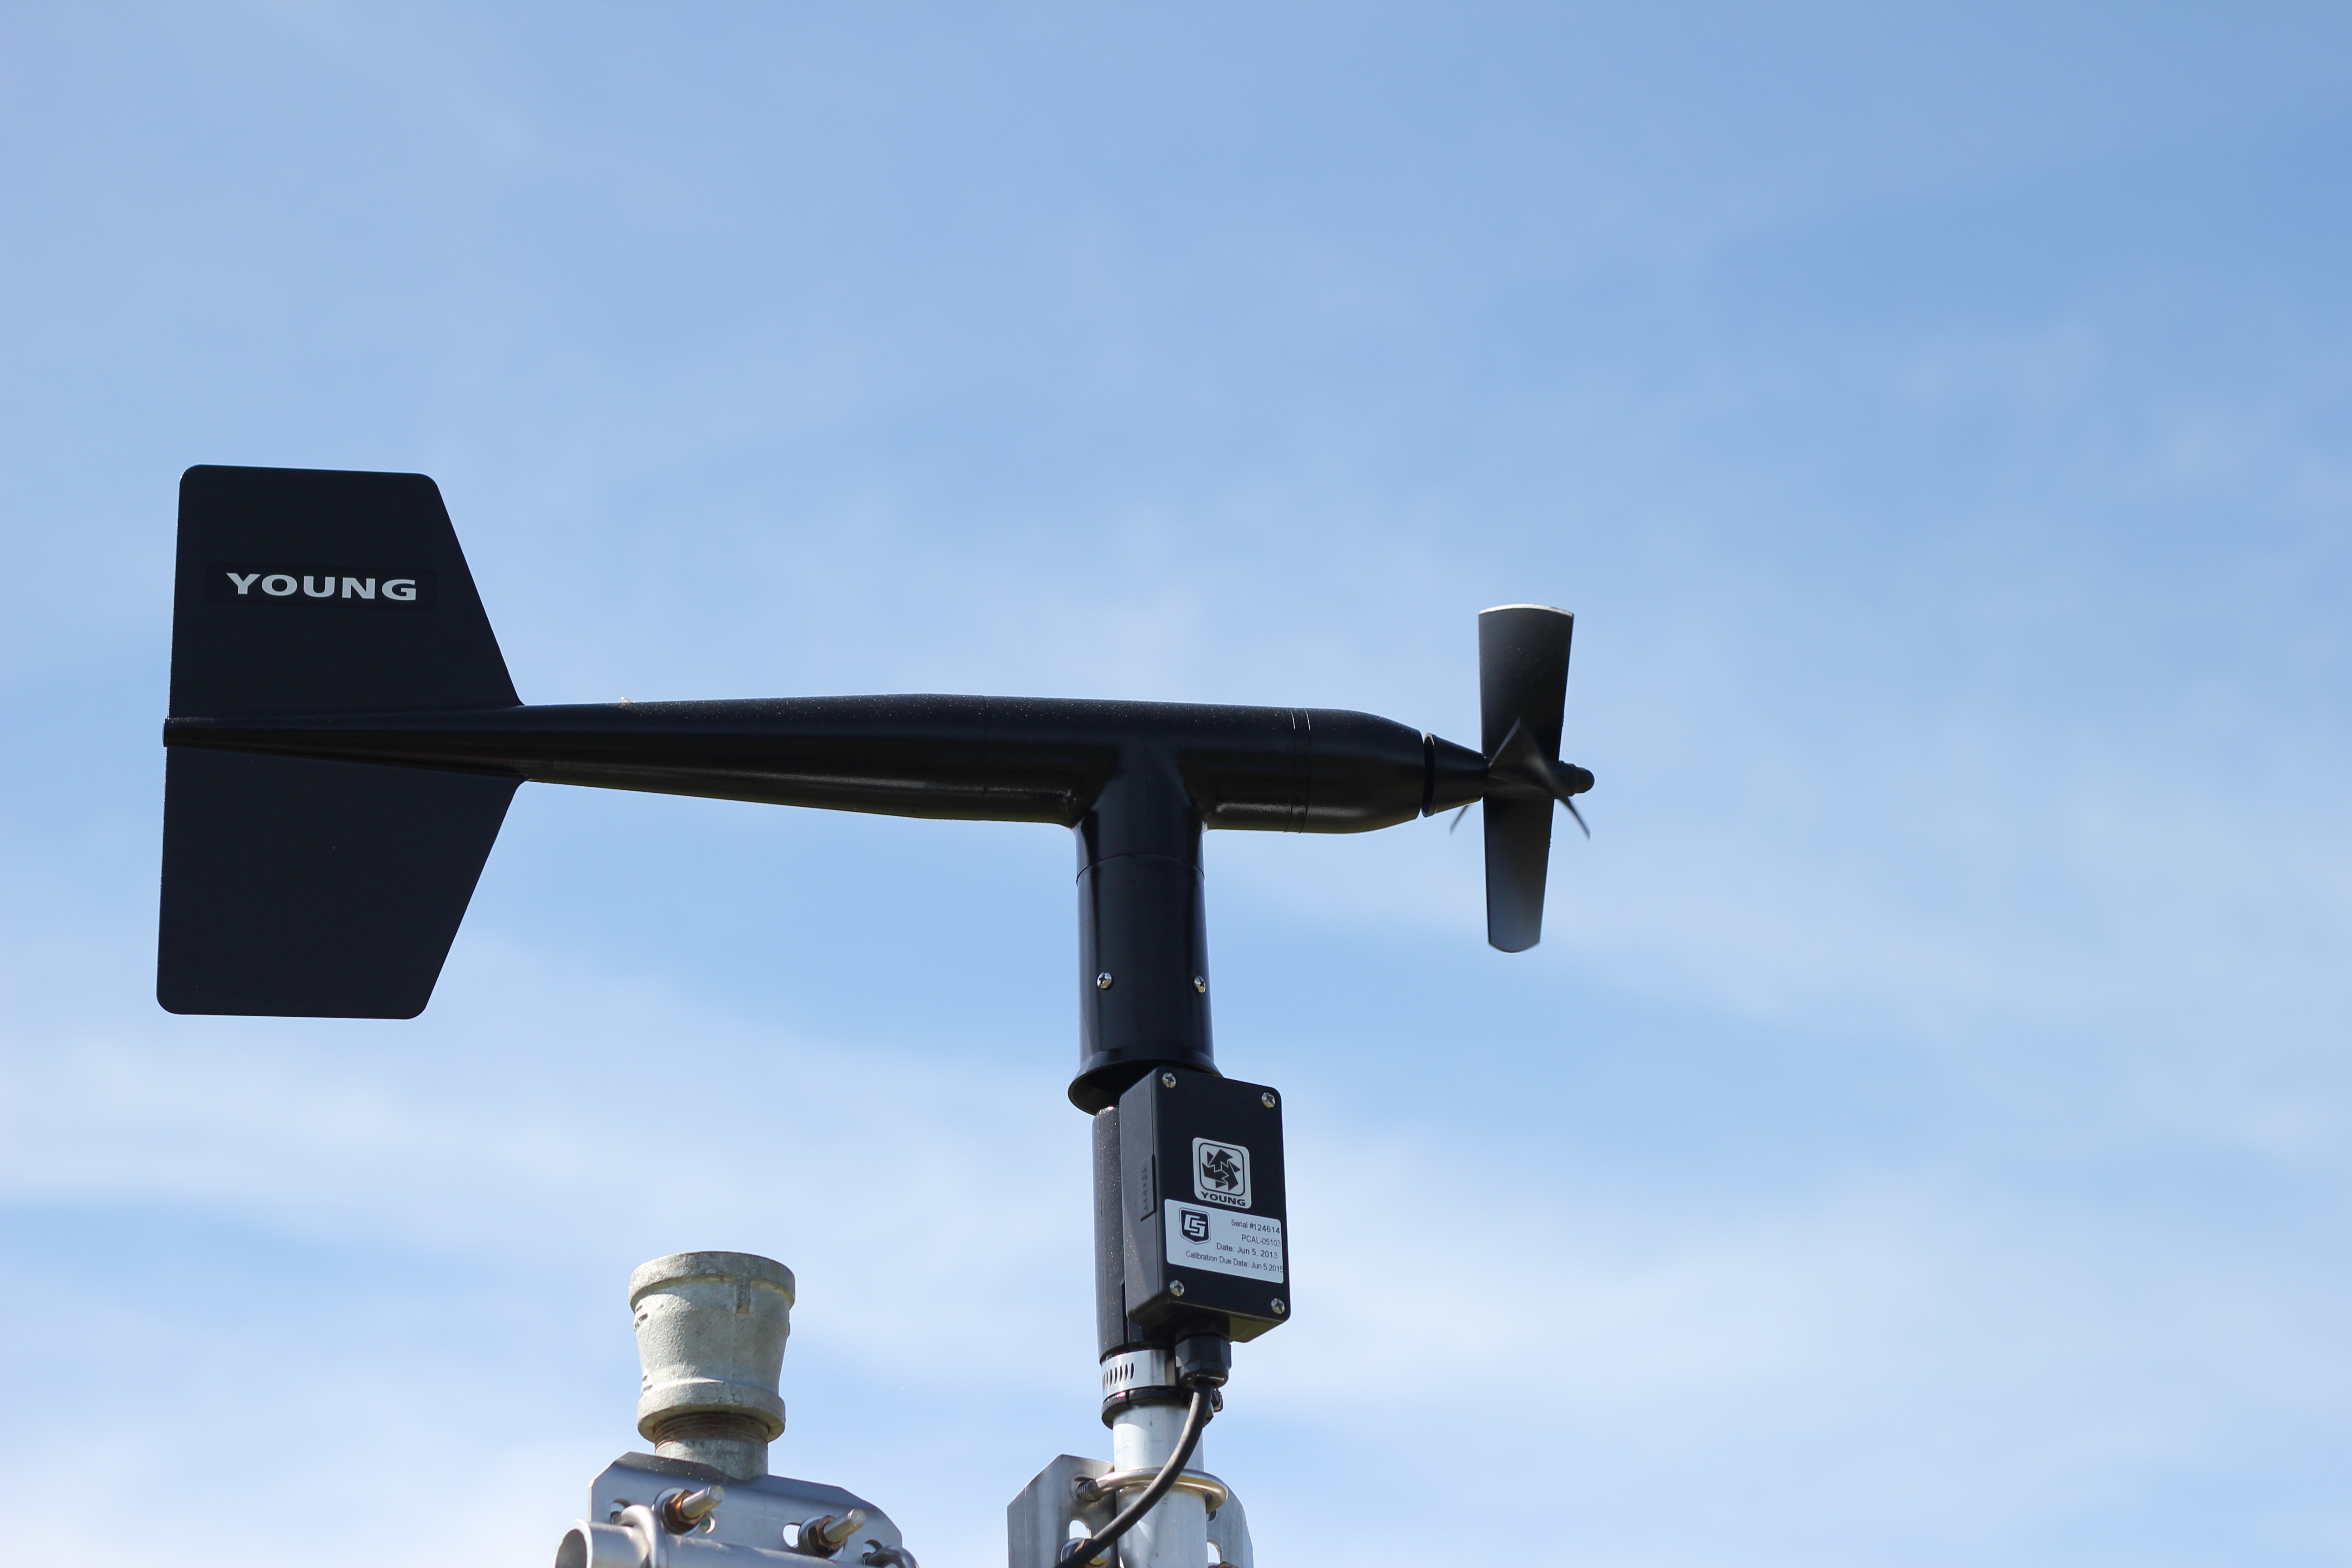
- The station needs to have sensors to measure each of the variables relevant to glacier energy balance. These include air temperature and humidity, radiation (for example, the incoming energy from sunlight), wind speed, and the transfer of heat and moisture by local air currents or ‘eddies’.
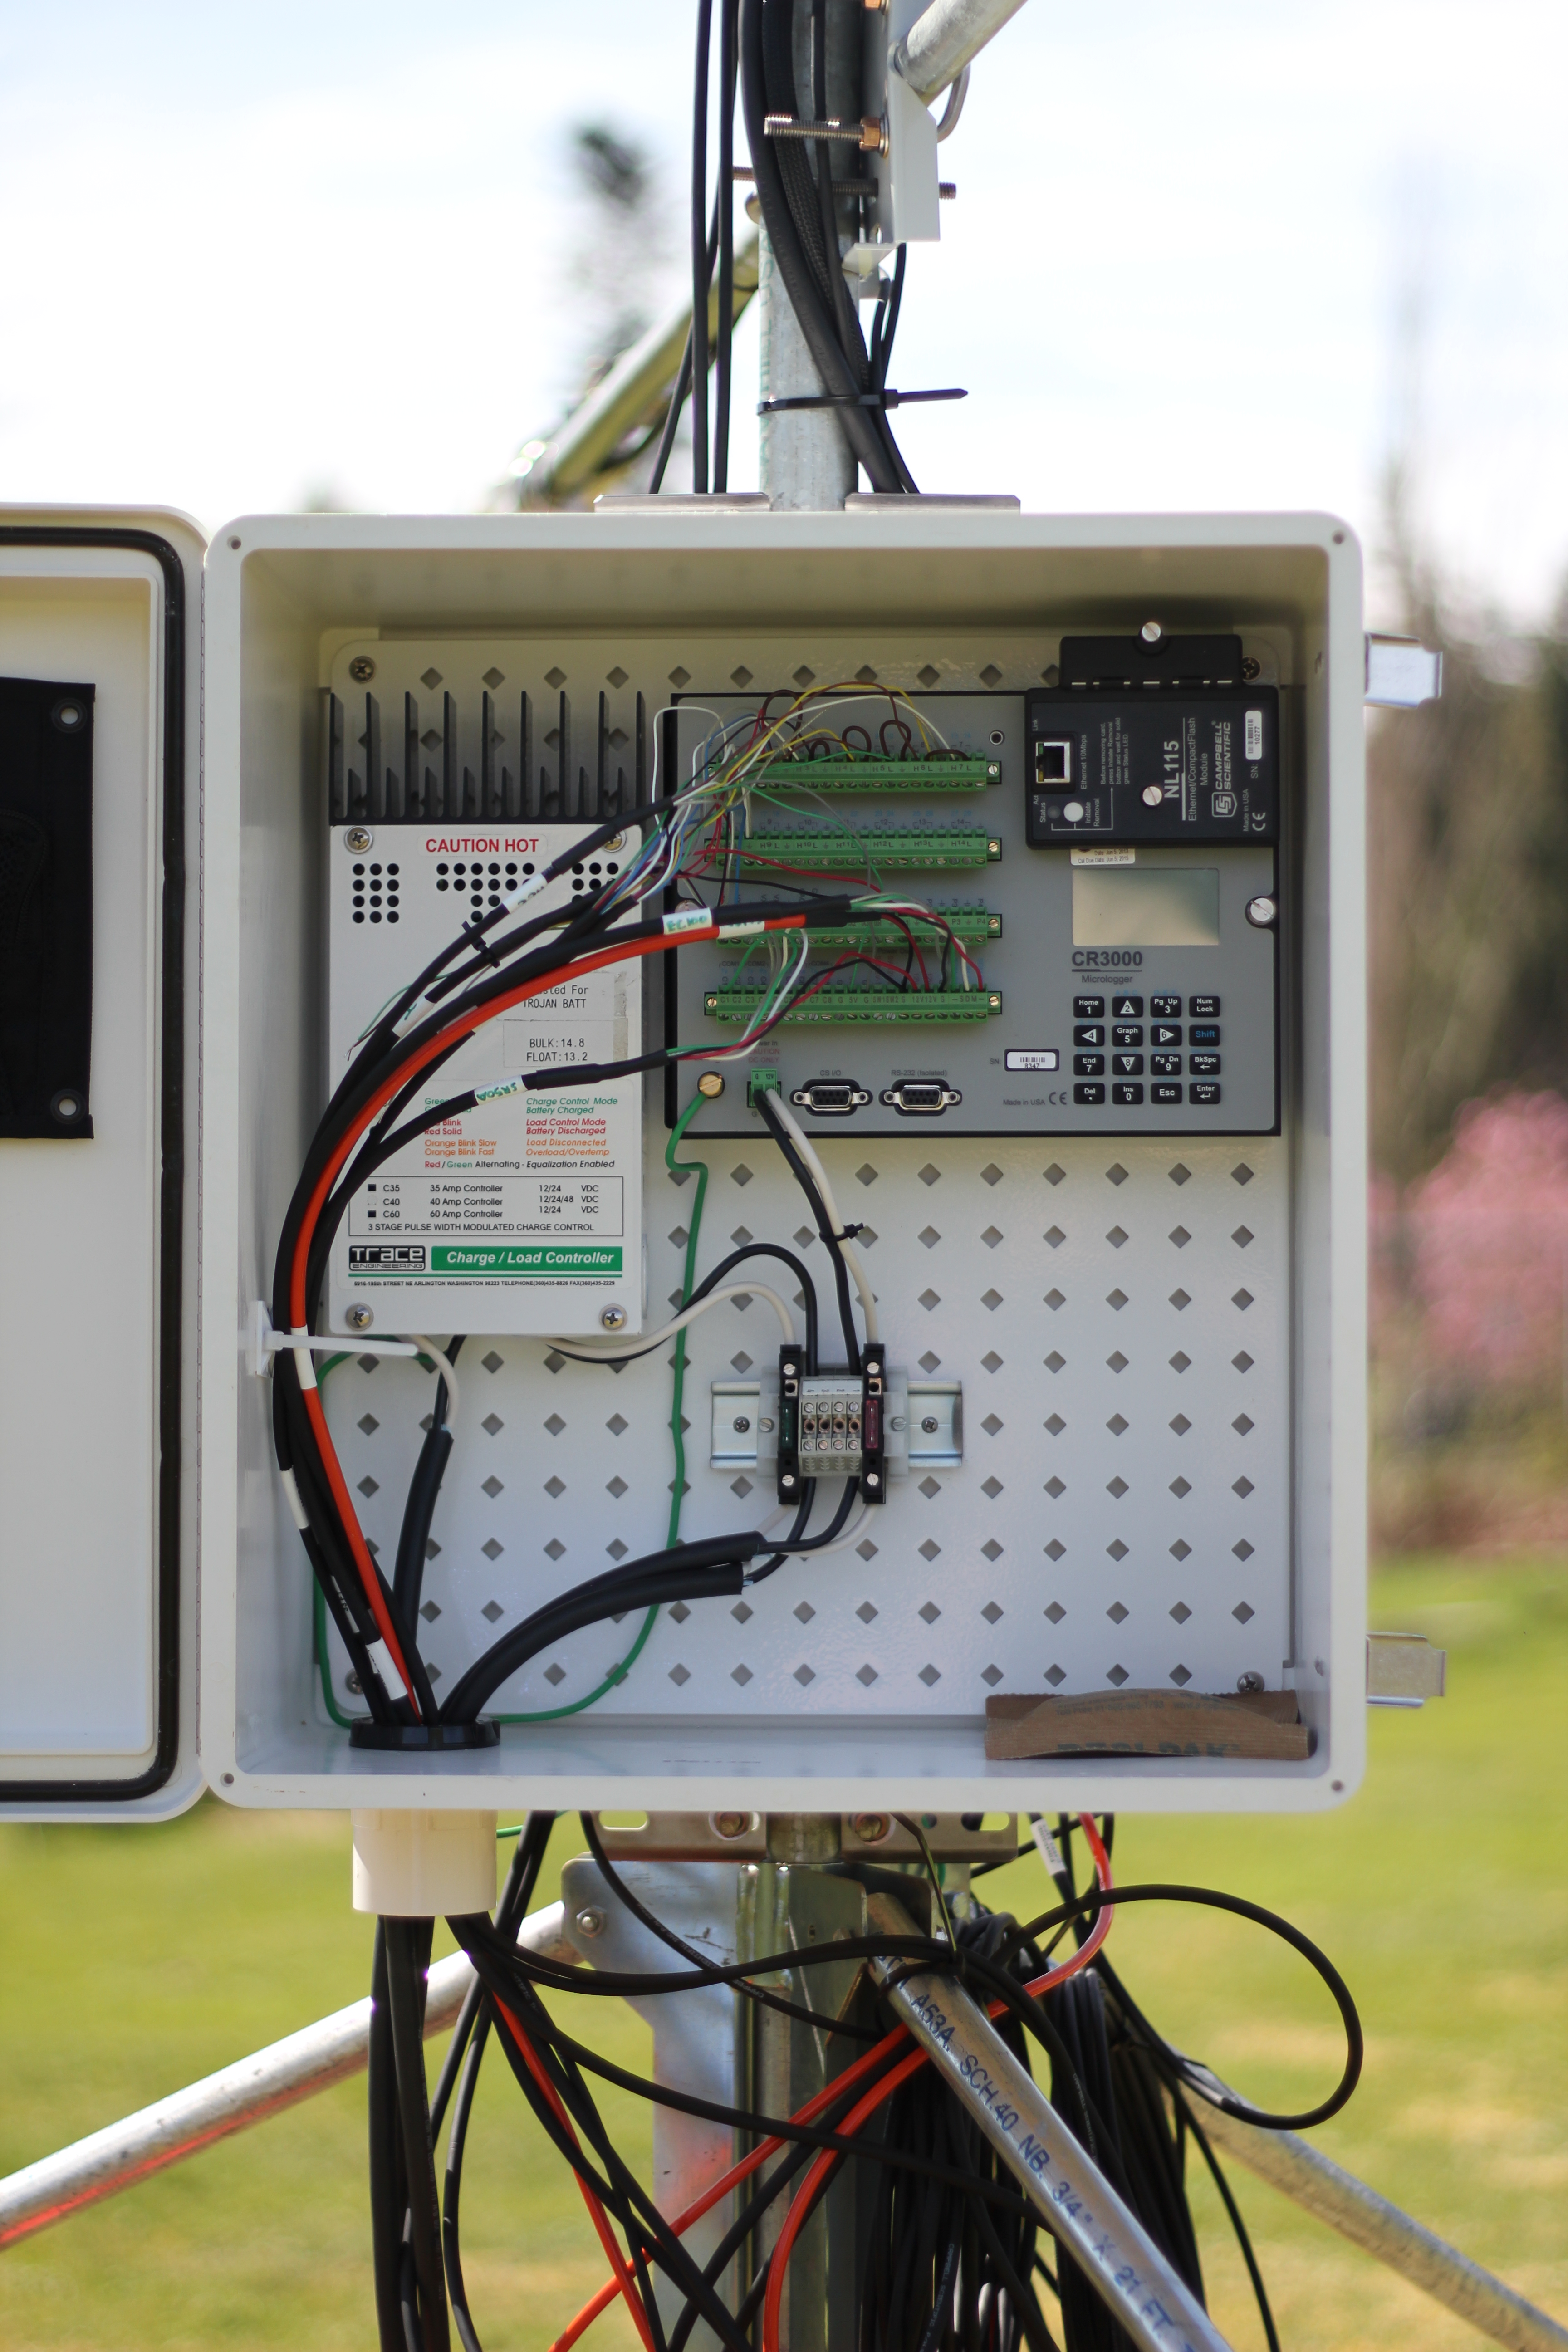
- It needs to be robust and reliable enough to operate in a remote mountain environment, unsupervised for several months.
- It needs to have its own independent power source.


The first step was to assemble and test all of the individual components in the lab, and to set up a method to automatically record and save the measurements made by each sensor. The lab is where you want to make your mistakes, and where you want things to go wrong. The more problems that present themselves in the warm, dry lab, the fewer that will come as a surprise when you’re struggling with cold fingers on the side of a mountain, or worse, when you’re already hundreds of kilometers away, oblivious to the fact that your PhD is falling into a metaphorical or very literal crevasse.
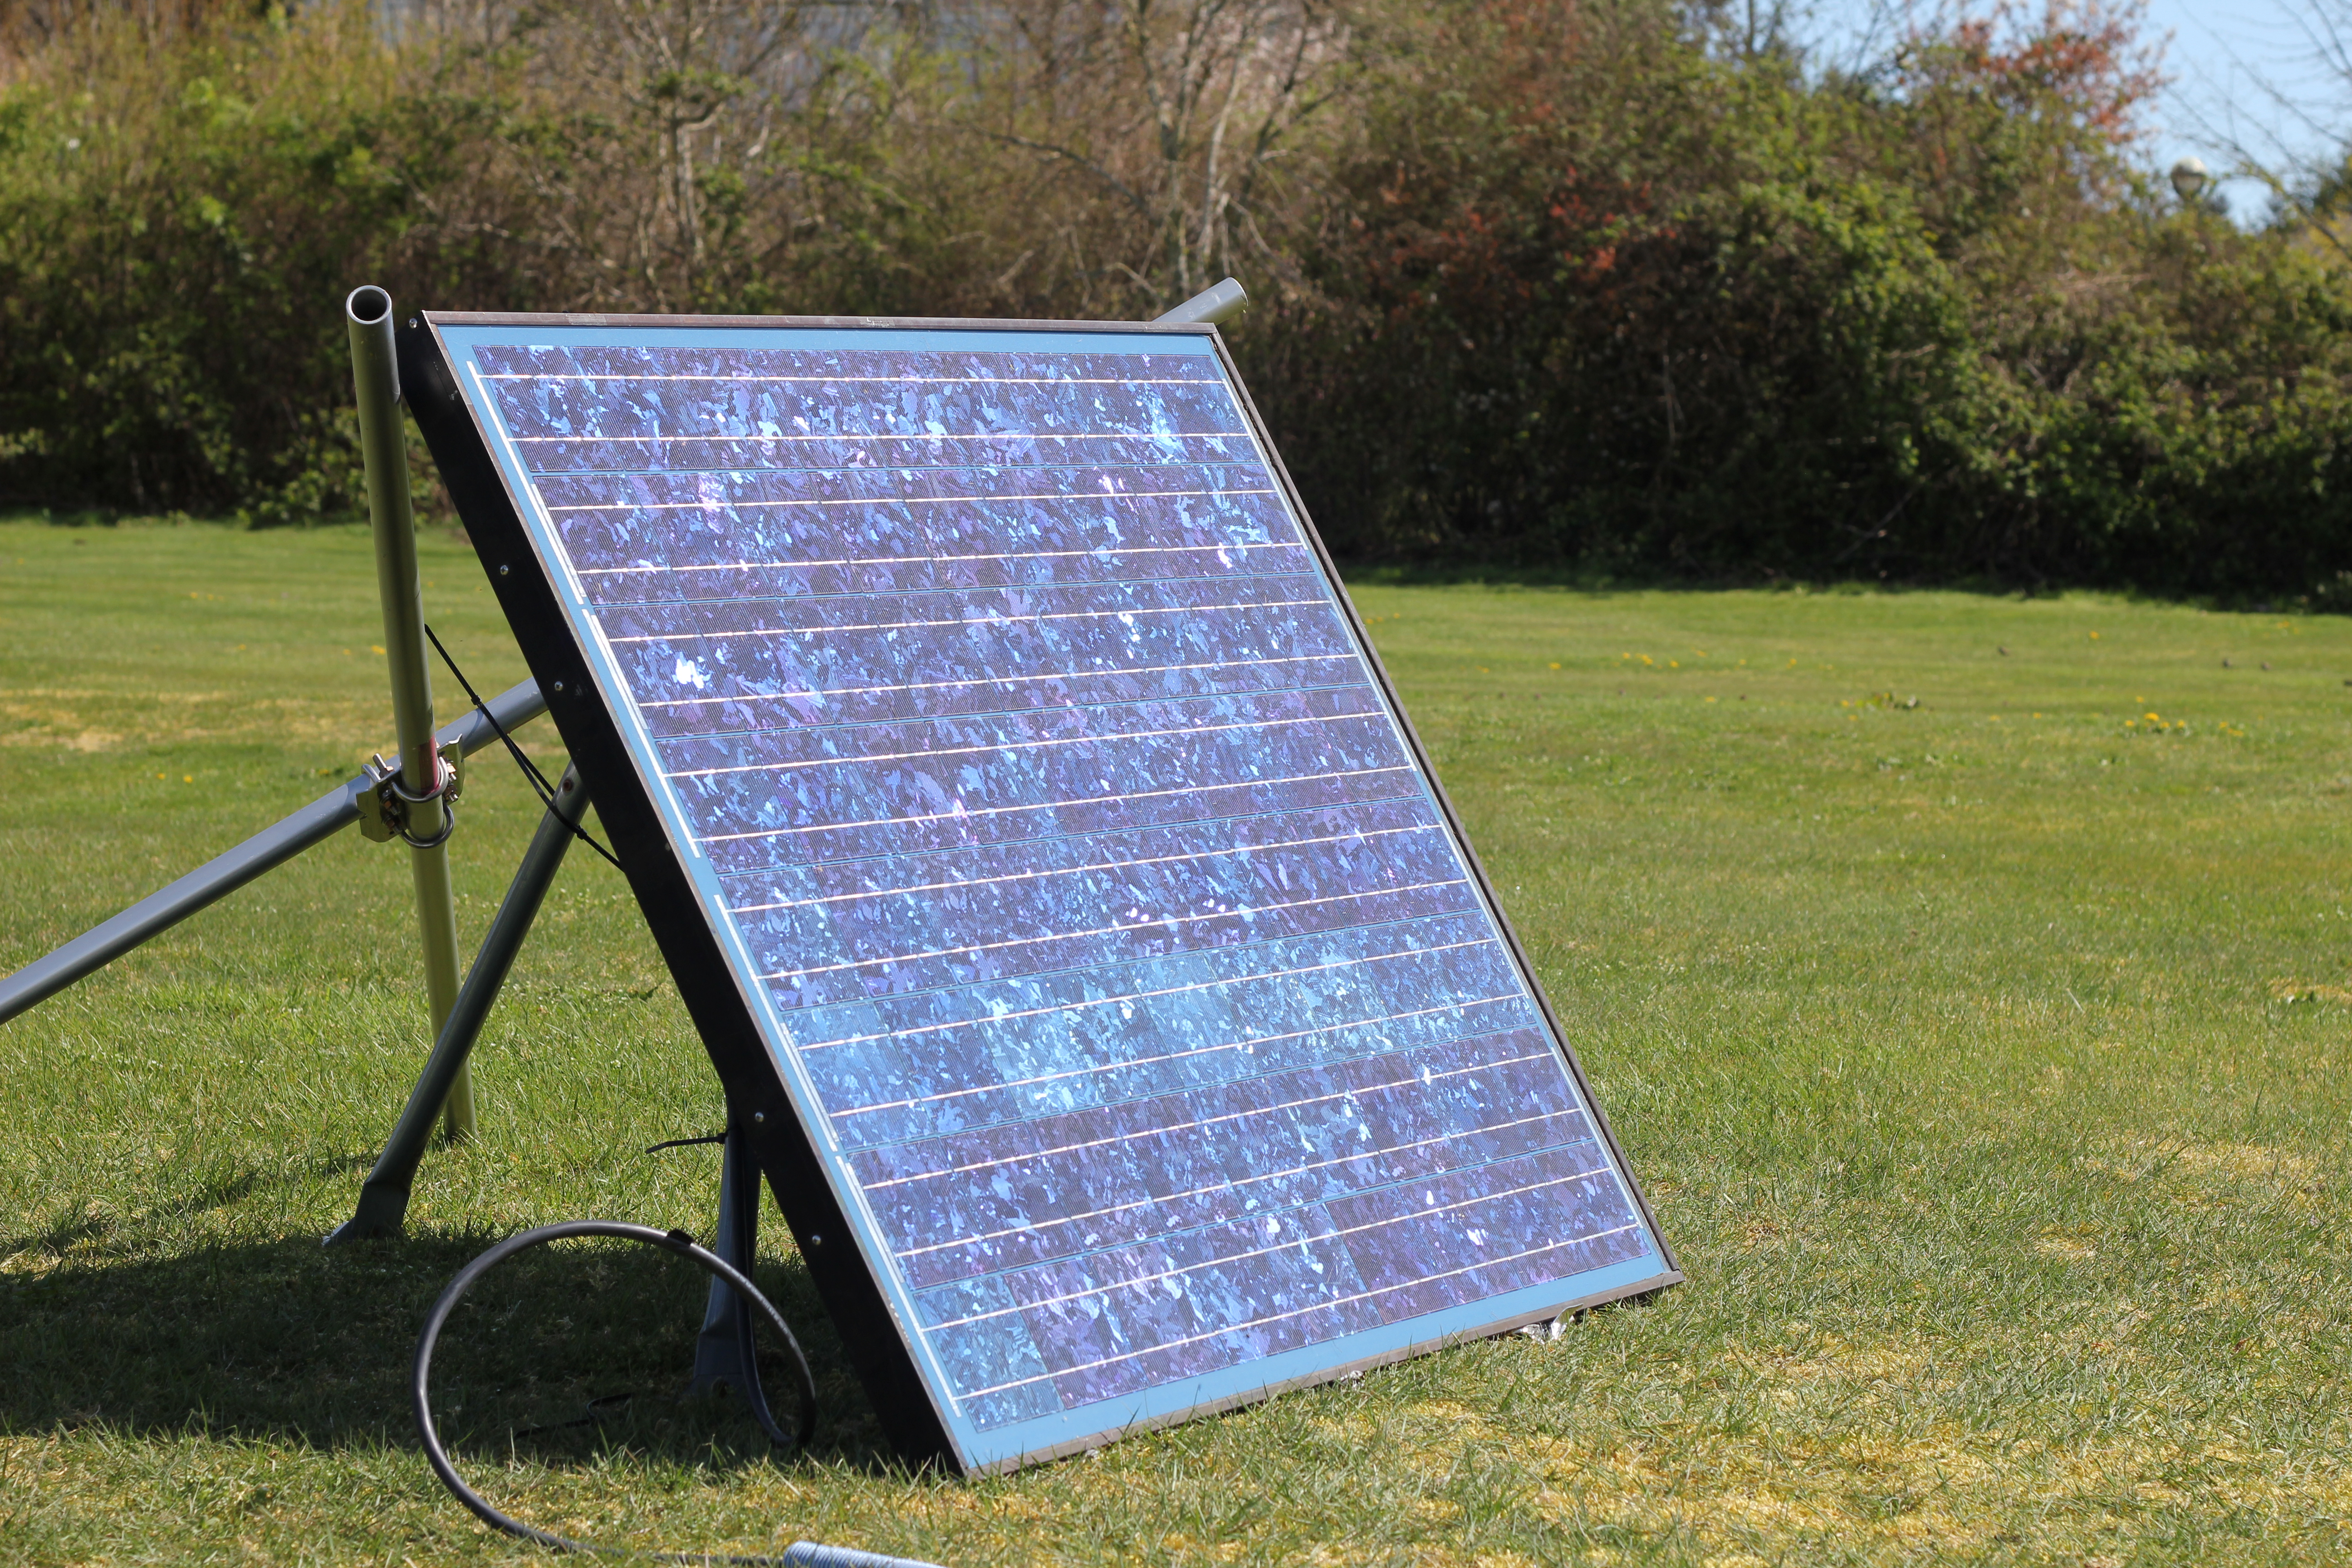
With things up and running in the lab, thoughts turned to how all the components will be brought together and mounted on the glacier, and on how to reliably power the station in such a remote setting. The plan is to rig the sensors on to a wide, stable tripod, with power provided from two marine batteries (like rugged car batteries for boats). The batteries will be recharged using a solar panel mounted nearby.

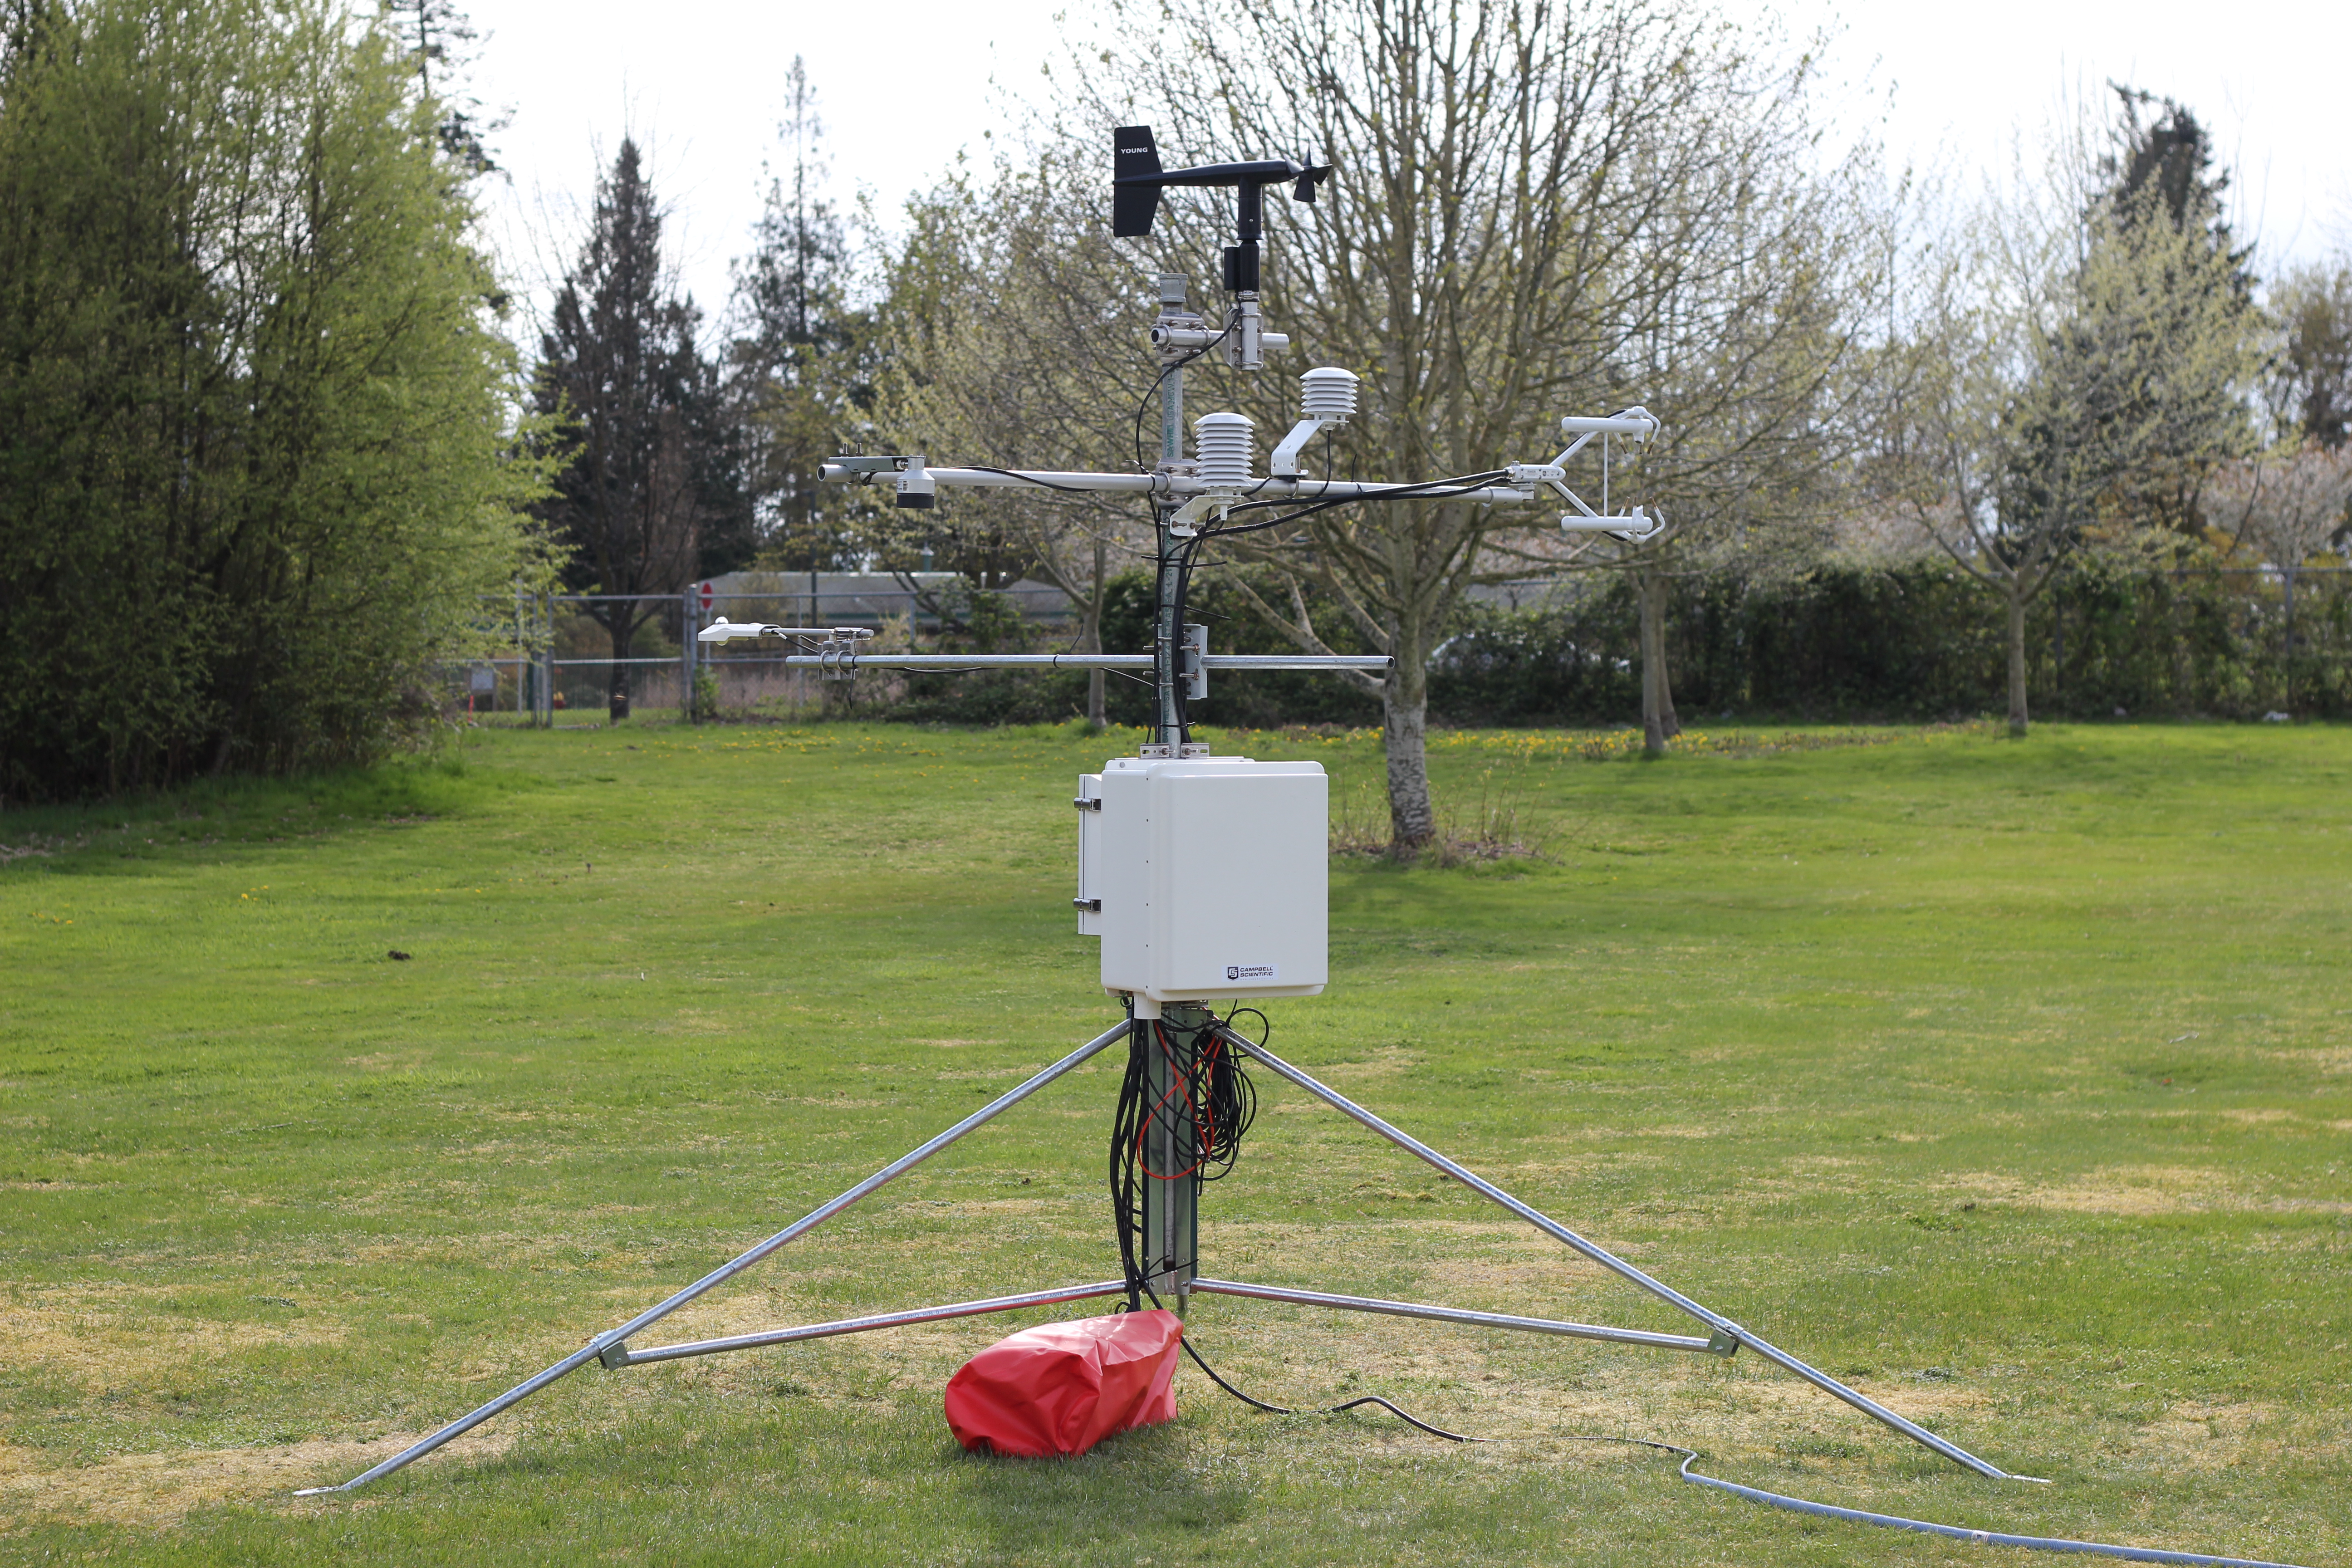
A test rig has been put together, and is now running at an outdoor site on campus. The main issues I’ll be keeping an eye on during this test include insuring the system records all the data it’s supposed to, when it’s supposed to, that the data makes sense and the sensors aren’t interfering with each other, and that a few cloudy days don’t cause my power system to flat line. Below are some images of the sensors I’m using and what they are for. For anyone interested, I intend to go into a little more detail on the science behind the project in future posts. I’m no expert though, so it should all be fairly readable!


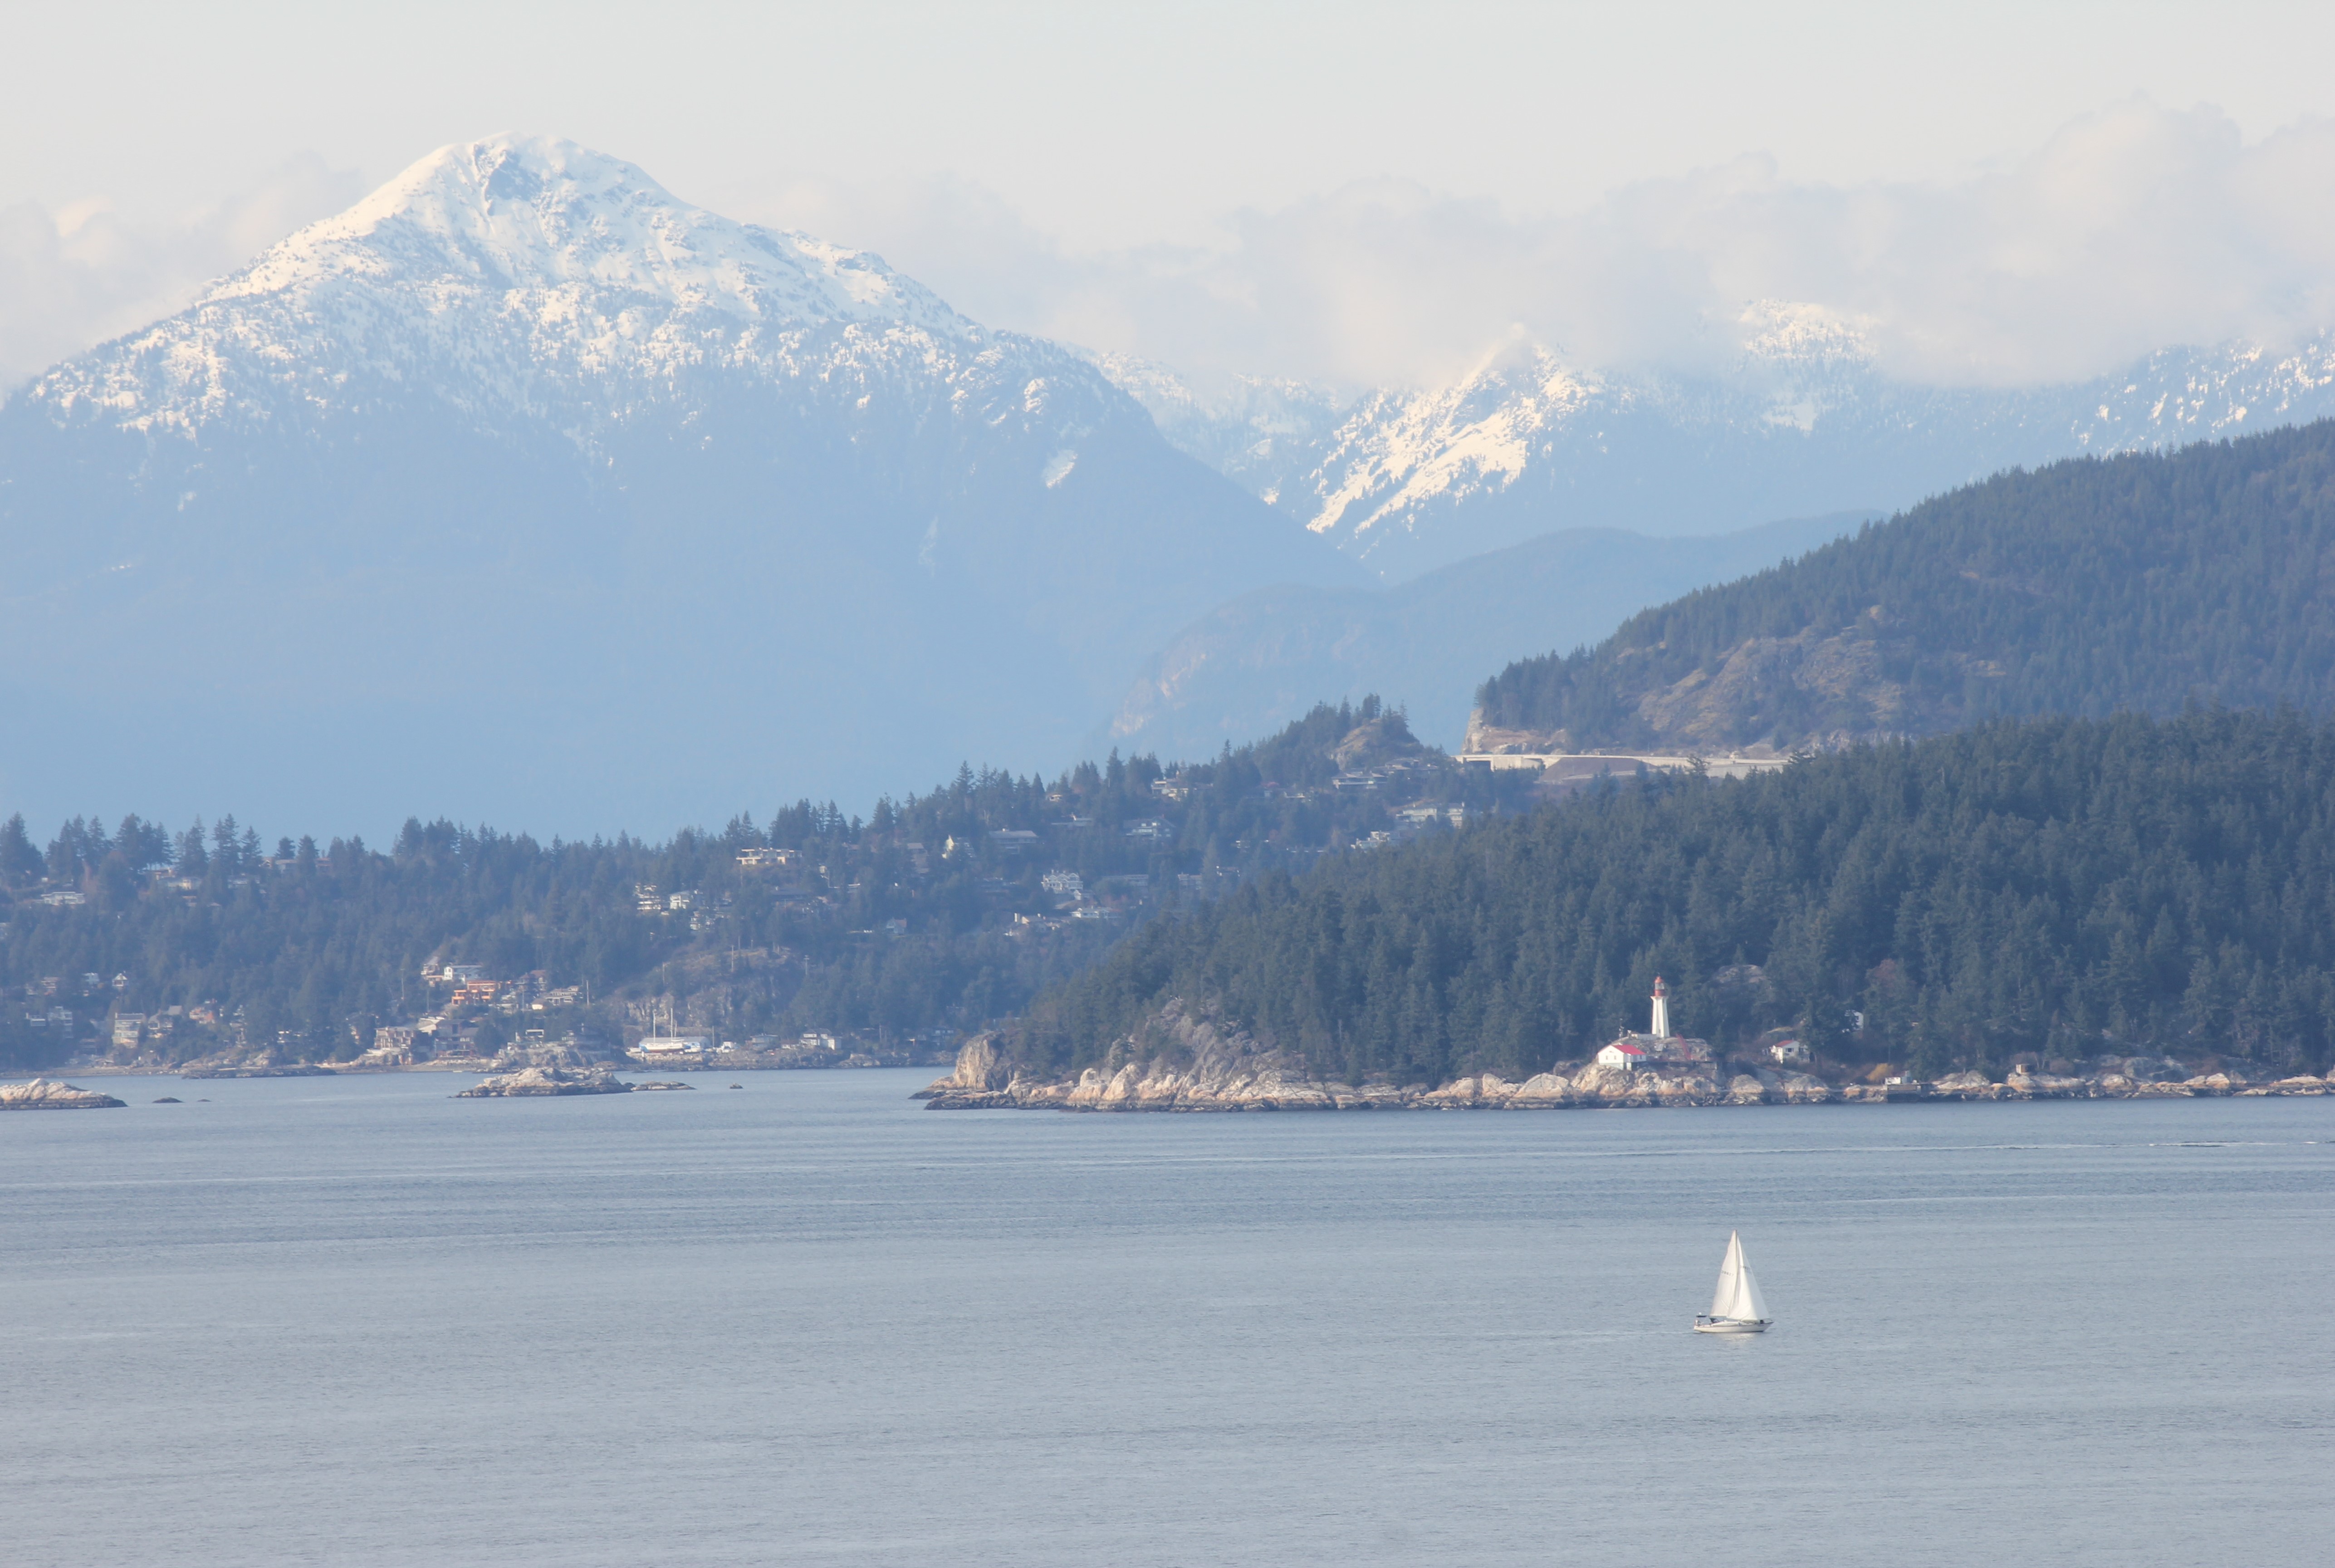
All going to plan, we will travel to the glacier and install the weather station this July. There will be some modifications and additions leading up to this, including a new custom made 4 legged ‘tripod’ (quadpod?), and a timelapse camera system which I will be building in the meantime. Many more hours in the lab and office will be required to get everything ready, but from this campus, reminders for why we are doing this are never far away.

Many thanks Noel for giving us such a clear and readable overview of the project, together with the great photos. What an adventure !
If you need someone to carry your bags up to the Tetrahedron Provincial Park , you know who to call !
The Fitzs back home.
I may take you up on that; thanks for the offer!
Very interesting work Noel, It’s a great blog you are writing 🙂 Pics are amazing, this is a real adventure 🙂 It looks like you did more in 4month than I did in 2 years of my PhD 😀
Thanks for taking a look, Erika. Have had a good start, but I’d still appreciate any advice 🙂
Great read, especially the sensor descriptions and design choices – looking forward to see how it evolves. What does the relative amount of emitted radiation in a glacier infer? Is this ever detected remotely via satellites?
Thanks for taking the time to read it, Victor. Your question hit on something I’m really interested in looking into actually.
Firstly, by measuring the amount of outgoing radiation, and comparing it with the incoming radiation, we can determine how much radiation energy has been absorbed or lost by the glacier. When incoming radiation is greater than outgoing radiation, the glacier has gained energy, and this can go towards melting the snow and ice. When incoming radiation is less than outgoing radiation, the glacier is losing energy, and this can result in further cooling.
In terms of using remote sensing or satellites, one of the key properties of a glacier that can be examined in this way is its albedo. The albedo of a glacier can be thought of as it’s reflectivity, referring to how much of the incoming radiation it reflects back. It has a value between 0 and 1; 0 meaning all radiation is absorbed, 1 meaning all radiation is reflected (usually referring to shortwave, or ‘visible’ radiation). The more energy reflected, the less available for heating. There are lots of really interesting questions in this area, and I believe, lots of potential for remote sensing applications. I’m planning to write a post relating to this area shortly.
Ah, that’s ingenious. Thanks for the insight Noel!
Hey Noel! Cool project. I hope your setup goes well this summer! I don’t have a blog about my work yet, but the lab I’m working with is:
http://www.grantgilchrist.com/
(Also a work in progress).
Looking forward to hearing more about how your project goes!
Hey Jenna, thanks for reading. The summer is fast approaching, but I think the plan is coming together! Good luck with your own field work, sounded really interesting. Thanks for the link; will definitely keep an eye on how it develops.
Hi Noel! The project looks great! I cant believe you ended up going all the way to Vancouver to build a weather station- you could have stayed with us for that! But then we dont have helicoptors.. We’re putting it into the budget for next year. Very impressed and jealous of it all so far, any of us in Instruments would love to do it. Great work on the camera box too. Hope the data gets back in one piece for you.
Oh by the way- NML want their ruler back!!!!
Hi Joanne, great to hear from you! Thanks for reading! I certainly could have used your help with building the weather station, but the glaciers might have been a little harder to come by! Glad someone noticed the ruler; I had also thought about using the phrase ‘better to be looking at it than looking for it’! Hope all is well there.